1. Introduction
Thank you for choosing the Newsoul 4K QLED Portable Monitor M1703. This manual provides essential information for setting up, operating, and maintaining your monitor. Please read it thoroughly to ensure optimal performance and safe use of your device.
The Newsoul M1703 is a 17.3-inch 4K QLED portable monitor designed for high-resolution visual experiences, featuring a 120Hz refresh rate, 0.1ms response time, and 100% DCI-P3 color gamut, suitable for various applications including gaming, professional work, and entertainment.
2. Safety Information
- Do not expose the monitor to rain or moisture to prevent fire or electric shock.
- Avoid placing the monitor in direct sunlight or near heat sources.
- Use only the power adapter and cables provided or approved by Newsoul.
- Keep the monitor away from strong magnetic fields.
- Do not attempt to disassemble or repair the monitor yourself. Refer all servicing to qualified personnel.
- Ensure proper ventilation around the monitor to prevent overheating.
3. Package Contents
Verify that all items are present in your package:
- Newsoul 4K QLED Portable Monitor (M1703)
- USB-C to USB-C Cable (x2)
- Mini HDMI to HDMI Cable
- Power Adapter
- Protective Sleeve / Stand
4. Product Overview
Familiarize yourself with the monitor's physical features and ports.

This image illustrates the monitor's full aluminum alloy construction, emphasizing its slim profile (0.23 inches thick) and light weight (2.19 lbs), which contributes to durability and efficient heat dissipation.
4.1. Ports and Buttons
- Mini HDMI Port: For video and audio input from devices with HDMI output.
- Type-C Ports (x2): Multifunctional ports for power, video, and audio input from compatible USB-C devices. One port can provide both power and display signal, while the other can be used for additional power if needed.
- 3.5mm Audio Jack: For connecting external headphones or speakers.
- Power/Back Button: Press and hold to power on/off. Short press to go back in the OSD menu.
- Pulley Button (Joystick): Used for navigating the On-Screen Display (OSD) menu and adjusting settings.
4.2. Physical Characteristics
- Built-in Stand: The monitor features a 180° adjustable stand integrated into its design, allowing for flexible viewing angles.
- VESA Mountable: Compatible with 75x75mm VESA mounts (M4*4mm screws) for alternative mounting solutions.
- Slim and Lightweight: With a thickness of 0.23 inches and a weight of 2.19 lbs, the monitor is designed for portability.
5. Setup
5.1. Connecting to Devices
The monitor supports various devices via USB-C and Mini HDMI connections.
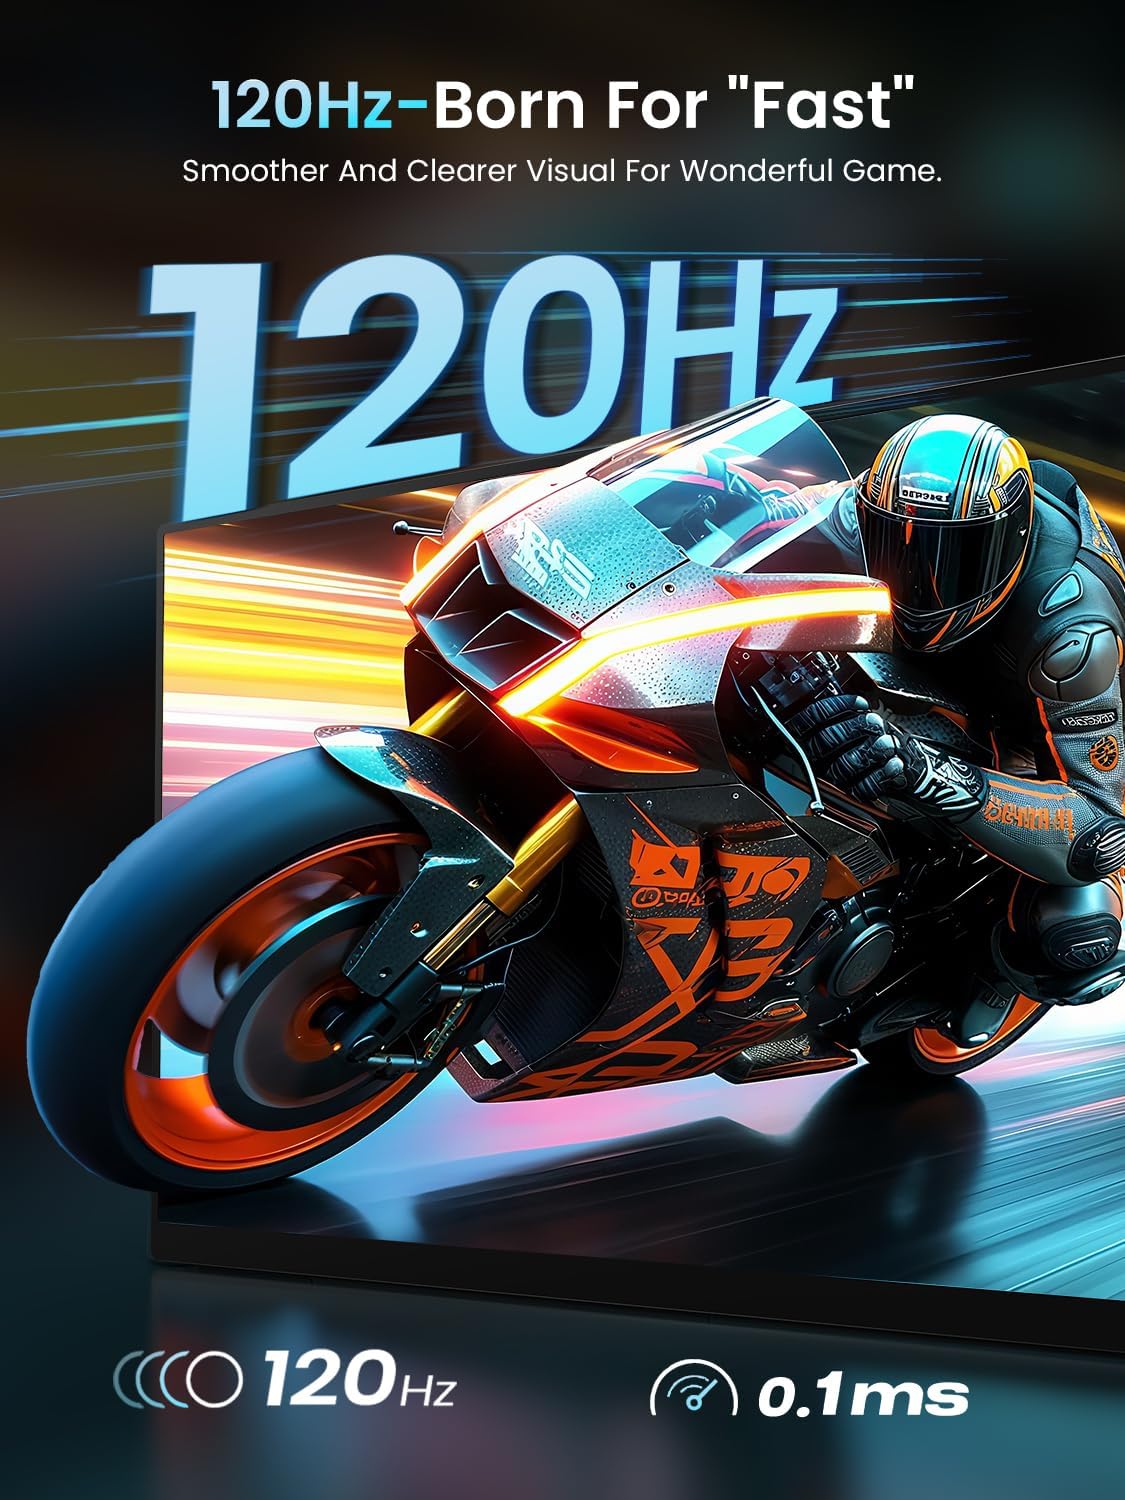
This image highlights the monitor's 120Hz refresh rate and 0.1ms ultra-fast response time, ensuring fluid visuals and a smooth gaming experience, free from tearing and stuttering.
- For Laptops/MacBooks (USB-C with DisplayPort Alt Mode): Connect one end of the USB-C to USB-C cable to your laptop's USB-C port and the other end to one of the monitor's Type-C ports. If your laptop can provide sufficient power, a single cable may suffice for both power and display.
- For Laptops/Desktops (HDMI): Connect one end of the Mini HDMI to HDMI cable to the monitor's Mini HDMI port and the other end to your device's HDMI port. You will also need to connect the monitor to power using a USB-C to USB-C cable and the provided power adapter.
- For Smartphones (USB-C with DisplayPort Alt Mode): Connect one end of the USB-C to USB-C cable to your smartphone's USB-C port and the other end to one of the monitor's Type-C ports. Ensure your smartphone supports video output over USB-C.
- For Game Consoles (HDMI): Connect one end of the Mini HDMI to HDMI cable to the monitor's Mini HDMI port and the other end to your game console's HDMI port. Power the monitor separately using a USB-C to USB-C cable and the power adapter.
5.2. Powering the Monitor
The monitor can be powered in two ways:
- Single USB-C Cable: If your connected device (e.g., laptop) provides enough power through its USB-C port, a single USB-C cable can deliver both video signal and power to the monitor.
- External Power Adapter: For optimal brightness and speaker volume, or when connecting via HDMI, use the provided power adapter connected to one of the monitor's USB-C ports.
5.3. Adjusting the Stand
The integrated stand allows for a 180° adjustment range. Gently pivot the stand to achieve your desired viewing angle.
5.4. VESA Mounting
For a more permanent setup, the monitor can be mounted using a VESA-compatible arm or stand.

This image demonstrates the monitor's versatility with both a built-in 180° adjustable stand for flexible viewing angles and VESA mount compatibility (75x75mm, M4*4mm screws) for alternative setups.
- Ensure the monitor is powered off and disconnected from all cables.
- Locate the four screw holes on the back of the monitor.
- Attach your VESA mount (75x75mm) using M4*4mm screws. Do not overtighten.
6. Operating the Monitor
6.1. Power On/Off
To power on the monitor, press and hold the Power/Back Button for a few seconds. To power off, press and hold the same button until the screen turns off.
6.2. On-Screen Display (OSD) Menu
The OSD menu allows you to adjust various display settings. Use the Pulley Button (Joystick) to navigate and select options.

This image displays the Newsoul 17.3-inch 4K QLED Portable Monitor, showcasing its key features such as 4K resolution, 120Hz refresh rate, QLED technology, 100% DCI-P3 color gamut, 0.1ms response time, and 500 Nits brightness, with a dynamic racing car graphic on screen.
- Accessing the Menu: Press the Pulley Button to open the OSD menu.
- Navigation: Move the Pulley Button up/down/left/right to navigate through menu options.
- Selection: Press the Pulley Button inward to select an option or confirm a setting.
- Exiting: Press the Power/Back Button to go back one level or exit the OSD menu.
Common OSD Settings:
- Brightness/Contrast: Adjust the display's luminance and contrast levels.
- Color Settings: Modify color temperature, hue, and saturation.
- Input Source: Manually select between USB-C and Mini HDMI inputs.
- FreeSync: Enable or disable FreeSync for smoother gaming (if supported by your connected device).
- Aspect Ratio: Adjust the display aspect ratio (e.g., 16:9).
- HDR Mode: Enable or disable High Dynamic Range.
6.3. Audio Output
The monitor has built-in dual 2W speakers. For private listening or higher quality audio, connect headphones or external speakers to the 3.5mm audio jack.
7. Maintenance
7.1. Cleaning the Screen
- Power off the monitor and disconnect all cables.
- Gently wipe the screen with a soft, lint-free cloth.
- For stubborn marks, lightly dampen the cloth with water or a screen-cleaning solution. Do not spray liquid directly onto the screen.
- Avoid using abrasive cleaners, alcohol, or ammonia-based solutions.
7.2. General Care and Storage
- When not in use, store the monitor in its protective sleeve to prevent scratches and dust accumulation.
- Avoid placing heavy objects on the monitor.
- Transport the monitor carefully to prevent impact damage.
8. Troubleshooting
If you encounter issues with your monitor, refer to the following common problems and solutions:
| Problem | Possible Solution |
|---|---|
| No image on screen / 'No Signal' message |
|
| Monitor does not power on |
|
| Image tearing or stuttering during gaming |
|
| No sound from speakers or headphones |
|
| OSD menu navigation is difficult |
|
9. Specifications
Detailed technical specifications for the Newsoul M1703 Portable Monitor:
| Feature | Specification |
|---|---|
| Model Number | M1703 |
| Screen Size | 17.3 Inches |
| Resolution | 3840 x 2160 (4K UHD) |
| Refresh Rate | 120Hz |
| Response Time | 0.1ms |
| Panel Type | QLED, Fast IPS |
| Color Gamut | 100% DCI-P3 |
| Contrast Ratio | 2000:1 |
| Brightness | 500 Candela (Nits) |
| Aspect Ratio | 16:9 |
| Connectivity | 1x Mini HDMI, 2x USB-C |
| Audio | Built-in Dual 2W Speakers, 3.5mm Audio Jack |
| Mounting | VESA 75x75mm |
| Product Dimensions | 0.23 x 15.5 x 9.5 inches |
| Item Weight | 2.19 pounds |
10. Warranty and Support
Newsoul products are manufactured to high quality standards. For information regarding warranty coverage, please refer to the warranty card included with your product or visit the official Newsoul website.
If you require technical assistance or have questions not covered in this manual, please contact Newsoul customer support through the contact information provided on the official website or your purchase platform.