
1. Introduction
Thank you for choosing the Avalsor Cyber G9 Cordless Vacuum Cleaner. This manual provides essential information for the safe and efficient operation, maintenance, and troubleshooting of your new vacuum cleaner. Please read it thoroughly before first use and keep it for future reference.
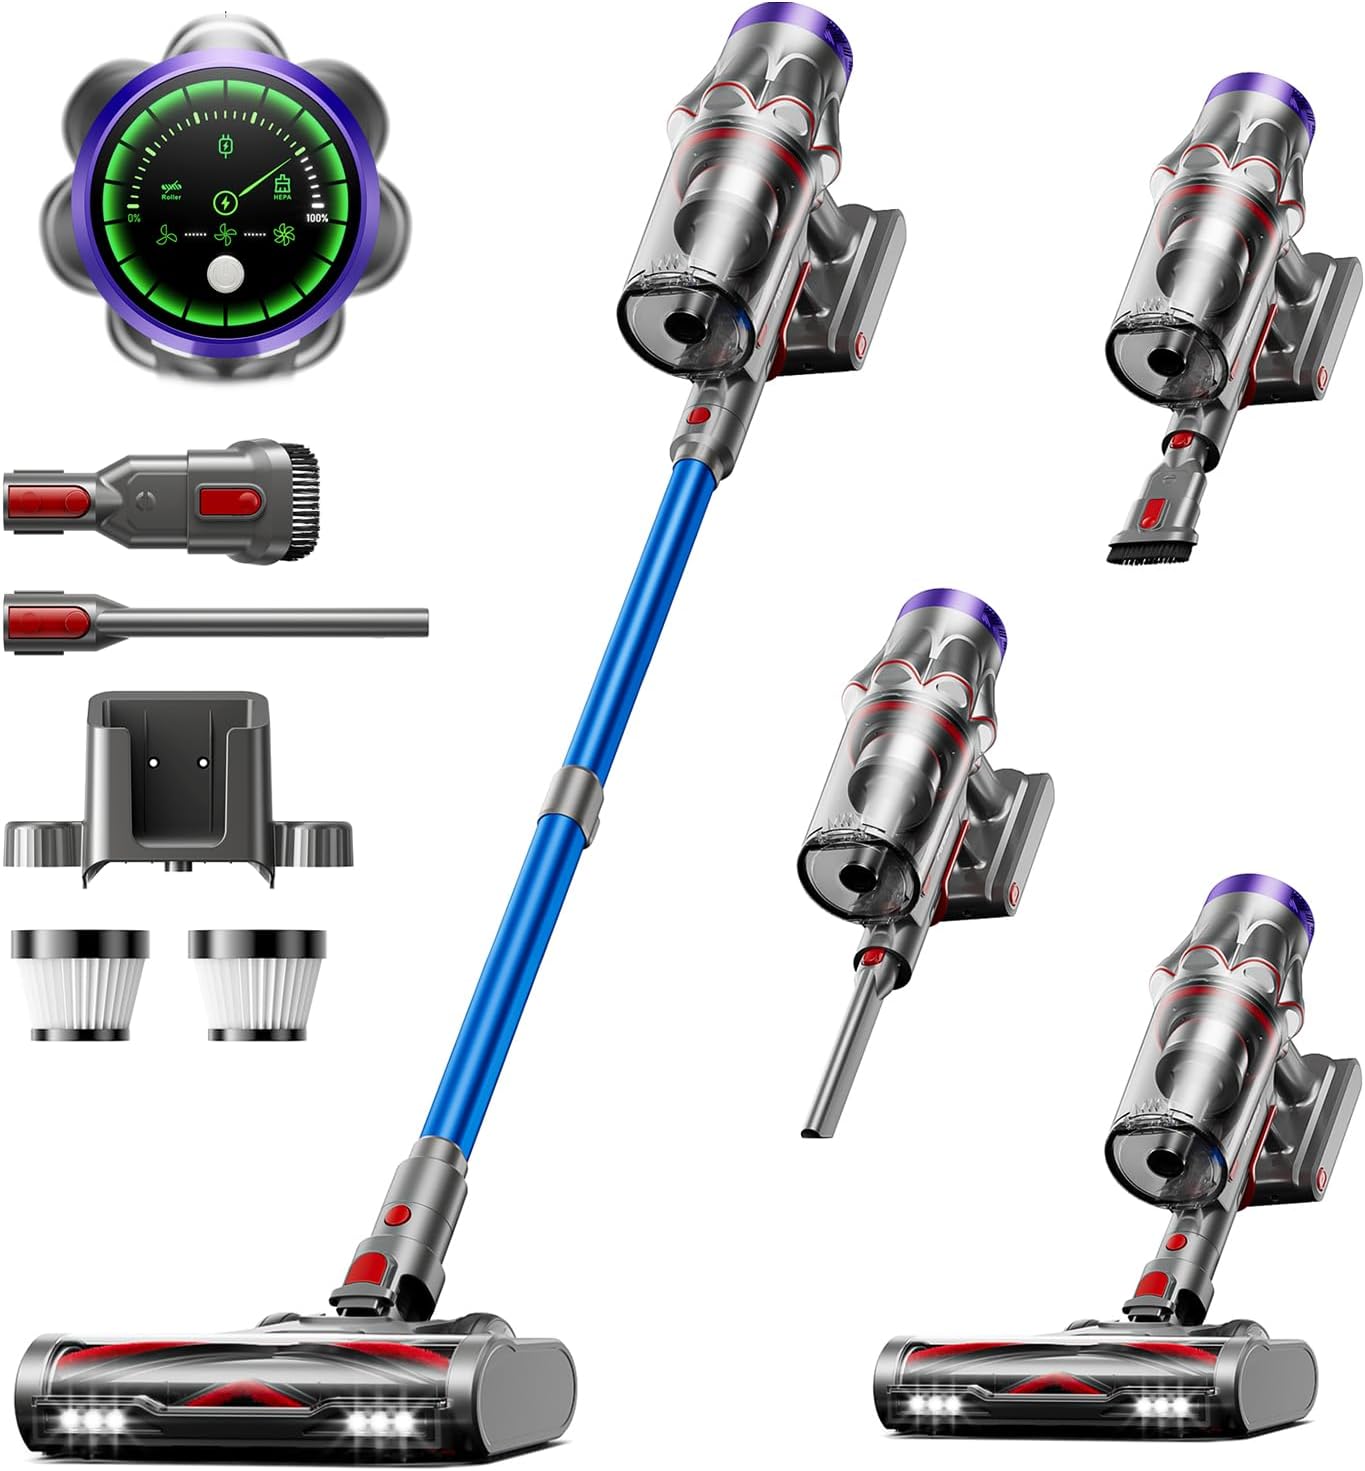
Image 1.1: Avalsor Cyber G9 Cordless Vacuum Cleaner and included accessories.
2. Safety Instructions
To reduce the risk of fire, electric shock, or injury, always follow basic safety precautions when using an electrical appliance. This includes:
- Do not use outdoors or on wet surfaces.
- Do not allow to be used as a toy. Close attention is necessary when used by or near children.
- Use only as described in this manual. Use only manufacturer’s recommended attachments.
- Do not use with damaged cord or plug. If appliance is not working as it should, has been dropped, damaged, left outdoors, or dropped into water, return it to a service center.
- Do not pull or carry by cord, use cord as a handle, close a door on cord, or pull cord around sharp edges or corners. Do not run appliance over cord. Keep cord away from heated surfaces.
- Do not unplug by pulling on cord. To unplug, grasp the plug, not the cord.
- Do not handle plug or appliance with wet hands.
- Do not put any object into openings. Do not use with any opening blocked; keep free of dust, lint, hair, and anything that may reduce airflow.
- Keep hair, loose clothing, fingers, and all parts of body away from openings and moving parts.
- Do not pick up anything that is burning or smoking, such as cigarettes, matches, or hot ashes.
- Do not use to pick up flammable or combustible liquids, such as gasoline, or use in areas where they may be present.
- Do not pick up toxic material (e.g., chlorine bleach, ammonia cleaner, drain cleaner).
- Do not use without dust cup and/or filters in place.
- Turn off all controls before unplugging.
- Use extra care when cleaning on stairs.
- Do not use to pick up hard or sharp objects such as glass, nails, screws, coins, etc.
- Store the appliance indoors.
3. Package Contents
Carefully unpack your Avalsor Cyber G9 Cordless Vacuum Cleaner and check that all items are present and in good condition. The package should include:
- Cordless Vacuum Cleaner Main Unit
- Battery
- Power Adapter
- 2-in-1 Brush
- Crevice Brush
- Soft & Hard Roller Brush
- HEPA Filter (pre-installed or spare)
- Aroma Tablet
- Wall Mount
- Small Cleaning Tool
- User Manual

Image 3.1: Visual representation of all included components.
4. Product Overview
Familiarize yourself with the main components of your Avalsor Cyber G9 Cordless Vacuum Cleaner:
- Main Unit: Contains the motor, dust cup, and control panel.
- Extension Wand: Connects the main unit to the floor brush or other attachments for extended reach.
- Motorized Floor Brush: Equipped with LED lights and a V-shaped anti-tangle brush for effective cleaning on various surfaces.
- Battery Pack: Provides power for cordless operation.
- Touchscreen Display: Shows suction level, battery reminder, brush blocked indicator, and full dust cup reminder.

Image 4.1: The all-in-one touchscreen display showing various indicators.

Image 4.2: Detailed view of touchscreen indicators: Suction Level, Battery Reminder, Brush Blocked Indicator, and Full Dustcup Reminder.
5. Setup
5.1 Assembly
- Attach the Extension Wand: Insert the extension wand into the main unit until it clicks securely into place.
- Attach the Floor Brush: Connect the motorized floor brush to the other end of the extension wand, ensuring it clicks firmly.
- Install Battery: Slide the battery pack into the designated slot on the main unit until it locks.
- Install Aroma Tablet: Open the designated compartment (refer to diagram in manual) and insert the scented tablet for a pleasant fragrance during use.
5.2 Charging the Battery
Before first use, fully charge the battery. A full charge provides up to 65 minutes of runtime in Eco mode.
- Connect the power adapter to the charging port on the battery or the wall mount.
- Plug the adapter into a power outlet.
- The battery indicator on the touchscreen will show charging status.
- Once fully charged, unplug the adapter.
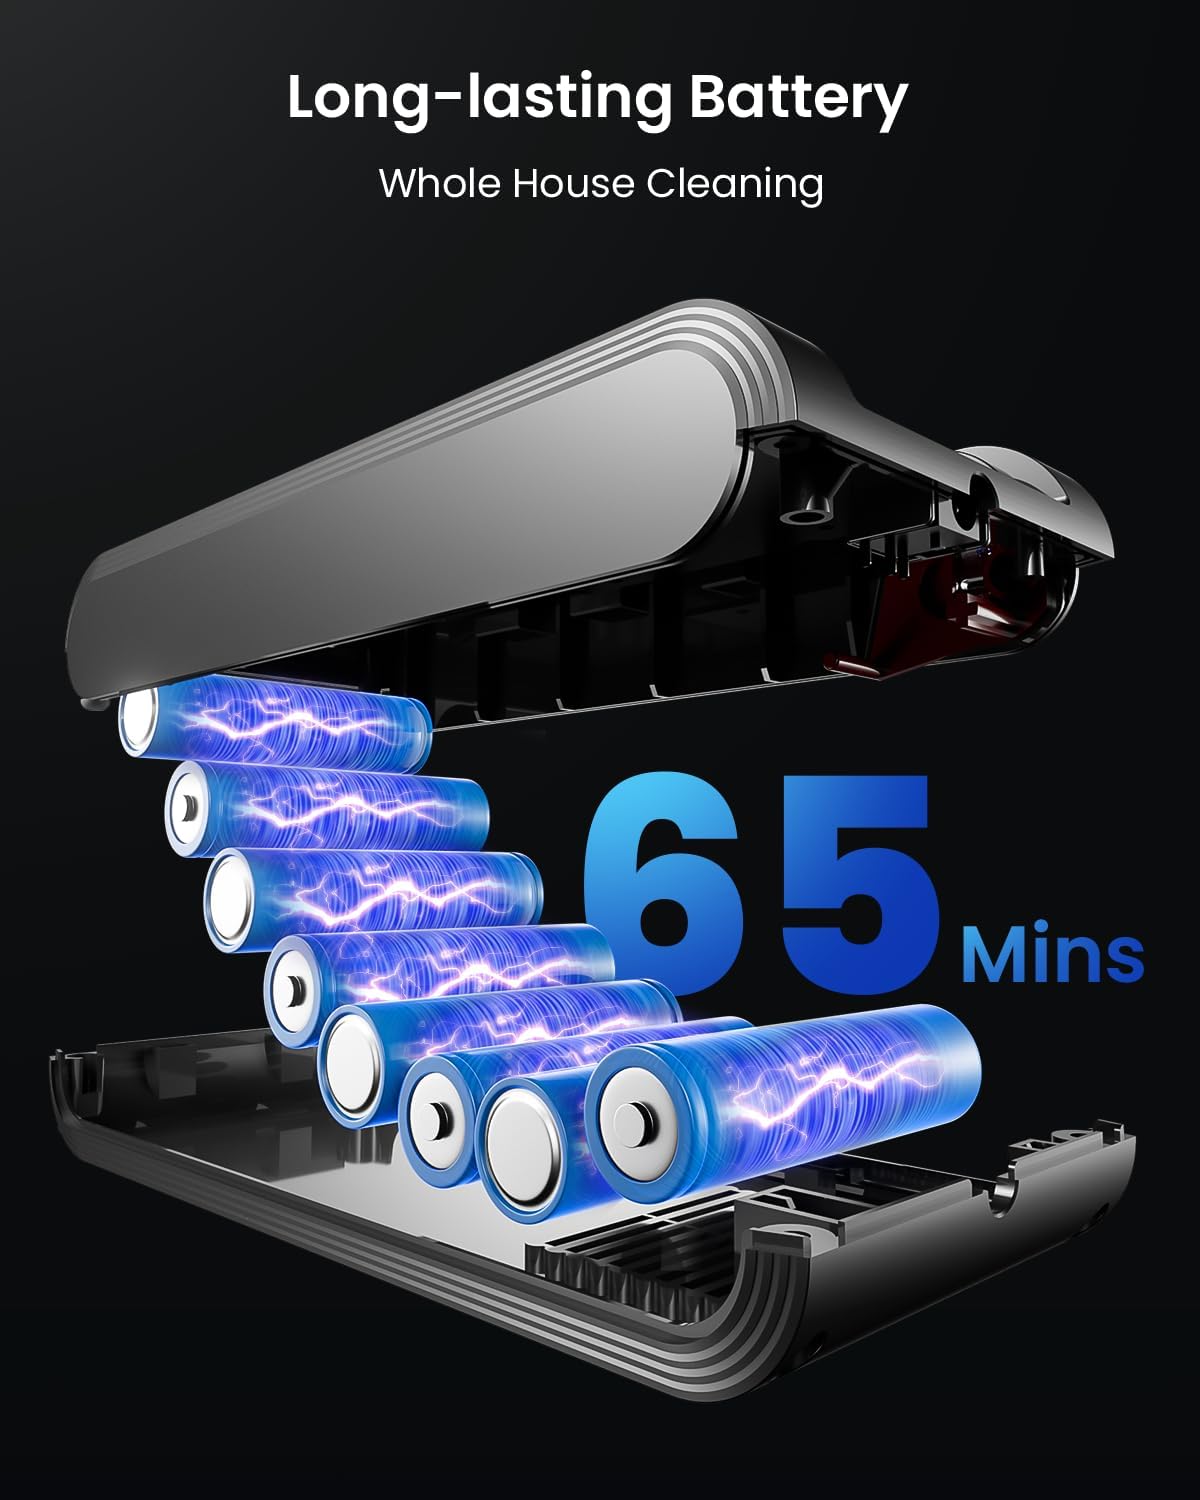
Image 5.1: The long-lasting battery provides up to 65 minutes of cleaning time.

Image 5.2: The vacuum can be conveniently stored and charged using the wall mount.
6. Operating Instructions
6.1 Power On/Off and Suction Modes
- Power On: Press the power switch on the touchscreen once to start the vacuum.
- Select Suction Mode: Touch any of the three suction icons on the touchscreen to switch between Eco, Medium, and Max modes.
- Power Off: Press the power switch again to turn off the vacuum.
6.2 Cleaning Performance
The Avalsor Cyber G9 features a 580W brushless motor providing up to 48KPa of suction, suitable for various cleaning tasks.

Image 6.1: The powerful 580W brushless motor delivers strong 48KPa suction for effective cleaning.

Image 6.2: The vacuum's strong suction effectively picks up various debris.
6.3 Using Attachments
The vacuum can be converted into a handheld unit by detaching the extension wand and attaching accessories directly to the main unit.
- 2-in-1 Brush: Ideal for cleaning upholstery, curtains, and delicate surfaces.
- Crevice Brush: Perfect for narrow gaps, corners, and car interiors.

Image 6.3: The vacuum's versatility allows for cleaning high areas, tight spaces, and upholstery.
6.4 Self-Standing Design
The upgraded floor brush lock allows the vacuum to stand upright on its own, providing convenience during cleaning breaks.

Image 6.4: The self-standing design allows for easy placement anywhere.
7. Maintenance
Regular maintenance ensures optimal performance and extends the lifespan of your vacuum cleaner.
7.1 Emptying the Dust Cup
The Cyber G9 features an upgraded dust scraping function for easy emptying.
- Position the dust cup over a trash bin.
- Press the dust cup cleaning button (indicated by arrows) to activate the scraper.
- Dust and hair around the stainless steel filter will be pushed into the bin.

Image 7.1: One-push emptying with dust scraping mechanism.

Image 7.2: The innovative dust scraping technology reduces power loss and simplifies cleaning.
7.2 Filter Cleaning
The multi-cone filter and HEPA system capture 99.99% of fine particles. Clean filters regularly to maintain suction power.
- Remove the dust cup from the main unit.
- Twist and pull out the filter assembly.
- Tap off loose dust or rinse the filters under cold water. Ensure they are completely dry before reassembling.

Image 7.3: The 8-layer precision filtration system captures fine particles and releases a pleasant aroma.

Image 7.4: The advanced filtration system ensures clean air output.
7.3 Brush Roll Cleaning
Periodically check the brush roll for tangled hair or debris. Use the small cleaning tool provided to cut and remove any obstructions.

Image 7.5: The V-shaped anti-tangle brush is designed to minimize hair wrapping.
8. Troubleshooting
| Problem | Possible Cause | Solution |
|---|---|---|
| Vacuum does not turn on | Battery is not charged or not installed correctly. | Ensure battery is fully charged and securely installed. |
| Low suction power | Dust cup is full, filters are clogged, or brush roll is obstructed. | Empty dust cup, clean filters, remove obstructions from brush roll. |
| Brush roll not spinning | Obstruction in brush roll or brush blocked indicator is on. | Turn off vacuum, remove obstruction. |
| Short battery life | Operating in Max mode, or battery not fully charged. | Charge battery fully. Use Eco or Medium mode for longer runtime. |
9. Specifications
- Model Name: Cyber G9
- Brand: Avalsor
- Motor Power: 580W Brushless Motor
- Suction Power: Up to 48KPa
- Battery Life: Up to 65 minutes (Eco mode)
- Dust Cup Capacity: 1.8 Liters
- Filtration System: 8-layer Precision Filtration with HEPA
- Special Features: Scented Tablet, Self-standing Design, Dust Cup Scraping Function, Touchscreen Control
- Product Dimensions: 10"L x 6"W x 48"H
- Item Weight: 8.8 pounds
- Indoor/Outdoor Usage: Indoor

Image 9.1: The high-efficiency 580W brushless motor provides powerful and consistent suction.
10. Warranty and Support
Avalsor is committed to providing high-quality products and customer satisfaction.
- Returns: Enjoy 30-Days Worry-Free Returns.
- Technical Support: Lifetime Technical Support is available for your product.
- Customer Service: 24-Hours Online Service is provided for any inquiries or assistance.
For support, please refer to the contact information provided with your purchase or visit the official Avalsor website.

Image 10.1: Avalsor customer support and warranty commitments.