
1. Introduction
This manual provides detailed instructions for the assembly, installation, and maintenance of your MUPATER 5FT×6.5FT No-Dig Wood Privacy Screen. Please read all instructions carefully before beginning assembly to ensure safe and correct usage.
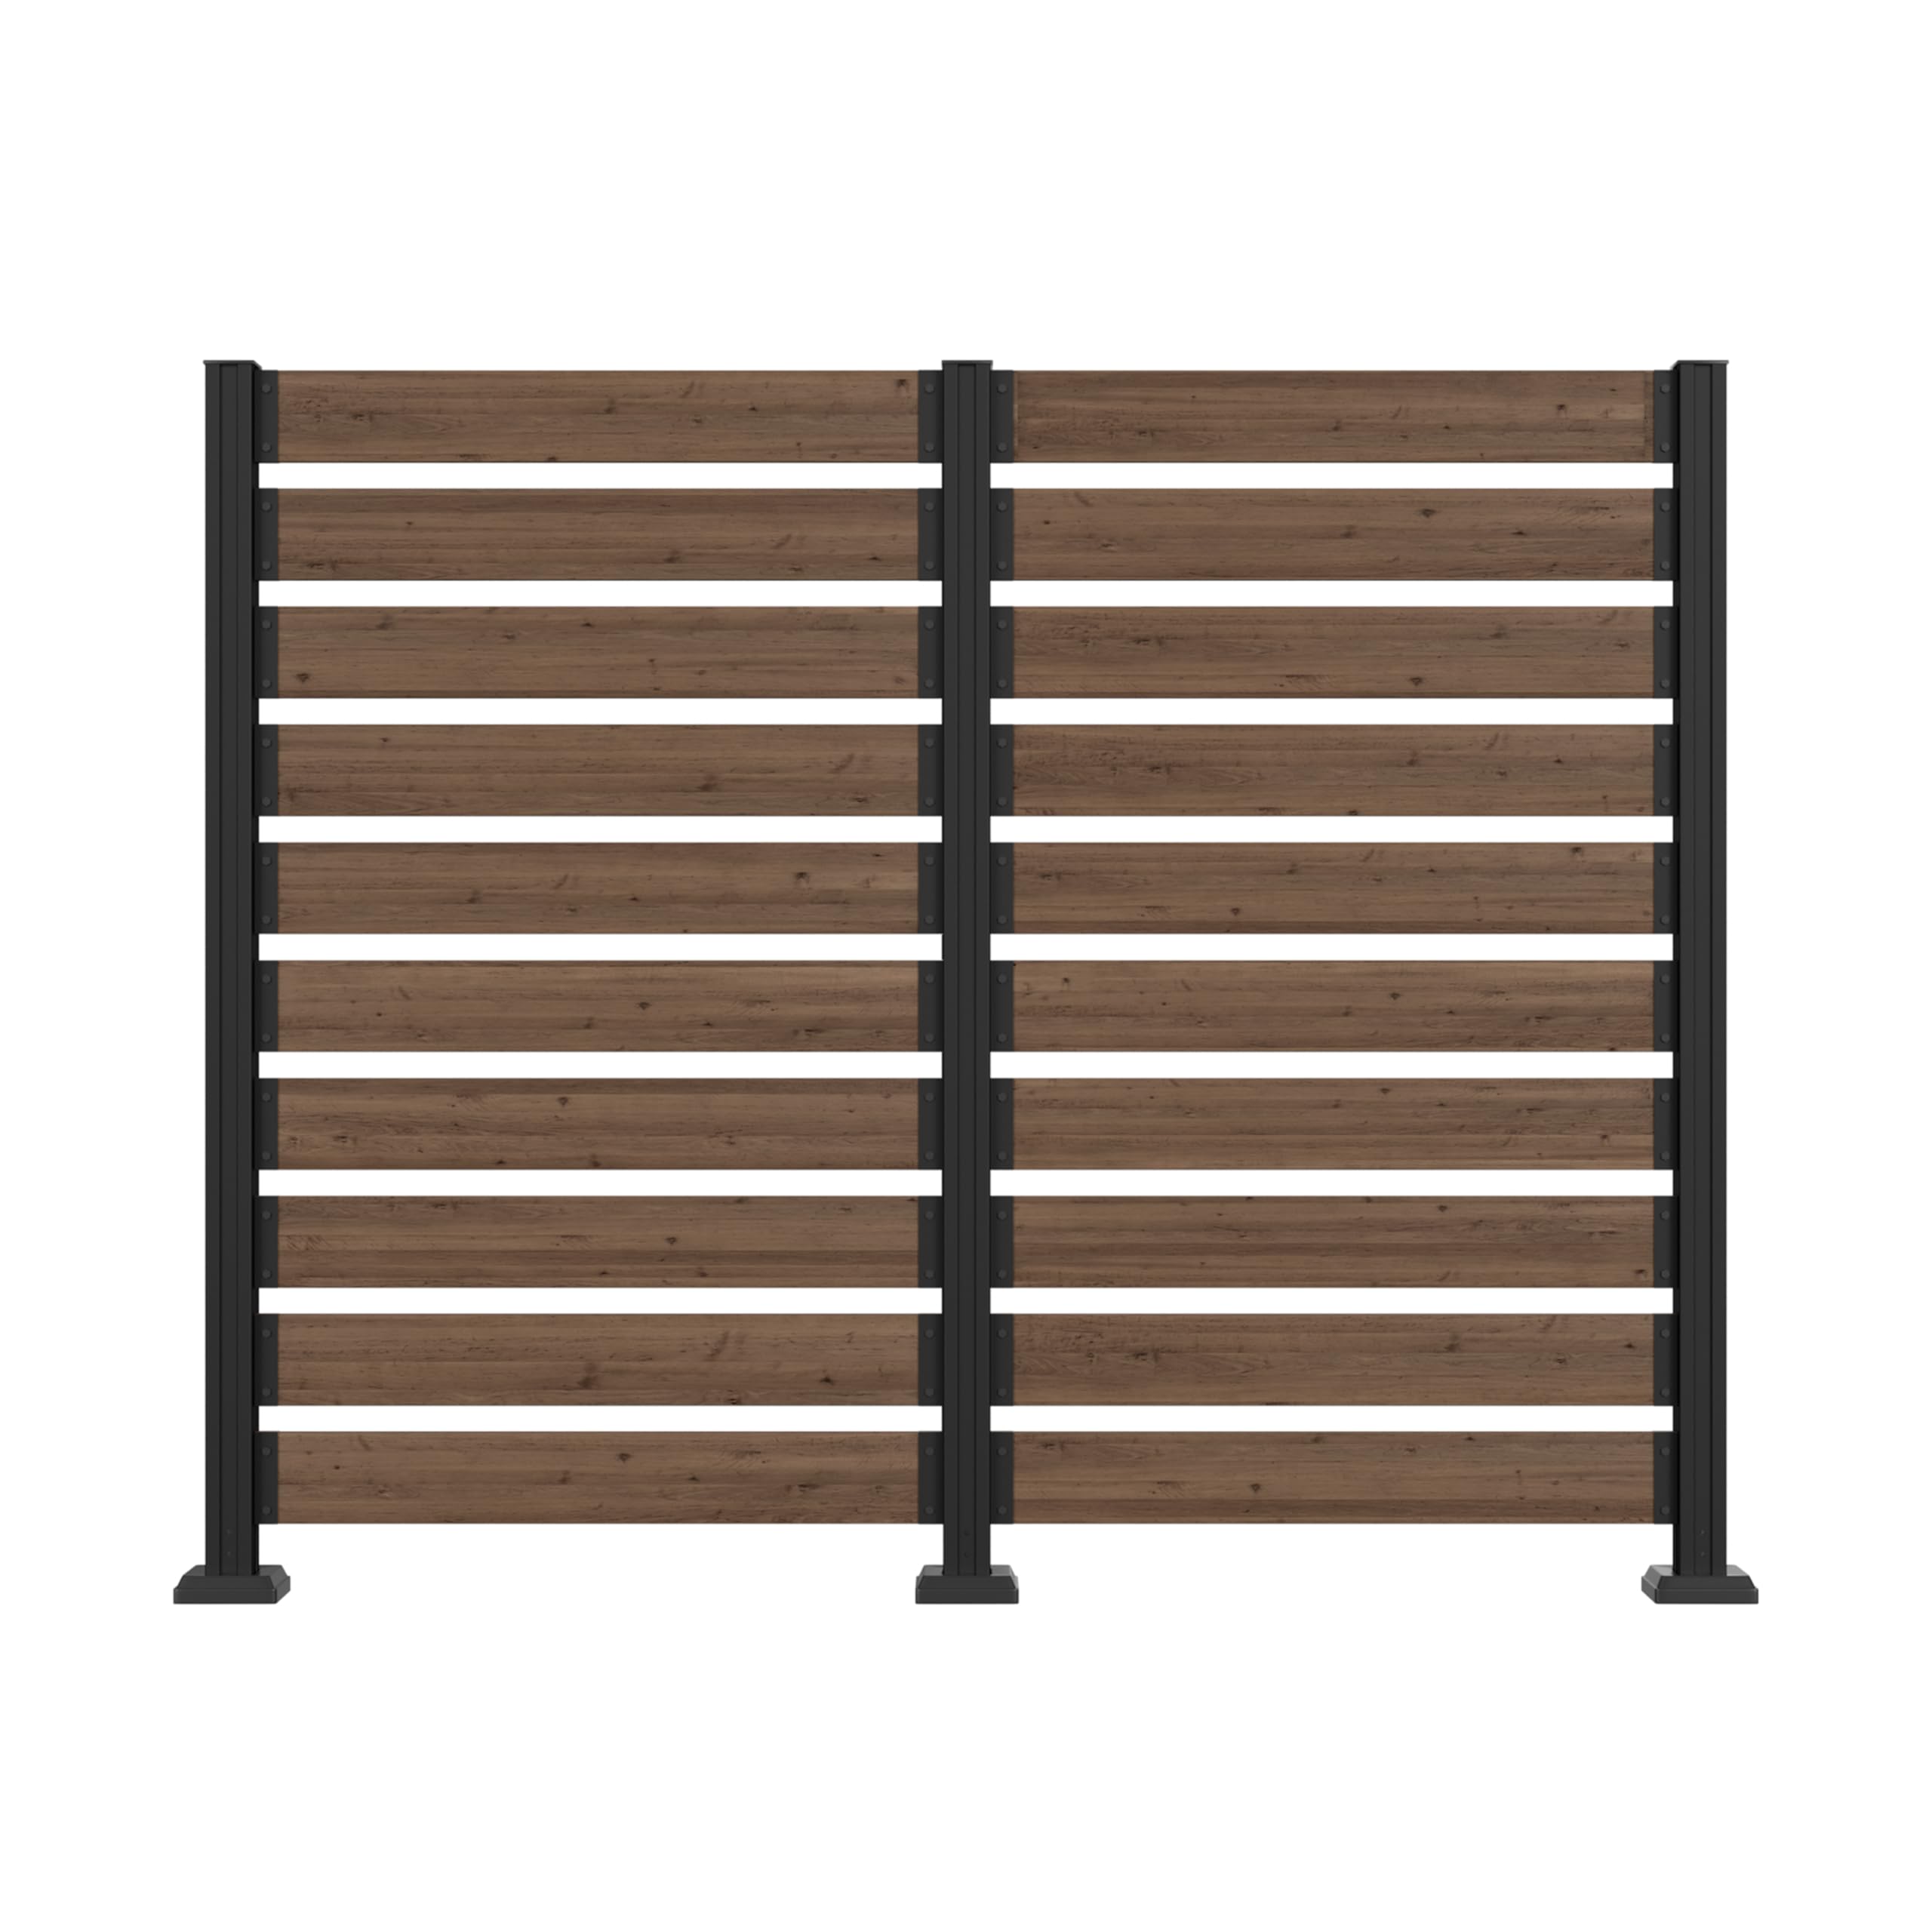
Image 1.1: MUPATER 5FT×6.5FT No-Dig Wood Privacy Screen, Brown (2 Panels) in an outdoor setting.
2. Safety Information
- Always wear appropriate safety gear, such as gloves and eye protection, during assembly and installation.
- Ensure all components are securely fastened before use. Loose parts can cause instability.
- Do not attempt to assemble or move the screen in high winds or adverse weather conditions.
- Keep small parts away from children to prevent choking hazards.
- If installing on hard surfaces, ensure the surface is level and stable. If installing in soil, ensure the ground is firm enough to support the screen.
3. Package Contents
Verify that all parts are present before beginning assembly. If any parts are missing or damaged, contact MUPATER customer support.
- Wood Slats (Premium Natural Wood)
- Aluminum Posts (Sturdy, Rust-Free)
- Metal Stakes (Upgraded, 9.06 inches)
- Mounting Hardware (Screws, Bolts, etc.)
- Base Plates (for hard surface installation)
- Safety Caps
4. Assembly Instructions
The MUPATER privacy screen is designed for easy assembly. Follow these steps carefully.
4.1. Prepare Components
- Unpack all components and lay them out on a clean, flat surface.
- Identify the wood slats, aluminum posts, and hardware.
4.2. Attach Wood Slats to Posts
- Align the wood slats into the channels of the aluminum posts. The posts feature 4-sided open channels for versatile slat placement.
- Secure each slat to the posts using the provided screws. Ensure the slats are evenly spaced (1.18 inches gap) and level.
- Repeat for all slats and posts until the panel is fully assembled.

Image 4.1: Detail of how slats attach to posts, illustrating options for L-shape or straight line configurations.
4.3. Install Safety Caps
- Place the safety caps on top of the aluminum posts.
- Press firmly until they are securely in place.
5. Installation
The MUPATER privacy screen offers dual setup modes for hard surfaces and soil.
5.1. Hard Surface Installation (Using Base Plates)
- Position the assembled screen in the desired location on a level hard surface (e.g., patio, deck).
- Attach the base plates to the bottom of the aluminum posts using the provided hardware.
- Mark the drilling points on the hard surface through the holes in the base plates.
- Drill pilot holes into the hard surface using an appropriate drill bit (hammer drill may be required for concrete).
- Secure the base plates to the surface using the provided bolts.
5.2. Soil Installation (Using Metal Stakes)
- Position the assembled screen in the desired location in the soil.
- Attach the upgraded metal stakes (9.06 inches) to the bottom of the aluminum posts.
- Carefully insert the metal stakes into the soil. Ensure the screen is level and stable.
- For extra stability, especially in windy conditions, ensure the stakes are fully embedded and the soil is compacted around them.

Image 5.1: Visual representation of both fixing methods: bolting to a hard surface and inserting stakes into soil.
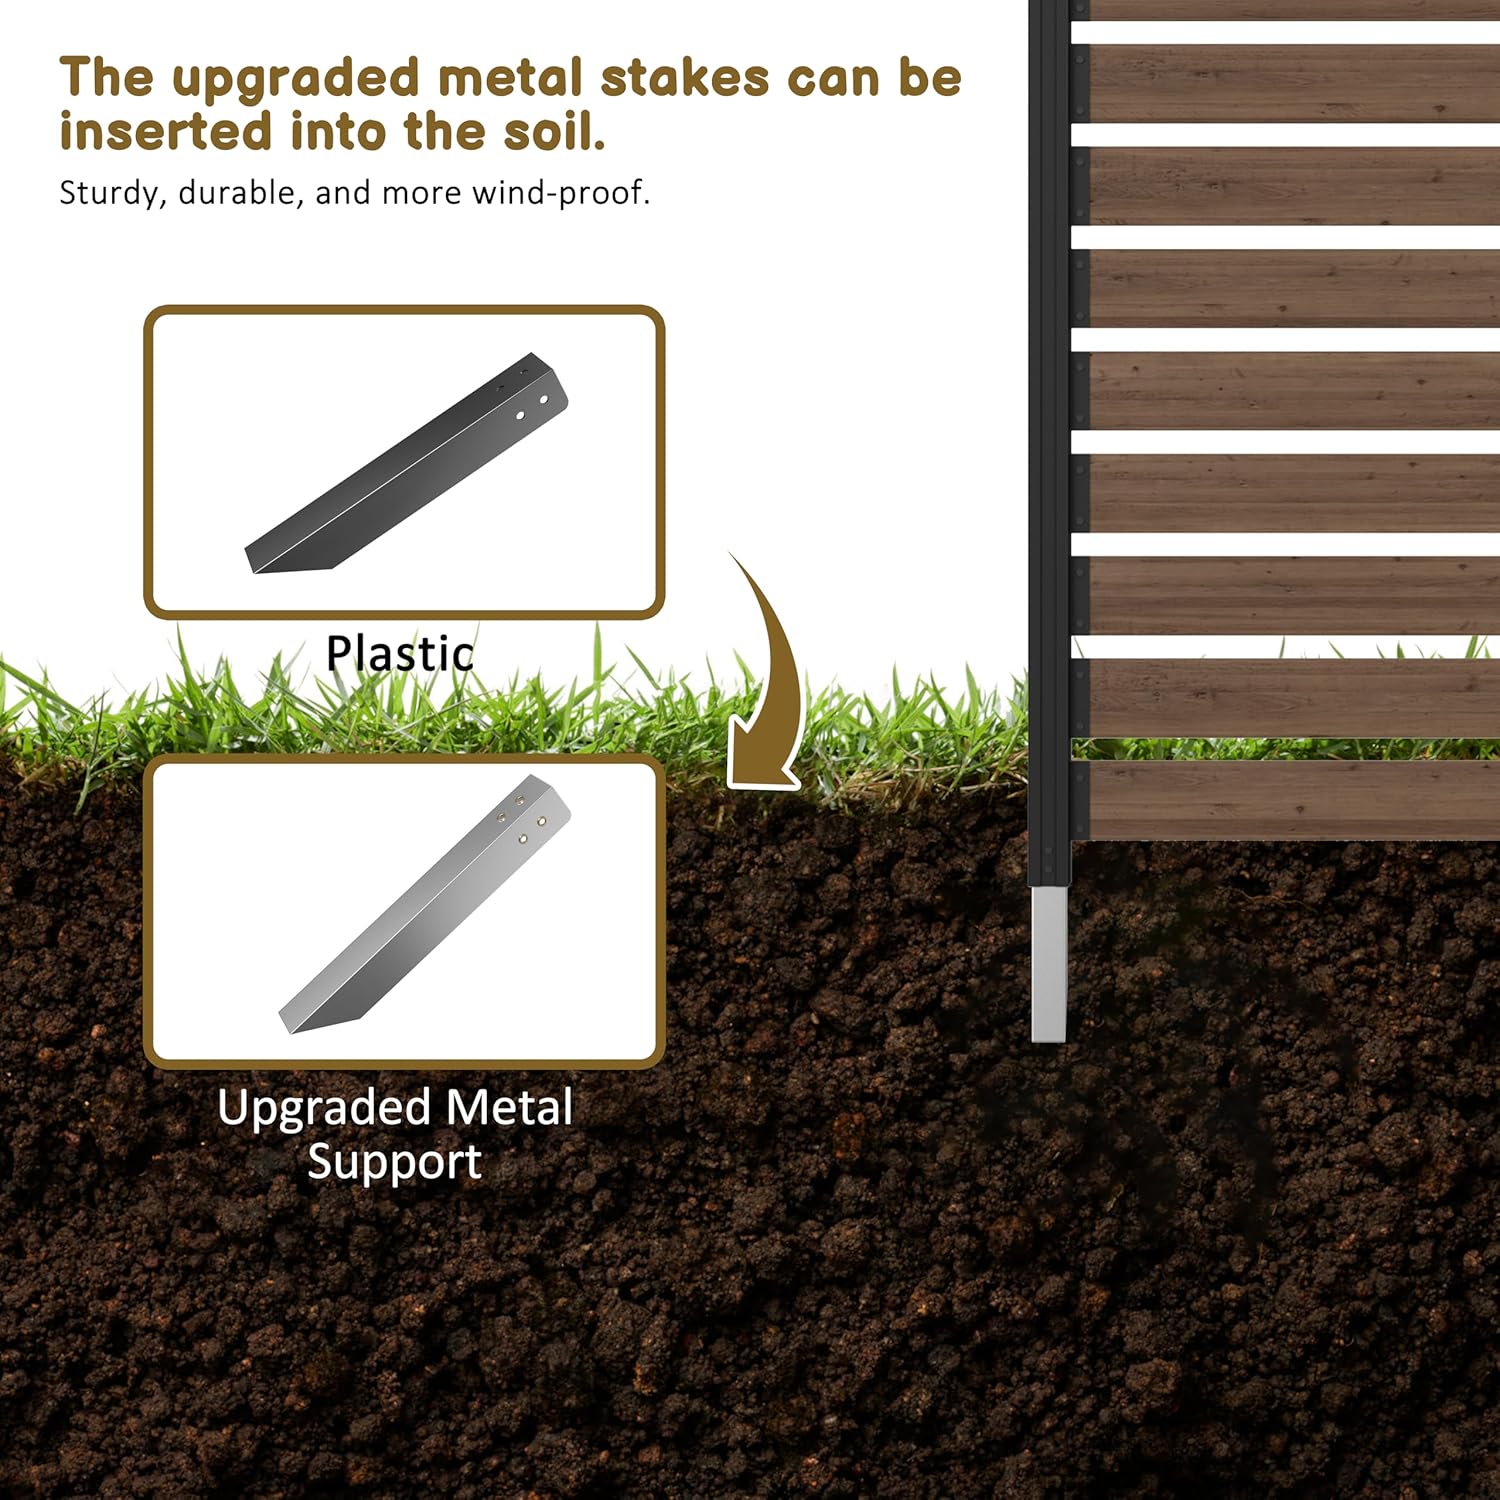
Image 5.2: Comparison highlighting the upgraded metal stakes for improved stability in soil.
6. Operating and Usage
The MUPATER privacy screen is designed for versatile outdoor use.
- Privacy Screen: Use to create privacy around patios, decks, or gardens.
- Air Conditioner Enclosure: Conceal unsightly AC units while allowing for efficient airflow.
- Trash Can Enclosure: Hide trash cans from view.
- Pool Equipment Cover: Screen off pool pumps and other equipment.
- Decorative Fence Panel: Enhance the aesthetic appeal of your outdoor space.
You can arrange and combine multiple panels to create various configurations, such as L-shapes or straight lines, to suit your specific needs.

Image 6.1: Examples of the privacy screen used as an air conditioner enclosure, garden fence, pool privacy screen, and trash can enclosure.
7. Maintenance
Proper maintenance will extend the life and appearance of your privacy screen.
- Cleaning: Wipe down wood slats and aluminum posts with a damp cloth to remove dirt and debris. Avoid harsh chemicals that may damage the finish.
- Wood Care: As the screen is made of natural wood, it may benefit from periodic sealing or staining to protect it from weathering and maintain its appearance. Follow manufacturer recommendations for wood treatment products.
- Hardware Check: Periodically inspect all screws and bolts to ensure they remain tight. Tighten any loose fasteners.
- Stability Check: Regularly check the stability of the screen, especially after strong winds or heavy rain. Re-secure stakes or bolts if necessary.
8. Troubleshooting
If you encounter issues with your privacy screen, refer to these common solutions.
- Screen is Wobbly:
- Ensure all assembly screws are tightened.
- If installed in soil, check that stakes are fully embedded and the ground is compacted. Consider adding more support if the soil is very loose.
- If installed on a hard surface, verify that the base plates are securely bolted to the ground.
- Wood Slats Appear Uneven:
- During assembly, ensure slats are properly seated in the post channels before tightening screws.
- Natural wood may have slight variations; this is part of its unique character.
- Difficulty with Installation:
- Review the installation section (Section 5) to ensure all steps are followed correctly.
- For hard surface drilling, use appropriate tools and techniques for the material (e.g., hammer drill for concrete).
9. Specifications
| Product Dimensions (Assembled) | 60 inches (H) x 78 inches (W) |
| Wood Slat Dimensions | 4.72 inches (W) x 35.43 inches (L) |
| Gap Between Slats | 1.18 inches |
| Metal Stake Length | 9.06 inches |
| Material | Premium Natural Wood, Aluminum Posts, Metal Stakes |
| Color | Brown |
| Assembly Required | Yes |

Image 9.1: Dimensional drawing of the MUPATER privacy screen with base plates.

Image 9.2: Dimensional drawing of the MUPATER privacy screen with metal stakes.
10. Warranty and Support
For warranty information or technical support, please refer to the MUPATER official website or contact customer service directly. Keep your purchase receipt for any warranty claims.
Contact Information: Please visit the MUPATER Store on Amazon for further assistance or to find contact details.