
1. Introduction
This manual provides essential instructions for the safe and efficient operation, maintenance, and troubleshooting of your FSKEKU Commercial Slushie Machine, Model KKX15L-1. Please read this manual thoroughly before initial use and retain it for future reference.
The FSKEKU Commercial Slushie Machine features a single 15-liter tank, designed for producing frozen beverages such as slushies, frozen cocktails, and fruit smoothies. Its compact design is suitable for various settings including small businesses, cafes, and home use. The machine is constructed from high-grade stainless steel for durability and hygiene, and incorporates a 450W motor for rapid freezing and consistent texture.
2. What's in the Box
Upon unpacking, please ensure all components are present and in good condition:
- Slushie Machine
- Water Filter System
- Wrench
- Mounting Plate Kit
- User Manual (this document)
- O-rings for pistons (x4)
- Food-grade vaseline (x1)
- Sealing ring for the material cylinder (x1)
- Sealing ring for the auger (x1)
- Warranty card (x1)
- Certificate of conformity (x1)

Image: All accessories included with the FSKEKU Commercial Slushie Machine.
3. Product Features
- Compact 15L Capacity: Features a single 15-liter tank, suitable for smaller businesses, cafes, or home use.
- Rapid Freezing & Consistent Quality: Equipped with a 20W brushless motor (450W total) and advanced technology for efficient slush production with consistent texture.
- Durable & Easy-to-Clean Stainless Steel: Constructed from high-grade stainless steel for durability, hygiene, and ease of maintenance.
- Versatile Frozen Treat Options: Capable of creating various frozen beverages, including slushies, frozen cocktails, and fruit smoothies.
- User-Friendly Controls: Easy-to-use controls and a digital display simplify operation.
Construction Details

Image: Components highlighting the PC cylinder, black titanium stainless steel, and ABS material.
Control Panel Overview

Image: Detailed view of the control panel, showing temperature display, mode selection, and cleaning functions.
Efficiency and Design
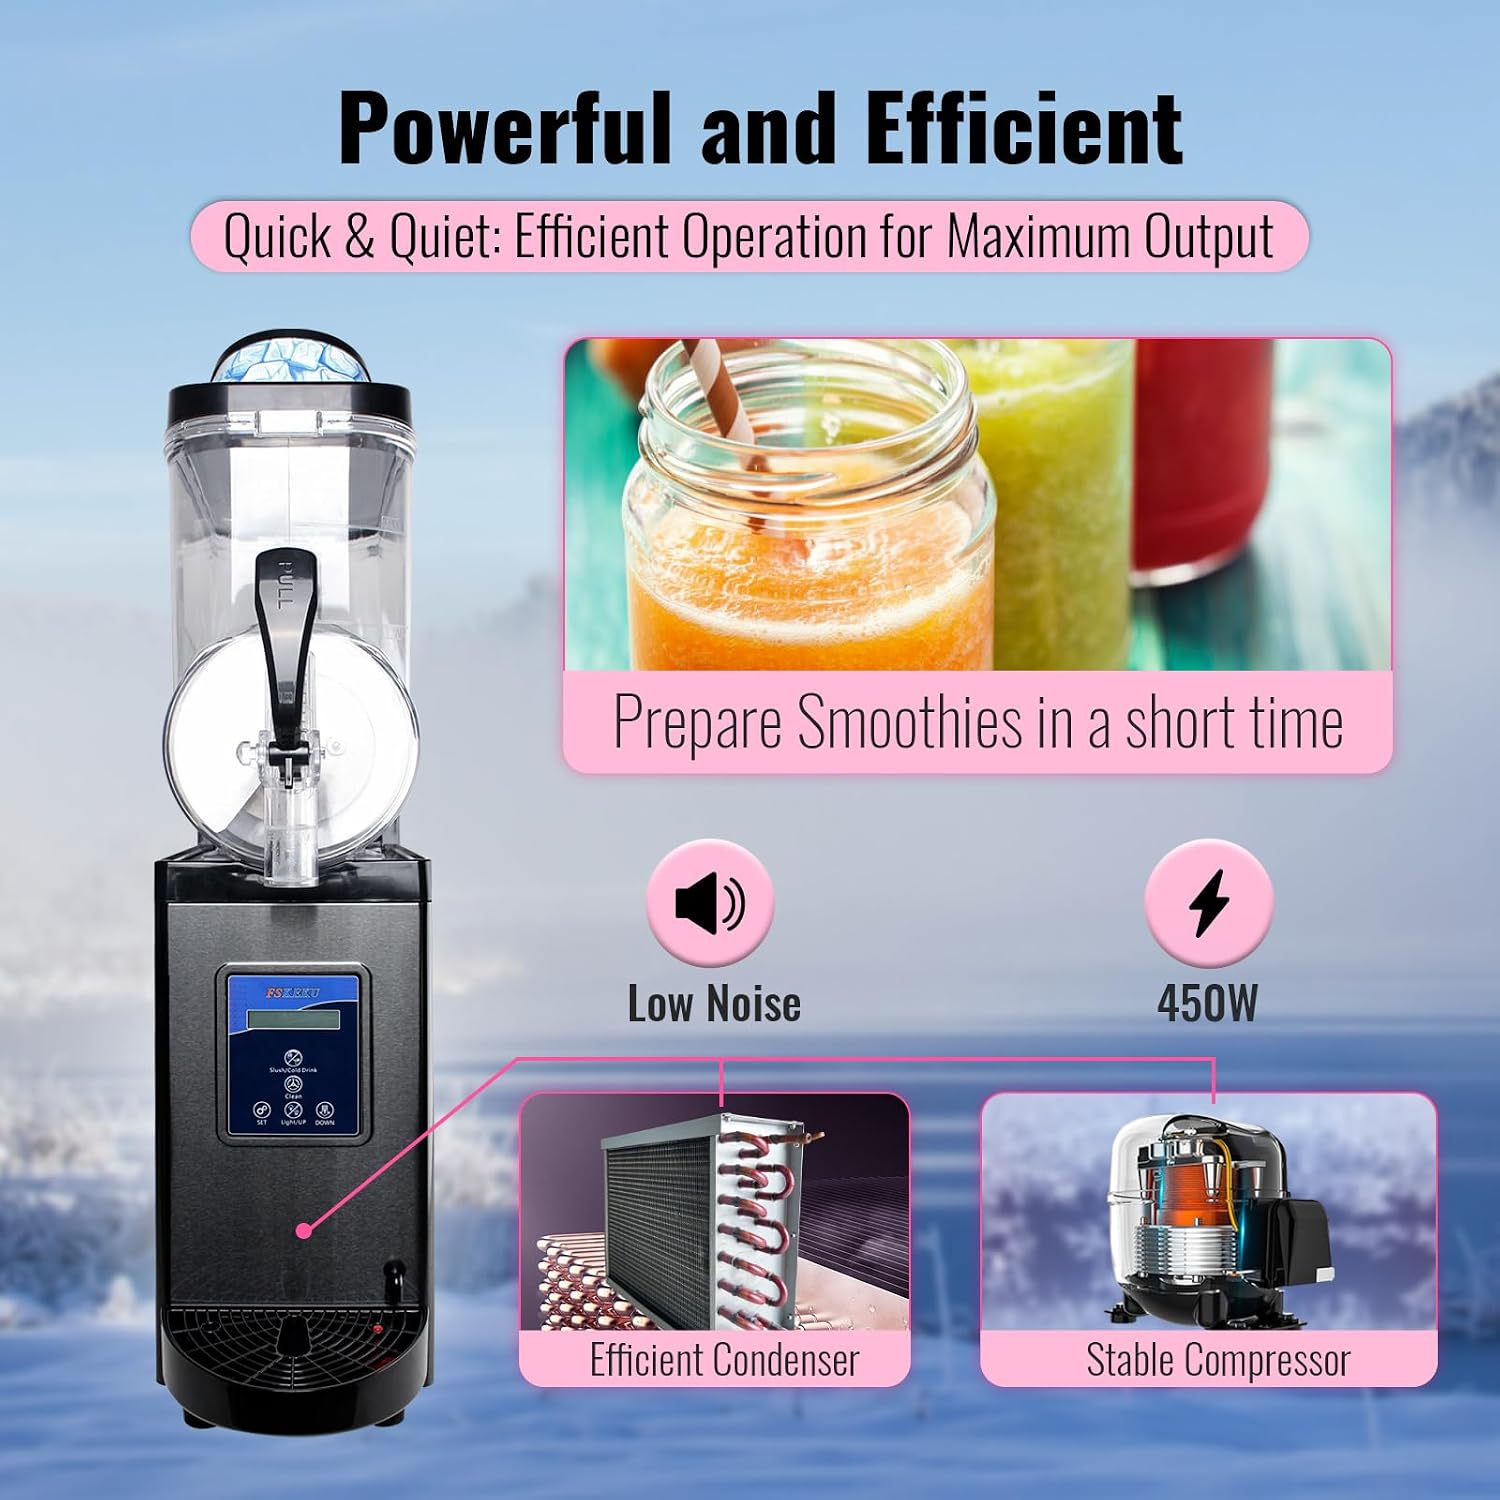
Image: Visual representation of the machine's efficient condenser and stable compressor, contributing to low noise and 450W power.

Image: Key design features including built-in lighting, air vents, detachable water box, and stable feet.
4. Setup Instructions
Follow these steps to assemble and prepare your slushie machine for first use:
- Install the main sealing ring securely onto the metal cylinder to ensure a leak-proof seal.
- Slide the spiral mixing auger onto the cylinder until it connects with the motor.
- Slide the clear bowl over the auger and lock it onto the slushie machine base.
- Attach the dispenser handle assembly to the front of the bowl, ensuring the side clips are firmly in place.
- Slide the drip tray into the front of the base.
- Pour your slushy mix into the tank, ensuring the liquid level is between the MIN and MAX lines. Secure the lid.
- Plug in the machine and power it on. Select either 'Slush' or 'Cold Drink' mode to begin operation.
Setup Video Guide
Video: A quick guide on the easy setup of your slushy machine, demonstrating assembly and initial preparation.
5. Operating Instructions
Once assembled and filled, your FSKEKU slushie machine is ready for operation. Ensure your mixture has a sugar content above 8.3% for optimal freezing. For cocktail slush, the alcohol content should be 13% Vol. Stir thoroughly before adding to the tank.
Making Slushies
After filling the tank with your desired mix, select the 'Slush' mode on the control panel. The machine will begin the freezing process, typically taking 30-40 minutes to reach the desired consistency. Once ready, dispense by pulling the handle.
Video: Demonstrates the process of adding drink mix, freezing, and dispensing slush from the machine.
Customizing Flavors
To create custom-flavored slushies, you can add syrups or fresh fruit directly into your serving glass before dispensing the plain slush base. This allows for a wide variety of personalized frozen drinks.
Video: A guide to making delicious, custom-flavored slushies by adding syrups to the cup before dispensing.
6. Maintenance and Cleaning
Regular cleaning is crucial for maintaining hygiene and extending the lifespan of your slushie machine. The stainless steel construction is designed for easy cleaning.
Daily Cleaning Procedure
- Empty any remaining product from the tank.
- Add clean water to the tank.
- Press the "Clean" button on the control panel to initiate an automatic cleaning cycle. This can be repeated up to three times.
- Release the water from the dispenser after the cleaning cycle is complete.
- For thorough cleaning, disassemble the tank, auger, and dispenser handle. Wash all removable parts with warm, soapy water, rinse thoroughly, and allow to air dry completely before reassembly.

Image: Visual steps for the automatic cleaning function of the slushie machine.
7. Troubleshooting
If you encounter any issues with your FSKEKU Commercial Slushie Machine, please refer to the following common troubleshooting tips:
- Machine not turning on: Ensure the power cord is securely plugged into a functional outlet and the power switch is in the 'ON' position. Check the circuit breaker.
- Product not freezing: Verify that the 'Slush' mode is selected. Ensure the sugar content of your mix is above 8.3%. Low sugar content can prevent proper freezing. Check that the ambient temperature is within the recommended operating range.
- Leaking from the dispenser: Check that the dispenser handle assembly is correctly installed and the sealing rings are properly seated and not damaged. Replace worn O-rings if necessary.
- Unusual noise: Turn off the machine immediately. Check for any obstructions in the auger or motor area. If the noise persists, contact customer support.
- Error codes on display: Refer to the specific error code in the detailed user manual (if provided separately) or contact customer support for assistance.
For persistent issues, please contact FSKEKU customer support.
8. Specifications
Detailed technical specifications for the FSKEKU Commercial Slushie Machine, Model KKX15L-1:
| Specification | Value |
|---|---|
| Model Number | KKX15L-1 |
| Product Dimensions | 7.9 x 21.2 x 33 inches |
| Item Weight | 59.5 pounds |
| Power | 450W |
| Capacity | 15L |
| Noise Level | <65 dB |
| Control Panel | Intelligent LCD |
| Motor | Electric Brushless Motor |
| Cooling Method | Air Cooling |
| Voltage | 115V/60Hz |
| Material | Stainless Steel |
| Refrigerant | R290/80g |

Image: Product specifications and dimensions for the KKX15L-1 model.
9. Warranty and Support
Your FSKEKU Commercial Slushie Machine comes with a warranty. Please refer to the included warranty card for specific terms and conditions.
Customer Support
For any questions, technical assistance, or warranty claims, please contact FSKEKU customer support. We offer:
- 24/7 Multilingual Support
- 48-hour Global Repair Service
You can typically find contact information on the warranty card or through the retailer where you purchased the product. FSKEKU also offers a 30-day easy return policy.