
1. Important Safety Information
Please read and understand all safety warnings and instructions before operating this water transfer pump. Failure to follow these instructions may result in electric shock, fire, serious injury, or property damage. Keep this manual for future reference.
- Electrical Safety: Always connect the pump to a properly grounded 110-volt AC outlet. Do not use with ungrounded outlets or modify the plug. Avoid using extension cords if possible; if necessary, use a heavy-duty outdoor-rated cord. Keep all electrical connections dry and away from water.
- Liquid Compatibility: This pump is designed for water only. Do not use to pump flammable liquids (e.g., gasoline, oil, kerosene), corrosive chemicals, or liquids containing abrasive particles. Pumping flammable liquids can cause explosion or fire.
- Operating Environment: Do not operate the pump in explosive atmospheres, such as in the presence of flammable liquids, gases, or dust. Ensure the pump is placed on a stable, level surface.
- Prevent Dry Running: Never operate the pump without water. Dry running can cause severe damage to the pump seals and motor, leading to premature failure.
- Personal Safety: Wear appropriate personal protective equipment, such as safety glasses, when operating the pump. Keep hands, feet, and clothing away from moving parts. Keep children and pets away from the operating area.
- Maintenance: Disconnect power before performing any maintenance, cleaning, or servicing.
- Temperature Limits: Do not pump water hotter than 120°F (49°C).
2. Product Overview
The Generic 3/4HP Super-Max Model 58033 is a powerful and efficient non-submersible water transfer pump designed for moving large volumes of water. Its robust cast iron construction ensures durability, while its self-priming capability simplifies operation. Ideal for various applications including flooded basements, pools, water heaters, and irrigation.
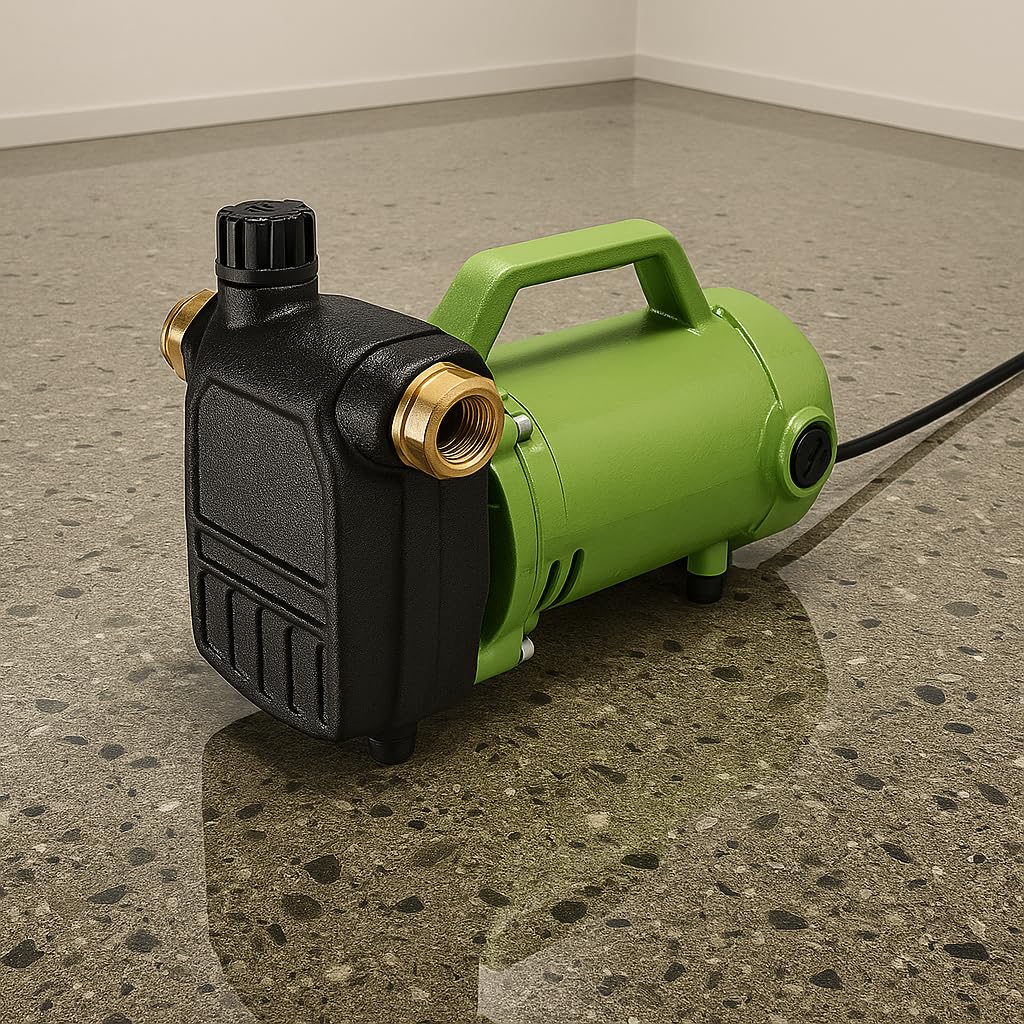
Image 1: The Generic 3/4HP Super-Max Model 58033 water transfer pump, highlighting its 3/4 HP non-submersible design, priming port, brass hose adapter fittings, rugged cast iron construction, waterproof ON/OFF switch, and ability to move up to 2,700 GPH.
Key Features:
- High-Capacity Pumping: Delivers up to 2,700 gallons per hour (GPH) for rapid water removal.
- Durable Construction: Heavy-duty cast iron design ensures long life and reliable performance.
- Easy Self-Priming Startup: Automatic priming eliminates manual effort, allowing quick operation.
- Versatile Utility Use: Suitable for pool winterizing, irrigation, water heater draining, RV, and farm water transfer.
- Waterproof ON/OFF Switch: Provides safe and convenient control.
3. Setup
3.1 Unpacking and Inspection
- Carefully remove the pump and all accessories from the packaging.
- Inspect the pump for any signs of damage that may have occurred during shipping. If damage is found, do not operate the pump and contact customer support.
- Ensure all components listed in the packaging are present.
3.2 Connecting Hoses
- Intake Hose (Suction Side): Connect a garden hose or suitable intake hose to the pump's inlet port (typically marked 'IN' or with an arrow pointing towards the pump). Ensure a tight, leak-free connection using the provided brass hose adapter fittings. The intake hose should be as short and straight as possible to maximize efficiency.
- Discharge Hose: Connect a garden hose or suitable discharge hose to the pump's outlet port (typically marked 'OUT' or with an arrow pointing away from the pump). Direct the discharge hose to the desired drainage area. Ensure this connection is also tight and leak-free.
- Position the pump on a stable, level surface above the water source. Ensure the pump is not submerged.
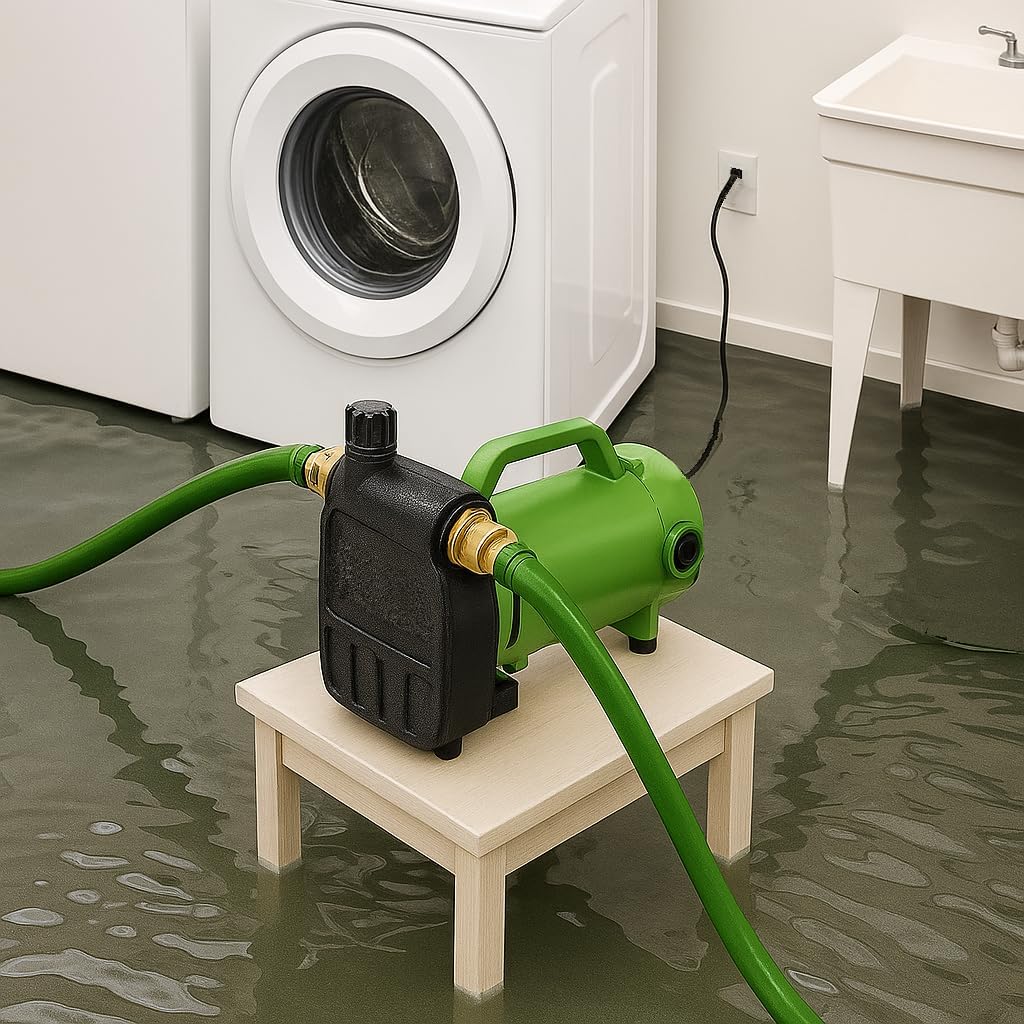
Image 2: The water transfer pump positioned on a stool in a flooded basement, with intake and discharge hoses connected and ready for operation.
3.3 Priming the Pump
This pump is self-priming, but for optimal performance and to prevent dry running, it is recommended to manually prime the pump before the first use or if it has been stored dry.
- Locate the priming port on top of the pump (usually a cap or plug).
- Unscrew and remove the priming port cap.
- Carefully fill the pump casing with clean water until it overflows from the priming port.
- Replace and securely tighten the priming port cap.
4. Operation
4.1 Starting the Pump
- Ensure the pump is properly set up, hoses are connected, and the pump is primed (if necessary).
- Place the intake end of the suction hose into the water source, ensuring it is fully submerged and clear of debris.
- Plug the pump's power cord into a grounded 110-volt AC electrical outlet.
- Flip the waterproof ON/OFF switch to the 'ON' position. The pump should start immediately, and water should begin flowing from the discharge hose.
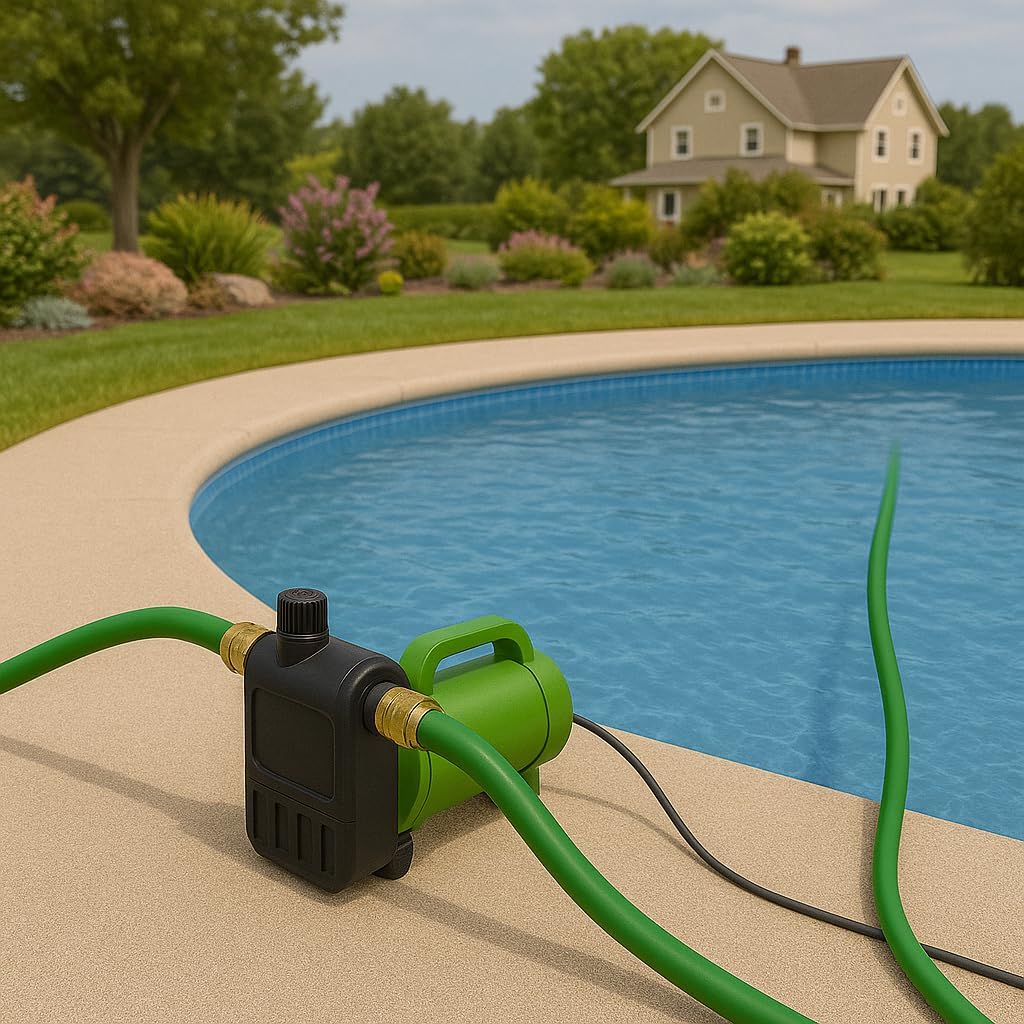
Image 3: The water transfer pump actively draining water from a swimming pool, demonstrating its use for pool maintenance.
4.2 Monitoring Operation
- Regularly check the water flow from the discharge hose to ensure consistent operation.
- Monitor the water level at the intake to prevent the pump from running dry.
- Listen for any unusual noises or vibrations, which may indicate a problem.

Image 4: The water transfer pump connected to a water heater, illustrating its application for draining water heaters.
4.3 Shutting Down
- When the water transfer is complete or the water level is low, flip the ON/OFF switch to the 'OFF' position.
- Unplug the pump from the electrical outlet.
- Disconnect the hoses and prepare the pump for cleaning and storage.
5. Maintenance
5.1 Cleaning
- After each use, especially when pumping dirty water, flush the pump with clean water. Connect a clean water source to the intake and run the pump briefly to clear any debris.
- Clean any debris from the intake screen or impeller area. Ensure the pump is unplugged before attempting to clean these areas.
- Wipe down the exterior of the pump with a damp cloth. Do not use harsh chemicals or solvents.
5.2 Storage
- Drain all water from the pump and hoses to prevent freezing damage in cold climates.
- Store the pump in a dry, frost-free location.
- Protect the power cord from damage during storage.
6. Troubleshooting
| Problem | Possible Cause | Solution |
|---|---|---|
| Pump does not start |
|
|
| Pump runs but no water flows |
|
|
| Low water flow or pressure |
|
|
| Pump is excessively noisy |
|
|
7. Specifications
| Specification | Value |
|---|---|
| Brand | Generic |
| Model Number | 58033 |
| Horsepower | 0.75 hp (3/4 HP) |
| Maximum Flow Rate | 2700 GPH (Gallons Per Hour) |
| Voltage | 110 volts |
| Power Source | Corded Electric |
| Material | Cast Iron |
| Item Weight | 14.6 pounds |
| Style | Above Ground (Non-Submersible) |
| Specific Uses | Flooded basements, hot tubs, pools, water heaters, irrigation, pool winterizing, RV or farm water transfer, emergency situations |
8. Warranty and Support
For warranty information, technical support, or to inquire about replacement parts, please contact the manufacturer or your point of purchase. Keep your purchase receipt and model number (58033) readily available when contacting support.


