1. Introduction
This manual provides instructions for the operation and maintenance of your Zealtron Dual Lens Endoscope Camera. This device is designed for visual inspection in hard-to-reach areas, featuring a 5.0-inch IPS screen, 1080P HD resolution, and a 7.9mm IP67 waterproof dual lens probe with a 16.5ft semi-rigid cable.

Image 1.1: The Zealtron Dual Lens Endoscope Camera, showing the handheld display unit and the coiled probe cable.
2. Package Contents
Verify that all items are present in the package:
- Endoscope Display Unit
- Dual Lens Probe Cable (16.5ft / 5m)
- USB Charging Cable
- User Manual
- Accessories: Hook, Magnet
- MicroSD Card (pre-installed or included separately, up to 32GB support)
3. Setup
3.1 Charging the Device
Before first use, fully charge the endoscope's built-in rechargeable battery. Connect the provided USB charging cable to the device's USB port and to a standard USB power adapter (not included). The charging indicator will show the charging status. A full charge provides over 4 hours of continuous operation.
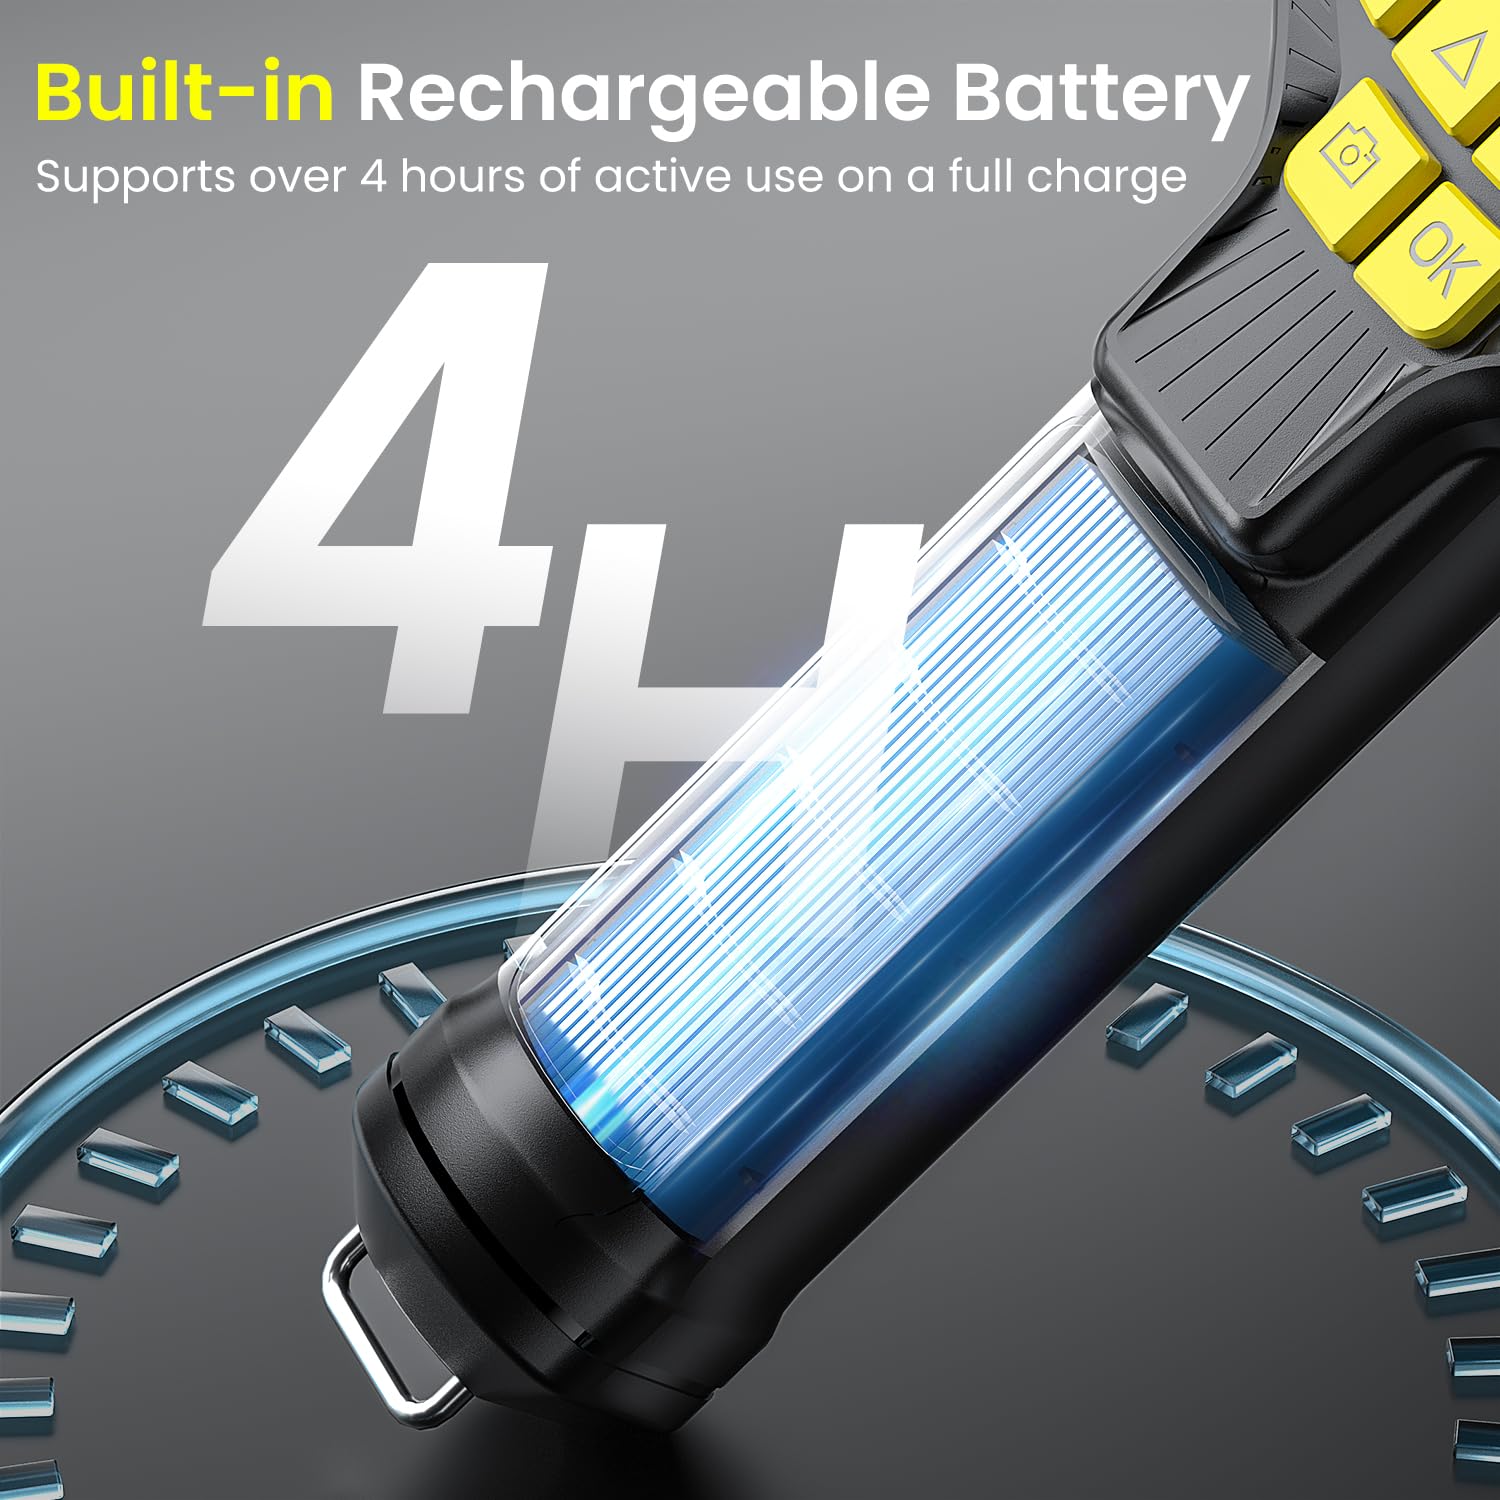
Image 3.1: The endoscope features a built-in rechargeable battery, providing extended operational time.
3.2 Inserting the MicroSD Card
Locate the MicroSD card slot on the side of the display unit. Insert the MicroSD card (up to 32GB) into the slot until it clicks into place. This card is necessary for saving photos and videos.

Image 3.2: The device supports MicroSD cards for storing captured media.
3.3 Attaching the Probe Cable
Connect the USB end of the probe cable to the USB port on the display unit. Ensure a secure connection. The design allows for hot-swapping or replacing components if needed.

Image 3.3: The probe cable connects to the main unit via a USB interface.
4. Operating Instructions
4.1 Powering On/Off
Press and hold the power button (usually marked with a power symbol) to turn the device on or off. The device will display the Zealtron logo upon startup.
4.2 Screen Features
The endoscope features a 5-inch IPS display with 1920x1080P HD resolution. This screen provides a wide 170° viewing angle and high color accuracy for clear image viewing during inspections.

Image 4.1: The 5-inch IPS screen offers high-definition viewing.
4.3 Dual Camera System
The probe integrates two 1080P cameras: a forward-facing camera and a side-facing camera. The forward camera has 8 adjustable LEDs, and the side camera has a dedicated LED. Use the camera switch button on the display unit to toggle between the front and side views.
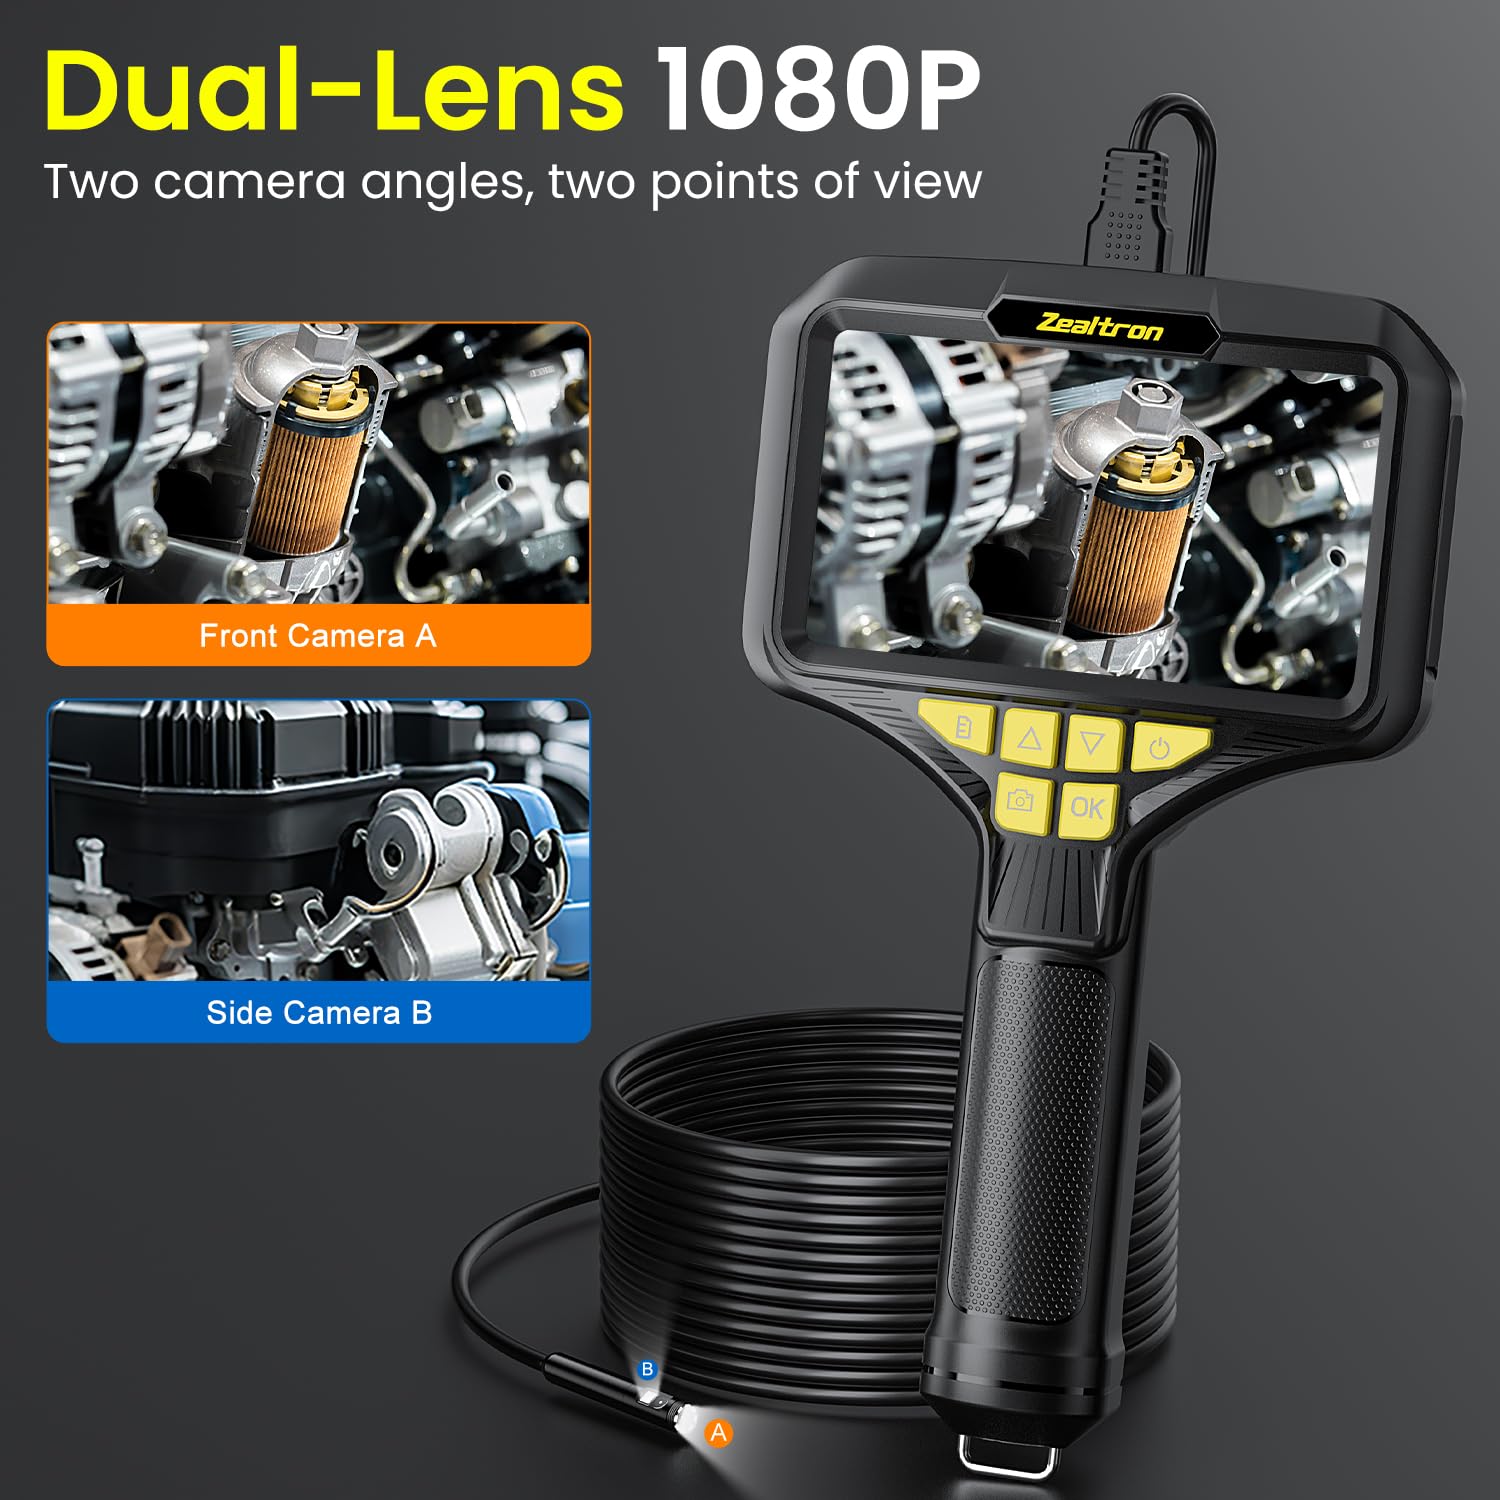
Image 4.2: The dual camera system provides both front and side perspectives.

Image 4.3: The probe features a waterproof dual lens design with integrated LED lighting.
4.4 Adjusting LED Lights
The brightness of the LED lights can be adjusted using the designated buttons on the display unit to suit different inspection environments.

Image 4.4: Adjustable LED lights provide optimal illumination for various inspection distances.
4.5 Cable Handling
The 16.5ft (5m) semi-rigid probe cable can be bent and holds its shape, allowing for stable positioning in tight or curved areas. Guide the cable carefully to avoid damage.
4.6 Capturing Photos and Videos
Press the photo button to capture still images. Press the video button to start and stop video recording. All captured media is saved directly to the inserted MicroSD card.

Image 4.5: The device allows for direct capture and storage of photos and videos to a MicroSD card.
4.7 Using Accessories
The endoscope includes threaded alloy accessories: a hook and a magnet. These can be attached to the probe tip for retrieving small objects or for specific inspection tasks.

Image 4.6: The probe tip can accommodate accessories like a hook or magnet.
5. Maintenance
5.1 Cleaning
After each use, gently wipe the probe lens and cable with a soft, damp cloth. For stubborn dirt, a small amount of mild soap can be used, followed by wiping with a clean, damp cloth. Ensure the probe is dry before storage. Do not use abrasive cleaners or solvents.
5.2 Storage
Store the endoscope in a cool, dry place, away from direct sunlight and extreme temperatures. Coil the probe cable loosely to prevent kinks or damage. Keep the device and accessories in their original packaging or a protective case.
5.3 Battery Care
To prolong battery life, avoid fully discharging the battery frequently. If storing the device for an extended period, charge it to approximately 50% every few months.
6. Troubleshooting
- Device does not power on: Ensure the battery is charged. Connect the device to a power source and try again.
- No image on screen: Check if the probe cable is securely connected to the display unit. Ensure the device is powered on.
- Cannot save photos/videos: Verify that a MicroSD card is inserted correctly and has sufficient free space. The card may need to be formatted (refer to device settings).
- Image is blurry or dark: Adjust the LED light brightness. Clean the camera lens on the probe tip. Ensure the object is within the optimal focal range.
- Probe cable is not holding shape: The semi-rigid cable is designed to hold shape. If it consistently fails, check for any external damage or kinks.
7. Specifications
| Feature | Specification |
|---|---|
| Model Number | Pistolengriff-Design |
| Screen Size | 5.0 inches IPS |
| Video Capture Resolution | 1080p |
| Lens Diameter | 7.9mm |
| Waterproof Rating | IP67 (probe only) |
| Cable Length | 16.5ft (5m) |
| Cable Type | Semi-Rigid |
| LED Lights | 8 (front camera) + 1 (side camera) |
| Battery Life | Over 4 hours (continuous use) |
| Storage Media | Micro SD Card (up to 32GB) |
| Package Dimensions | 10.87 x 6.26 x 2.91 inches |
| Item Weight | 1.39 Pounds |
| Manufacturer | Zealtron |
8. Warranty and Support
For warranty information or technical support, please refer to the contact details provided with your product packaging or visit the official Zealtron website. Keep your purchase receipt for warranty claims.