1. Important Safety Instructions
Read all instructions carefully before operating the pressure washer. Failure to follow these instructions may result in injury or property damage. Keep this manual for future reference.
- Always wear appropriate personal protective equipment, including safety glasses, gloves, and hearing protection.
- Never point the spray gun at people, pets, or electrical devices.
- Ensure all connections are secure before starting the unit to prevent leaks and maintain pressure.
- Do not operate the pressure washer in an enclosed space.
- Keep children and bystanders away from the operating area.
- Always disconnect the power supply before performing any maintenance or cleaning.
- Use only clean water as the water source.
2. Package Contents
Verify that all items listed below are included in your package:
- Yeryork Electric Pressure Washer Unit (Model YE006)
- High-Pressure Hose (33 ft)
- Spray Gun with Stainless Steel Lance
- 4 Quick-Connect Nozzles (0°, 15°, 25°, 40°)
- 500ml Foam Cannon
- Power Cord (20 ft)
- User Manual

Overview of the Yeryork Electric Pressure Washer and its included accessories.
3. Assembly Instructions
Follow these steps to assemble your pressure washer:
- Attach Wheels: The pressure washer features four 360° rotating wheels. Ensure they are securely attached and the locking casters function correctly.
- Connect High-Pressure Hose: Connect one end of the 33 ft high-pressure hose to the outlet on the pressure washer unit. Ensure the connection is tight and leak-proof using the 14mm universal threaded connector.
- Connect Spray Gun: Attach the other end of the high-pressure hose to the spray gun.
- Attach Lance: Securely connect the stainless steel lance to the spray gun.
- Select Nozzle: Choose the desired quick-connect nozzle (0°, 15°, 25°, or 40°) and insert it into the end of the lance until it clicks into place.

The pressure washer's anti-tipping design featuring four 360° rotating, lockable wheels for stability.

Detail of the 14mm universal threaded connector, ensuring a secure and leak-proof connection.

The durable stainless steel lance, designed for higher water pressure and longevity.
4. Operating Instructions
4.1 Water Supply Connection
The pressure washer supports water intake from faucets, buckets, or pools.
- Connect a garden hose (not included) to the water inlet on the pressure washer and to your water source.
- Ensure the water supply is turned on fully before starting the pressure washer.
- For bucket/pool intake, ensure the intake hose is fully submerged and free of air bubbles.
4.2 Power Connection
Plug the 20 ft power cord into a grounded electrical outlet. Ensure the outlet meets the power requirements specified in the 'Specifications' section.
4.3 Nozzle Selection and Use
The pressure washer includes four quick-connect nozzles for various applications:
- 0° (Red): For concentrated, powerful blasting on stubborn stains and cracks.
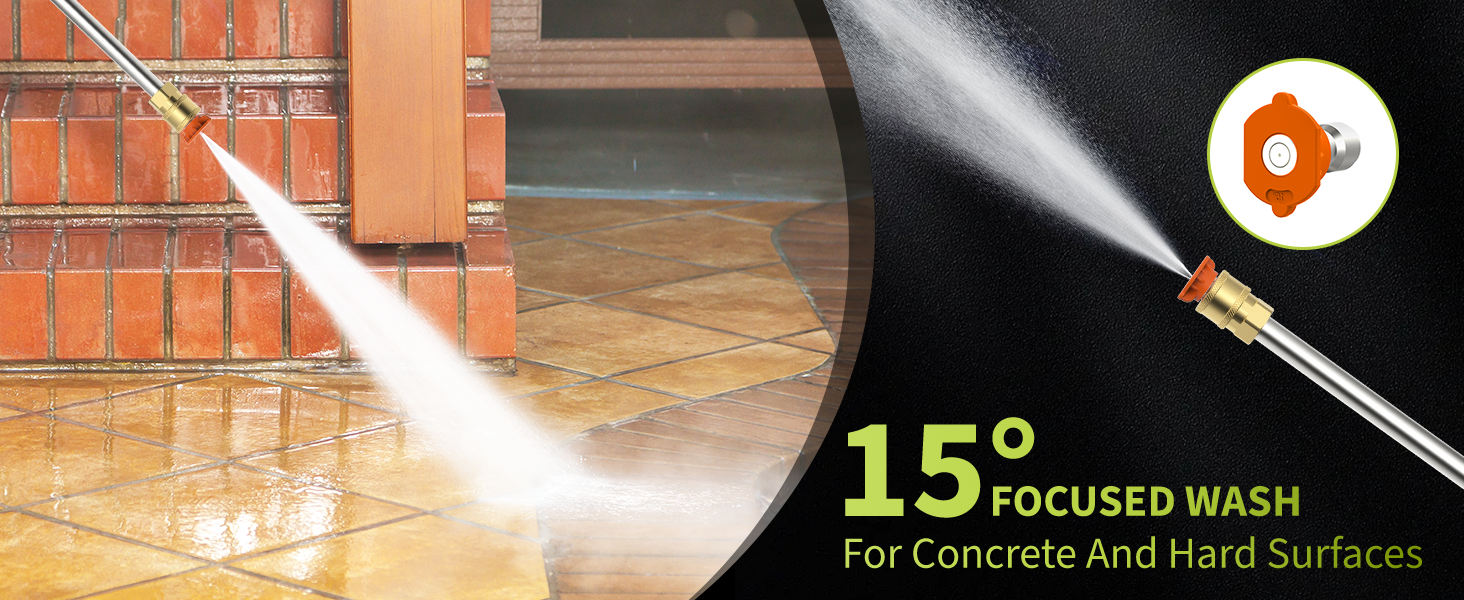
- 15° (Orange): For focused washing on concrete and hard surfaces.
- 25° (Green): For general cleaning of fences and wood decks.
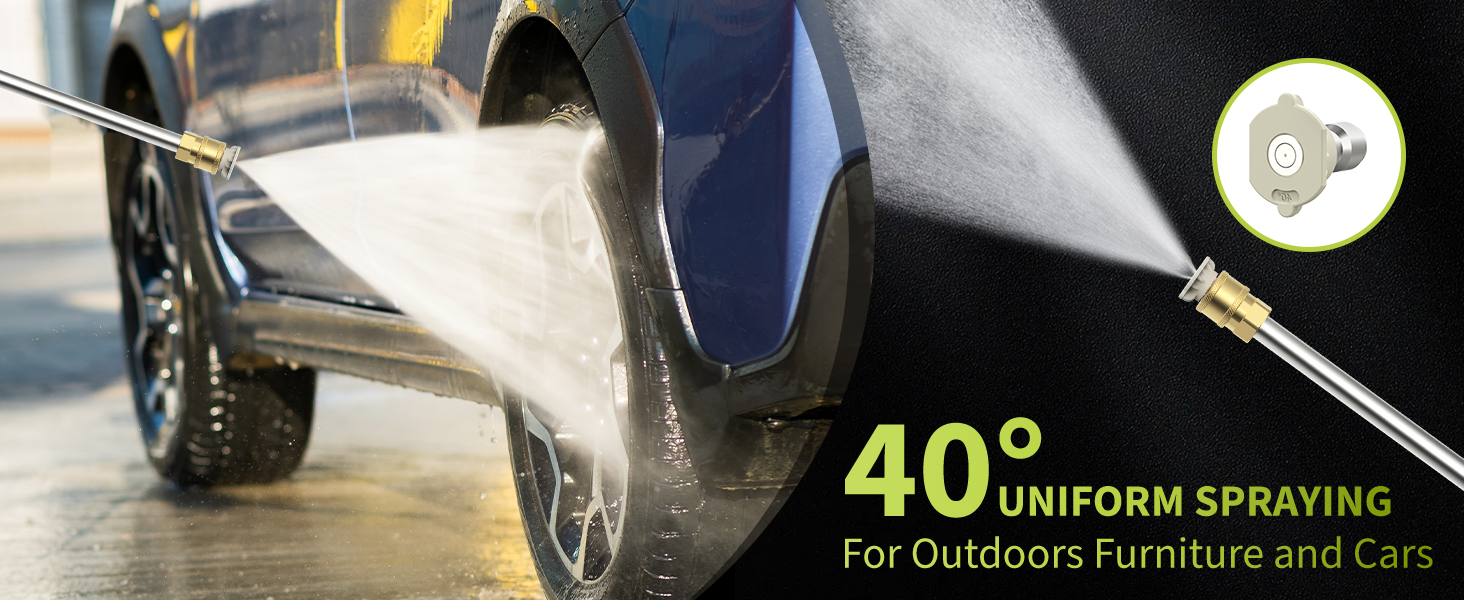
- 40° (White): For uniform spraying on outdoor furniture and vehicles.

The four quick-connect nozzles (0°, 15°, 25°, 40°) for various cleaning tasks.
The 0° nozzle providing a powerful, concentrated stream for cracks and stubborn stains.
The 15° nozzle offering a focused wash for concrete and hard surfaces.
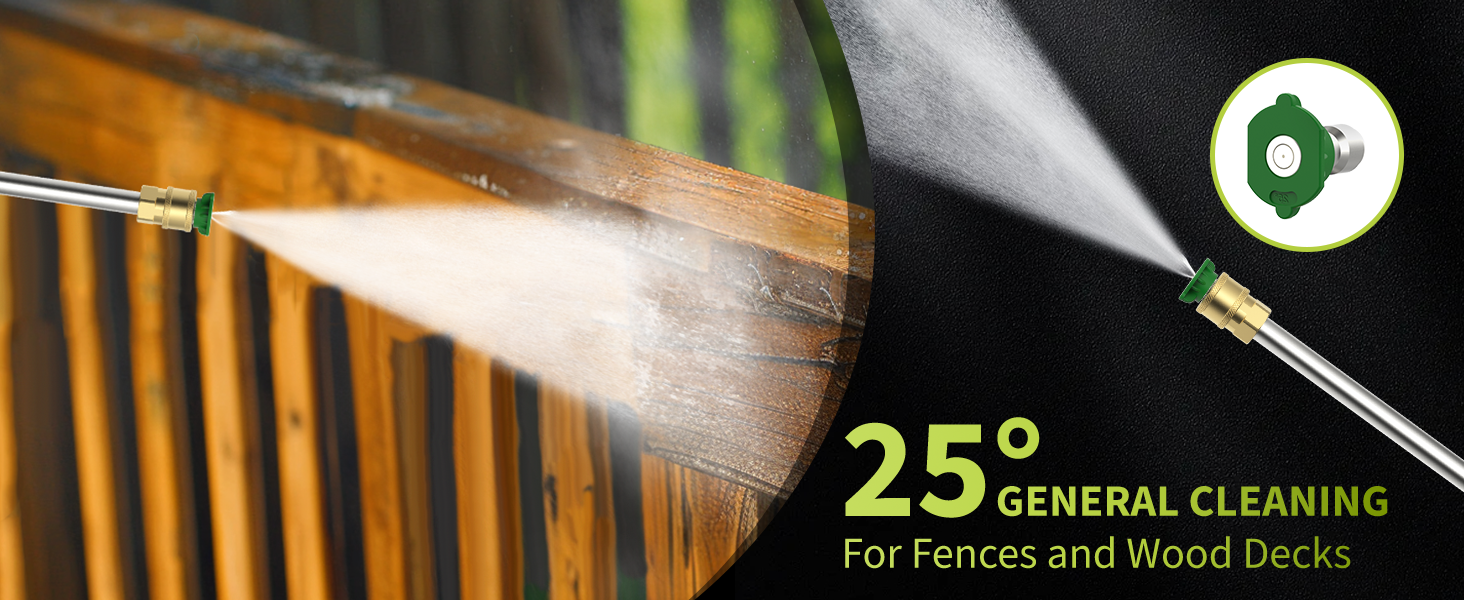
The 25° nozzle suitable for general cleaning of fences and wood decks.
The 40° nozzle providing a uniform spray for outdoor furniture and vehicles.
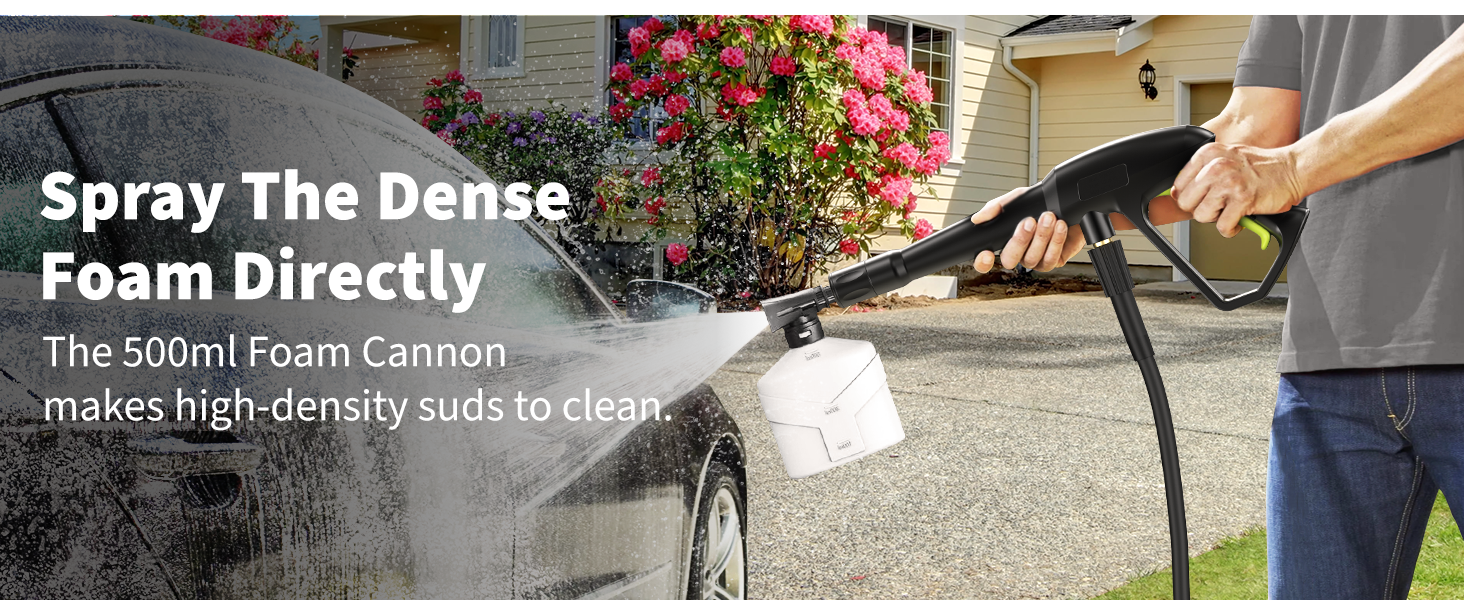
4.4 Using the Foam Cannon
The included 500ml foam cannon allows for efficient detergent application.
- Fill the foam cannon reservoir with appropriate pressure washer detergent.
- Attach the foam cannon to the spray gun in place of a nozzle.
- Activate the spray gun to apply a layer of foam to the desired surface.

Using the 500ml foam cannon to apply dense foam for deep cleaning, such as on a vehicle.
4.5 Starting and Stopping
- To Start: Turn on the water supply, then turn the pressure washer's power switch to the 'ON' position. Squeeze the spray gun trigger to release air and allow water to flow.
- To Stop: Release the spray gun trigger. Turn the power switch to the 'OFF' position. Turn off the water supply. Squeeze the trigger again to release any remaining pressure.
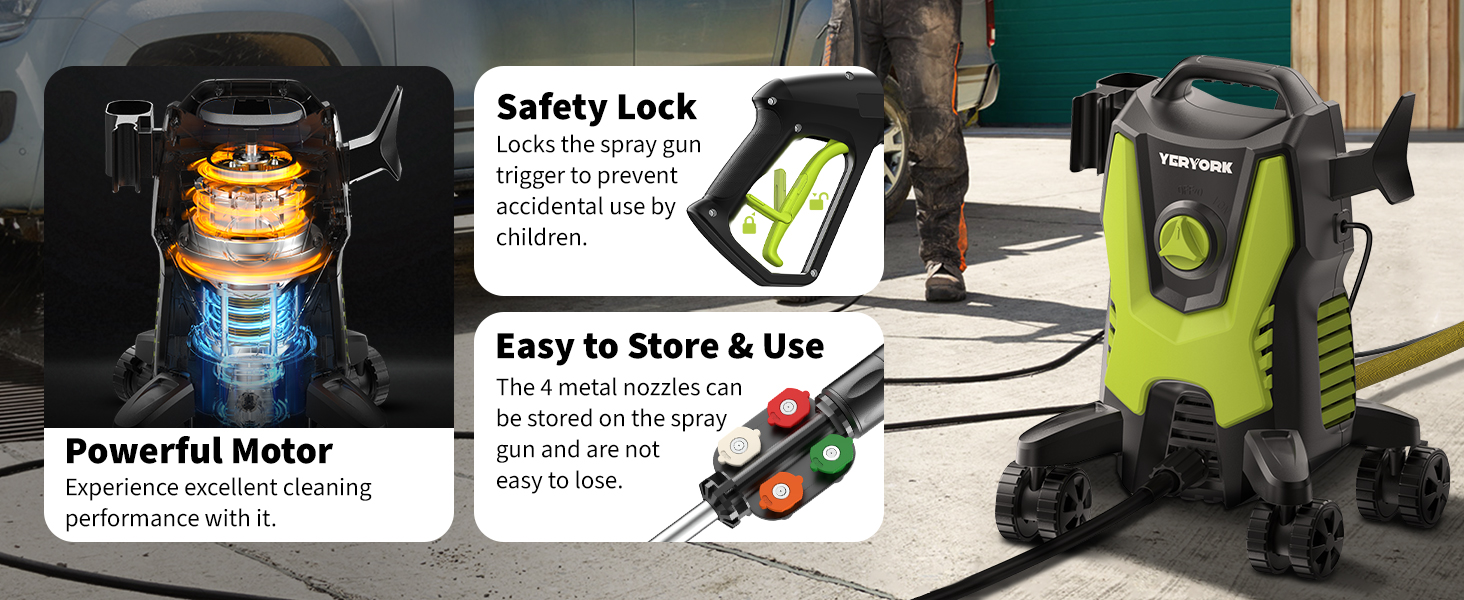
Features like the safety lock on the spray gun and integrated storage for the four metal nozzles enhance safety and convenience.
5. Maintenance and Storage
5.1 After Each Use
- Disconnect the water supply and power.
- Drain all water from the pump, hose, and spray gun to prevent freezing damage.
- Clean the exterior of the unit with a damp cloth.
5.2 Storage
Store the pressure washer in a dry, frost-free area. Coil the high-pressure hose and power cord neatly. Store nozzles and foam cannon in their designated holders or a safe place.
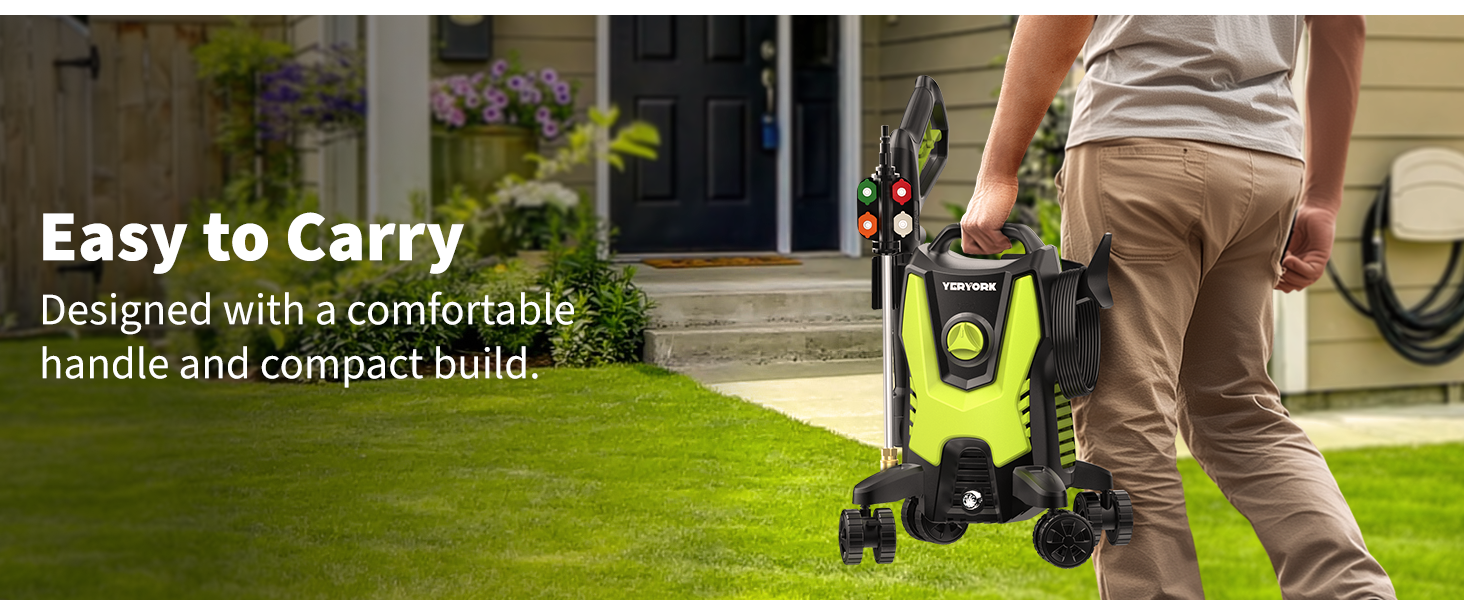
The compact design and comfortable handle make the pressure washer easy to carry and store.
6. Troubleshooting
If you encounter issues, refer to the following common problems and solutions:
| Problem | Possible Cause | Solution |
|---|---|---|
| Unit does not start | No power supply; Faulty outlet; Power switch off | Check power cord connection; Test outlet; Ensure switch is ON |
| Low pressure | Insufficient water supply; Clogged nozzle; Air in pump | Ensure full water flow; Clean nozzle; Purge air by running unit with trigger open |
| Water leaks | Loose connections; Damaged O-rings | Tighten all connections; Inspect and replace O-rings if damaged |
| Motor stops during operation | Overheating; Electrical overload | Allow unit to cool down; Check for proper voltage and amperage |
7. Specifications
Technical details for the Yeryork Electric Pressure Washer Model YE006:
- Brand: Yeryork
- Model Number: YE006
- Power Source: AC
- Maximum Pressure: 4800 PSI
- Maximum Flow Rate: 3.0 GPM (Gallons Per Minute)
- Item Weight: 13.23 Pounds
- Hose Length: 32.81 Feet (High-Pressure Hose)
- Power Cord Length: 20 Feet
- Wand Length: 17 Inches
- Product Dimensions (L x W x H): 10.24" x 16.14" x 12.01"
- UPC: 199284432314

Key performance indicators of the Yeryork Electric Pressure Washer: 4800 PSI, 3.0 GPM, and anti-tipping design with 4 wheels.
8. Warranty and Support
For warranty information or technical support, please contact Yeryork customer service. Refer to the product packaging or the official Yeryork website for the most current contact details.