1. Introduction
Thank you for choosing the Lamicall VHEP02 Portable Tire Inflator. This device is designed to provide convenient and efficient inflation for various items, including car tires, motorcycle tires, bicycle tires, and sports balls. Featuring a powerful 150 PSI capacity, a digital display, and a rechargeable battery, it offers a portable solution for maintaining optimal pressure. Please read this manual thoroughly before use to ensure proper operation and safety.

Image 1.1: The Lamicall VHEP02 Portable Tire Inflator, showcasing its compact design and versatility for inflating car, motorcycle, bike, and ball tires.
2. Package Contents
Verify that all items listed below are included in your package:
- Lamicall VHEP02 Portable Tire Inflator
- Air Tube (12 inches)
- USB Charging Cable
- Presta Valve Adapter
- Needle Valve Adapter (for balls)
- Storage Bag
- User Manual (this document)

Image 2.1: All components included in the Lamicall VHEP02 Portable Tire Inflator package.
3. Product Features
- Ultra-Compact & Portable: Designed for easy storage and transport, fitting into small spaces.
- 5 Preset Modes & 4 Pressure Units: Includes modes for Car, Truck, SUV, Motorcycle, Bike, and Balls, plus a customizable manual mode. Supports PSI, BAR, KPA, and KG/CM².
- Fast Inflation: Achieves up to 150 PSI with a 35L/Min airflow rate, capable of inflating a 195/65 R15 tire from 28 to 36 PSI in approximately 1 minute.
- Long-Lasting Cordless Battery: Built-in rechargeable battery provides power for multiple inflations on a single charge (e.g., up to 15 car tires, 25 bicycle tires).
- Auto Stop Function: Automatically ceases inflation once the preset pressure is reached (with a ±2 PSI error margin) to prevent over-inflation.
- HD LED Digital Display: Clear display shows real-time tire pressure and battery level.
- Integrated LED Light: Features 3 lighting modes (Flashlight, SOS, Strobe light) for visibility and emergency situations.
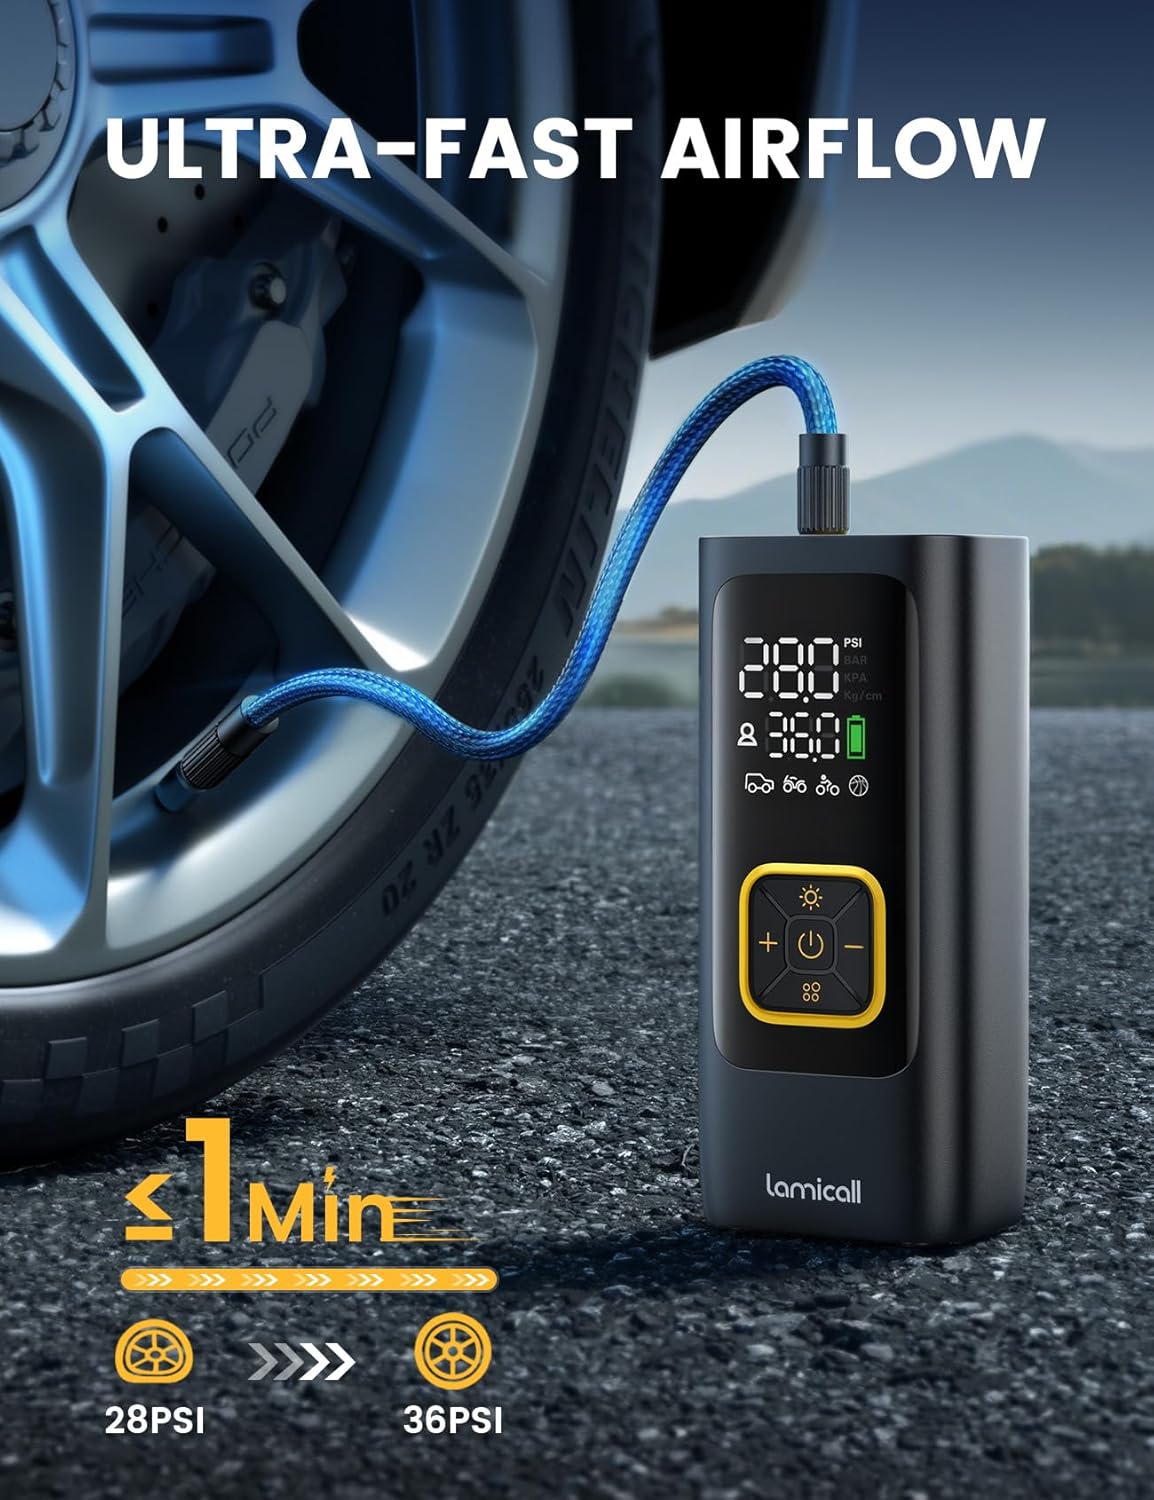
Image 3.1: Illustration of the inflator's ultra-fast airflow, demonstrating quick tire inflation.

Image 3.2: Visual representation of the inflator's powerful battery life and its capacity to inflate various items on a single charge.

Image 3.3: The clear LED digital pressure gauge, designed for easy readability even at night.
4. Safety Information
Please observe the following safety precautions to prevent injury or damage to the device:
- Do not leave the inflator unattended during operation.
- Keep out of reach of children.
- Avoid prolonged continuous operation to prevent overheating. Allow the device to cool down if it becomes hot.
- Do not expose the inflator to rain or moisture.
- Ensure the correct pressure setting for the item being inflated to avoid over-inflation, which can cause bursting and injury.
- Use only the provided accessories and adapters.
- Do not attempt to disassemble or modify the device.
5. Setup and Charging
5.1 Initial Charging
Before first use, fully charge the Lamicall VHEP02. Connect the provided USB charging cable to the inflator's charging port and to a suitable USB power source (e.g., wall adapter, car charger, power bank). The battery indicator on the digital display will show charging status. A full charge ensures optimal performance.
5.2 Attaching the Air Tube
Screw the air tube securely onto the inflator's air outlet. Ensure a tight connection to prevent air leakage during inflation.
6. Operating Instructions
6.1 Power On/Off
- To power on, press and hold the power button (U) for 2 seconds.
- To power off, press and hold the power button (U) for 2 seconds. The device will also automatically power off after a period of inactivity.
6.2 Selecting Inflation Mode
Press the mode button (::) to cycle through the preset inflation modes:
- Car Mode: Default pressure for car tires.
- Motorcycle Mode: Default pressure for motorcycle tires.
- Bike Mode: Default pressure for bicycle tires.
- Ball Mode: Default pressure for sports balls.
- Custom Mode: Allows manual setting of desired pressure.
6.3 Changing Pressure Units
With the device powered on, short press the light button (☀) to cycle through the available pressure units: PSI, BAR, KPA, and KG/CM².
6.4 Setting Target Pressure
After selecting a mode, use the + and - buttons to adjust the target pressure value. The display will show the current pressure and the target pressure.
6.5 Starting and Stopping Inflation
- Connect the air tube to the item's valve.
- Short press the power button (U) to start inflation.
- The inflator will automatically stop when the preset target pressure is reached.
- To manually stop inflation, short press the power button (U) again.

Image 6.1: Step-by-step guide for connecting the inflator, setting the desired pressure, and initiating inflation.

Image 6.2: Detailed view of the control panel, illustrating how to select inflation modes and change pressure units.
6.6 LED Lighting Modes
Short press the light button (☀) to activate the LED light. Continue short pressing to cycle through the three modes:
- Flashlight: Provides constant illumination.
- SOS: Flashes the international SOS signal.
- Strobe Light: Provides a rapid flashing light.
Press and hold the light button (☀) to turn off the LED light.

Image 6.3: The integrated LED light in use, providing illumination for nighttime operations or emergencies.
7. Maintenance
- Cleaning: Wipe the exterior of the inflator with a soft, dry cloth. Do not use harsh chemicals or abrasive cleaners.
- Storage: Store the inflator and its accessories in the provided storage bag in a cool, dry place, away from direct sunlight and extreme temperatures.
- Battery Care: For optimal battery life, charge the device at least once every three months if not in regular use.
8. Troubleshooting
| Problem | Possible Cause | Solution |
|---|---|---|
| Inflator does not turn on. | Low battery. | Charge the device fully. |
| Inflator does not inflate. | Air tube not securely connected. | Ensure the air tube is tightly screwed onto the inflator and the valve. |
| Inflator stops prematurely. | Target pressure reached. | This is normal operation. Check the pressure reading. |
| Inaccurate pressure reading. | Valve connection not secure. | Ensure the air tube is properly attached to the item's valve. |
| Device overheats. | Prolonged continuous use. | Allow the device to cool down for at least 10-15 minutes before resuming use. |
9. Specifications
| Feature | Specification |
|---|---|
| Model Name | VHEP02 |
| Brand | Lamicall |
| Max Pressure | 150 PSI |
| Air Flow Capacity | 35 Liters Per Minute |
| Power Source | Battery Powered |
| Voltage | 5 Volts (DC) |
| Item Weight | 450 Grams |
| Dimensions (L x W x H) | 6.3 x 2.7 x 2.1 inches (approximate, from feature bullets) |
| Color | Black |
10. Warranty and Support
The Lamicall VHEP02 Portable Tire Inflator comes with a 1-year limited warranty from the date of purchase. This warranty covers manufacturing defects and workmanship under normal use. It does not cover damage caused by misuse, accidents, unauthorized modifications, or normal wear and tear.
For warranty claims, technical support, or any questions regarding your product, please contact Lamicall customer service through the retailer's platform or visit the official Lamicall website for contact information.
Please retain your proof of purchase for warranty service.