1. Introduction
This manual provides comprehensive instructions for the assembly, operation, and maintenance of your ZMX H60 Hollow Aluminum Keyboard Case. Designed for keyboard enthusiasts, this case offers superior durability and a sleek aesthetic for custom mechanical keyboard builds. It is compatible with most 60% keyboard PCBs, including Wooting60HE+, MAD60, Win60HE, GT60, HE60, and GH60 models.

Image: Top-down view of the ZMX H60 Hollow Aluminum Keyboard Case.
2. Product Features
- Aluminum Hollow Design: Constructed from aluminum alloy for superior durability and a premium metallic feel. The sturdy construction ensures long-lasting stability while maintaining a sleek, minimalist aesthetic.
- Designed for Keyboard Enthusiasts: Customized for individuals who enjoy assembling and customizing keyboards. Allows for easy swapping of keyboard components to enhance the user experience.
- Wide Compatibility: Compatible with most 60% keyboard PCBs, including Wooting60HE+, MAD60, Win60HE, GT60, HE60, and GH60 models.
- Compact Layout: 60% form factor keyboard housing with dimensions of 12 inches length, 4.5 inches width, and 0.7 inches height.
- Ergonomic 7° Tilt Angle: Provides a comfortable typing experience.
- Leave Out Hook Design: Facilitates cable management and a clean setup.

Image: Close-up of the ZMX H60 case highlighting the convenient hook design for cable management.
3. Package Contents
Please verify that all items are present in your package:
- H60 Aluminum Keyboard Case (1)
- Screws (Set)
- Screwdriver (1)
- Keyboard Feet Pad (Set)
Note: Keycaps, switches, and other keyboard accessories are not included and must be purchased separately.
4. Setup and Installation
Follow these steps to assemble your custom mechanical keyboard using the ZMX H60 case. It is recommended to watch the provided videos for visual guidance.
4.1 Disassembly of Existing Keyboard (if applicable)
If you are transferring components from an existing keyboard, carefully disassemble it. This typically involves removing keycaps, switches, and then detaching the PCB (Printed Circuit Board) and plate from the old case. Keep all screws organized.
4.2 Preparing the ZMX H60 Case
Ensure the ZMX H60 case is clean and free of debris. The hollow design allows for optimal RGB lighting display from your PCB.

Image: Various ZMX H60 cases demonstrating the hollow design and color options.
4.3 Installing PCB and Plate
- Carefully place your 60% PCB and mounting plate assembly into the ZMX H60 case. Ensure proper alignment with the screw posts.
- Secure the PCB/plate assembly using the provided screws and screwdriver. Do not overtighten.
4.4 Installing Switches and Keycaps
- Install your desired mechanical switches into the mounting plate and PCB. Ensure each switch is fully seated.
- Attach your chosen keycaps to the switches.
4.5 Attaching Feet Pads
Apply the included feet pads to the bottom of the case to prevent slipping and protect surfaces.
4.6 Video Guides for Assembly
The following videos from the seller demonstrate the assembly process:
Video: "Let's Modify This H60 Aluminum Keyboard Case" - A detailed guide on assembling a custom keyboard with the H60 case, including switch and keycap installation.
Video: "H60 Aluminum Keyboard Case-Build Your Own Custom Keyboard!" - Shows the process of building a custom keyboard with the H60 case.
Video: "H60 Aluminum Shell Compatible for GH60 Wooting60 MAD60 WIN" - A short preview demonstrating the installation of the PCB into the H60 case.
Video: "ZMX H60 Full Aluminum Case for Wooting60he/MAD60HE Keyboard" - A brief overview of the H60 case and its assembly with a keyboard PCB.
Video: "60% Custom Aluminum keyboard case for gaming" - A short video showcasing the H60 case with RGB lighting and keycaps.
5. Operating Instructions
Once your keyboard is fully assembled within the ZMX H60 case, connect it to your computer or compatible device using a USB-C cable. The case itself does not require specific operating instructions beyond proper assembly. All keyboard functions will be controlled by your installed PCB and switches.
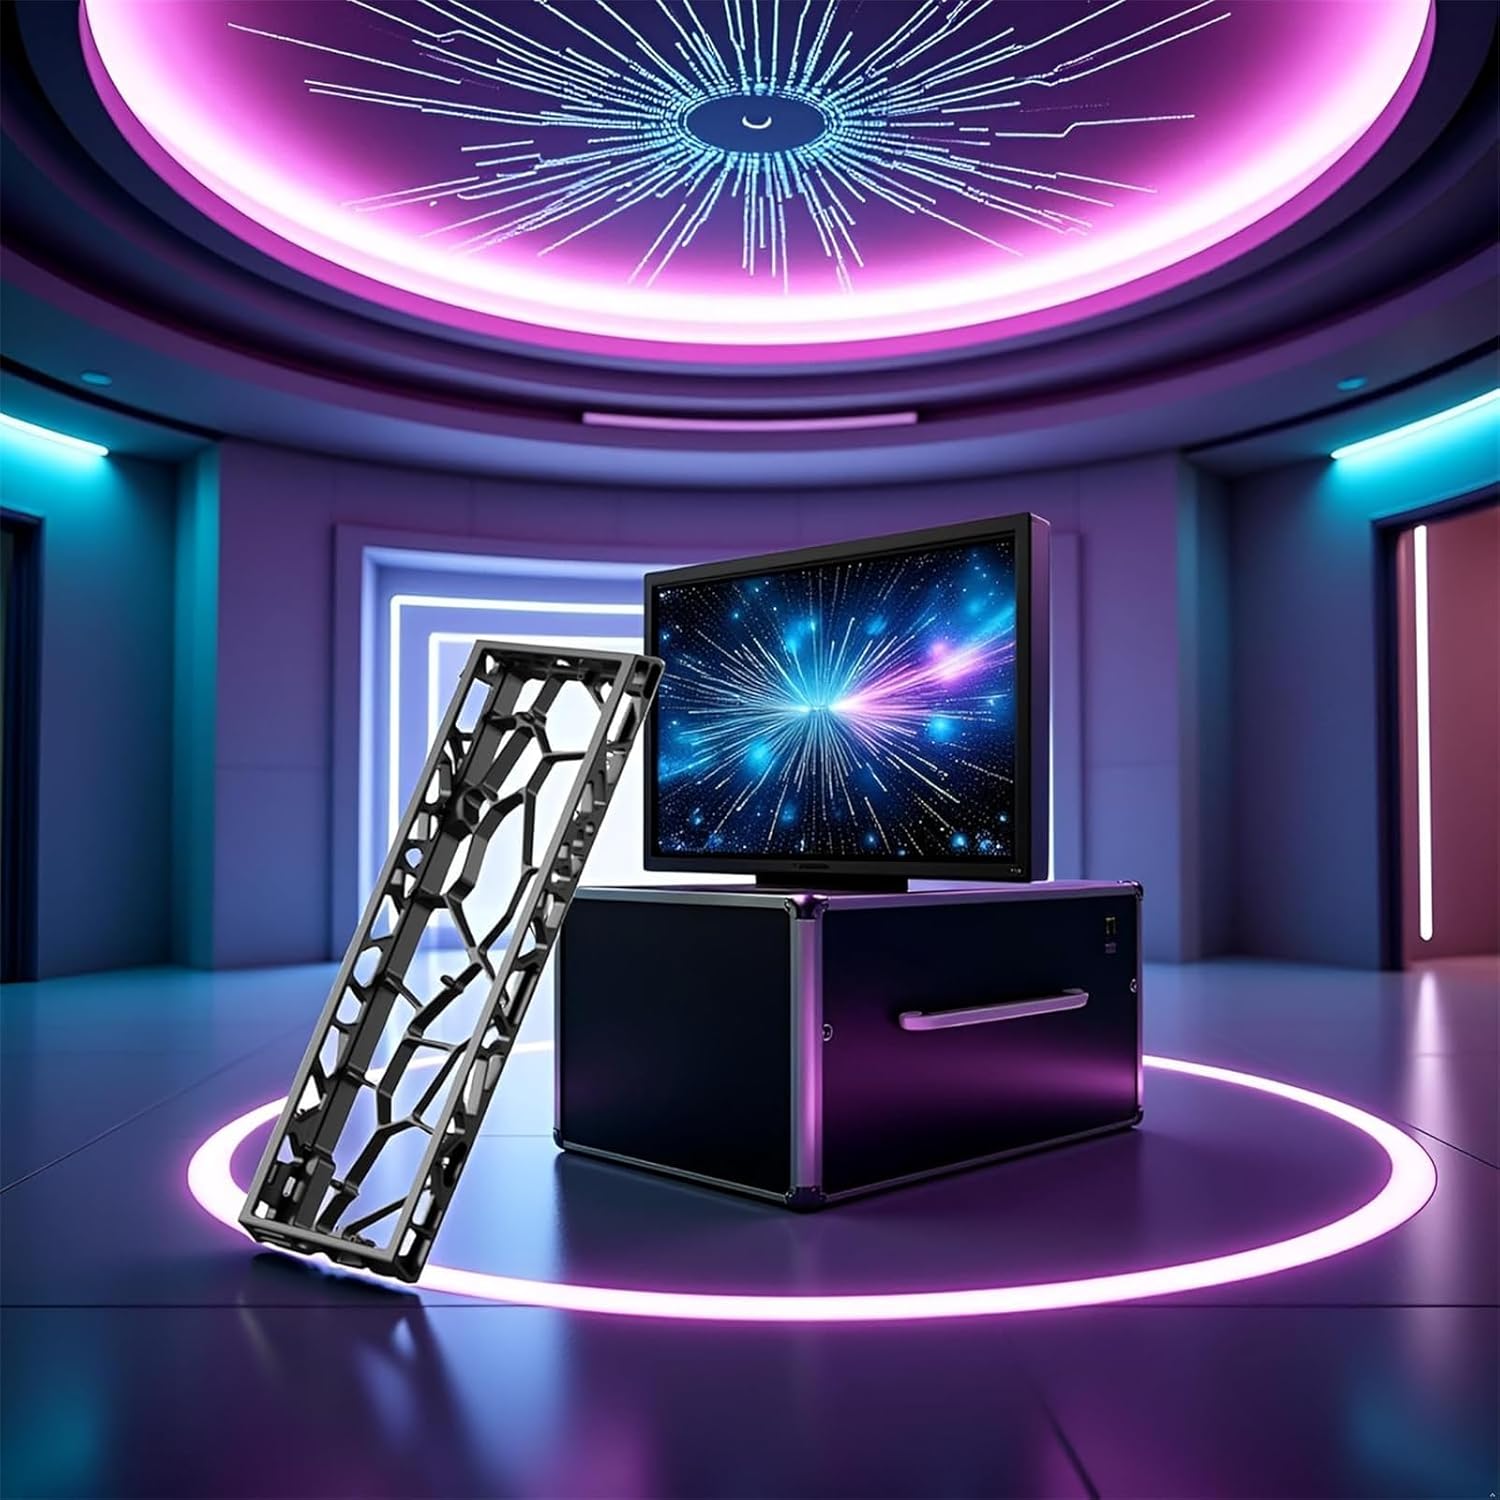
Image: ZMX H60 Hollow Aluminum Keyboard Case set up with a computer monitor.
6. Maintenance
To ensure the longevity and appearance of your ZMX H60 Hollow Aluminum Keyboard Case, follow these maintenance guidelines:
- Cleaning: Use a soft, dry microfiber cloth to wipe down the aluminum surface. For stubborn smudges, a slightly damp cloth with mild soap can be used, followed by immediate drying. Avoid abrasive cleaners or solvents.
- Dust Removal: Regularly use compressed air to clear dust and debris from the hollow sections and around the switches.
- Handling: Handle the case with care to prevent scratches or dents to the aluminum finish.
7. Troubleshooting
If you encounter issues with your keyboard after installing it in the ZMX H60 case, consider the following:
- Keyboard Not Functioning: Double-check all connections, especially the USB-C cable to the PCB. Ensure the PCB is correctly seated and all switches are properly installed.
- Loose Components: Verify that all screws securing the PCB/plate assembly are tightened appropriately.
- Compatibility Issues: Confirm that your PCB is indeed compatible with the 60% form factor and the ZMX H60 case. Refer to the product specifications.
- RGB Lighting Problems: Ensure your PCB's RGB settings are correctly configured. The hollow design of the case is intended to enhance RGB effects, but the lighting functionality is dependent on your PCB.
8. Specifications
| Attribute | Detail |
|---|---|
| Product Dimensions | 12 x 0.7 x 4.5 inches (12"L x 0.7"W x 4.5"H) |
| Item Weight | 1.2 pounds |
| Manufacturer | ZMX |
| Item Model Number | H60 |
| Compatible Devices | Gaming Console, Laptop, PC |
| Connectivity Technology | USB-C (for keyboard PCB) |
| Keyboard Description | Gaming |
| Recommended Uses | Business, Education, Everyday Use, Gaming, Personal, Photo Editing, Programming, Student |
| Special Feature | Ergonomic, Stylish Hollow Design |
| Color | Black (variant shown in product details) |
| Keyboard Backlighting Support | RGB (dependent on PCB) |
| Style | Hollow Mechanical Keyboard Case |
9. Warranty and Support
For warranty information and customer support, please refer to the documentation provided with your purchase or contact ZMX customer service directly. Keep your proof of purchase for any warranty claims.