1. Introduction
Thank you for choosing the wheelfun LDRC Ld18401 1/18 2.4G RC Rock Crawler Car. This highly detailed 1:18 scale crawler-style SUV model is designed for thrilling drives and can also serve as a collectible display piece. It features a 280 brushed motor, 4WD system for strong power, 9g servo steering for accurate control, solid front and rear axles for high-torque crawling, and soft rubber tires for superior grip on various terrains. Please read this manual thoroughly before operating your RC car to ensure safe and optimal performance.
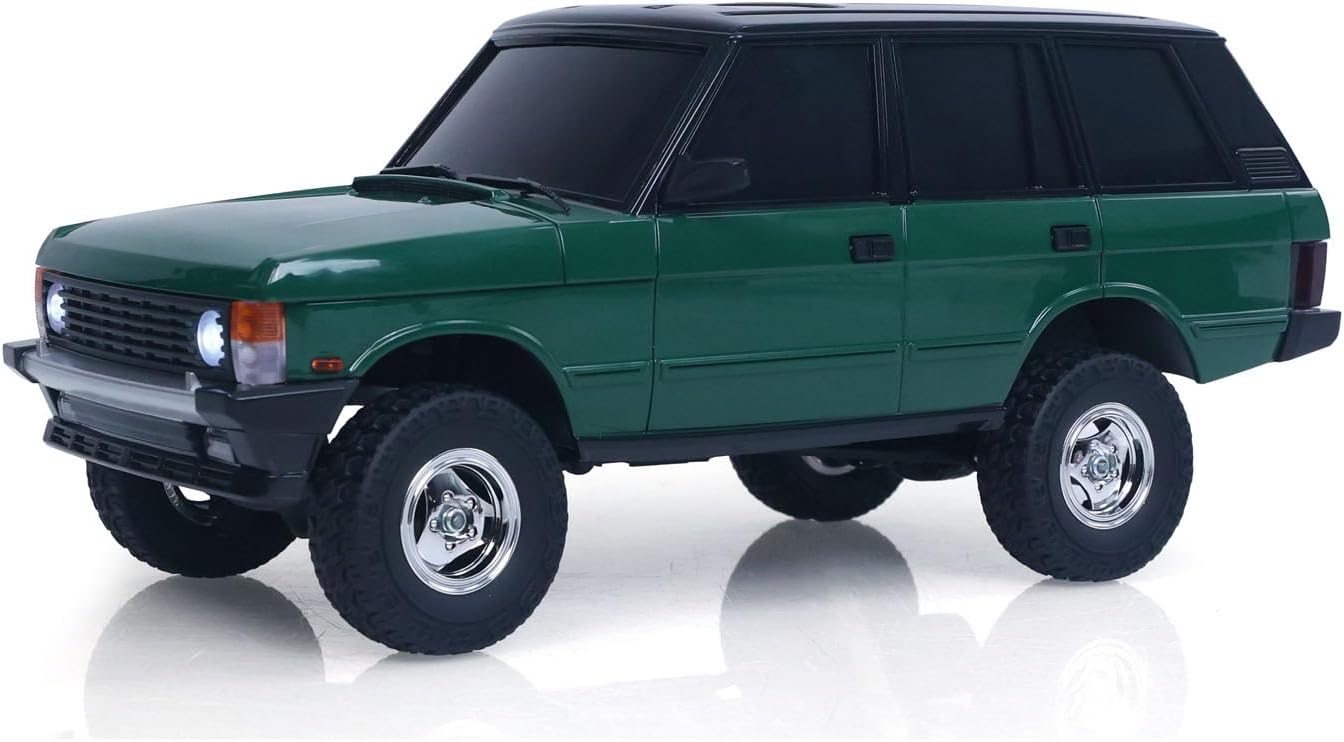
Figure 1: Side view of the wheelfun LDRC Ld18401 RC Rock Crawler Car.
2. Safety Information
To prevent injury or damage to the product, always observe the following safety precautions:
- This product is recommended for users aged 21 years and up. Adult supervision is advised for younger users.
- Operate the RC car in open areas, away from people, pets, and obstacles.
- Do not operate near water, heat sources, or electrical outlets.
- Ensure all batteries are correctly installed and charged before use.
- Do not attempt to modify or disassemble the RC car or its components.
- Always turn off the RC car and remote control when not in use.
- Keep small parts out of reach of children to avoid choking hazards.
3. Package Contents
Please check the package contents to ensure all items are present:
- 1x wheelfun LDRC Ld18401 RC Rock Crawler Car (Green)
- 1x 2.4G Remote Controller
- 1x 7.4V 2S Lithium Battery (for vehicle)
- 1x USB Charging Cable
- 1x Screwdriver
- Instruction Manual

Figure 2: Included components of the RC Rock Crawler Car.
4. Setup
4.1 Charging the Vehicle Battery
- Connect the 7.4V 2S lithium battery to the USB charging cable.
- Plug the USB charging cable into a standard USB power adapter (not included) or a computer USB port.
- The charging indicator light on the USB cable will show the charging status. Refer to the charger's specific instructions for light indications.
- Charging time is approximately 120 minutes. Do not overcharge the battery.
4.2 Installing Vehicle Battery
- Locate the battery compartment on the RC car.
- Carefully open the battery compartment cover.
- Insert the fully charged 7.4V 2S lithium battery into the compartment, ensuring correct polarity.
- Connect the battery connector to the car's power port.
- Close the battery compartment cover securely.
4.3 Installing Remote Control Batteries
- Open the battery cover on the back of the remote control.
- Insert 2x AA batteries (not included), observing the correct polarity (+/-).
- Close the battery cover securely.
4.4 Pairing the Remote Control
- Turn on the RC car's power switch.
- Turn on the remote control's power switch.
- The remote control and car should automatically pair. An indicator light on the remote control will confirm successful pairing (refer to remote control specific instructions for light indications).
- If pairing fails, turn off both devices and repeat the steps.
5. Operating Instructions
5.1 Basic Controls
- Throttle Trigger: Pull the trigger to move forward, push to brake/reverse.
- Steering Wheel: Turn left to steer left, turn right to steer right.
5.2 Driving Tips
- Start with slow speeds to get accustomed to the controls.
- The 4WD system and soft rubber tires provide excellent grip on various terrains, including dirt, rocks, and uneven surfaces.
- Utilize the solid front and rear axles for high-torque crawling over obstacles.
- Avoid driving in deep water or extremely muddy conditions to prevent damage to electronic components.
- The car is capable of climbing inclines up to approximately 40 degrees.

Figure 3: RC car demonstrating off-road capability.

Figure 4: RC car climbing a 40-degree incline.
6. Maintenance
6.1 Cleaning
- After each use, especially in dusty or dirty environments, gently clean the car with a soft brush or cloth.
- Do not use water or harsh chemicals to clean the electronic components.
- Remove any debris from the wheels, axles, and suspension components.
6.2 Storage
- Store the RC car and remote control in a cool, dry place away from direct sunlight and extreme temperatures.
- Remove all batteries from both the car and the remote control if storing for extended periods to prevent leakage.
7. Troubleshooting
| Problem | Possible Cause | Solution |
|---|---|---|
| Car does not respond to remote. | Low battery in car or remote; Not paired; Power switch off. | Charge car battery; Replace remote batteries; Ensure both power switches are ON; Re-pair devices. |
| Short operating time. | Battery not fully charged; Old battery. | Ensure battery is fully charged (120 minutes); Consider replacing the battery if it's old. |
| Car moves slowly or inconsistently. | Low battery; Obstruction in drivetrain. | Charge car battery; Check for debris in wheels or axles. |
| Loss of control range. | Interference; Low remote battery. | Move to an area with less interference; Replace remote batteries. |
8. Specifications
| Feature | Detail |
|---|---|
| Model Number | TH25299-AMZUS2-S (LDRC Ld18401) |
| Scale | 1/18 |
| Color | Green |
| Length | 27cm / 10.6 inches |
| Width | 11.5cm / 4.5 inches |
| Height | 11.5cm / 4.5 inches |
| Net Weight | 920g / 2 pounds |
| Motor | 280 Brushed Motor |
| ESC | 10A ESC |
| Steering Servo | 9g |
| Wheelbase | 155mm / 6.1 inches |
| Track Width | 110mm / 4.3 inches |
| Vehicle Battery | 7.4V 2S Lithium Battery (Included) |
| Remote Controller Battery | 2x AA Battery (Not Included) |
| Charger | USB Cable |
| Speed | Up to 8 KM/H |
| Remote Control Distance | 20 meters |
| Runtime | Approximately 30 minutes |
| Charging Time | 120 minutes |
| Manufacturer Recommended Age | 21 years and up |

Figure 5: Dimensional diagram of the RC Rock Crawler Car.

Figure 6: Internal chassis view showing motor, ESC, and battery placement.

Figure 7: Detail of the solid axle and differential gear.

Figure 8: Underside view highlighting driveshafts and suspension.
9. Warranty and Support
wheelfun is committed to providing quality products and customer satisfaction. If you encounter any issues with your RC Rock Crawler Car, please refer to the following:
9.1 Damaged Items
If your item arrives damaged out of the box, please contact us. We use solid packaging for all items, and if damage occurs, we can resend a free replacement part.
9.2 Maintenance Services
We have a professional after-sales team and a technical maintenance team. Technicians can provide guidance in English through video or text for repairs. For assistance, please contact us by clicking on our store name on the product page. We are here to provide full assistance and help resolve any issues.