
1. Introduction
This manual provides detailed instructions for the installation, operation, and maintenance of your CAMMOO 18-Inch EC Motor Shutter Exhaust Fan with 6-Inch Touchscreen Controller. Please read this manual thoroughly before use to ensure proper function and safety. This fan is designed for efficient ventilation and environmental control in various settings such as attics, greenhouses, garages, and chicken coops.
2. Safety Instructions
- Always disconnect power before installation, servicing, or cleaning.
- Ensure the fan is securely mounted to a stable surface to prevent accidental falls.
- Do not operate the fan with damaged wiring or if the fan itself is damaged.
- Keep hands, clothing, and other objects away from moving parts during operation.
- This appliance is not intended for use by persons (including children) with reduced physical, sensory, or mental capabilities, or lack of experience and knowledge, unless they have been given supervision or instruction concerning use of the appliance by a person responsible for their safety.
- Ensure proper grounding to prevent electrical shock.
- Do not use this fan in environments with explosive or flammable gases.
3. Package Contents
Verify that all items are present in the package:
- 18 Inch Shutter Exhaust Fan x1
- 6 Inch Touchscreen Controller for temperature / humidity / speed control x1
- User Manual x1
4. Product Overview
The CAMMOO 18-Inch EC Motor Shutter Exhaust Fan is designed for efficient air circulation and environmental control. It features an advanced EC motor for energy efficiency and a smart touchscreen controller for precise management of temperature, humidity, and fan speed.
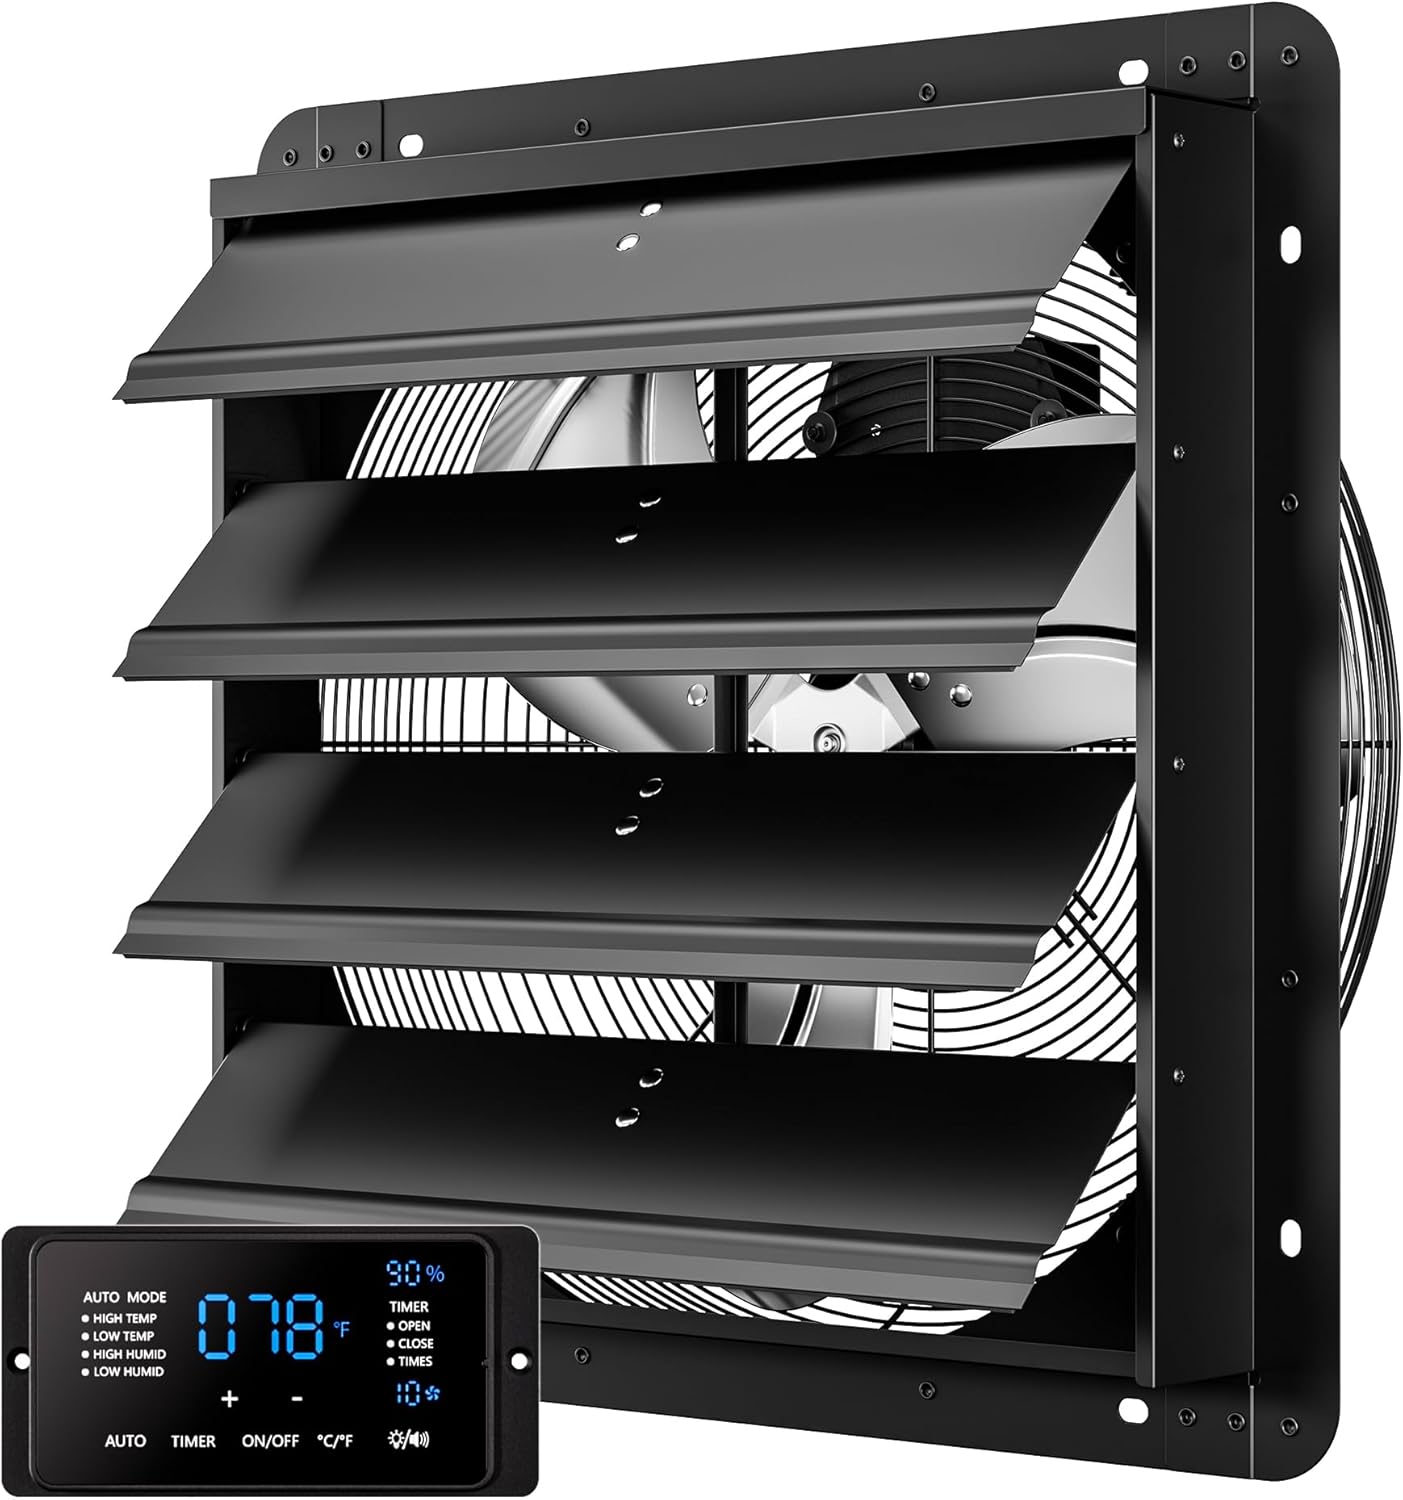
Figure 4.1: CAMMOO 18-Inch EC Motor Shutter Exhaust Fan with its 6-inch touchscreen controller.
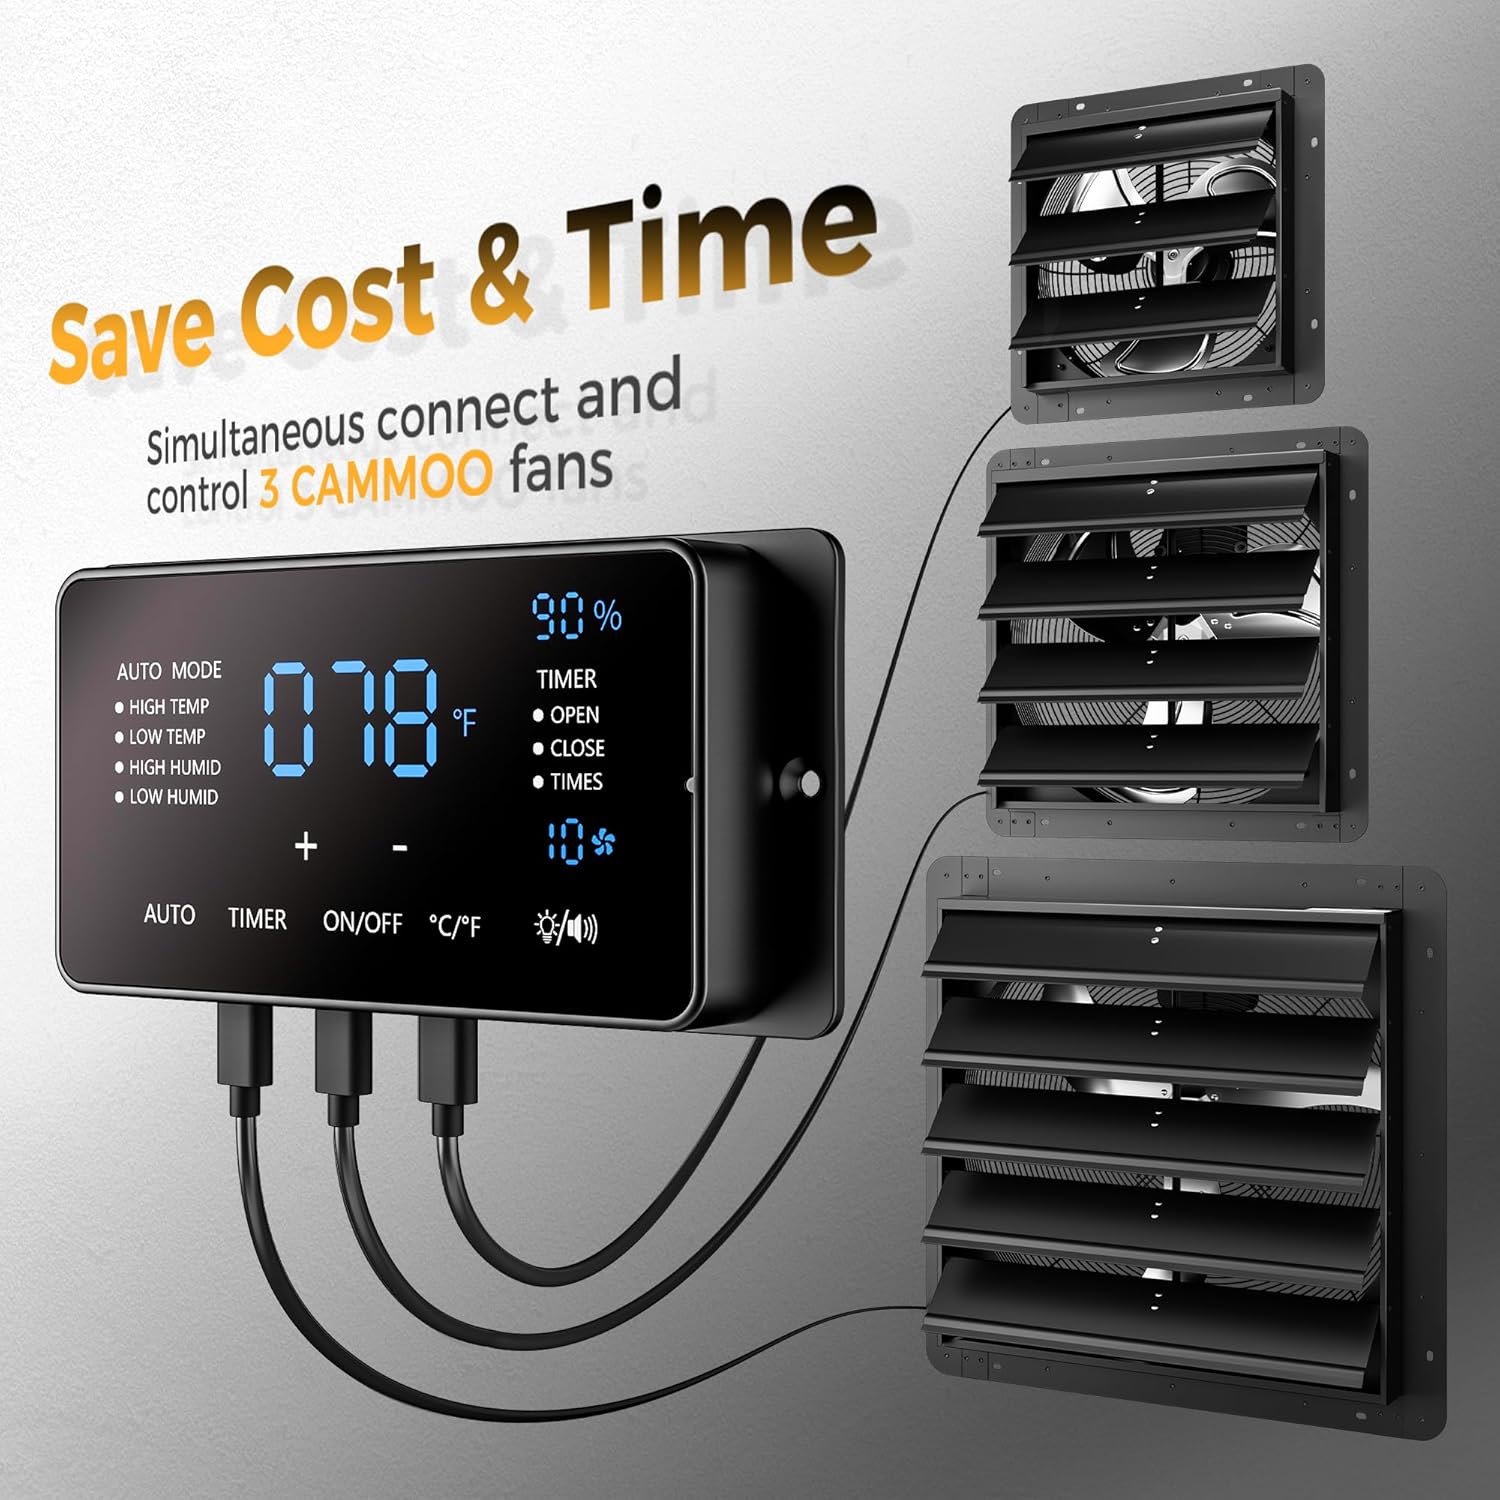
Figure 4.2: The 6-inch touchscreen controller offers a larger, more intuitive interface compared to smaller button-based controllers.

Figure 4.3: The fan features a dual ball bearing EC copper motor for high efficiency, permanent lubrication, and thermal overload protection.
5. Installation
The fan is 90% pre-assembled for quick installation. Follow these steps:
- Mark and Drill Holes: Use the fan as a template to mark the mounting holes on your desired wall or surface. Drill appropriate holes.
- Install the Fan: Securely mount the fan using appropriate hardware (not included). Ensure it is level and stable.
- Connect the Smart Controller: Connect the fan to the controller using the provided cables. The controller supports up to three CAMMOO fans.

Figure 5.1: Visual guide for the three-step installation process: marking holes, installing the fan, and connecting the controller.
The controller features 3 Type-C and 1 USB port for simplified and reliable connections. The 9.84ft control cable provides flexibility for placement.
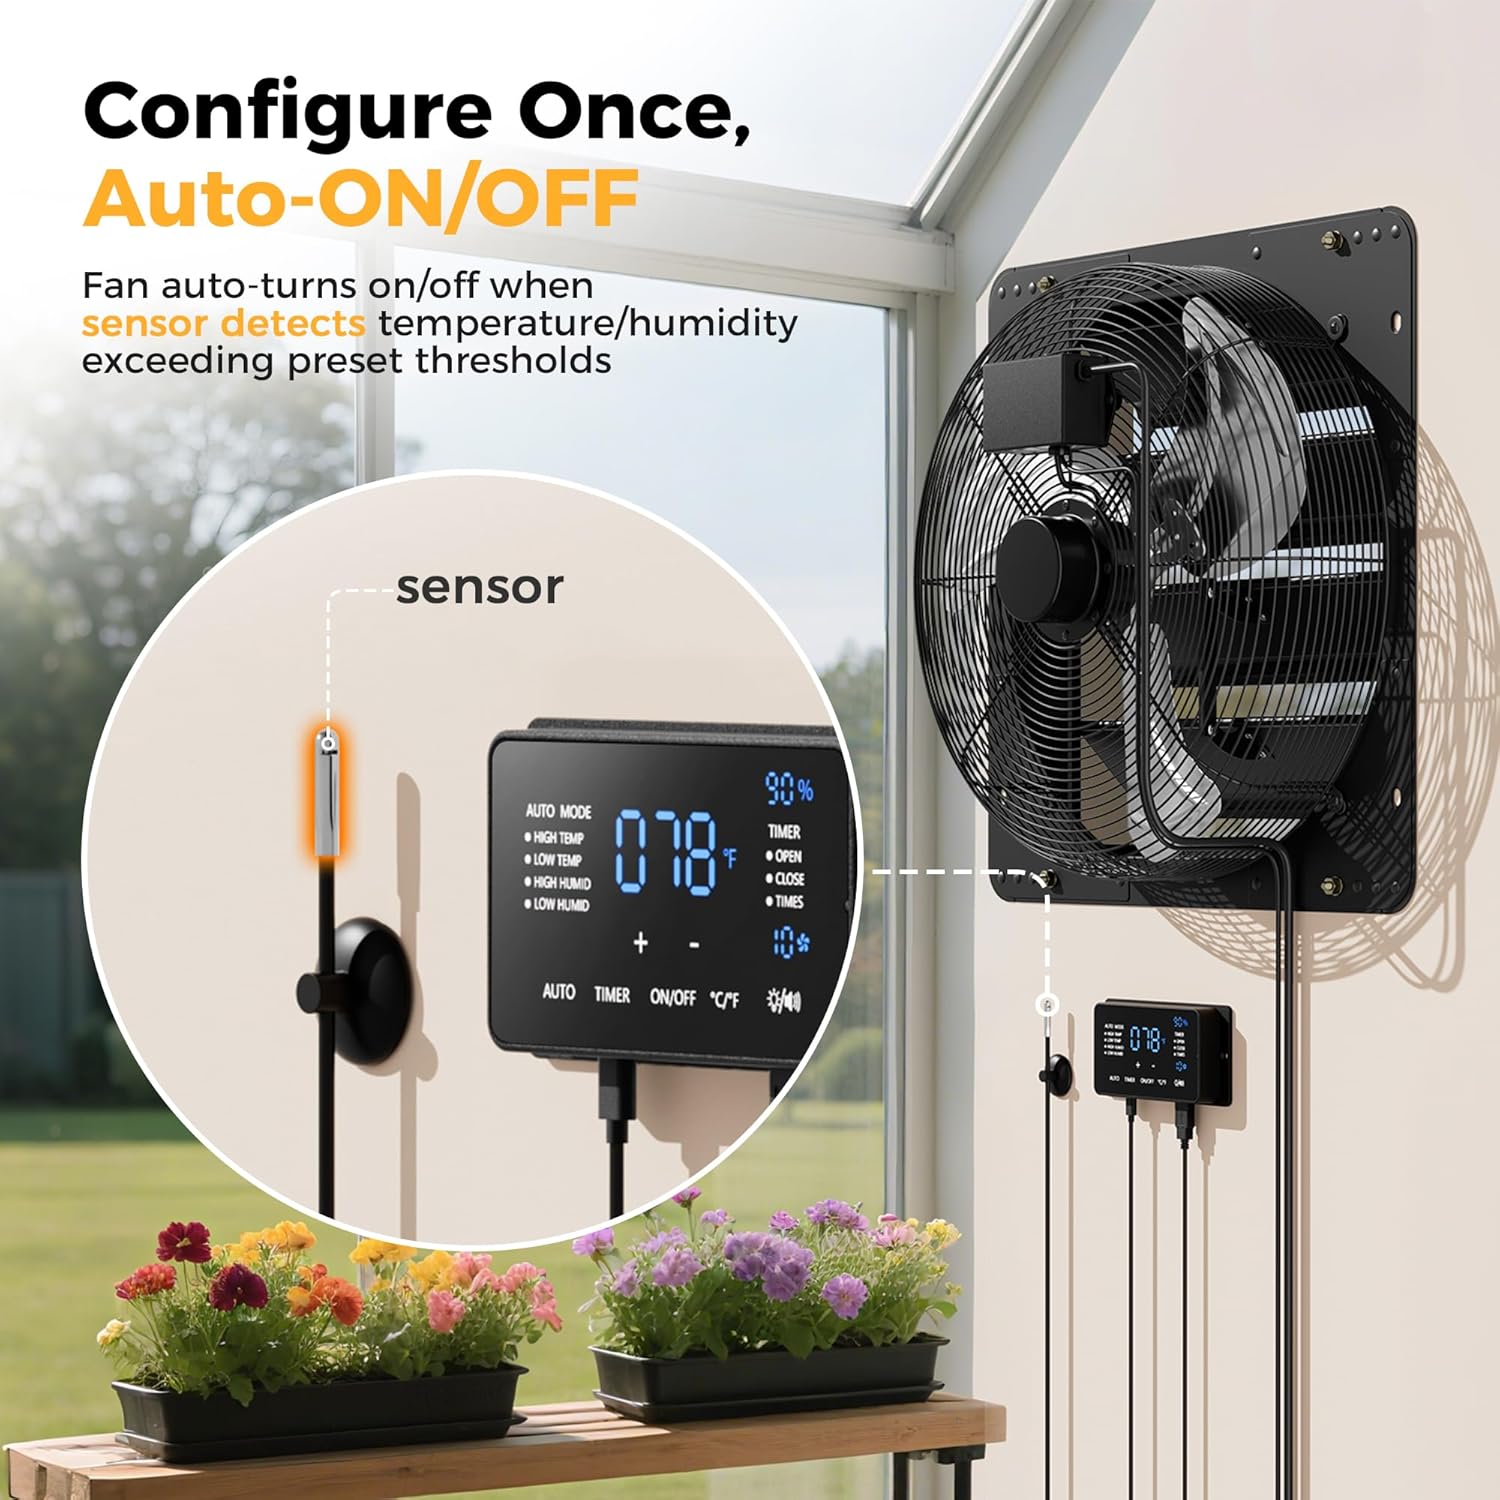
Figure 5.2: The controller can manage up to three CAMMOO fans simultaneously for coordinated ventilation.
6. Controller Operation
The 6-inch touchscreen controller allows precise control over your fan's operation. Power on the controller by pressing the "ON/OFF" button for more than 3 seconds.
Video 6.1: Official video demonstrating the use of the touchscreen controller for the shutter exhaust fan.
6.1 Basic Controls
- Power ON/OFF: Press and hold the "ON/OFF" button for 3 seconds to power on or off.
- Adjust Fan Speed: Use the "+" or "-" buttons to adjust the fan speed (10 speeds available).
- Temperature Unit: Press "°C/°F" to switch between Celsius and Fahrenheit.
- Brightness/Sound: Press the light/speaker icon to set brightness to 50%. Press and hold for 3 seconds to toggle silent/sound mode.

Figure 6.2: The controller displays current temperature, humidity, and fan speed, along with mode settings.
6.2 Auto Modes (Temperature & Humidity Control)
Press the "AUTO" button to cycle through the automatic control modes. In these modes, the fan activates or deactivates based on preset temperature or humidity thresholds.
- High Temperature Mode: The fan turns on when the ambient temperature is at or above the set temperature (A ≥ B) and turns off when below (A < B).
- Low Temperature Mode: The fan turns on when the ambient temperature is at or below the set temperature (A ≤ B) and turns off when above (A > B).
- High Humidity Mode: The fan turns on when the ambient humidity is at or above the set humidity (C ≥ D) and turns off when below (C < D).
- Low Humidity Mode: The fan turns on when the ambient humidity is at or below the set humidity (C ≤ D) and turns off when above (C > D).
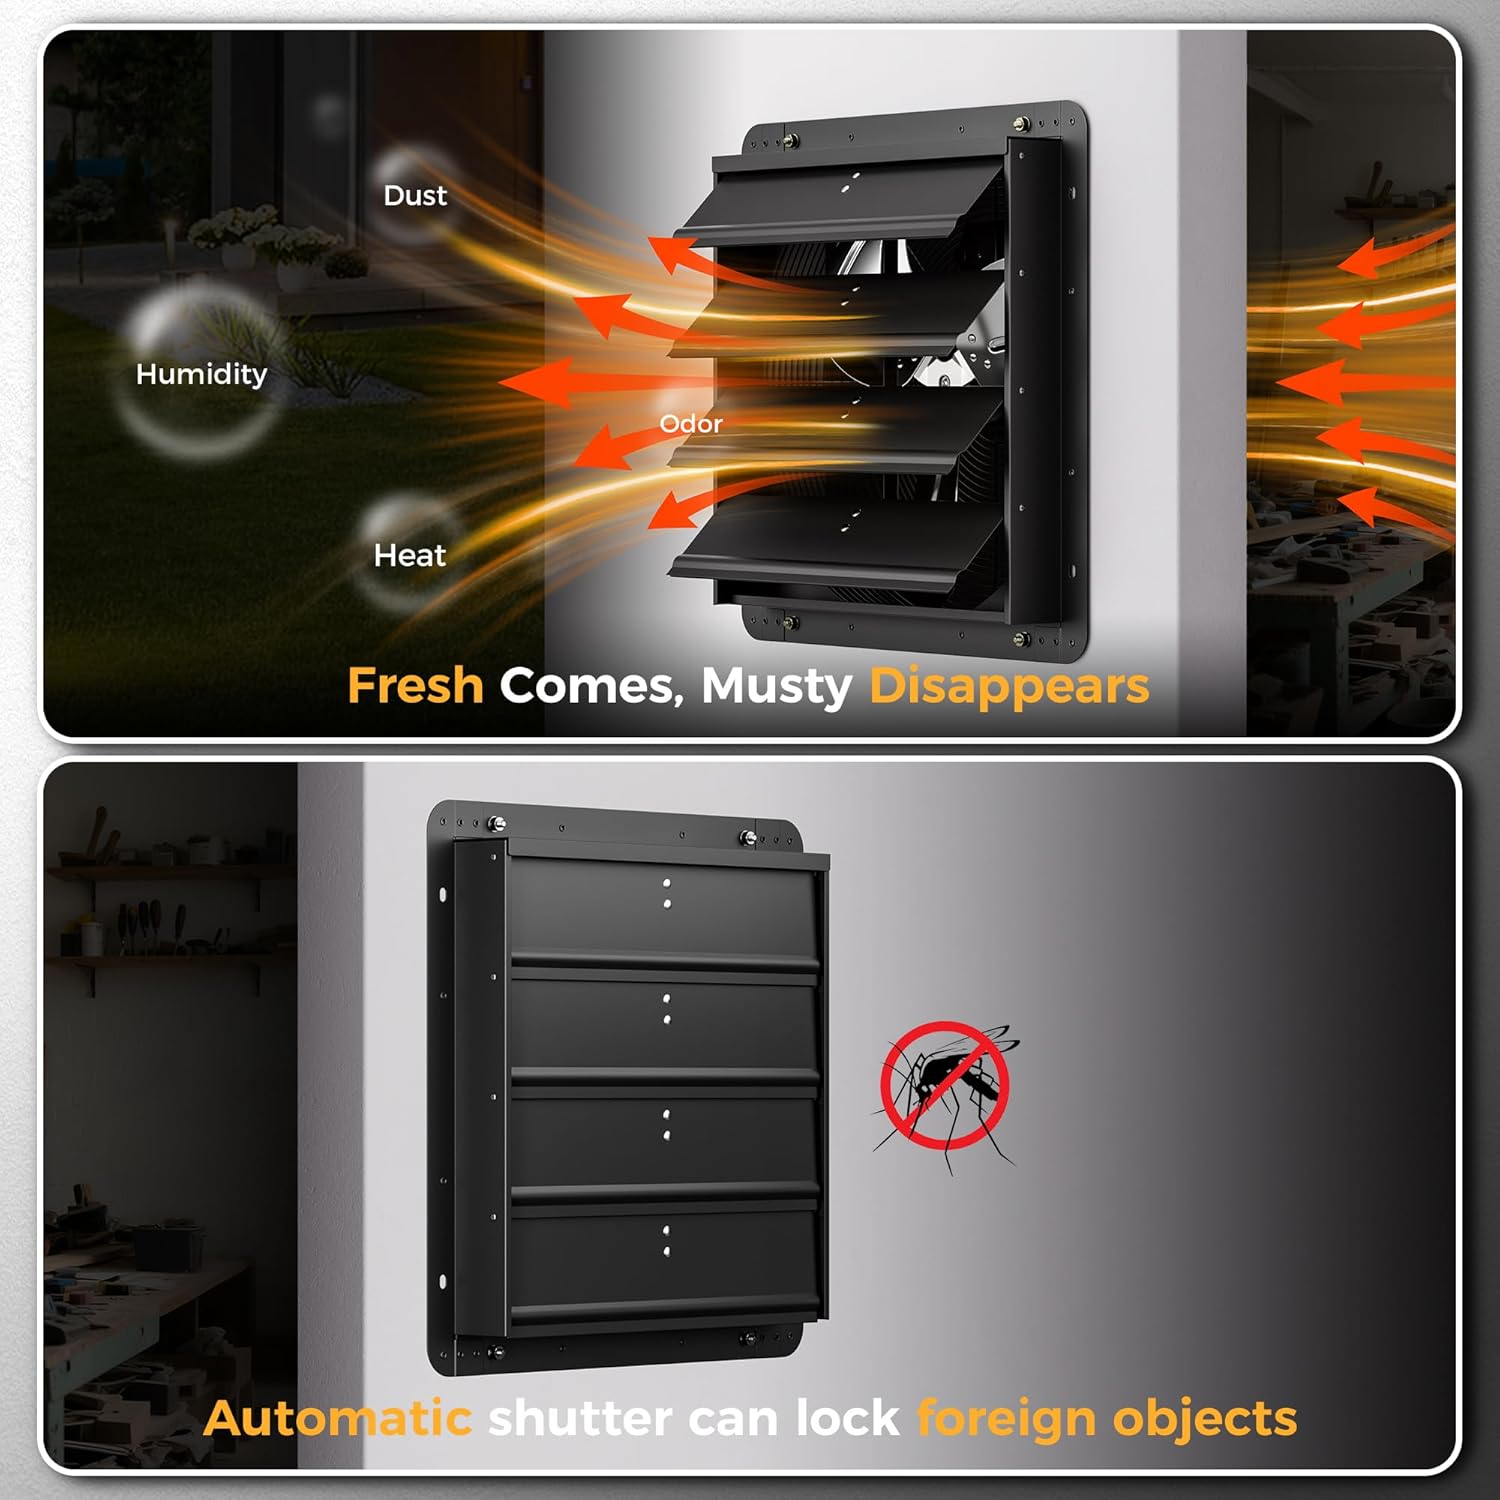
Figure 6.3: The fan automatically turns on or off when the sensor detects temperature/humidity exceeding preset thresholds.
6.3 Timer Modes (Open, Close, Cycle)
Press the "TIMER" button to access timer settings. In timer modes, "OFF" means the setting is cancelled.
- Open Mode: Set the duration for which the fan will run. "OPEN" indicates the fan run time.
- Close Mode: Set the duration for which the fan will remain off. "CLOSE" indicates the fan off time.
- Times Mode (Cycle): Set the number of cycles for the fan to operate (e.g., run for X minutes, then off for Y minutes, repeated Z times). If "TIMES" is set to "OFF", it means infinite cycling.
7. Maintenance
Regular maintenance ensures optimal performance and longevity of your fan.
- Cleaning: Periodically clean the fan blades and shutters to remove dust and debris. Disconnect power before cleaning. Use a soft, damp cloth. Do not use harsh chemicals or abrasive cleaners.
- Shutter Inspection: Ensure the automatic shutters open and close freely. Clear any obstructions.
- Motor: The EC motor features permanent lubrication and requires no additional oiling.

Figure 7.1: The automatic shutters block dust and debris when the fan is off, protecting internal components.
8. Troubleshooting
Refer to this section for common issues and their solutions.
| Problem | Possible Cause | Solution |
|---|---|---|
| Fan does not turn on. | No power supply; Controller not powered on; Incorrect mode setting. | Check power connection; Press and hold ON/OFF for 3 seconds; Verify auto mode or timer settings. |
| Fan speed cannot be adjusted. | Controller malfunction; Fan not properly connected. | Restart controller; Recheck cable connections. |
| Automatic shutters not opening/closing. | Obstruction; Mechanical issue. | Clear any obstructions; Contact customer support if issue persists. |
| Inaccurate temperature/humidity readings. | Sensor obstruction; Sensor malfunction. | Ensure sensor is clear of obstructions; Consider external thermostat if persistent (as per user review). |
9. Specifications
| Feature | Detail |
|---|---|
| Brand | CAMMOO |
| Model Number | FS-EC18 |
| Size | 18 Inch |
| Product Dimensions | 20.87"D x 20.87"W x 8.66"H |
| Item Weight | 12.13 Pounds |
| Power Source | Corded Electric |
| Voltage | 120 Volts |
| Wattage | 60 watts |
| Number of Speeds | 10 |
| Motor Type | EC Motor |
| Blade Material | Aluminum |
| Controller Type | 6-inch Touchscreen |
| Connector Type | USB Type A, USB Type C |
| Installation Type | Wall Mount |
| Certification | FCC Certified |

Figure 9.1: Dimensions and electrical specifications of the CAMMOO 18-inch exhaust fan.
10. Warranty Information
CAMMOO products are manufactured to high-quality standards. For specific warranty details, please refer to the warranty card included with your product or contact CAMMOO customer support. Keep your purchase receipt as proof of purchase for warranty claims.
11. Customer Support
If you have any questions, require technical assistance, or need to report an issue, please contact CAMMOO customer support through the retailer's platform or visit the official CAMMOO website for contact information.
Online Support: Visit the CAMMOO Store on Amazon