
hiencetec New-76
hiencetec Digital Door Knob with Keypad Instruction Manual
Model: New-76
Safety Information
Please read all instructions carefully before installation and use. Keep this manual for future reference. Failure to follow these instructions could result in product malfunction, property damage, or personal injury.
- Do not use corrosive cleaners or chemicals on the lock.
- Ensure all components are securely fastened during installation.
- Keep backup keys in a safe location outside the property.
- Replace batteries promptly when the low-battery alert is activated.
Package Contents
Verify that all parts are present before beginning installation.

Figure 1: Package Contents - This image displays the complete set of components for the hiencetec Digital Door Knob, including the square tube, fixed bolt, door knobs (exterior and interior), door latch kit, screws, backup keys, and user manual.
- Exterior Handle with Keypad
- Interior Handle
- Latch Mechanism
- Strike Plate
- Mounting Screws
- Square Spindle
- Backup Keys (2)
- User Manual
Specifications
| Brand | hiencetec |
| Model Number | New-76 |
| Material | Zinc Alloy |
| Lock Type | Keypad |
| Special Features | Adjustable Latch, Auto-Lock, Keyless Entry, Backlit Keypad |
| Item Dimensions (L x W x H) | 5 x 2.99 x 2.99 inches |
| Item Weight | 3.3 Pounds |
| User Codes | Up to 99 |
| Battery Life | Up to 12 months (4 AAA batteries, not included) |
Installation Guide
Follow these steps for proper installation of your digital door knob.
1. Prepare the Door
Ensure your door is prepared with standard boreholes for a door knob. The lock is suitable for both left and right-handed doors.

Figure 2: Door Handing - The hiencetec Digital Door Knob is designed to be compatible with both left-handed and right-handed door installations.

Figure 3: Installation Dimensions - This diagram illustrates the key dimensions for the door knob and latch, including the adjustable latch wheelbase (2.36" to 2.76") and overall knob dimensions (5" height, 2.99" width).
2. Install the Latch
Insert the latch mechanism into the door edge. Secure it with the provided screws. Ensure the latch is oriented correctly for your door's opening direction.
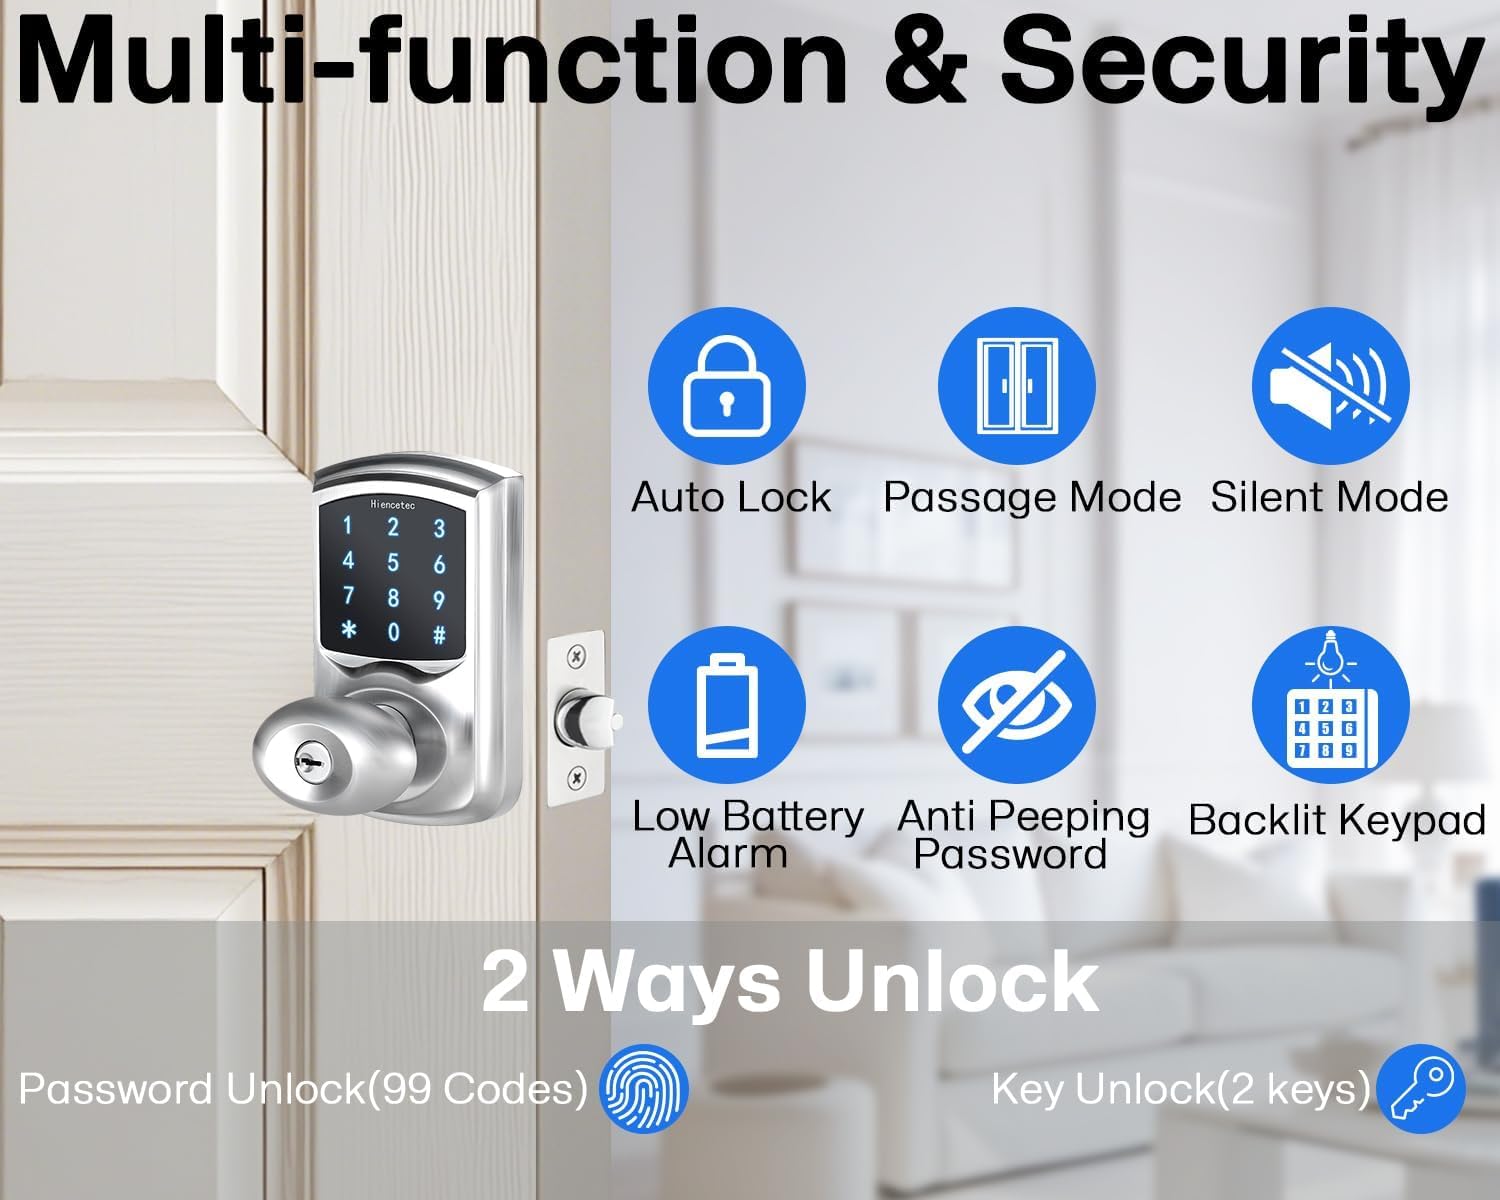
Figure 4: Latch Installation - A close-up view of the latch mechanism being inserted into the door frame, ready for securing with screws.
3. Install the Exterior and Interior Assemblies
Pass the square spindle through the latch. Connect the exterior keypad assembly and the interior handle assembly, ensuring the cable is properly routed and connected. Secure with mounting screws.

Figure 5: Internal Structure and Assembly - An exploded diagram illustrating the various components of the digital door knob and their correct order for assembly, including the exterior handle, keypad, interior handle, battery cover, and lock tough.
4. Install the Strike Plate
Install the strike plate on the door frame, aligning it with the latch mechanism. Secure with screws.
5. Install Batteries
Open the battery cover on the interior assembly and insert 4 AAA alkaline batteries (not included), observing polarity. Close the battery cover.
Installation Video Guide
Video 1: Digital Door Knob Installation and Programming - This video provides a visual guide for installing the hiencetec Digital Door Knob, including steps for latch installation, securing components, and initial programming of user codes. It demonstrates the physical installation process and basic setup procedures.
Operation Instructions
Initial Setup and Programming Code
Upon first use or after a factory reset, you will need to set a programming code. This code is used to manage other user codes and lock settings.
- Press * twice.
- Enter your desired 4-10 digit programming code.
- Press #.
- Repeat the programming code and press # to confirm.
Note: The default programming code after factory reset is typically 123456. Change this immediately for security.
Adding User Codes (Up to 99)
You can add up to 99 unique user codes for family, guests, or staff.
- Press * twice.
- Enter your programming code and press #.
- Press 1 (to add a user code).
- Enter the new 4-10 digit user code and press #.
- Repeat the new user code and press # to confirm.

Figure 6: Password Unlocking - A hand is shown interacting with the backlit keypad to enter a password, demonstrating the primary method of keyless entry.
Unlocking with Keypad
Enter a valid user code or programming code, then press #. The door will unlock.
Unlocking with Physical Key
In case of battery depletion or emergency, use one of the provided backup keys to manually unlock the door.

Figure 7: Key Unlocking - This image demonstrates the use of a physical key to unlock the digital door knob, providing an alternative access method.
Auto-Lock Function
The lock features an automatic locking function that secures the door after a set period (usually 5 seconds) once unlocked. This function cannot be turned off.

Figure 8: Auto Lock - The image shows the door knob with an arrow indicating the automatic locking mechanism engaging, highlighting the auto-lock feature.
Passage Mode
Passage Mode allows the door to remain unlocked for continuous access without needing to enter a code. This is useful for high-traffic periods.
- Unlock the door using a valid code.
- Within 5 seconds, press * then #. The lock will beep to confirm Passage Mode is active.
- To deactivate Passage Mode, press * then # again. The lock will beep to confirm deactivation.

Figure 9: Passage Mode - This image illustrates the Passage Mode feature, showing the keypad and instructions for enabling temporary continuous access.
Silent Mode
Silent Mode disables keypad beeping sounds for discreet operation. This setting is for one-time use.
- Press #.
- Enter your user code.
- Press #.

Figure 10: Silent Mode - The image displays the digital door knob with instructions for activating Silent Mode, which mutes keypad sounds for quiet operation.
Anti-Peeping Password
To prevent others from guessing your code, you can enter random digits before and after your actual user code. The lock will still recognize the correct sequence within the longer entry.

Figure 11: Anti-Peeping Password - This image illustrates how to use the anti-peeping password feature by adding random digits before and after the actual password to enhance security.
Backlit Keypad
The keypad features a blue backlight for easy visibility and operation in low-light conditions.

Figure 12: Backlit Keypad - The image highlights the blue backlit keypad, making it easy to enter codes in dark environments.
Maintenance
Battery Replacement
The lock will emit 10 beeps when the battery power is low, reminding you to replace the batteries. This system helps prevent unexpected lockouts.

Figure 13: Low Battery Alarm - The image displays the digital door knob with an icon indicating a low battery alarm, signifying the need for battery replacement.
- Remove the battery cover on the interior side of the lock.
- Replace all four AAA batteries with new alkaline batteries.
- Ensure correct polarity.
- Close the battery cover securely.
Expected battery life is up to 12 months with good quality alkaline batteries.
General Care
Clean the keypad and lock body with a soft, damp cloth. Avoid abrasive cleaners or solvents that could damage the finish or electronic components.
Troubleshooting
| Problem | Possible Cause | Solution |
|---|---|---|
| Lock does not respond to keypad entry. | Low batteries; incorrect code; keypad malfunction. | Replace batteries; re-enter code carefully; perform factory reset if necessary. |
| Door does not lock/unlock smoothly. | Misaligned latch/strike plate; obstruction. | Check alignment and adjust; remove any obstructions. |
| Low battery alert sounds frequently. | Batteries are old or low quality. | Replace with new, high-quality alkaline AAA batteries. |
| Cannot program new codes. | Incorrect programming code entered; programming sequence error. | Ensure correct programming code is used; follow programming steps precisely. |
Warranty and Support
For warranty information and technical support, please refer to the contact details provided with your purchase or visit the official hiencetec website. Keep your purchase receipt as proof of purchase.
Ask a question about this manual
Ask about setup, troubleshooting, compatibility, parts, safety, or missing instructions. Manuals+ will review the question and use this page’s manual context to help answer it.