Introduction
This manual provides detailed instructions for assembling and displaying your BseSparklion Shark 3D Wall Art Micro Mini Building Blocks Set. This set allows you to construct a realistic 3D shark design using micro-sized building blocks, suitable for both wall decor and tabletop display. Please read all instructions carefully before beginning assembly.
Important Safety Information
WARNING: CHOKING HAZARD - Small Parts. Not for children under 3 years.
This product contains small components that may pose a choking hazard. Keep all pieces out of reach of small children. Adult supervision is recommended during assembly, especially for younger users (recommended age 14+).
Package Contents
Verify that all components are present before starting assembly:
- 2166 Micro Building Blocks (various colors and shapes)
- Instruction Guide
- Base Plate for assembly and display
- Small tool for block manipulation (if included, not explicitly listed but common for micro blocks)

Figure 1: Package contents and block size comparison. The image displays the product box, the assembled shark art, and a visual scale demonstrating the small size of the micro building blocks compared to standard blocks.
Assembly Instructions
Follow these steps to assemble your Shark 3D Wall Art. Patience and attention to detail are key due to the small size of the blocks.
- Preparation:
- Clear a well-lit, flat workspace.
- Open all bags of micro blocks. It is recommended to sort the blocks by color and shape into separate containers to facilitate easier assembly.
- Refer to the included Instruction Guide for step-by-step visual directions.
- Base Plate Setup:
- Identify the main base plate. Ensure its orientation matches the initial steps in the instruction guide.
- Begin placing the first layer of blocks onto the base plate as indicated in the manual.
- Layer-by-Layer Construction:
- The assembly process involves building the shark art layer by layer. Each step in the instruction guide will show which blocks to place for the current layer.
- Carefully count and place each micro block according to the color and position shown in the diagrams.
- Use the provided small tool (if included) to help manipulate and press blocks into place, or to remove incorrectly placed blocks.
- 3D Elements:
- As you progress, the shark's head will begin to take on its 3D form, protruding from the base plate.
- Pay close attention to the angles and layering to achieve the intended three-dimensional effect.
- Final Touches:
- Once all blocks are placed, ensure they are firmly pressed down for stability.
- Attach any final decorative elements, such as the blue "water splash" pieces, as shown in the instructions.
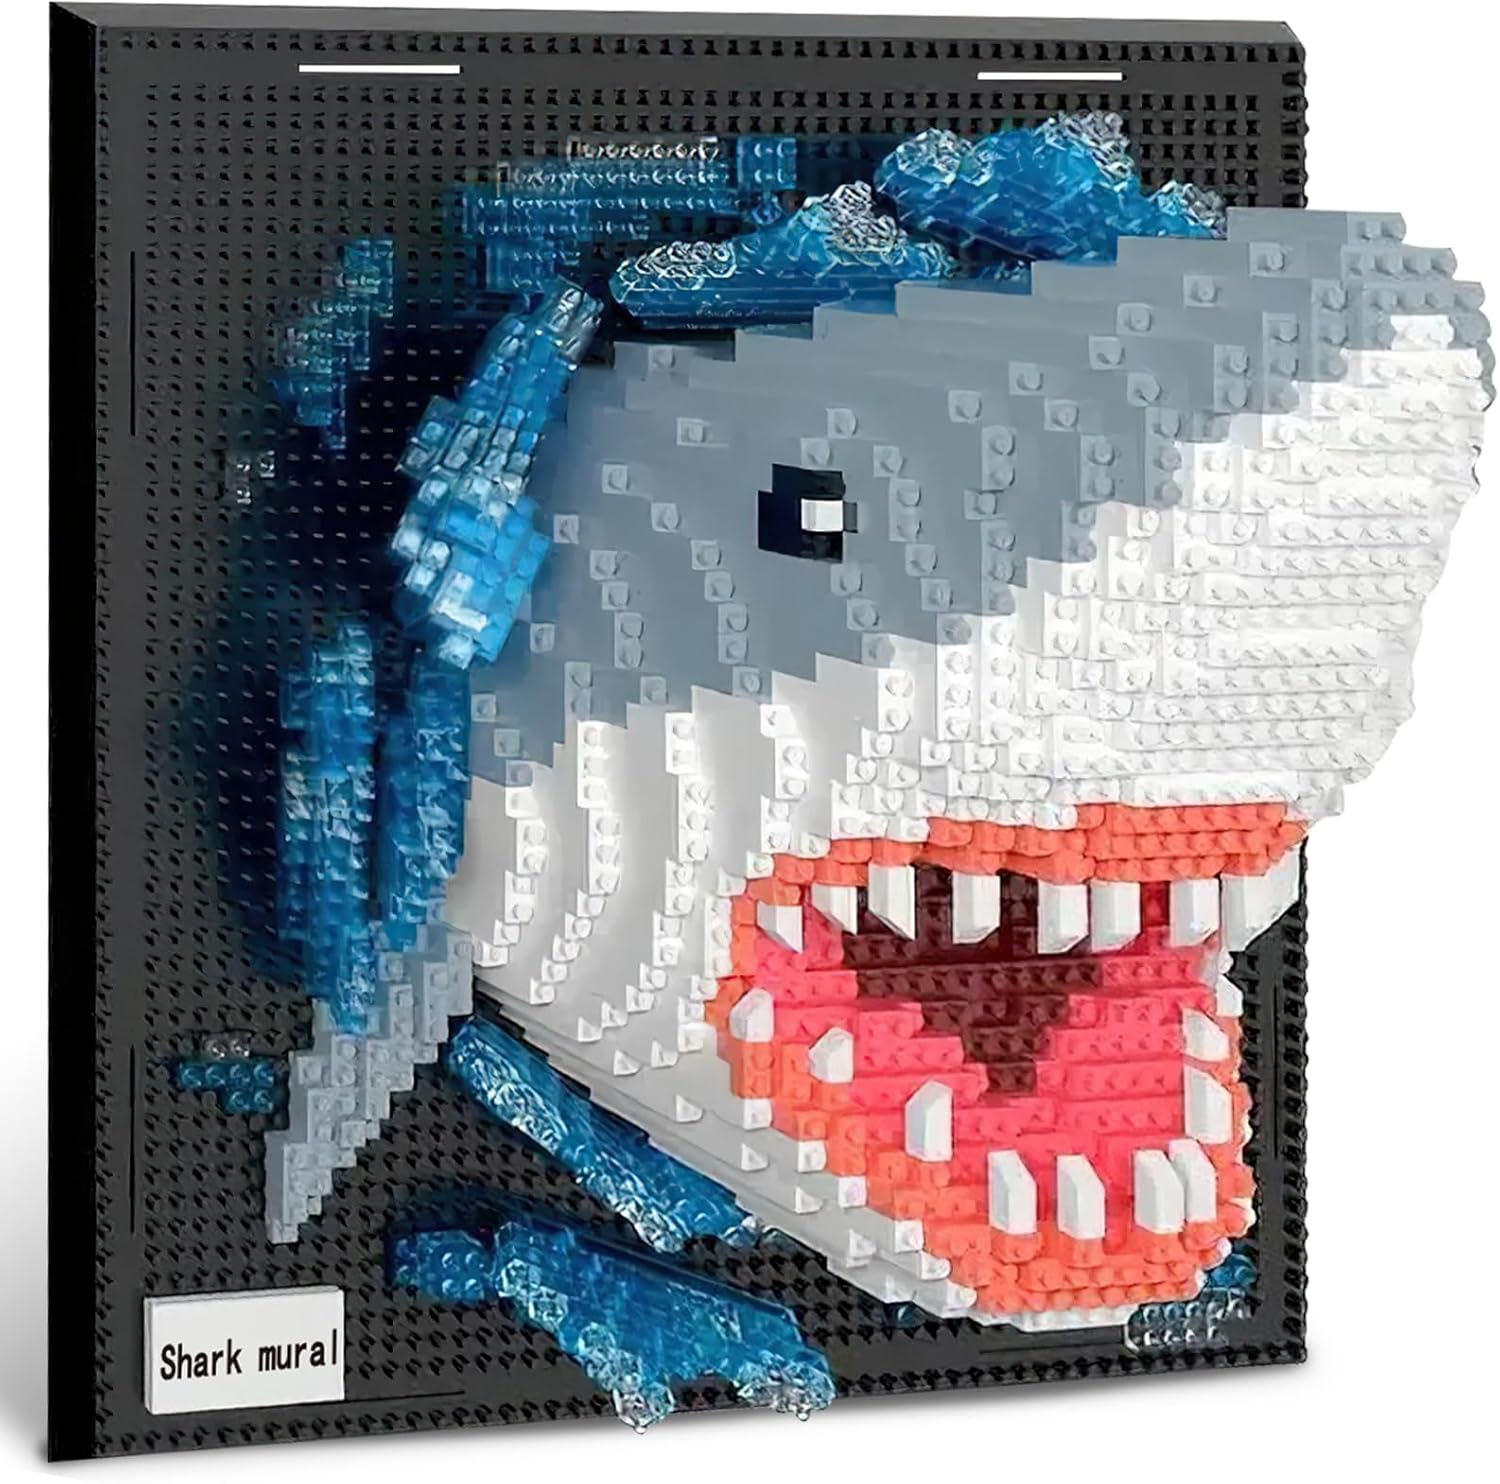
Figure 2: The completed Shark 3D Wall Art. This image shows the fully assembled shark head emerging from the black base plate, surrounded by blue translucent blocks representing water.

Figure 3: Inspiration for the Shark 3D Wall Art. This image features the assembled shark art alongside a photograph of a real shark, highlighting the realistic design inspiration.
Video 1: Overview of the Shark 3D Wall Art Building Set. This video provides a brief demonstration of the assembled product and its components, showcasing the detailed design and display options.
Display Options
Your completed Shark 3D Wall Art can be displayed in two primary ways:
- Wall Decoration: The base plate is designed with mounting points on the back. Use appropriate hardware (not included) to securely hang the art on a wall. Ensure the wall can support the weight of the assembled model.
- Tabletop Display: The set includes a stand that can be attached to the back of the base plate, allowing it to stand upright on a desk, shelf, or any flat surface.

Figure 4: Versatile display options. The image illustrates the shark art mounted on a wall and also standing on a desk, demonstrating its adaptability as decor.

Figure 5: Wall mounting demonstration. A person is shown carefully positioning the assembled shark art on a wall, highlighting the wall display method.
Maintenance
To ensure the longevity and appearance of your Shark 3D Wall Art:
- Cleaning: Dust regularly with a soft, dry cloth or a soft brush. Avoid using harsh chemicals or abrasive cleaners.
- Handling: Handle the assembled model with care to prevent pieces from detaching.
- Storage: If disassembling for storage, keep all pieces organized in sealed bags or containers to prevent loss.
Troubleshooting
| Issue | Possible Cause | Solution |
|---|---|---|
| Missing Pieces | Manufacturing error or pieces lost during unpacking/sorting. | Carefully check all packaging and workspace. If pieces are genuinely missing, contact BseSparklion customer support for assistance. |
| Difficulty Following Instructions | Complexity of micro blocks or unclear diagram interpretation. | Review the instruction guide carefully, paying close attention to the color and shape keys. Take breaks if feeling overwhelmed. Ensure adequate lighting. |
| Blocks Not Fitting Securely | Incorrect block placement or insufficient pressure. | Double-check the step in the instruction guide. Ensure the block is oriented correctly and apply firm, even pressure until it clicks into place. |
| Finished Model is Unstable | Blocks not fully connected or incorrect assembly of structural elements. | Go back through the layers and ensure all blocks are securely attached. Pay special attention to the base plate and any internal support structures. |
Specifications
- Brand: BseSparklion
- Model Name: Shark Building Set
- Model Number: YC700
- Style: Shark
- Number of Pieces: 2166
- Material: Plastic
- Product Dimensions (L x W x H): 9.64 x 6.22 x 9.64 inches
- Item Weight: 1.89 pounds (0.86 Kilograms)
- Recommended Age: 14 years and up
- Special Feature: Non-Toxic
Warranty and Support
BseSparklion is committed to your satisfaction. Every building block set is rigorously tested for safety and durability. If you encounter any issues, such as missing pieces or difficulties during assembly, please contact our customer support team for prompt assistance.
For support, please visit the BseSparklion Store on Amazon or refer to the contact information provided in your product packaging.