Introduction
Thank you for choosing the HOSTACK 6-Drawer Tall Dresser. This manual provides essential information for the safe assembly, proper use, and maintenance of your new furniture. Please read these instructions carefully before beginning assembly and retain them for future reference.
Important Safety Information
- Always follow assembly instructions precisely.
- Ensure all hardware is securely tightened before use.
- Do not allow children to climb on or play with the dresser.
- Always install the anti-tipping device to prevent serious injury.
- Do not exceed the weight limits for drawers or the top surface.
Package Contents
Before assembly, verify that all components listed below are present and undamaged. If any parts are missing or damaged, please contact customer support.
- Dresser Panels (Top, Bottom, Sides, Back)
- Drawer Panels (Fronts, Sides, Backs, Bottoms)
- Drawer Slides (Left and Right)
- Handles/Knobs
- Assembly Hardware (Screws, Dowels, Cam Locks, etc.)
- Anti-Tipping Device
- Instruction Manual
Setup and Assembly
Assembly is required for this dresser. It is recommended to have two people for assembly. An electric drill can expedite the process, but exercise caution to avoid overtightening screws.
Tools Required (Not Included):
- Phillips Head Screwdriver
- Hammer (optional, for dowels)
- Electric Drill (optional, with appropriate bits)
Assembly Steps:
- Unpack and Identify Parts: Carefully remove all components from the packaging. Lay them out on a clean, soft surface to prevent scratches. Refer to the parts list in your separate assembly guide to identify each piece.
- Assemble the Main Frame: Follow the detailed diagrams in the provided assembly instructions to connect the side panels, top, and bottom panels using the specified hardware (dowels, screws, cam locks). Ensure all connections are secure.
- Install Drawer Slides: Attach the drawer slides to the interior of the dresser frame and to the drawer sides as indicated in the instructions. Ensure they are level and aligned for smooth drawer operation.
- Assemble Drawers: Construct each of the six drawers by connecting the front, back, and side panels, then inserting the drawer bottom. Attach the drawer handles/knobs.
- Insert Drawers: Carefully slide the assembled drawers into their respective slots in the dresser frame.
- Attach Anti-Tipping Device: This is a critical safety step. Securely attach the anti-tipping device to the back of the dresser and to a wall stud using the provided hardware. This prevents the dresser from accidentally tipping over, which can cause serious injury.


Operating Instructions
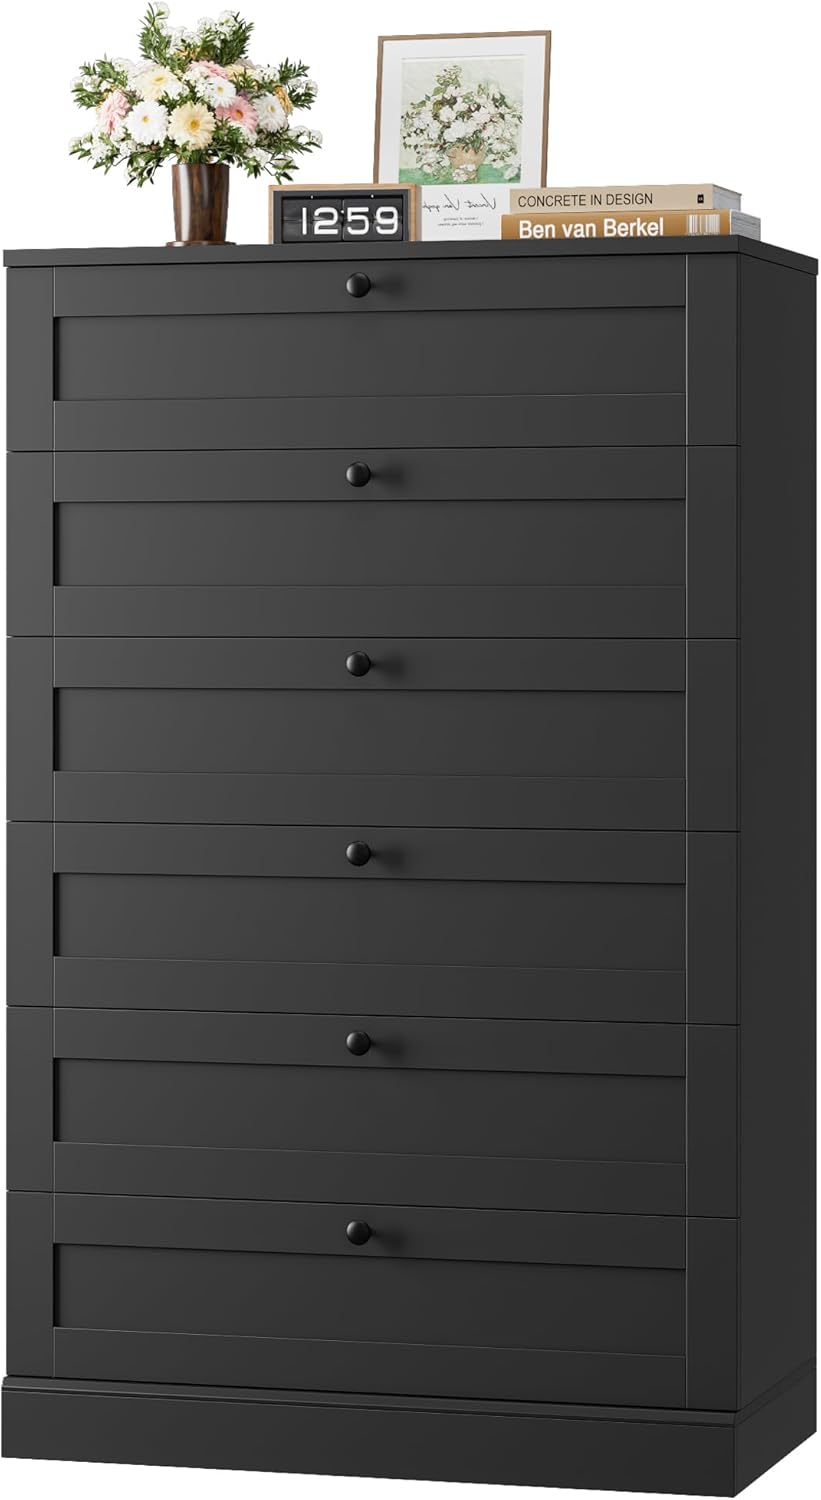
The HOSTACK 6-Drawer Tall Dresser is designed for organized storage in various rooms such as bedrooms, living rooms, entryways, or hallways.
Drawer Usage:
- Gently pull and push drawers using the provided knobs.
- Avoid forcing drawers open or closed. If a drawer sticks, check for obstructions or misalignment of the slides.
- For stability, avoid opening more than one drawer at a time, especially the upper drawers, if the dresser is not securely anchored to a wall.
Weight Capacity:
- Each drawer supports up to 22 lbs (10 kg).
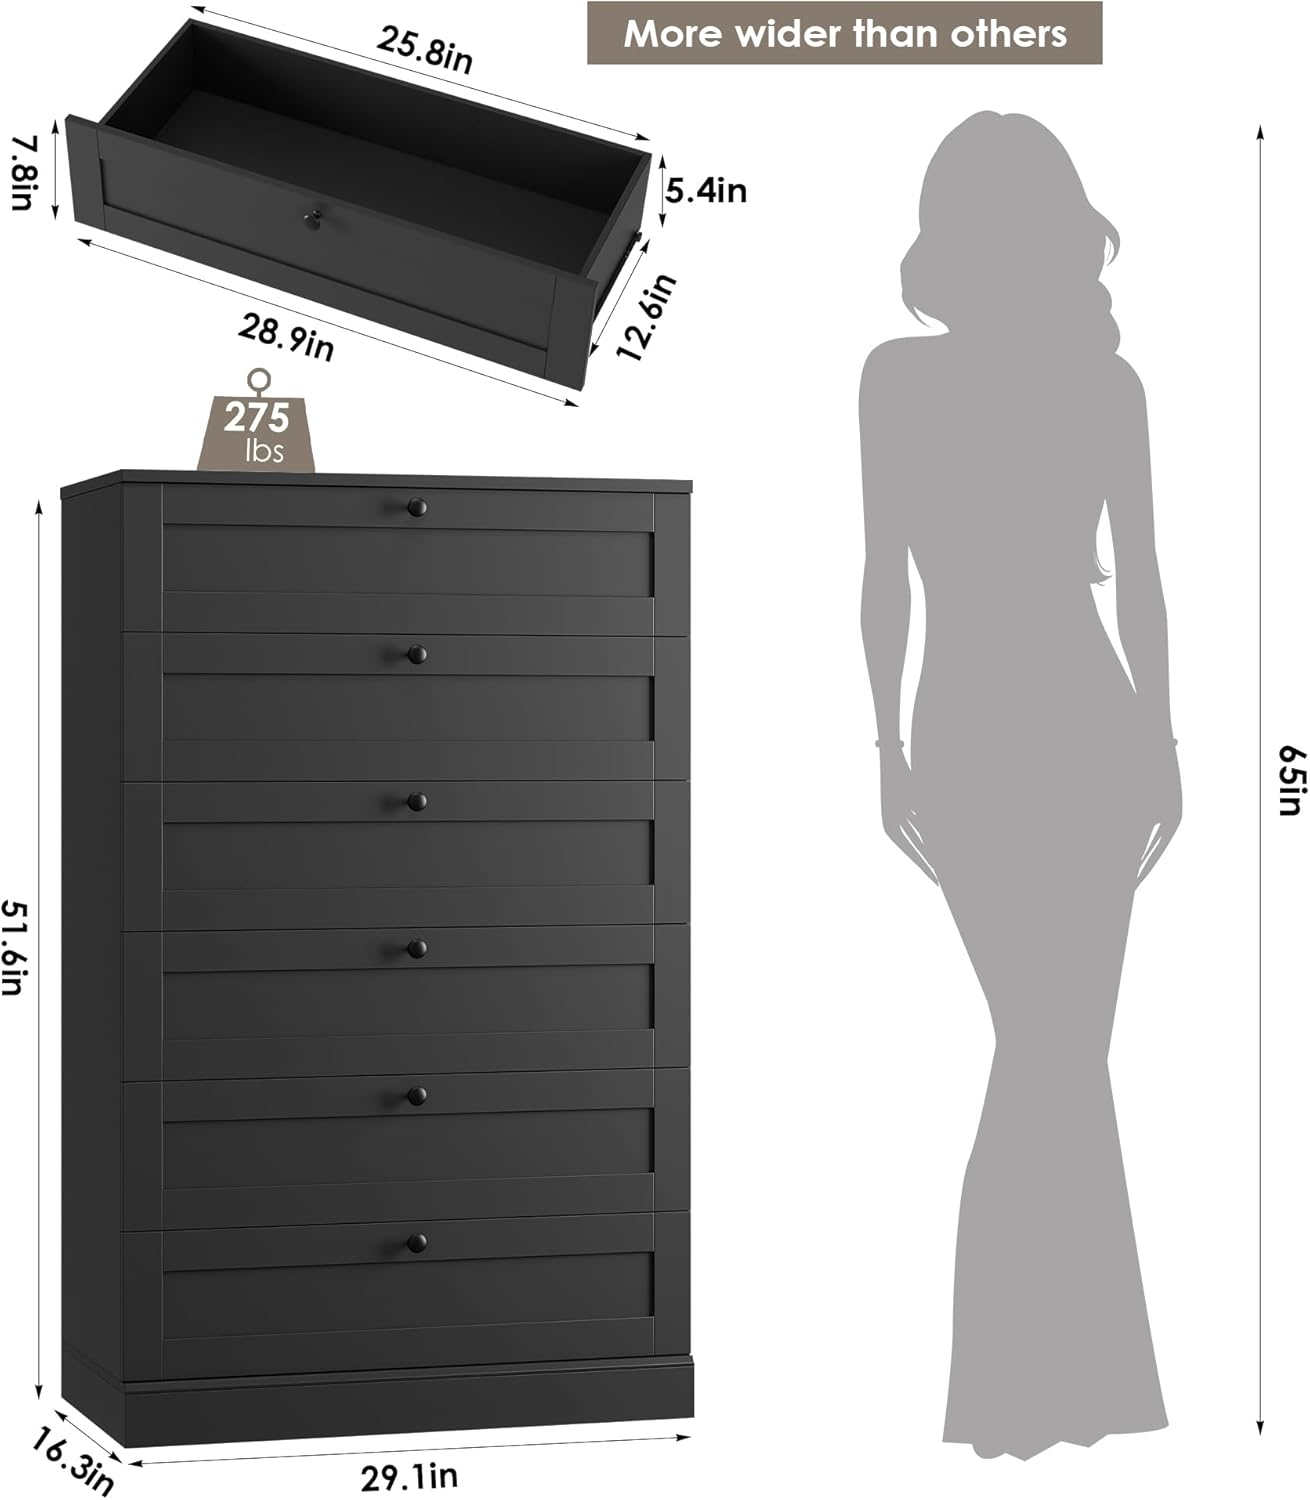
- The top surface supports up to 275 lbs (125 kg).
- Distribute weight evenly within drawers and on the top surface to maintain stability and prevent damage.

Maintenance
Cleaning:
- Wipe surfaces with a soft, damp cloth.
- Avoid using harsh chemicals, abrasive cleaners, or polishes that may damage the finish.
- Promptly clean up spills to prevent staining or damage to the wood.
Care:
- Periodically check all screws and hardware to ensure they remain tight. Retighten as necessary.
- Keep the dresser away from direct sunlight and extreme temperature changes to prevent warping or fading.
- Avoid placing hot items directly on the top surface; use coasters or protective pads.
Troubleshooting
| Problem | Possible Cause | Solution |
|---|---|---|
| Drawers do not slide smoothly. | Misaligned drawer slides; obstructions in the drawer track; loose hardware. | Check that drawer slides are correctly installed and aligned. Remove any debris from tracks. Ensure all screws on slides are tightened. |
| Dresser feels unstable or wobbly. | Loose assembly hardware; uneven floor; anti-tipping device not installed. | Retighten all assembly screws. Ensure the dresser is on a level surface. Install the anti-tipping device securely to a wall stud. |
| Drawer front detaches. | Cam lock or screw not fully engaged. | Re-examine the connection points for the drawer front. Ensure cam locks are fully turned and screws are tightened into their respective cam nuts. |
Specifications
| Feature | Detail |
|---|---|
| Brand | HOSTACK |
| Model Number | B0FDPZSQGT |
| Color | Black |
| Product Dimensions (D x W x H) | 16.3"D x 29.1"W x 51.6"H |
| Number of Drawers | 6 |
| Drawer Weight Capacity | Up to 22 lbs (10 kg) per drawer |
| Top Surface Weight Capacity | Up to 275 lbs (125 kg) |
| Assembly Required | Yes |
| Material | Engineered Wood |
Warranty Information
HOSTACK products are manufactured with quality and durability in mind. While specific warranty details are not provided in this manual, please refer to your purchase documentation or contact HOSTACK customer support for information regarding warranty coverage and terms.
Support and Contact Information
If you have any questions, require assistance with assembly, or need to report missing/damaged parts, please contact HOSTACK customer support.
Customer Service: Please message us via the "Contact Seller" option on Amazon for any questions. Our support team offers 7/24 service and is always ready to help you.
For more information about HOSTACK products, visit the official HOSTACK Store on Amazon.