1. Introduction
This manual provides essential information for the safe and effective operation of your wheelfun 1/50 RC Excavator K970 Engineering Vehicle. This hobby-grade model features a compact design, metal components, an electric lifting system, realistic LED lights, and a simulated sound unit for an immersive experience. Please read these instructions thoroughly before use.
2. Safety Information
- Adult Supervision: Recommended for users 21 years and up. Adult supervision is advised during operation.
- Battery Safety: Use only the provided battery and charging cables. Do not overcharge or short-circuit batteries. Keep batteries away from heat and open flames.
- Environmental Conditions: Avoid operating the excavator in wet conditions, extreme temperatures, or on uneven terrain that could cause damage.
- Moving Parts: Keep fingers, hair, and loose clothing away from moving parts, such as tracks and the excavator arm, to prevent injury.
- Choking Hazard: Small parts may be a choking hazard. Keep away from young children.
3. Package Contents
Verify that all items listed below are included in your package:
- 1x 1/50 RC Excavator K970
- 1x Remote Control Transmitter
- 1x Rechargeable Battery for Excavator
- 2x USB Charging Cables
- 1x Set of Spare Tracks
- 1x Instruction Manual (this document)

Image 3.1: Complete package contents including the K970 excavator, remote control, battery, charging cables, and spare tracks.
4. Setup
4.1. Charging the Excavator Battery
- Locate the battery compartment on the excavator, typically under a removable panel on the top or side.
- Carefully open the compartment and connect the excavator's rechargeable battery to one of the provided USB charging cables.
- Plug the USB cable into a compatible USB power source (e.g., computer, wall adapter). The indicator light on the cable will show charging status (e.g., red for charging, green for fully charged).
- Allow the battery to fully charge before first use (approximately 2-3 hours). The smart battery protection system prevents overcharging.

Image 4.1: View of the excavator's battery compartment, showing where the rechargeable battery is inserted.
4.2. Installing Remote Control Batteries
The remote control typically requires 2x AA batteries (not included). Open the battery cover on the back of the remote control and insert the batteries, ensuring correct polarity.
4.3. Powering On and Pairing
- Turn on the excavator using the power switch (usually located near the battery compartment).
- Turn on the remote control using its power switch.
- The remote and excavator should automatically pair. If not, refer to the troubleshooting section.
5. Operating Instructions
Familiarize yourself with the remote control layout and functions:
- Left Joystick: Controls forward/backward movement of the tracks.
- Right Joystick: Controls left/right turning of the tracks.
- Arm Control Buttons: Separate buttons control the main arm's up/down movement, the forearm's extension/retraction, and the bucket's scooping/dumping action.
- Cab Rotation: A dedicated button or joystick movement allows the excavator's cab to rotate 360 degrees.
- Lights Button: Activates the realistic LED arm spotlights and cab-top warning lights. Multiple presses may cycle through different warning light modes.
- Sound Button: Toggles the simulated engine and operation sounds on/off.
Video 5.1: Demonstration of the wheelfun 1/50 RC Excavator K970's operational movements and features.

Image 5.2: Detailed view of the excavator's metal bucket, highlighting its robust construction for digging.
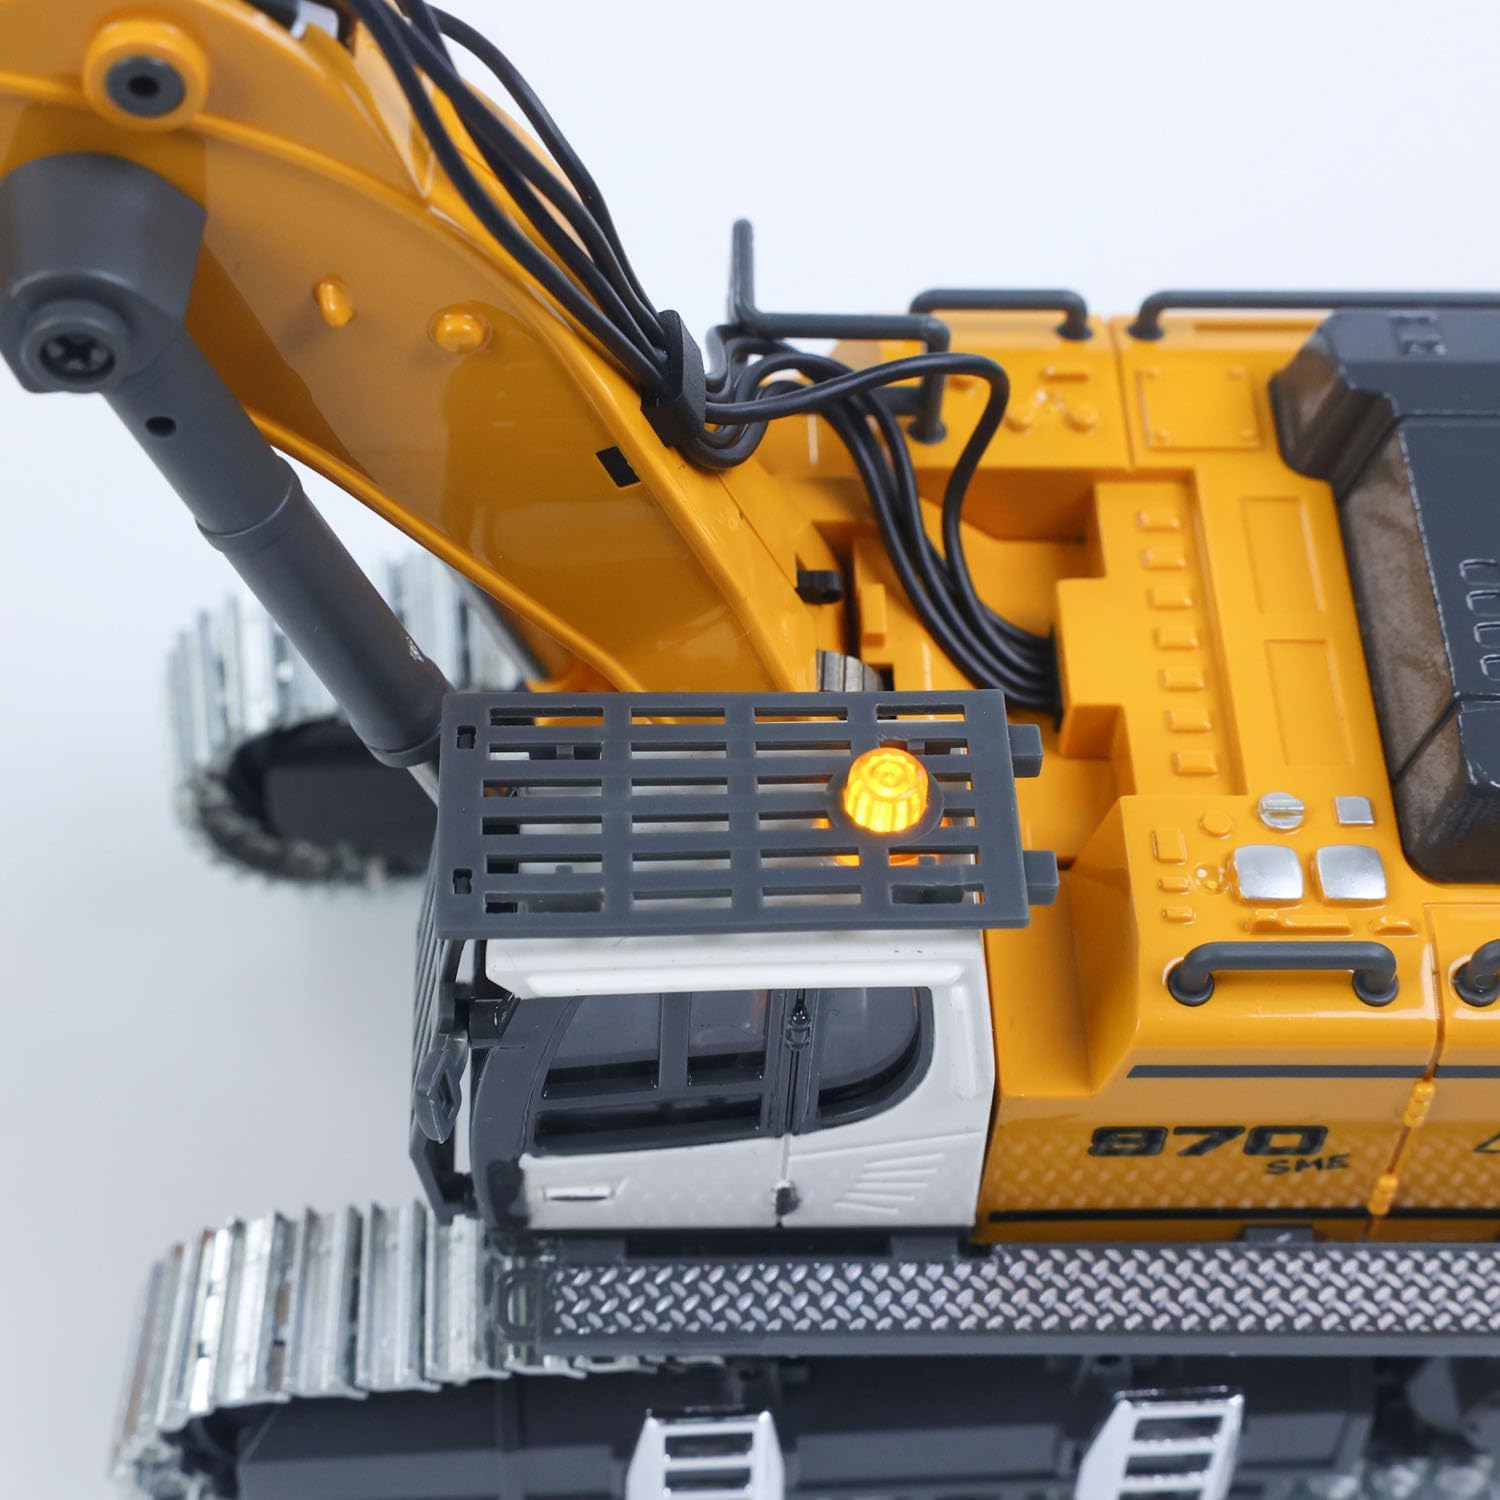
Image 5.3: The cab-top warning light, which can be activated for realistic operation.
6. Maintenance
- Cleaning: After use, especially if operating in dirt or sand, gently wipe down the excavator with a dry, soft cloth to remove debris. Avoid using water or harsh chemicals.
- Track Inspection: Regularly inspect the metal tracks for any trapped debris or signs of wear. Use the provided spare tracks for replacement if necessary.
- Battery Storage: For long-term storage, ensure the battery is partially charged (around 50%) and stored in a cool, dry place. Remove batteries from the remote control if not in use for extended periods.
- General Care: Store the excavator and remote control in their original packaging or a protective case to prevent damage.

Image 6.1: Detailed view of the excavator's metal tracks, designed for durability and realistic movement.
7. Troubleshooting
| Problem | Possible Cause | Solution |
|---|---|---|
| Excavator does not turn on. | Battery is low or not connected; power switch is off. | Charge the excavator battery; ensure battery is securely connected; turn on the power switch. |
| Remote control does not respond. | Remote control batteries are low or incorrectly installed; not paired. | Replace remote control batteries; ensure correct polarity; turn off both devices and restart to re-pair. |
| Weak or erratic movement. | Low excavator battery; interference. | Fully charge the excavator battery; operate in an open area away from other electronic devices. |
| Tracks are stuck or not moving smoothly. | Debris caught in tracks; tracks are worn. | Clear any debris from the tracks; replace worn tracks with spare parts. |
8. Specifications
- Scale: 1/50
- Product Dimensions: 14 x 8 x 4.4 inches
- Item Weight: 3.3 pounds
- Model Number: TH25328-AMZUS2-S
- Recommended Age: 21 years and up
- Features: Metal bucket, metal tracks, metal upper hull, electric lifting system, realistic LED lights (3 modes), simulated sound unit, Ready-to-Run (RTR), smart battery protection.
9. Warranty and Support
For warranty information, technical support, or replacement parts, please refer to the manufacturer's official website or contact their customer service department. Keep your purchase receipt as proof of purchase.
The manufacturer offers a professional after-sales team and technical maintenance team. Technicians can provide guidance in English through video or text for repairs.