1. Introduction
Thank you for choosing the Pawfly Mini Aquarium Air Pump and Filter Kit. This product is designed to provide efficient oxygenation and filtration for small fish tanks ranging from 1 to 15 gallons. Its ultra-quiet operation ensures a peaceful environment for both you and your aquatic pets. Please read this manual thoroughly before installation and operation to ensure proper use and longevity of your device.
2. Safety Instructions
- Always disconnect the power supply before performing any maintenance or cleaning.
- Do not submerge the air pump unit in water. It is designed for external use only.
- Ensure the power cord is not damaged and is placed where it cannot be tripped over or damaged by water.
- The check valve is crucial for preventing water back-siphoning into the air pump during power outages. Install it correctly as instructed.
- This product is intended for indoor use with aquariums only.
- Keep out of reach of children.
3. Package Contents
Verify that all components are present in your package:
- Mini Air Pump
- Mini Sponge Filter
- Air Tubing
- Air Stone
- Check Valve
- Pump Suction Cup
- Tubing Suction Cups (3x)
- Clip for Pump Mounting
- Replacement Sponge
- Instruction Manual

Image: Complete Oxygen Aerator Kit showing all included parts.
4. Setup Guide
Follow these steps for proper installation of your Pawfly Mini Aquarium Air Pump and Filter Kit:
- Prepare Air Tubing: Cut a section of the air tubing to connect the air pump to the check valve, and another section to connect the check valve to the sponge filter.
- Connect Check Valve: Connect the check valve to the air tubing. Ensure the arrowhead on the check valve points towards the sponge filter (away from the pump) to prevent back-siphoning.
- Connect Sponge Filter: Attach the air tubing from the check valve to the inlet of the mini sponge filter.
- Mount the Pump: You have two mounting options for the air pump:
- Clip-On Mounting: Attach the black clip to the air pump and secure it to the edge of your fish tank.
- Suction-Cup Attachment: Use the provided double-sided suction cup to attach the air pump to the outside wall of your tank.
- Position Filter: Place the sponge filter inside the aquarium. It will sink naturally. You can use the additional suction cups to secure the air tubing or filter if needed.
- Power Connection: Once all components are securely connected and positioned, plug the air pump into a suitable power outlet.
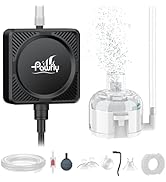
Image: Visual guide for installing the air pump kit.
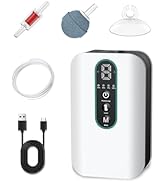
Image: Check valve installation for preventing water back-siphoning.

Image: Demonstrates clip-on and suction cup mounting options for the air pump.
5. Operating Instructions
Once installed, the Pawfly Mini Aquarium Air Pump operates continuously when plugged in. It provides a steady stream of fine bubbles through the air stone, ensuring optimal oxygenation for your fish tank. The integrated sponge filter simultaneously performs mechanical and biological filtration.

Image: Illustrates the ultra-quiet operation of the air pump, producing only 30 dB of noise.

Image: Explains the dual mechanical and biological filtration provided by the sponge filter.
6. Maintenance
Regular maintenance ensures the efficiency and longevity of your air pump and filter system.
6.1. Cleaning the Sponge Filter
The sponge filter should be cleaned regularly, typically once every 1-2 weeks, depending on the tank's bioload. Follow these steps:
- Disconnect the air pump from the power supply.
- Carefully remove the sponge filter from the aquarium.
- Pull off the suction cup from the filter base.
- Press the buckles inward to release the protective cover.
- Lift off the protective cover and remove the sponge and bio balls.
- Rinse the sponge and bio balls thoroughly with old aquarium water (from a water change) to preserve beneficial bacteria. Do not use tap water directly, as chlorine can harm beneficial bacteria.
- Reassemble the filter components in reverse order.
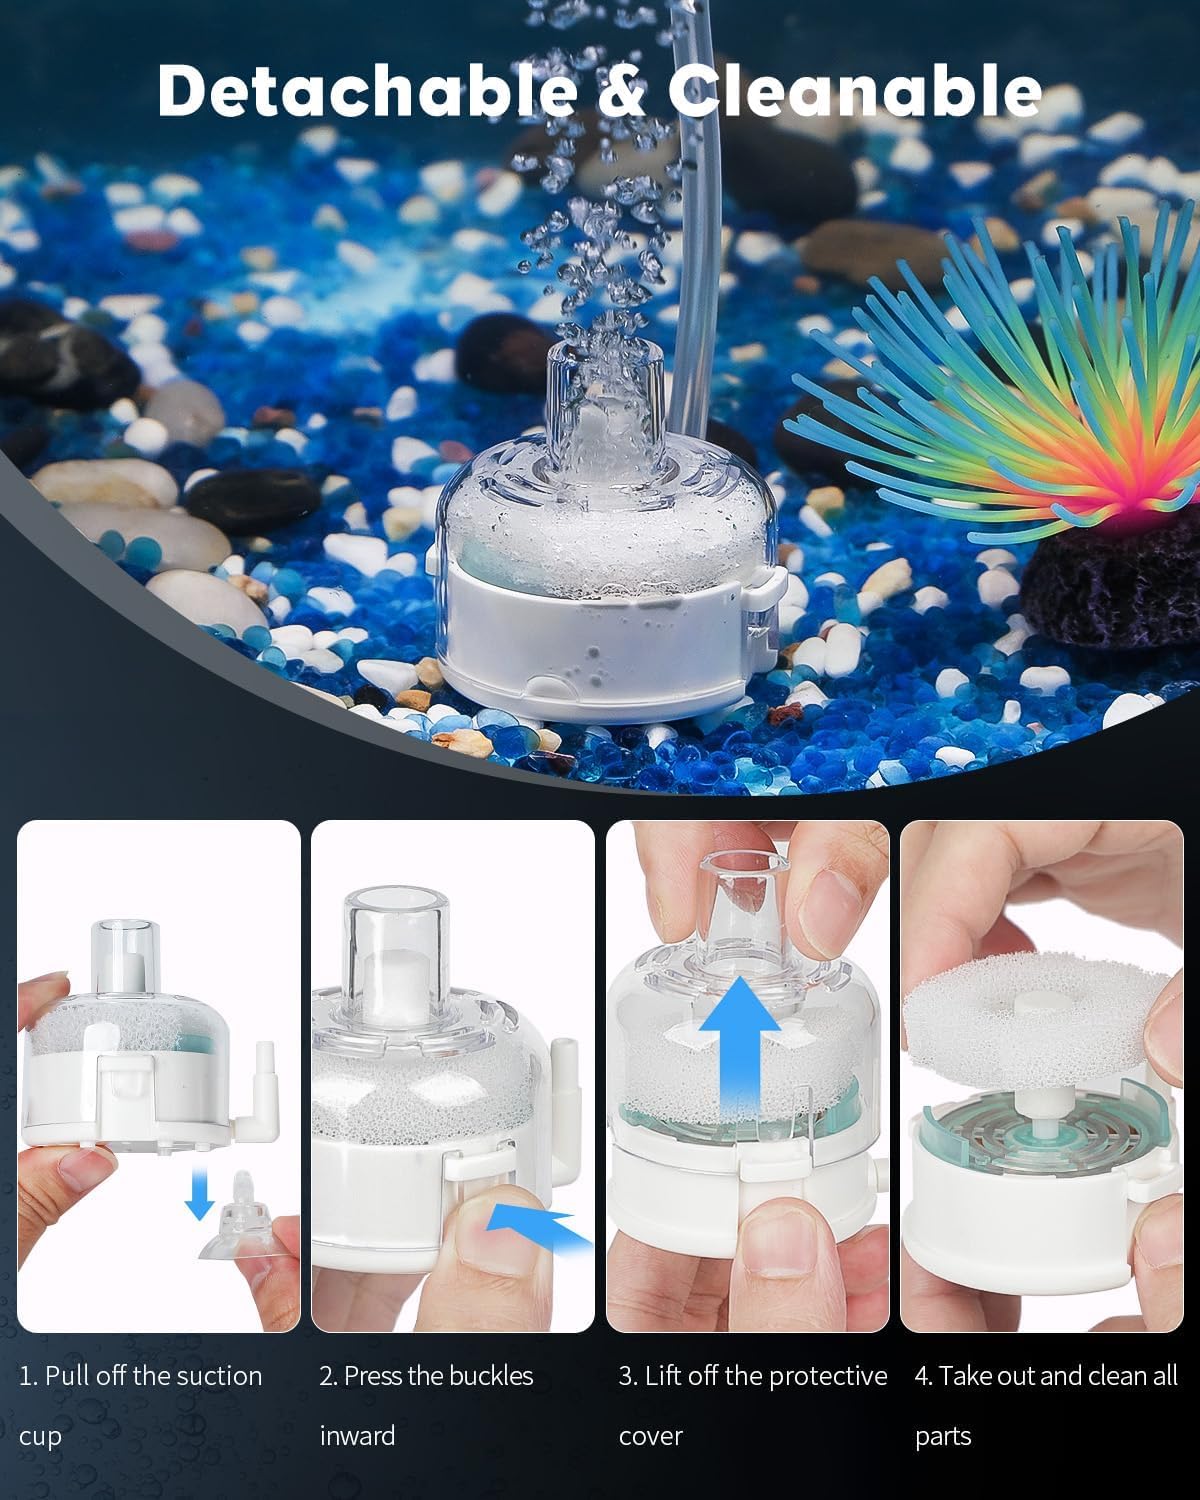
Image: Steps for detaching and cleaning the sponge filter components.
6.2. Air Stone and Tubing
- Periodically check the air stone for blockages. If bubble production decreases, clean or replace the air stone.
- Inspect the air tubing for kinks, cracks, or blockages. Replace if necessary to maintain optimal airflow.
7. Troubleshooting
| Problem | Possible Cause | Solution |
|---|---|---|
| No bubbles or low airflow |
|
|
| Pump is noisy |
|
|
| Water back-siphoning into pump |
|
|
8. Specifications
| Feature | Specification |
|---|---|
| Model Name | Pawfly-2441 |
| Tank Capacity | 1-15 Gallons (up to 60 L) |
| Max Air Flow Rate | 7.1 GPH (27 L/h) |
| Power | 1.3 W |
| Voltage | AC 110V |
| Frequency | 60 Hz |
| Pressure | 0.012 MPa |
| Noise Level | ≤ 30 dB |
| Pump Dimensions | 2" L x 2" W x 0.7" H (5 cm L x 5 cm W x 1.8 cm H) |
| Material | Plastic, Grain |
| Color | Black |

Image: Dimensions and detailed specifications of the air pump.
9. Warranty Information
This Pawfly product comes with a 1 Year Warranty from the date of purchase. This warranty covers manufacturing defects under normal use. It does not cover damage resulting from misuse, accident, unauthorized modification, or improper installation. Please retain your proof of purchase for warranty claims.
10. Support
For further assistance, technical support, or warranty inquiries, please contact Pawfly customer service. Refer to the contact information provided on the product packaging or the official Pawfly website.


