1. Introduction
Welcome to the SORDA SD-513 Portable Bluetooth Karaoke Machine user manual. This guide provides essential information for setting up, operating, and maintaining your karaoke system. Please read this manual thoroughly to ensure optimal performance and a fun experience with your new device.
2. What's in the Box
Upon unpacking, please verify that all the following items are included:
- 1 x Karaoke Machine with Party Light
- 2 x Wireless Microphones
- 1 x Auxiliary Cable
- 1 x USB-C Charging Cable
- 1 x User Manual

Figure 2.1: Contents of the SORDA SD-513 package.
3. Product Overview
The SORDA SD-513 is a compact and versatile karaoke system designed for ease of use and portability.
3.1 Main Unit
- Speaker: Features a 5-inch full-range speaker with 15W output for clear audio.
- Control Panel: Intuitive buttons for various functions and a volume knob.
- LED Display: Shows current mode, microphone status, and volume level.
- Handle: 90-degree adjustable carry handle for easy transport.
- Microphone Docks: Integrated slots for storing and charging wireless microphones.
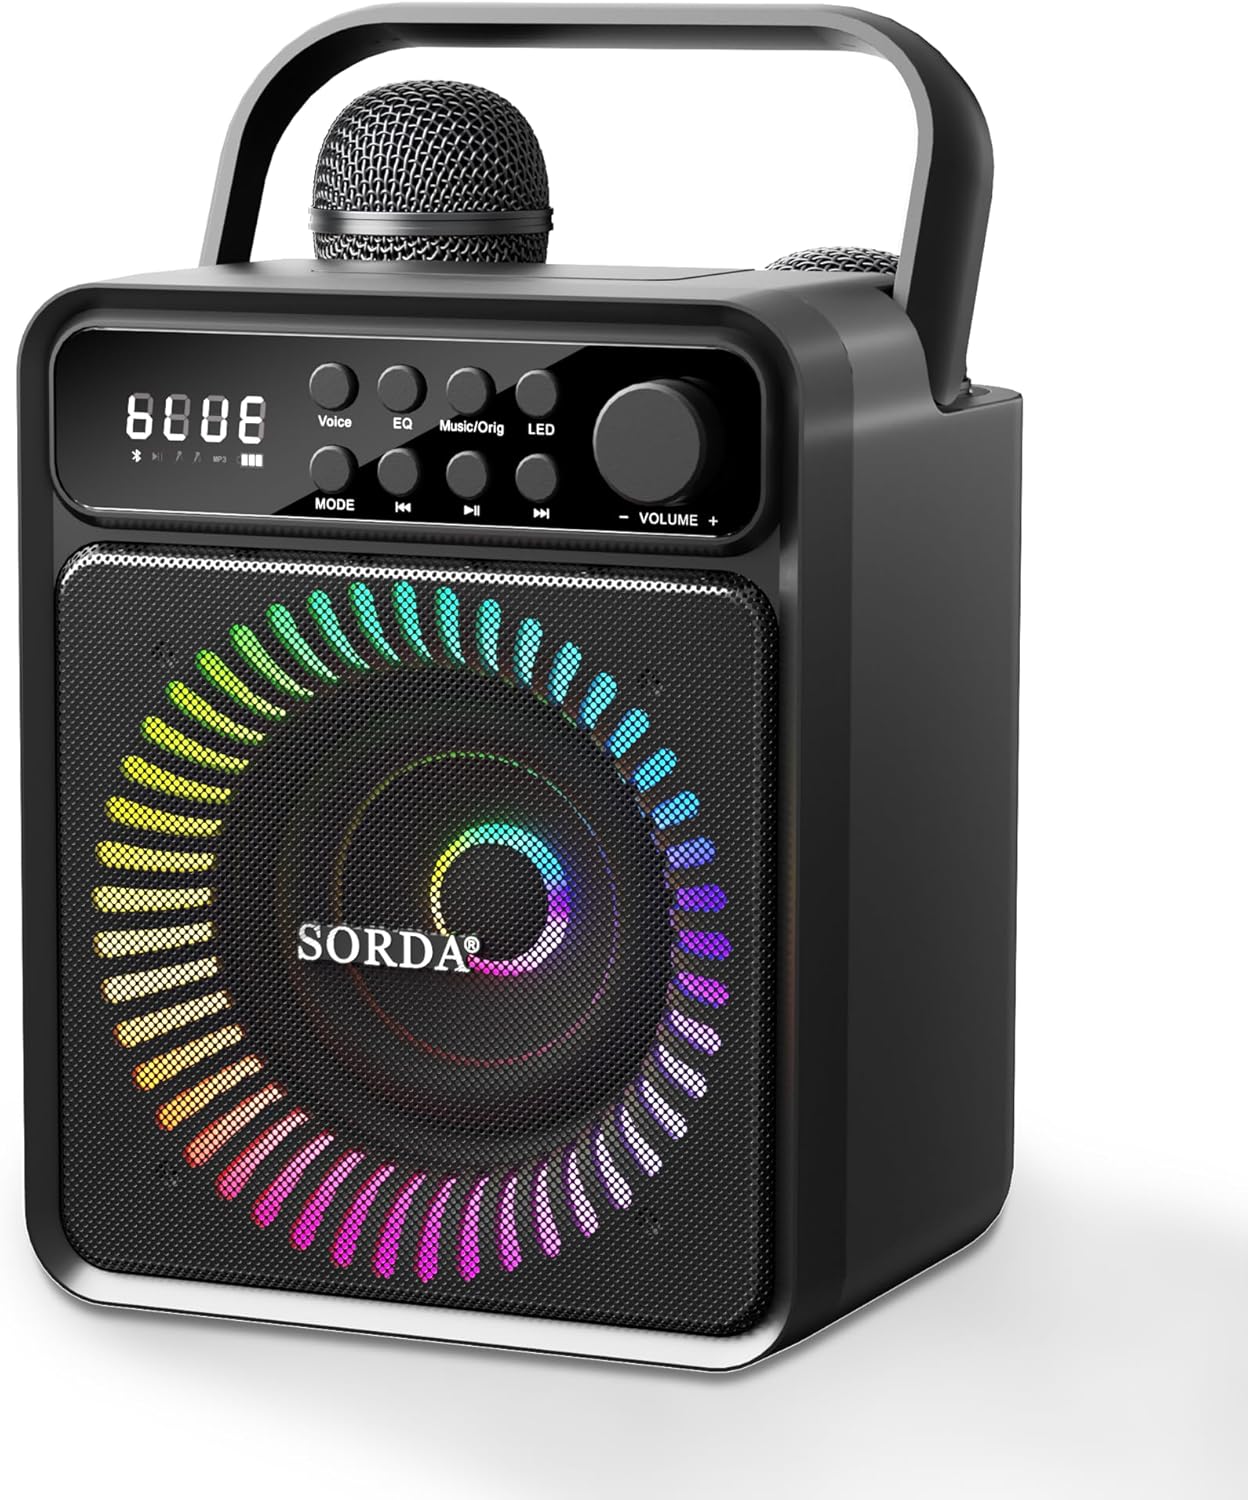
Figure 3.1: Front view of the karaoke machine.
3.2 Wireless Microphones
- Quantity: Two 2.4GHz wireless microphones included.
- Range: Up to 32 feet, suitable for outdoor events.
- Controls: Independent volume, echo/reverb, and voice change functions.
- Charging: Rechargeable via USB-C or directly in the speaker docks.
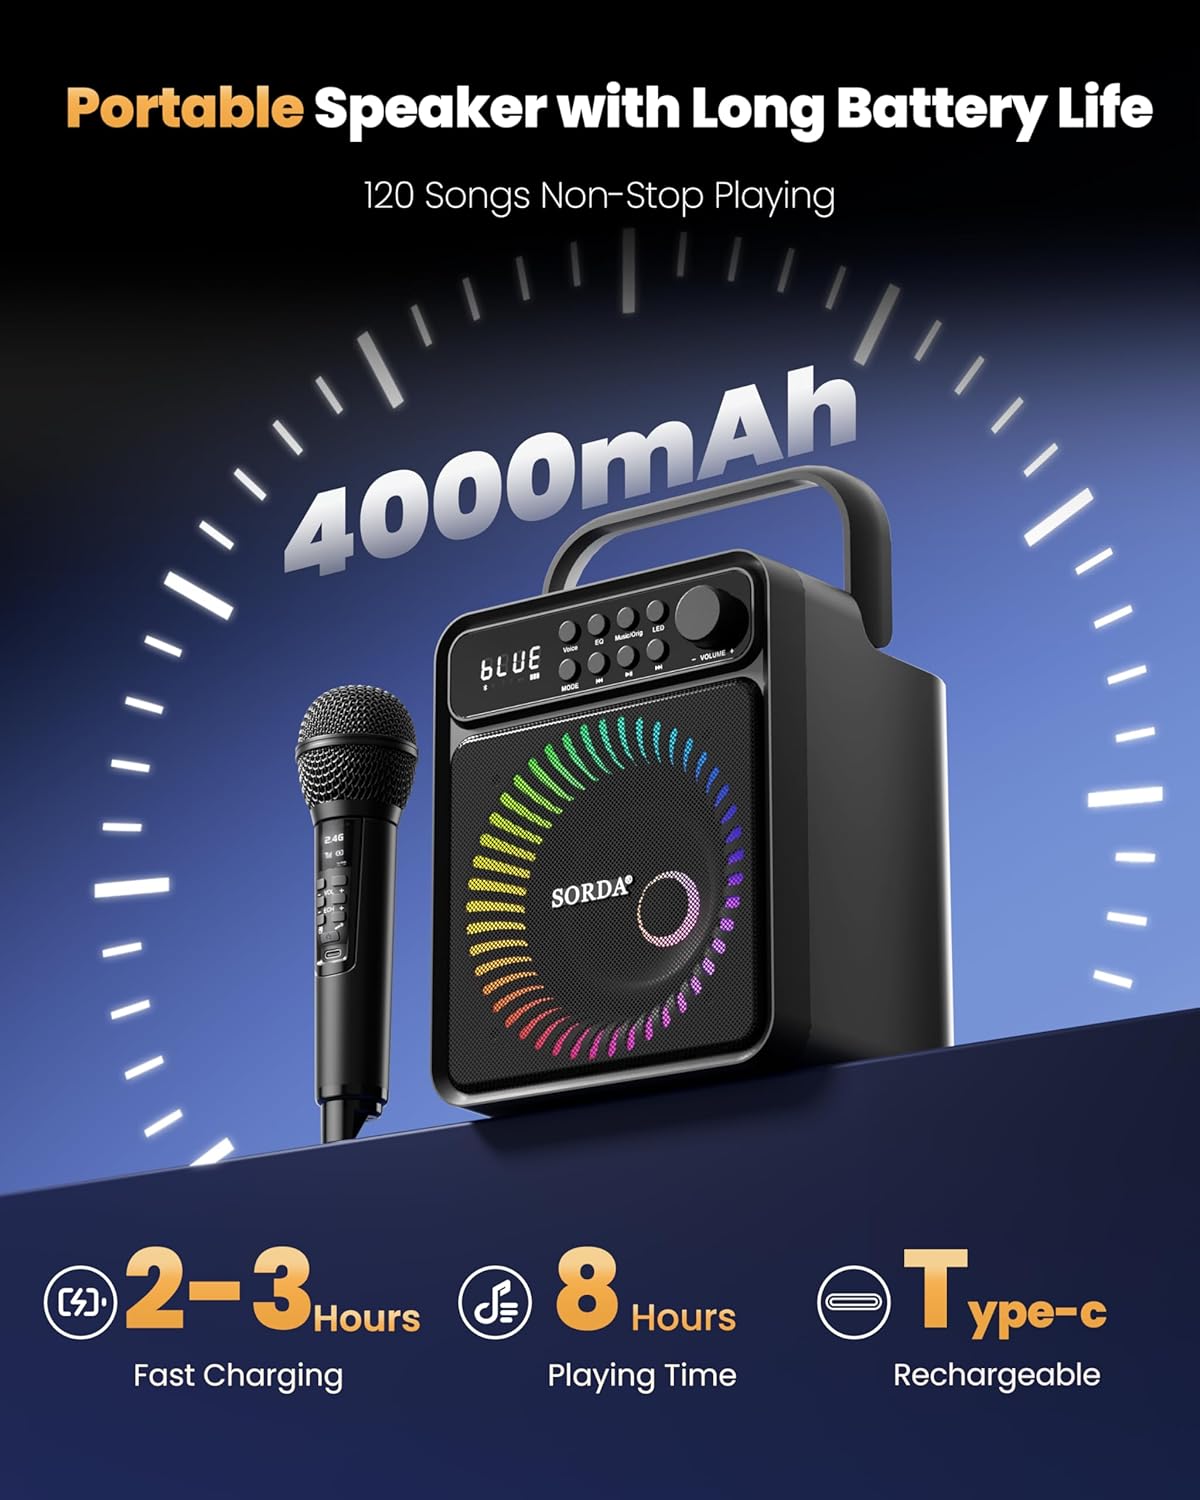
Figure 3.2: Wireless microphones docked in the main unit.
3.3 Connectivity & Power
- Bluetooth: Version 5.3 for stable and smooth streaming.
- Ports: USB for playback, AUX IN for external devices, AUX OUT for connecting a second speaker.
- Battery: Large-capacity 4000mAh lithium battery.
- Power Bank: Doubles as a power bank to charge phones via USB.

Figure 3.3: Rear panel ports and controls.
4. Setup
4.1 Initial Charging
- Before first use, fully charge the karaoke machine and both wireless microphones.
- Connect the provided USB-C charging cable to the DC 5V port on the back of the main unit.
- The microphones can be charged by placing them in their respective docks on the main unit, or individually using a USB-C cable.
- Charging typically takes 2-3 hours for a full charge.

Figure 4.1: Dual charging options for microphones.
4.2 Power On/Off
- Locate the ON/OFF switch on the back panel of the main unit.
- Slide the switch to the 'ON' position to power on the device. The LED display will light up.
- To power off, slide the switch to the 'OFF' position.
4.3 Bluetooth Pairing
- Ensure the karaoke machine is powered on and in Bluetooth mode (indicated by 'BLUE' on the LED display). If not, press the 'MODE' button to switch.
- On your smart device (phone, tablet, TV, PC), enable Bluetooth and search for available devices.
- Select 'SORDA SD-513' from the list to pair. A confirmation sound will indicate successful pairing.
4.4 Microphone Connection
- Power on each wireless microphone using its dedicated power button.
- The microphones will automatically connect to the main unit. The microphone's display will show '2.4G' and signal strength.
5. Operating Instructions
5.1 Main Unit Controls

Figure 5.1: Main unit control panel.
- MODE: Press to cycle through input modes (Bluetooth, USB, AUX).
- Voice: Activates 5 different magic voice changing effects.
- EQ: Selects from 5 professional equalizer presets (Pop, Rock, Classic, etc.) to adjust sound output.
- Music/Orig: Toggles vocal cancellation for tracks, allowing you to sing along to instrumental versions.
- LED: Changes between 4 LED light modes. Lights pulse to the beat of the music.
- Play/Pause (►▮): Plays or pauses the current track.
- Previous Track (◀◀): Skips to the beginning of the current track or the previous track.
- Next Track (►►): Skips to the next track.
- Volume Knob: Rotate to increase (+) or decrease (-) the main speaker volume.
5.2 Microphone Controls
- VOL +/-: Adjusts the individual microphone's volume.
- ECH +/-: Adjusts the echo/reverb effect for the microphone.
- Voice Change: (Refer to main unit 'Voice' button for primary voice effects, some microphones may have dedicated buttons for quick access).
5.3 External Device Connections
- USB Playback: Insert a USB flash drive containing MP3 files into the USB-A port for direct playback.
- AUX IN: Connect external audio devices (e.g., MP3 player, older phone) using the provided auxiliary cable to the AUX IN port.
- AUX OUT (True Stereo Sound): Connect the AUX OUT port to the AUX IN of a second SORDA speaker (sold separately) for synchronized, immersive true stereo sound.

Figure 5.2: Connecting for true stereo sound.
6. Maintenance
Proper maintenance ensures the longevity and optimal performance of your karaoke machine.
- Cleaning: Use a soft, dry cloth to clean the exterior of the unit and microphones. Avoid using abrasive cleaners, solvents, or harsh chemicals.
- Storage: Store the device in a cool, dry place away from direct sunlight and extreme temperatures when not in use. Ensure microphones are docked or stored safely.
- Battery Care: To prolong battery life, avoid fully discharging the unit frequently. Charge the device regularly, even if not in active use.
- Handling: Handle the unit and microphones with care. Avoid dropping or subjecting them to strong impacts.
7. Troubleshooting
If you encounter any issues, please refer to the following common troubleshooting steps:
| Problem | Possible Solution |
|---|---|
| No power | Ensure the unit is fully charged. Check the ON/OFF switch position. |
| No sound from speaker | Check the main volume knob. Ensure the correct input mode (Bluetooth, USB, AUX) is selected. Verify volume on the connected device. |
| Microphone feedback/squealing | Avoid holding the microphone too close to the speaker. Reduce microphone volume or echo effect. |
| Bluetooth connection fails | Ensure Bluetooth is enabled on your device and the karaoke machine is in Bluetooth mode. Move devices closer. Forget 'SORDA SD-513' from your device's Bluetooth list and re-pair. |
| Microphones not working | Ensure microphones are powered on and fully charged. Check microphone volume levels. |
8. Specifications
- Model Number: SD-513
- Item Weight: 3.87 pounds
- Product Dimensions: 8.89 x 6.77 x 7.09 inches
- Speaker: 5-inch full-range, 15 Watts output
- Connectivity: Bluetooth 5.3, USB, AUX IN, AUX OUT
- Microphones: 2 x 2.4GHz Wireless, Rechargeable (32ft range)
- Battery: 4000mAh Lithium Ion (12V included)
- Charging Time: 2-3 hours
- Playing Time: 6-8 hours
- Material: Acrylonitrile Butadiene Styrene (ABS)
- Special Features: Built-In Handle, Echo Effect, 4 LED Light Modes, Lightweight, Voice Changer, Power Bank Function

Figure 8.1: Professional Hi-Fi Sound features.

Figure 8.2: Battery life and charging details.
9. Warranty & Support
- Warranty: SORDA offers a 12-month warranty for this product.
- Customer Support: If you encounter any issues or have questions regarding your SORDA SD-513 Karaoke Machine, please contact SORDA customer service via Amazon.