Introduction
This manual provides essential information for the installation, operation, and maintenance of your Generic Crankshaft Position Sensor, Model 39180-2B000. This sensor is designed to provide accurate data for optimal engine performance and fuel efficiency in compatible Kia Optima, Forte, and Rio vehicles. Please read this manual thoroughly before installation and use.
Product Overview and Function
The Crankshaft Position Sensor is a critical component in your vehicle's engine management system. It provides vital information to the engine control unit (ECU) regarding the crankshaft's rotational speed and position. This data is used by the ECU to determine ignition timing, fuel injection timing, and other engine parameters, ensuring smooth operation and efficient combustion.
The sensor is constructed from durable plastic and metal materials, designed for long-term reliability and performance in automotive environments.

Figure 1: Main view of the Crankshaft Position Sensor, showing the sensor body, wiring, and connector.
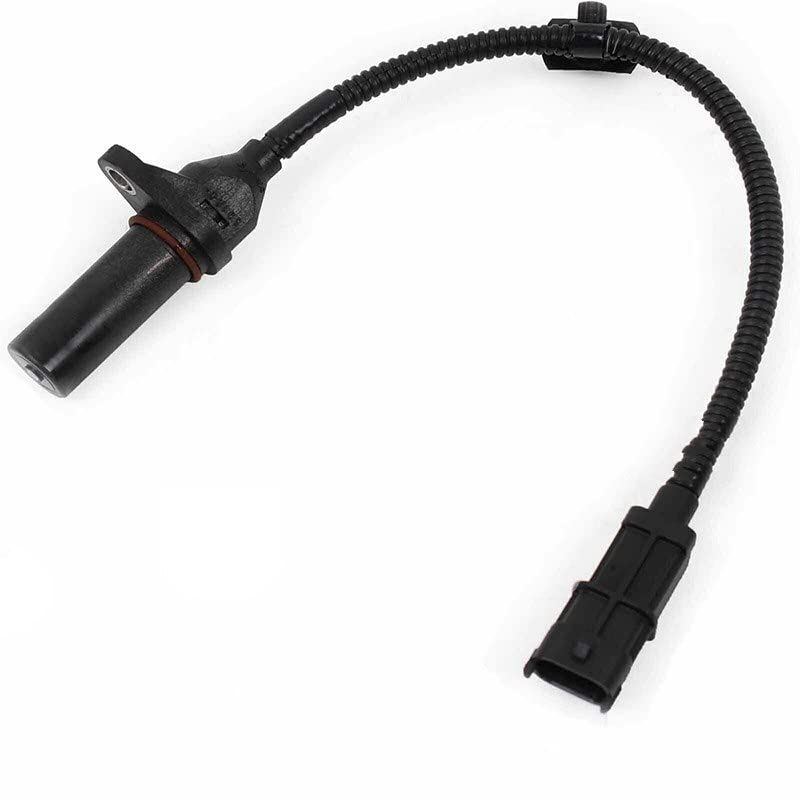
Figure 2: Angled view of the sensor, highlighting the robust construction and connection point.
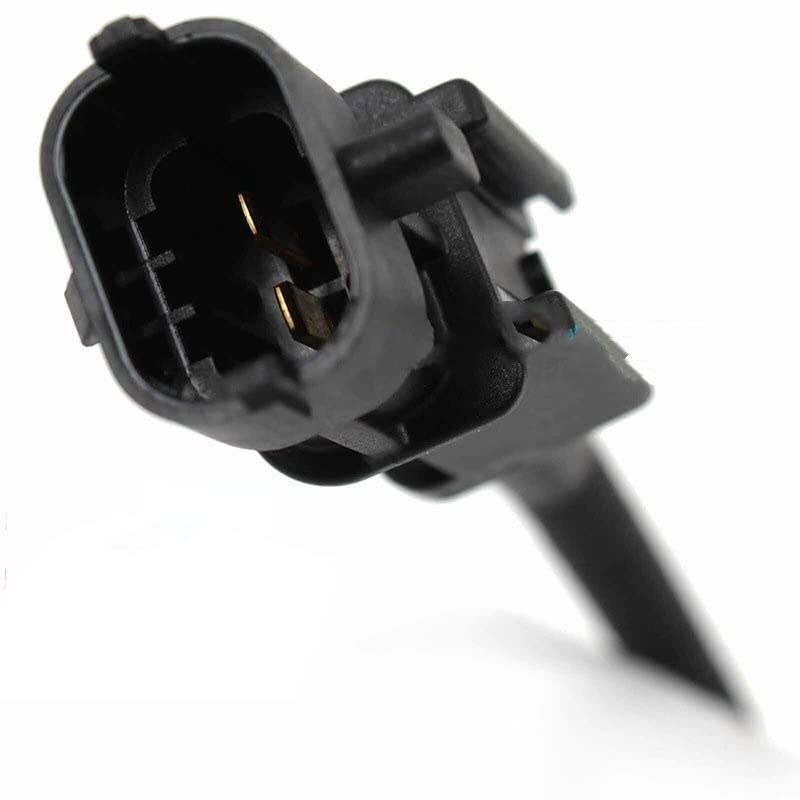
Figure 3: Close-up view of the electrical connector, showing the pin configuration for secure attachment.
Specifications
| Attribute | Detail |
|---|---|
| Model Number | 39180-2B000 |
| Compatible Vehicles | Kia Optima, Forte, Rio (Please verify part number for exact fitment) |
| Function | Provides ignition time, confirms crankshaft position signal, detects crankshaft angle, engine speed, piston end position, and ignition cylinder end signal. |
| Material | High-quality plastic and metal |
| Manufacturer | Morning Mo |
| Country of Origin | China |
Installation
Installation of a crankshaft position sensor typically requires mechanical knowledge and specific tools. If you are not confident in performing this procedure, it is recommended to seek assistance from a qualified automotive technician.
General Installation Steps:
- Safety First: Ensure the vehicle is turned off, the ignition key is removed, and the battery's negative terminal is disconnected to prevent accidental starting or electrical shorts. Allow the engine to cool down if it has been recently running.
- Locate the Sensor: Identify the location of the existing crankshaft position sensor. This can vary by vehicle model but is often found near the crankshaft pulley or flywheel. Consult your vehicle's service manual for the exact location.
- Disconnect Wiring: Carefully disconnect the electrical connector from the old sensor. Avoid pulling directly on the wires.
- Remove Old Sensor: Use the appropriate wrench or socket to unbolt and remove the old sensor from its mounting point. Note any O-rings or seals that may be present.
- Prepare New Sensor: Inspect the new sensor for any damage. If an O-ring is supplied, ensure it is properly seated. A small amount of clean engine oil can be applied to the O-ring to aid installation.
- Install New Sensor: Insert the new sensor into its mounting hole and hand-tighten the bolt. Then, tighten to the manufacturer's specified torque using a torque wrench. Do not overtighten.
- Reconnect Wiring: Reconnect the electrical connector to the new sensor, ensuring it clicks securely into place.
- Reconnect Battery: Reconnect the negative terminal of the vehicle's battery.
- Test Operation: Start the vehicle and check for any warning lights or abnormal engine behavior. It may be necessary to clear any stored diagnostic trouble codes (DTCs) using an OBD-II scanner.
Important Note: Always compare the new sensor with your original part and verify the part number (39180-2B000) to ensure compatibility with your specific vehicle year, make, and model. Incorrect part installation can lead to engine malfunction.
Operation
Once installed, the Crankshaft Position Sensor operates continuously while the engine is running. It generates a signal based on the rotation of the crankshaft, which typically has a reluctor wheel or tone ring. This signal is then sent to the vehicle's ECU. The ECU interprets this signal to precisely determine the crankshaft's angular position and rotational speed. This information is crucial for synchronizing ignition spark and fuel injection events, ensuring the engine runs smoothly, efficiently, and with optimal power output.
Maintenance
The Crankshaft Position Sensor is generally a maintenance-free component. However, regular vehicle maintenance practices can help ensure its longevity:
- Keep Engine Bay Clean: Periodically clean the engine bay to prevent excessive dirt, oil, or debris buildup around the sensor and its wiring.
- Inspect Wiring: During routine vehicle inspections, check the sensor's wiring and connector for any signs of wear, fraying, or corrosion. Ensure the connection remains secure.
- Avoid Physical Damage: Be mindful of the sensor's location during other engine work to avoid accidental impact or damage.
Troubleshooting
A faulty crankshaft position sensor can lead to various engine performance issues. Here are common symptoms and potential solutions:
- Engine Cranks but Won't Start:
Possible Cause: Sensor not sending a signal to the ECU.
Solution: Check sensor wiring and connector for looseness or damage. If intact, the sensor may need replacement.
- Intermittent Stalling or Misfires:
Possible Cause: Intermittent signal from the sensor due to internal fault or wiring issue.
Solution: Inspect wiring for fraying or corrosion. If symptoms persist, consider sensor replacement.
- Check Engine Light (CEL) Illuminated:
Possible Cause: ECU has detected an issue with the sensor's signal, often accompanied by specific diagnostic trouble codes (DTCs) like P0335.
Solution: Use an OBD-II scanner to retrieve DTCs. Diagnose based on the code. Sensor replacement is often indicated.
- Rough Idling or Poor Acceleration:
Possible Cause: Inaccurate or erratic signal affecting ignition and fuel timing.
Solution: Verify sensor connection. If performance issues continue, sensor replacement may be necessary.
For accurate diagnosis, it is highly recommended to consult a professional automotive technician or use an OBD-II diagnostic tool.
Warranty and Support
This product is manufactured to high-quality standards. For any issues or inquiries regarding the product, please refer to the seller's return and warranty policy as stated at the point of purchase. Your satisfaction is important, and support is typically available from the seller for any product-related concerns.
For technical assistance or further questions, please contact the manufacturer or seller directly. Please have your purchase details and the product model number (39180-2B000) ready when contacting support.
