1. Introduction
The GIGABYTE C500 Panoramic Stealth is a high-performance mid-tower PC gaming case designed for enthusiasts seeking optimal airflow and premium aesthetics. It supports a wide range of motherboard form factors, from Mini-ITX to ATX, and features versatile connectivity options including USB 3.2 Gen-2 Type-C. This manual provides essential information for setting up, operating, and maintaining your GIGABYTE C500 Panoramic Stealth PC case.
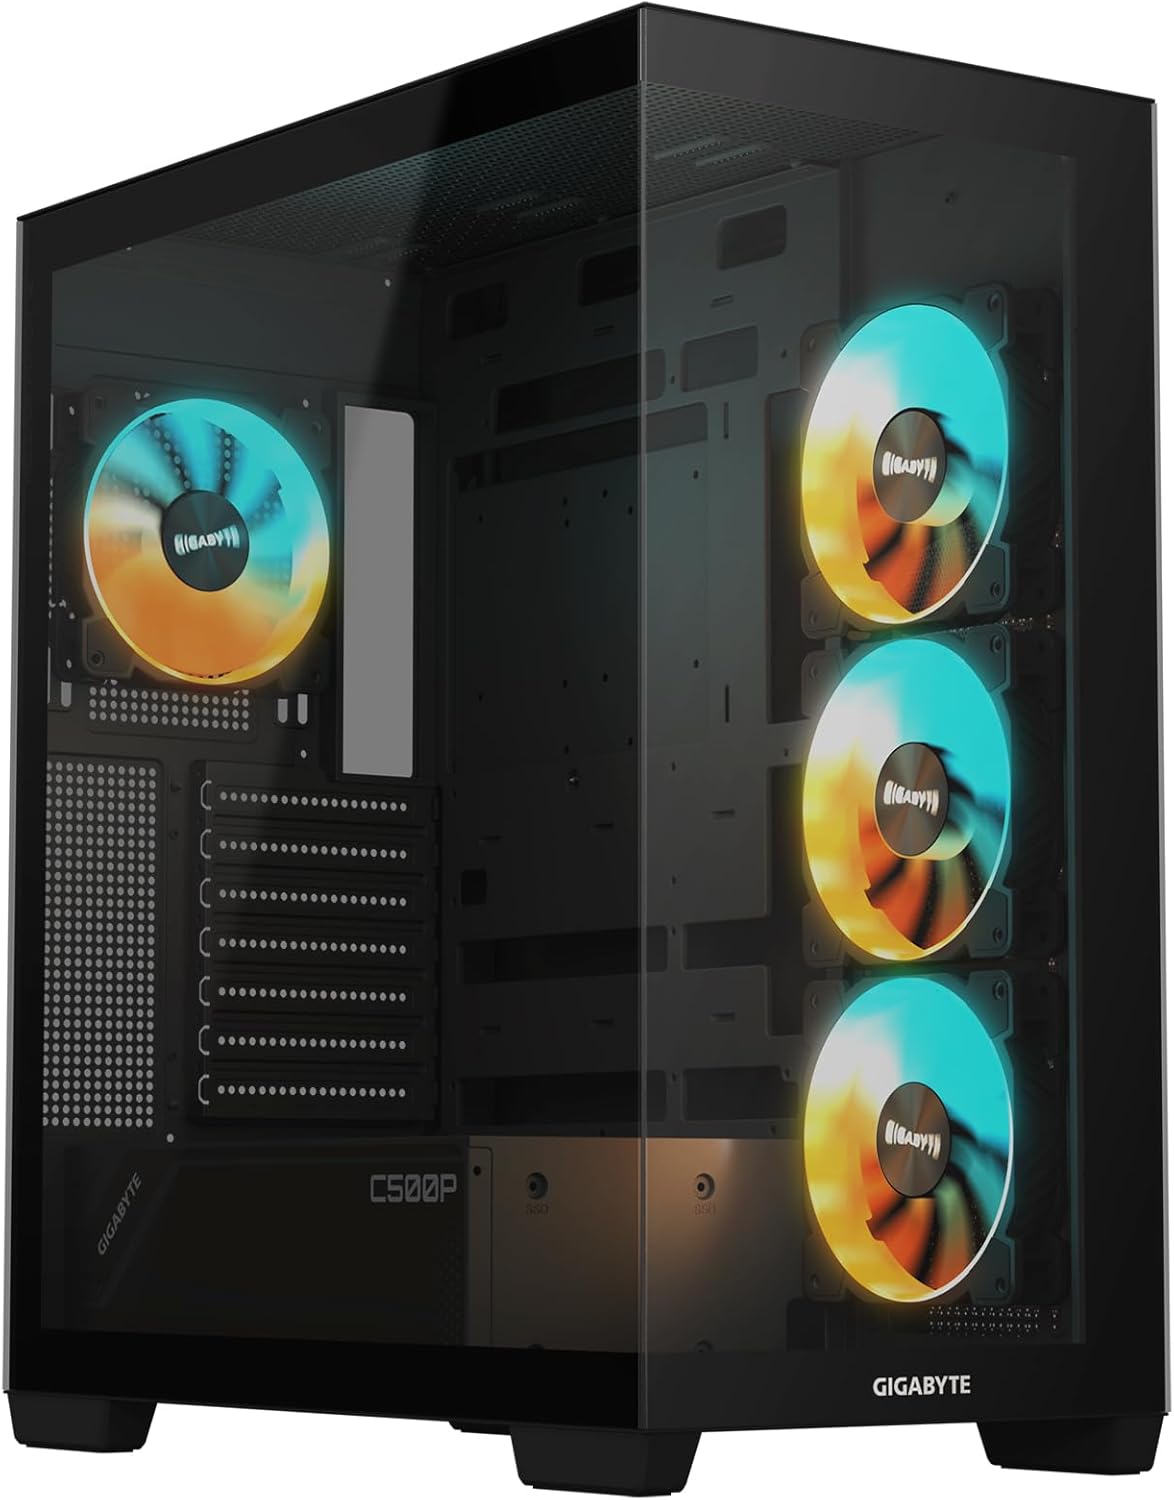
Figure 1.1: GIGABYTE C500 Panoramic Stealth PC Gaming Case (Angled View)
2. Key Features
- Case Form Factor: Mid Tower, supporting Mini-ITX to ATX motherboards.
- Radiator Support: Max 360mm on Side and Top, Max 140mm on Rear.
- Pre-Installed Fans: Three 120mm ARGB fans on the side, one 120mm ARGB fan on the rear.
- Extensive Fan Support: Side: 3x 120mm; Top: 3x 120mm / 2x 140mm; Rear: 1x 120mm / 1x 140mm; Bottom: 3x 120mm.
- Front I/O: 1x USB 3.2 Gen-2 Type-C, 2x USB 3.0, Audio In & Out, Reset Button.
- Dimensions: 235 (W) x 430 (D) x 501 (H) mm / 9.25 (W) x 16.93 (D) x 19.72 (H) inches.
- Material: Durable metal construction with tempered glass panels.
3. Package Contents
Please verify that all items are present in the package before proceeding with installation. If any items are missing or damaged, contact your retailer or GIGABYTE support.
- GIGABYTE C500 Panoramic Stealth Mid Tower PC Gaming Case
- Accessory Box (containing screws, cable ties, and other small parts)
- User Manual (this document)
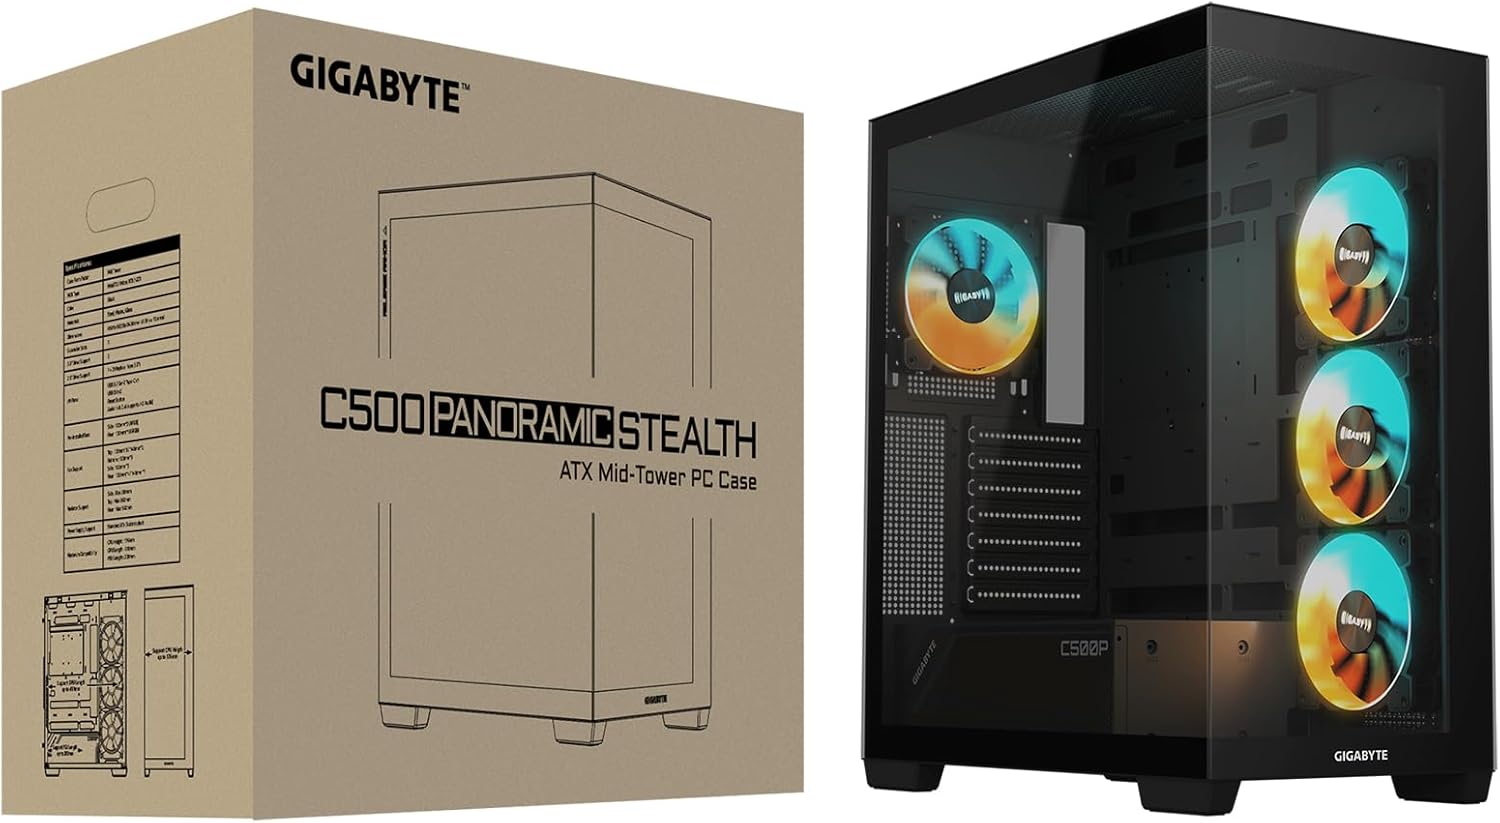
Figure 3.1: Product and Packaging
4. Setup and Installation
Before beginning installation, ensure you have a clean, static-free workspace. It is recommended to wear an anti-static wrist strap to prevent damage to components.
4.1 Removing Panels
Carefully remove the tempered glass side panel by unscrewing the thumb screws located at the rear of the case. For the solid side panel, follow a similar procedure. The front panel is designed for optimal airflow and can be removed if necessary for fan or radiator installation.

Figure 4.1: Tempered Glass Side Panel View
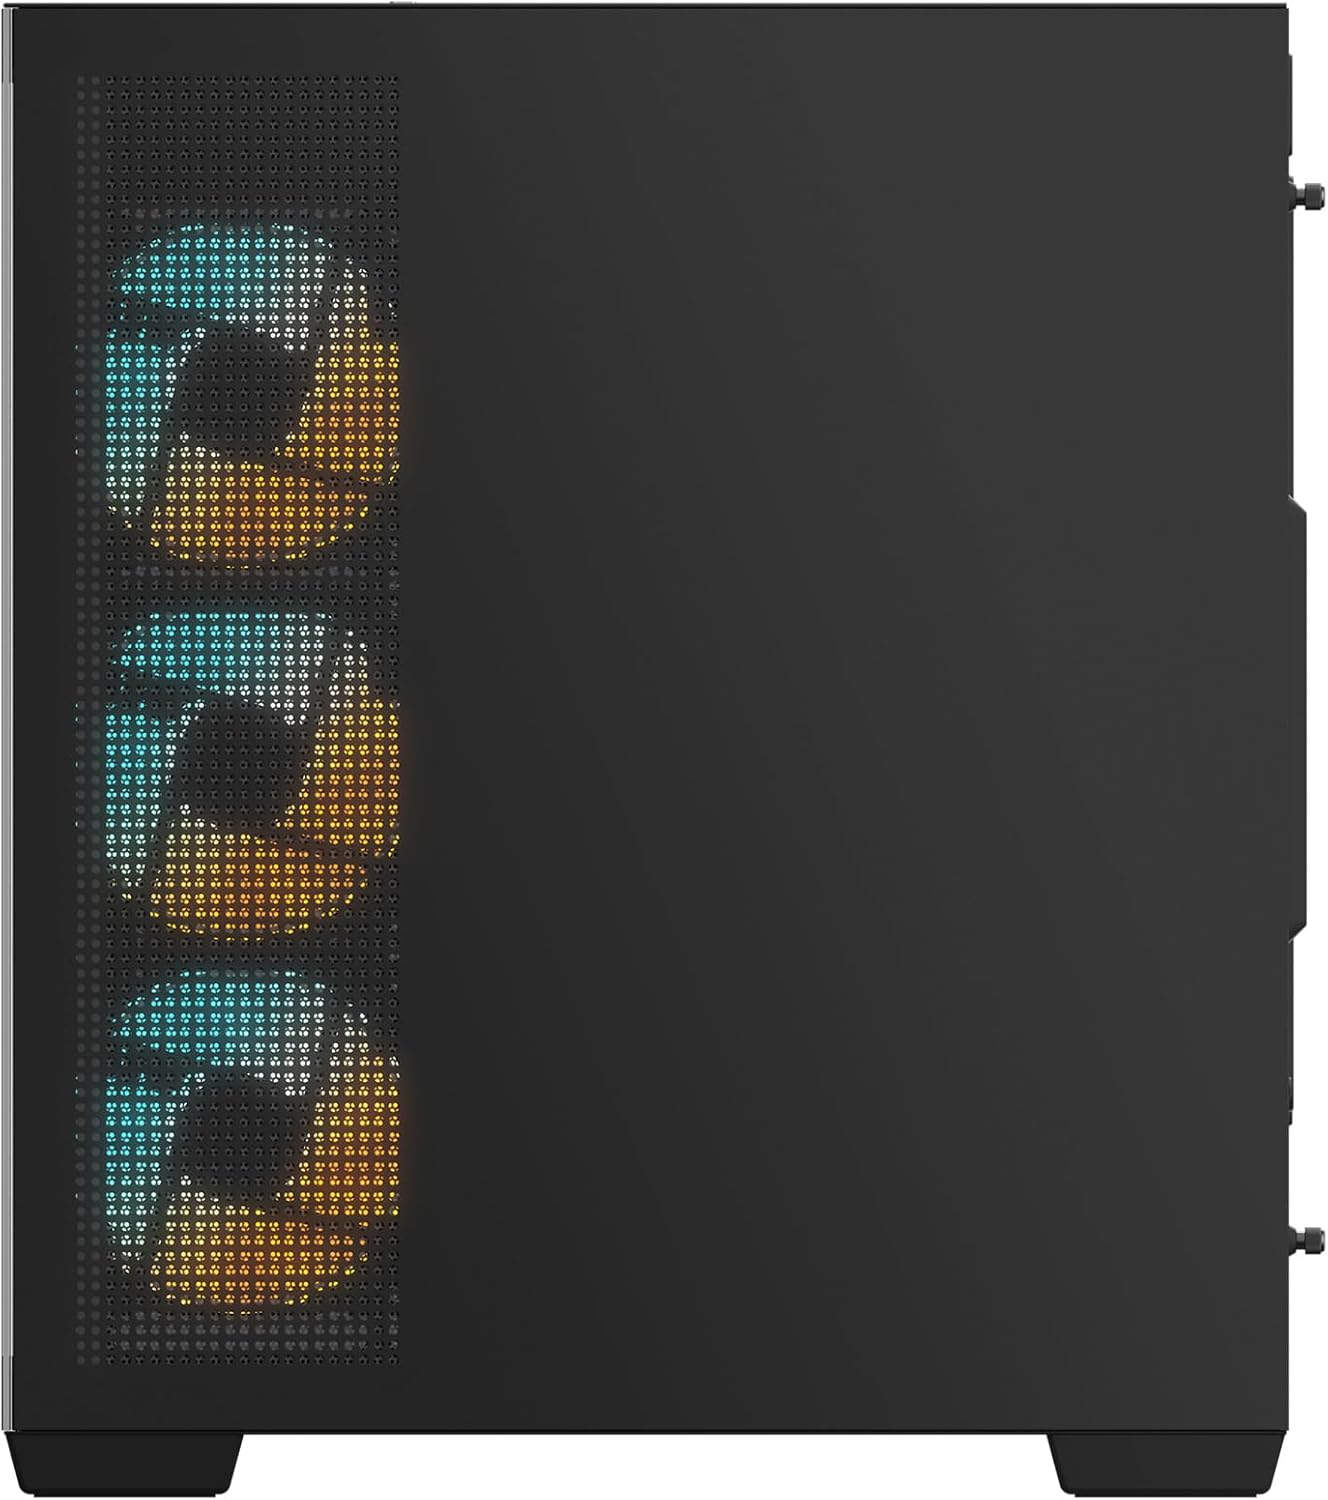
Figure 4.2: Solid Side Panel View
4.2 Motherboard Installation
- Install the necessary motherboard standoffs for your motherboard form factor (Mini-ITX, Micro-ATX, ATX).
- Carefully place the motherboard into the case, aligning it with the standoffs and the I/O shield opening at the rear.
- Secure the motherboard with screws.

Figure 4.3: Rear Panel and Motherboard I/O Area
4.3 Component Installation (GPU, PSU, Storage)
- Power Supply Unit (PSU): Install the PSU in the dedicated bottom-mount compartment.
- Graphics Card (GPU): Install your graphics card into the appropriate PCIe slot on the motherboard and secure it with screws.
- Storage Drives: Utilize the available drive bays for 2.5" SSDs and 3.5" HDDs.
4.4 Fan and Radiator Installation
The case comes with four pre-installed ARGB fans (three 120mm on the side, one 120mm on the rear). Additional fans or radiators can be installed in the following locations:
- Side: Up to 3x 120mm fans or a 360mm radiator.
- Top: Up to 3x 120mm or 2x 140mm fans, or a 360mm radiator.
- Rear: 1x 120mm or 1x 140mm fan, or a 140mm radiator.
- Bottom: Up to 3x 120mm fans.
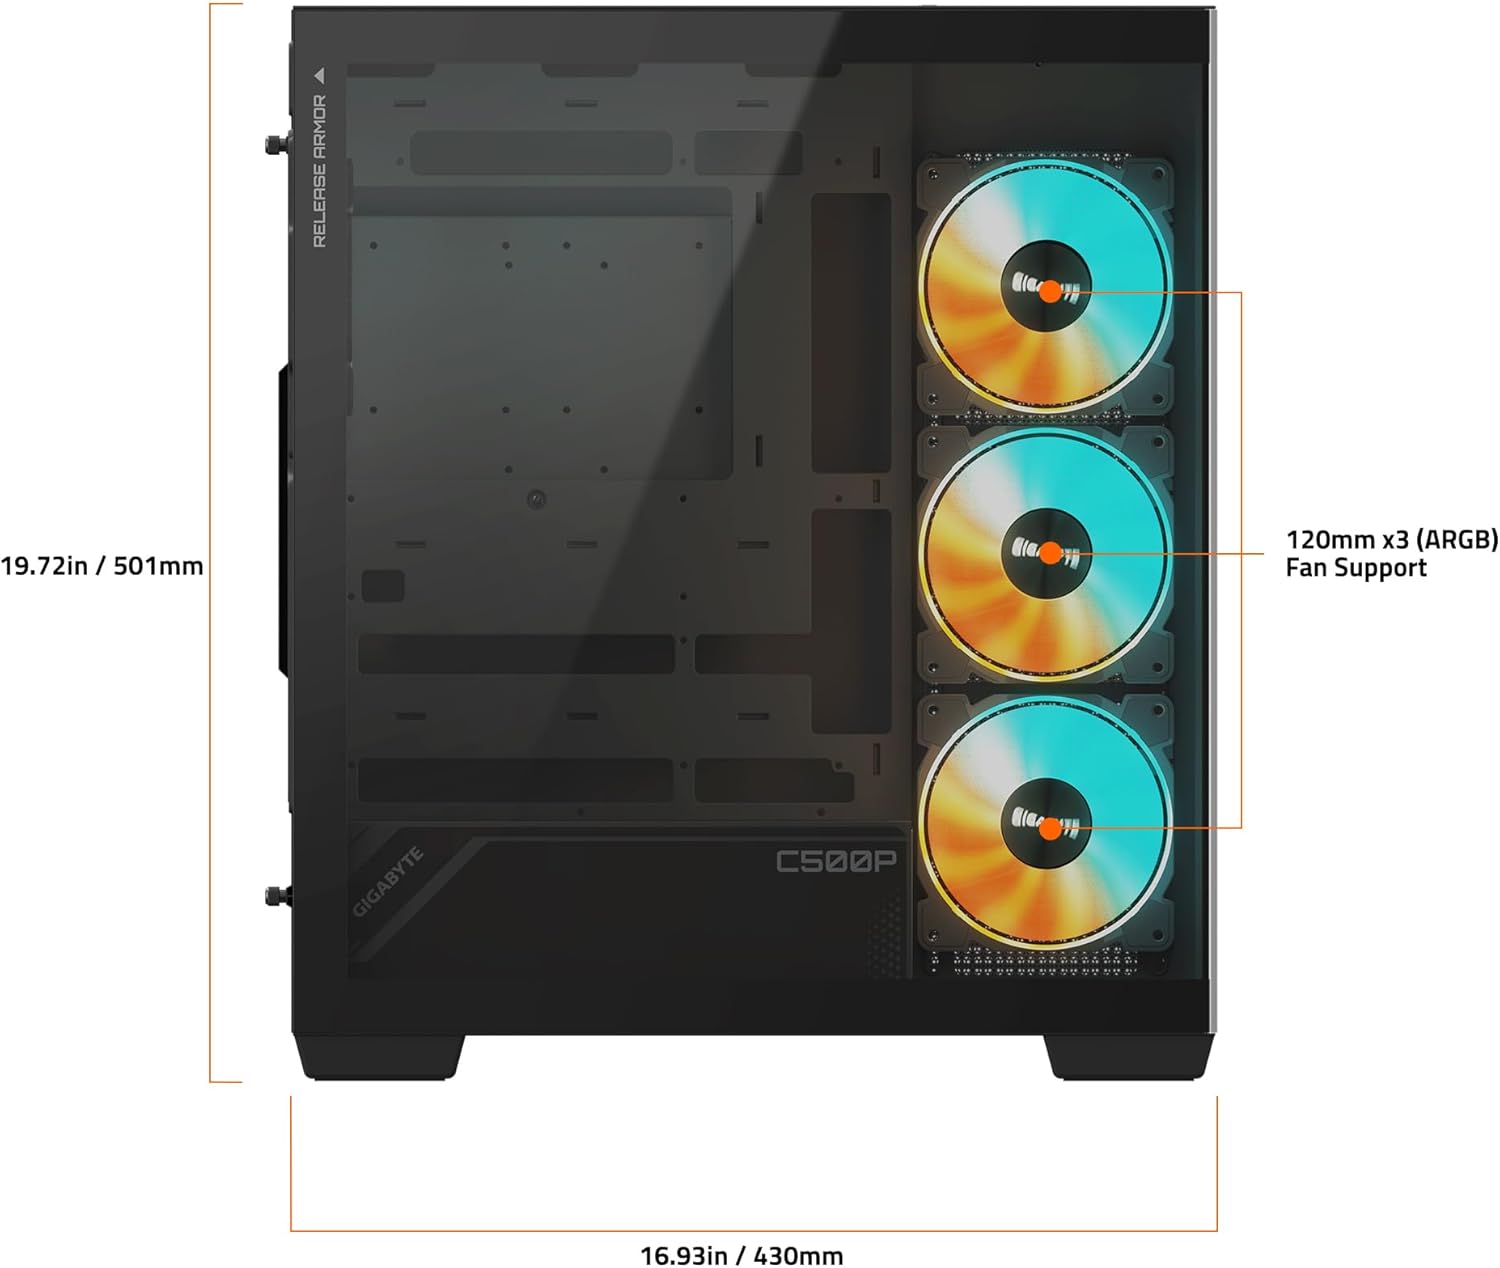
Figure 4.4: Internal Fan and Radiator Support
4.5 Cable Management
Utilize the cable routing cutouts and tie-down points behind the motherboard tray to manage cables effectively. This improves airflow and aesthetics.
5. Operating Instructions
5.1 Front I/O Panel
The front I/O panel provides convenient access to essential ports and controls:
- USB 3.2 Gen-2 Type-C x1: For high-speed data transfer.
- USB 3.0 x2: Standard USB connectivity.
- Audio In & Out: For headphones and microphones.
- Reset Button: To restart the system.
- Power Button: To power on/off the system.
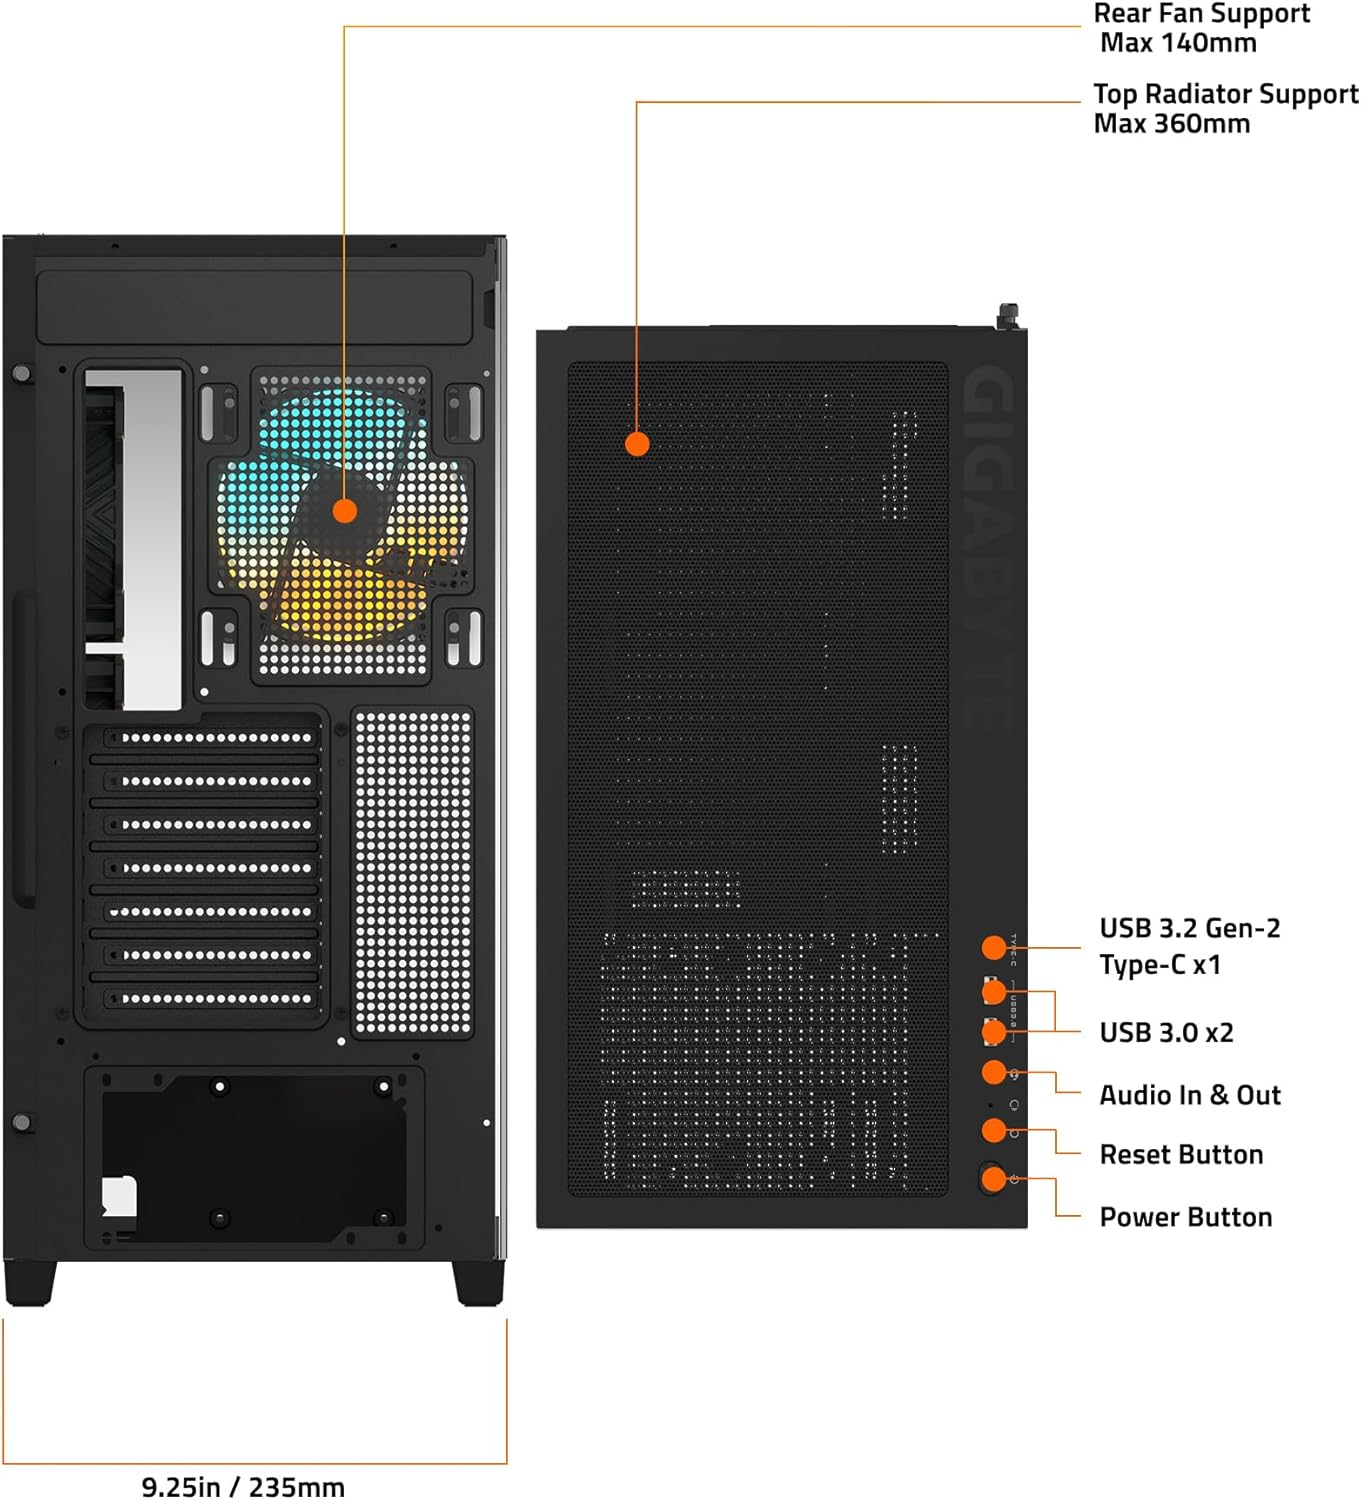
Figure 5.1: Front I/O Panel Layout
5.2 ARGB Fan Control
The pre-installed ARGB fans can be controlled via your motherboard's ARGB software (if compatible) or a dedicated ARGB controller (if included with your system or purchased separately). Refer to your motherboard manual for specific ARGB header connections and software instructions.
6. Maintenance
Regular maintenance helps ensure optimal performance and longevity of your PC components.
- Dust Filters: The GIGABYTE C500 Panoramic Stealth case is equipped with removable dust filters. Regularly clean these filters (e.g., monthly) to prevent dust buildup and maintain optimal airflow. Simply slide them out, clean with compressed air or water (ensure completely dry before re-installing), and slide back in.
- Interior Cleaning: Periodically use compressed air to clear dust from internal components and fans. Ensure the system is powered off and unplugged before cleaning.
- Exterior Cleaning: Wipe the exterior surfaces with a soft, damp cloth. Avoid abrasive cleaners or solvents that may damage the finish or tempered glass.
7. Troubleshooting
This section addresses common issues you might encounter.
| Problem | Possible Cause | Solution |
|---|---|---|
| System does not power on. | Loose power connections (PSU, motherboard, front panel). | Check all power cables are securely connected. Ensure the PSU switch is ON. Verify front panel power button cable is correctly connected to the motherboard. |
| Fans are not spinning or ARGB lighting is not working. | Fan cables or ARGB cables are disconnected or incorrectly connected. | Ensure fan power cables are connected to appropriate headers (e.g., SYS_FAN) and ARGB cables are connected to 3-pin 5V ARGB headers on the motherboard or controller. Check ARGB software settings. |
| USB ports on front panel are not working. | Front panel USB cables are not connected to the motherboard. | Verify that the USB 3.0 and USB Type-C cables from the front panel are securely connected to the corresponding headers on your motherboard. |
| Audio jacks on front panel are not working. | Front panel audio cable is not connected to the motherboard. | Ensure the HD Audio cable from the front panel is correctly connected to the motherboard's audio header. |
8. Specifications
| Feature | Detail |
|---|---|
| Brand | GIGABYTE |
| Model Name | GB-C500P ST |
| Case Type | Mid Tower |
| Motherboard Compatibility | Mini ITX, Micro ATX, ATX |
| Dimensions (LxWxH) | 16.92 x 9.25 x 19.72 inches (430 x 235 x 501 mm) |
| Item Weight | 21.6 pounds |
| Material | Metal, Tempered Glass |
| Color | Black |
| Pre-Installed Fans | Side: 3x 120mm ARGB; Rear: 1x 120mm ARGB |
| Radiator Support | Side: Max 360mm; Top: Max 360mm; Rear: Max 140mm |
| Front I/O Ports | 1x USB 3.2 Gen-2 Type-C, 2x USB 3.0, Audio In & Out, Reset Button |
| Power Supply Mounting Type | Bottom Mount |
| Cooling Method | Air |
| Light Color | Variable (RGB) |
9. Warranty and Support
For detailed warranty information and technical support, please refer to the official GIGABYTE website or contact their customer service. Keep your proof of purchase for warranty claims.
You can find more information and support resources at the official GIGABYTE website: www.gigabyte.com