1. Introduction
This manual provides comprehensive instructions for the safe and effective use of your DBEIXIWEI Type-C Digital Endoscope. Please read this manual thoroughly before operating the device and retain it for future reference. This endoscope is designed for visual inspection in hard-to-reach areas, offering high-definition imaging and versatile functionality.
2. Product Overview
2.1 Key Features
- High-Definition Display: Features a 4.3-inch full-color LCD screen with 1920×1080P resolution and screen rotation for flexible viewing.
- Adjustable LED Illumination: Equipped with 8 ultra-bright LED lights with adjustable brightness for optimal visibility in dark environments.
- Waterproof Probe: The camera probe and lights are IP67 rated, ensuring stable performance in wet or damp conditions.
- Ultra-Thin Flexible Cable: An 8mm ultra-thin lens paired with a 16.4ft (5-meter) waterproof flexible cable allows access to confined spaces.
- User-Friendly Operation: No app installation required. Features include instant monochrome mode switching, contrast adjustment, and a zoom function for detailed inspections.
- Long Battery Life: Integrated 2000 mAh battery provides approximately 5 hours of continuous operation.
2.2 Package Contents
Verify that all items are present in the package:
- 1 x Industrial Endoscope Unit
- 1 x USB Charging Cable (Type-C)
- 1 x Accessories Bag (Includes Hook, Side-view Mirror, Magnet)
- 1 x User Manual (This document)

Figure 1: DBEIXIWEI Type-C Digital Endoscope with its main unit, flexible cable, and accessory kit.
This image displays the complete DBEIXIWEI Type-C Digital Endoscope system, including the main unit with its 4.3-inch color display, the flexible 16.4ft (5-meter) cable with an 8mm camera head, and a set of accessories such as hooks, magnets, and a side-view mirror for various inspection tasks. The device features a Type-C charging port and intuitive control buttons.

Figure 2: Detailed view of included accessories.
This image highlights the practical accessories included with the endoscope: a magnet attachment for retrieving metallic objects, a hook attachment for snagging items, and a side-view mirror for inspecting areas at a 90-degree angle. These tools enhance the versatility of the endoscope for various inspection and retrieval tasks.
3. Specifications
| Feature | Specification |
|---|---|
| Monitor | 4.3-inch HD Color Screen |
| Resolution | 1920*1080P |
| Cable Length | 5 Meters (16.4 Ft) Soft Cable |
| Camera Diameter | 8mm |
| Light Source | 8 LED Lights (Adjustable) |
| Charging | Type-C 5V 1A |
| Battery Capacity | 2000 mAh |
| Battery Endurance | Approximately 5 Hours |
| Focus Distance | 2cm-10cm |
| Waterproof Grade | IP67 (Probe and Lights) |
| TF Card Support | Not Supported |
| Model Number | universal |

Figure 3: Visual representation of key endoscope features.
This diagram visually presents the core features of the 4.3-inch industrial borescope, including its 3.5cm HD lens, high-definition screen, 2000mAh battery, and superconducting core. It also reminds users of the included replacement accessories like the side mirror, magnet, and hook.
4. Setup
- Charge the Device: Before first use, fully charge the endoscope using the provided Type-C USB charging cable. Connect the cable to the Type-C port on the device and a 5V 1A power adapter (not included). The charging indicator will show the charging status.
- Attach Accessories (Optional): If your inspection requires specific tools, attach the hook, magnet, or side-view mirror to the camera probe tip. Ensure they are securely fastened.
- Power On: Press and hold the power button (usually marked with a power symbol) to turn on the device. The display will illuminate.

Figure 4: Product details showing Type-C charging port and keypad.
This image provides a closer look at specific product details: the Type-C charging port for convenient power, the optimal focal length range of 2cm-10cm for clear imaging, and the comfortable silicone keypad for easy operation.
5. Operating Instructions
- Power On/Off: Press and hold the power button to turn the device on or off.
- Adjust LED Brightness: Use the dedicated light adjustment buttons (often marked with a light bulb symbol or +/-) to increase or decrease the intensity of the 8 LED lights on the camera probe.
- Screen Rotation: The 4.3-inch LCD screen supports rotation. Refer to the device's on-screen prompts or specific buttons for screen orientation adjustment, if available.
- Monochrome Mode: If your device supports a monochrome mode, press the corresponding button to switch between color and black & white display. This can enhance contrast in certain inspection scenarios.
- Contrast Adjustment: Utilize the contrast adjustment feature to enhance visibility in areas with varying light conditions.
- Zoom Function: Use the zoom key to magnify details on the screen for closer inspection.
- Positioning the Probe: Carefully insert the flexible cable and camera probe into the area to be inspected. Guide the probe gently to avoid damage. The optimal focus distance is 2cm-10cm from the object.
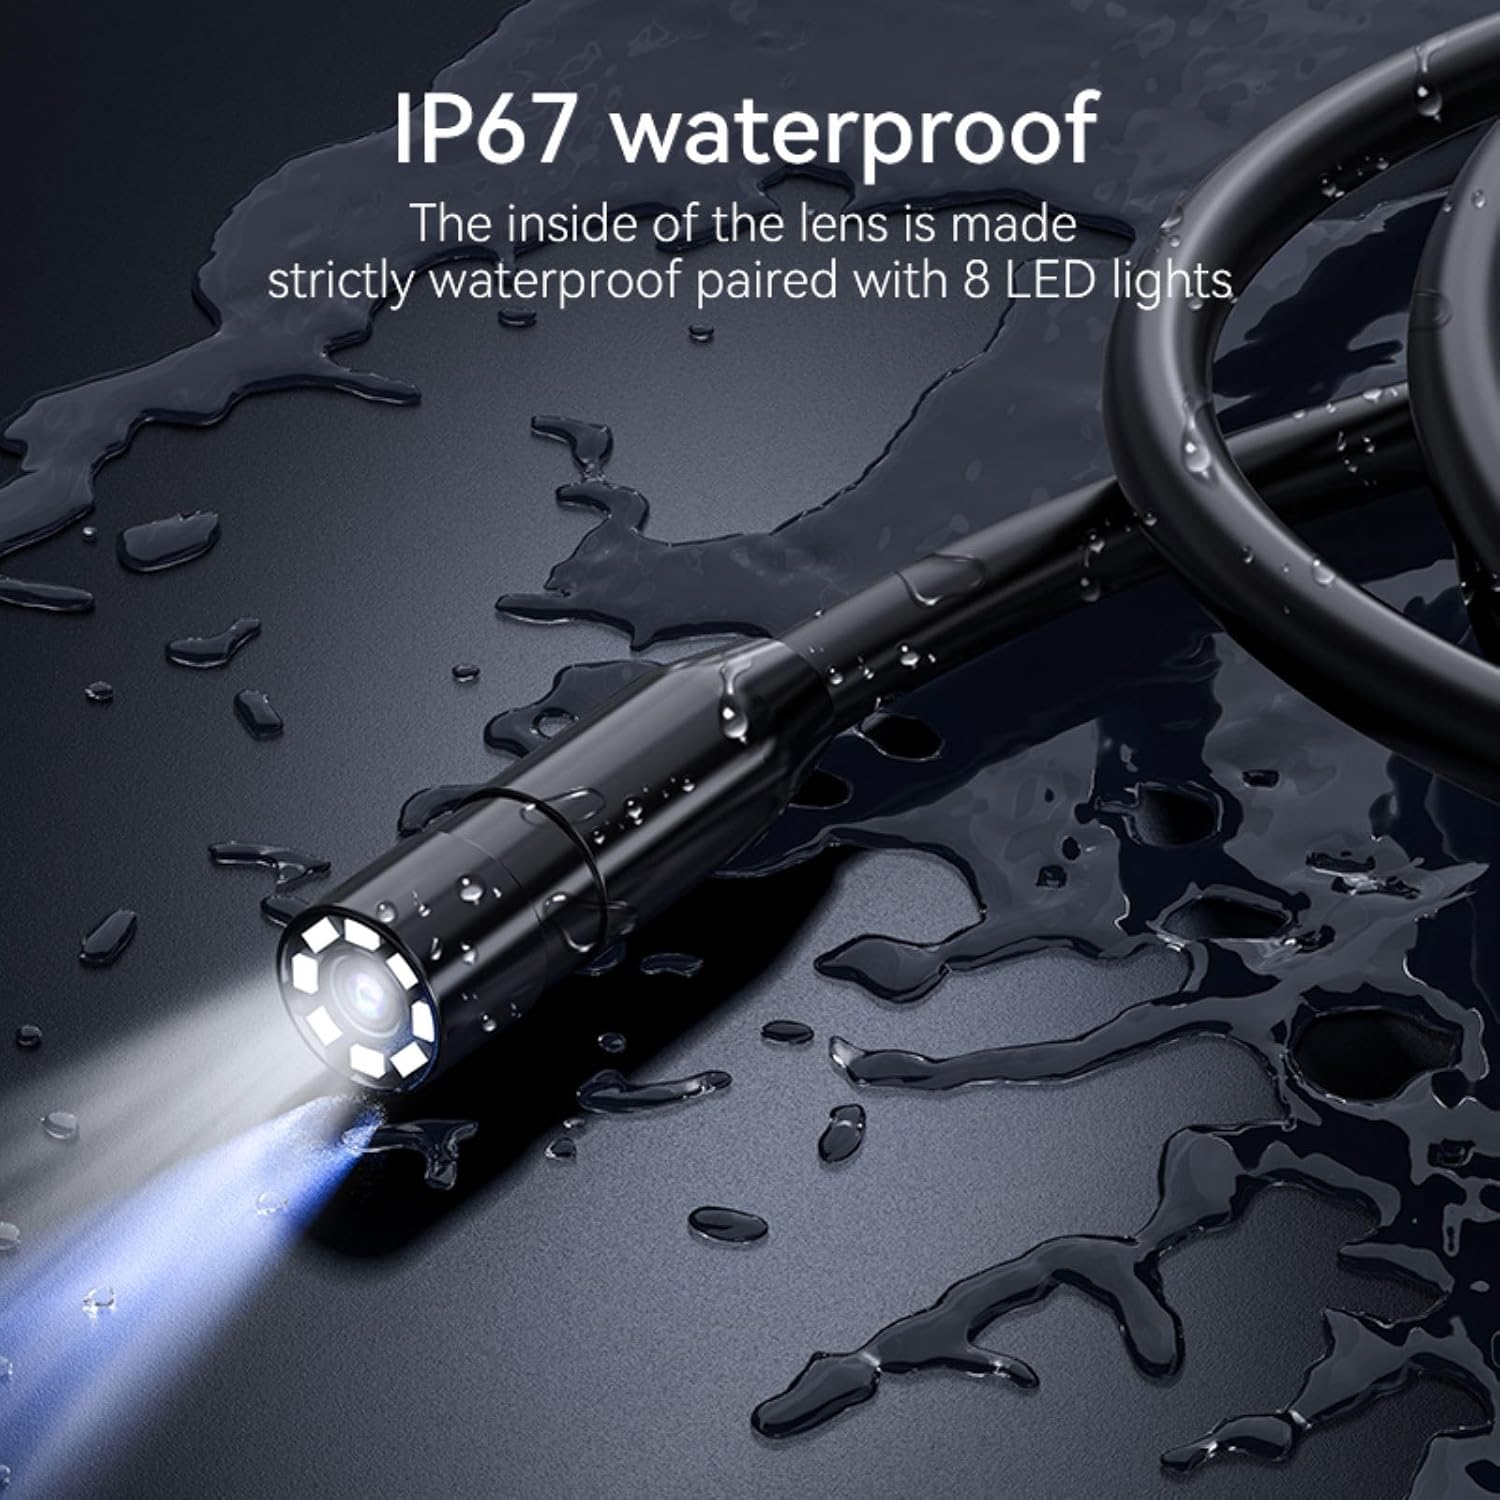
Figure 5: The IP67 waterproof camera probe with 8 LED lights.
This image focuses on the endoscope's probe, showcasing its IP67 waterproof rating and the 8 integrated LED lights. The waterproof design allows for reliable operation in wet or damp environments, while the adjustable LEDs provide illumination for clear visibility in dark spaces.

Figure 6: The 4.3-inch HD IPS screen with wide viewing angle.
This image highlights the endoscope's 4.3-inch HD IPS screen, emphasizing its wide 170-degree viewing angle. This feature ensures a broad and clear visual field for detailed inspections.
6. Maintenance
- Cleaning: After each use, gently wipe the camera probe and cable with a soft, damp cloth. For stubborn dirt, a mild detergent can be used, ensuring no liquid enters the main unit.
- Storage: Store the endoscope in a cool, dry place, away from direct sunlight and extreme temperatures. Coil the cable loosely to prevent kinks or damage.
- Battery Care: To prolong battery life, avoid fully discharging the device frequently. Charge the battery periodically if the device is not used for extended periods.
- Accessory Care: Clean accessories (hook, magnet, mirror) as needed and store them in the provided bag to prevent loss.
7. Troubleshooting
| Problem | Possible Cause | Solution |
|---|---|---|
| Device does not power on. | Low battery or device is off. | Charge the device fully. Press and hold the power button to turn on. |
| Image is blurry or unclear. | Incorrect focal distance, dirty lens, or insufficient lighting. | Adjust the distance between the camera and the object (optimal 2cm-10cm). Clean the camera lens. Increase LED brightness. |
| LED lights are not working. | Brightness set to minimum or a malfunction. | Increase LED brightness using the adjustment buttons. If still not working, contact support. |
| Screen is frozen. | Temporary software glitch. | Press and hold the power button to force a shutdown, then restart the device. |
8. Safety Information
WARNING:
- Do not mix old and new batteries.
- Do not mix alkaline, standard (carbon-zinc), or rechargeable batteries.
To ensure optimal performance and safety of this product, we recommend installation and use by professionals with relevant expertise. Users may also refer to online installation tutorials for self-installation. Always handle the device with care and avoid exposing it to extreme conditions beyond its specified operating environment.

Figure 7: Battery safety warning from product packaging.
This image shows the warning label found on the product packaging, advising against mixing old and new batteries, or different types of batteries (alkaline, standard, rechargeable). It emphasizes important safety precautions for battery handling.
9. Warranty and Support
This product is designed for durability and performance. In case of any issues or if you require technical assistance, please feel free to contact the seller for support. Please provide your purchase details and a clear description of the problem to facilitate a quick resolution.