1. Introduction
Thank you for choosing the TONGCAM Hidden Camera Wall Clock. This device is designed for discreet indoor surveillance, offering Full HD video recording with motion detection capabilities. This manual provides detailed instructions for setup, operation, maintenance, and troubleshooting to ensure optimal performance and longevity of your product. Please read this manual thoroughly before use and retain it for future reference.
2. Product Overview
2.1 Key Features
- Discreet Design: Functions as a standard wall clock while housing a hidden camera.
- High Quality Video: Captures Full HD 1080p resolution footage.
- Motion Detection: Automatically records when movement is detected.
- Standalone Operation: Operates without requiring a WiFi connection.
- SD Card Storage: Supports local video storage via SD card (not included).
- Loop Recording: Automatically overwrites older files when the SD card is full.
- Rechargeable Battery: Internal rechargeable battery for portable use.
2.2 Package Contents
- TONGCAM Hidden Camera Wall Clock
- USB Cable
- User Manual
- 1 AA Battery (for clock mechanism)
2.3 Component Identification
Familiarize yourself with the various parts of your TONGCAM Hidden Camera Wall Clock:

Figure 1: Front view of the TONGCAM Hidden Camera Wall Clock, showing the discreetly placed camera lens near the '10' position.

Figure 2: Rear view and magnified control panel of the clock, indicating the lens adjustment, clock battery case, hole for hook, Micro SD card slot, camera charge port, reset button, and camera switch.
The camera records in 1080p Full HD, providing clear and detailed footage:

Figure 3: Visual comparison illustrating the enhanced clarity of 1080p high definition video compared to 720p.
The motion detection feature helps conserve storage space by recording only when activity is present:

Figure 4: The camera's motion detection capability, shown activating recording when movement is sensed in a room.
The loop recording function ensures continuous operation without manual intervention:

Figure 5: Depiction of the loop recording feature, where the camera records video in 5-minute segments and automatically overwrites the oldest files when the SD card capacity is reached.
3. Setup
3.1 Setting the Clock Time
- Open the battery compartment on the back of the clock.
- Insert one AA battery (included) into the designated slot for the clock mechanism.
- Use the small dial on the clock mechanism to set the correct time.
- Close the battery compartment.
3.2 Inserting the Micro SD Card
A Micro SD card (up to 64GB, Class 10 or higher recommended) is required for video storage and is not included with the product.
- Locate the Micro SD card slot on the control panel at the back of the clock (refer to Figure 2).
- Gently insert the Micro SD card into the slot until it clicks into place. Ensure the card is inserted in the correct orientation.
3.3 Charging the Camera Battery
The camera features an internal rechargeable battery. It is recommended to fully charge the device before first use.
- Connect the provided USB cable to the camera charge port on the control panel (refer to Figure 2).
- Connect the other end of the USB cable to a standard USB power adapter (5V/1A, not included) or a computer USB port.
- The charging indicator light will illuminate. Once fully charged, the light may change color or turn off (refer to specific indicator behavior in the Operating Instructions section).
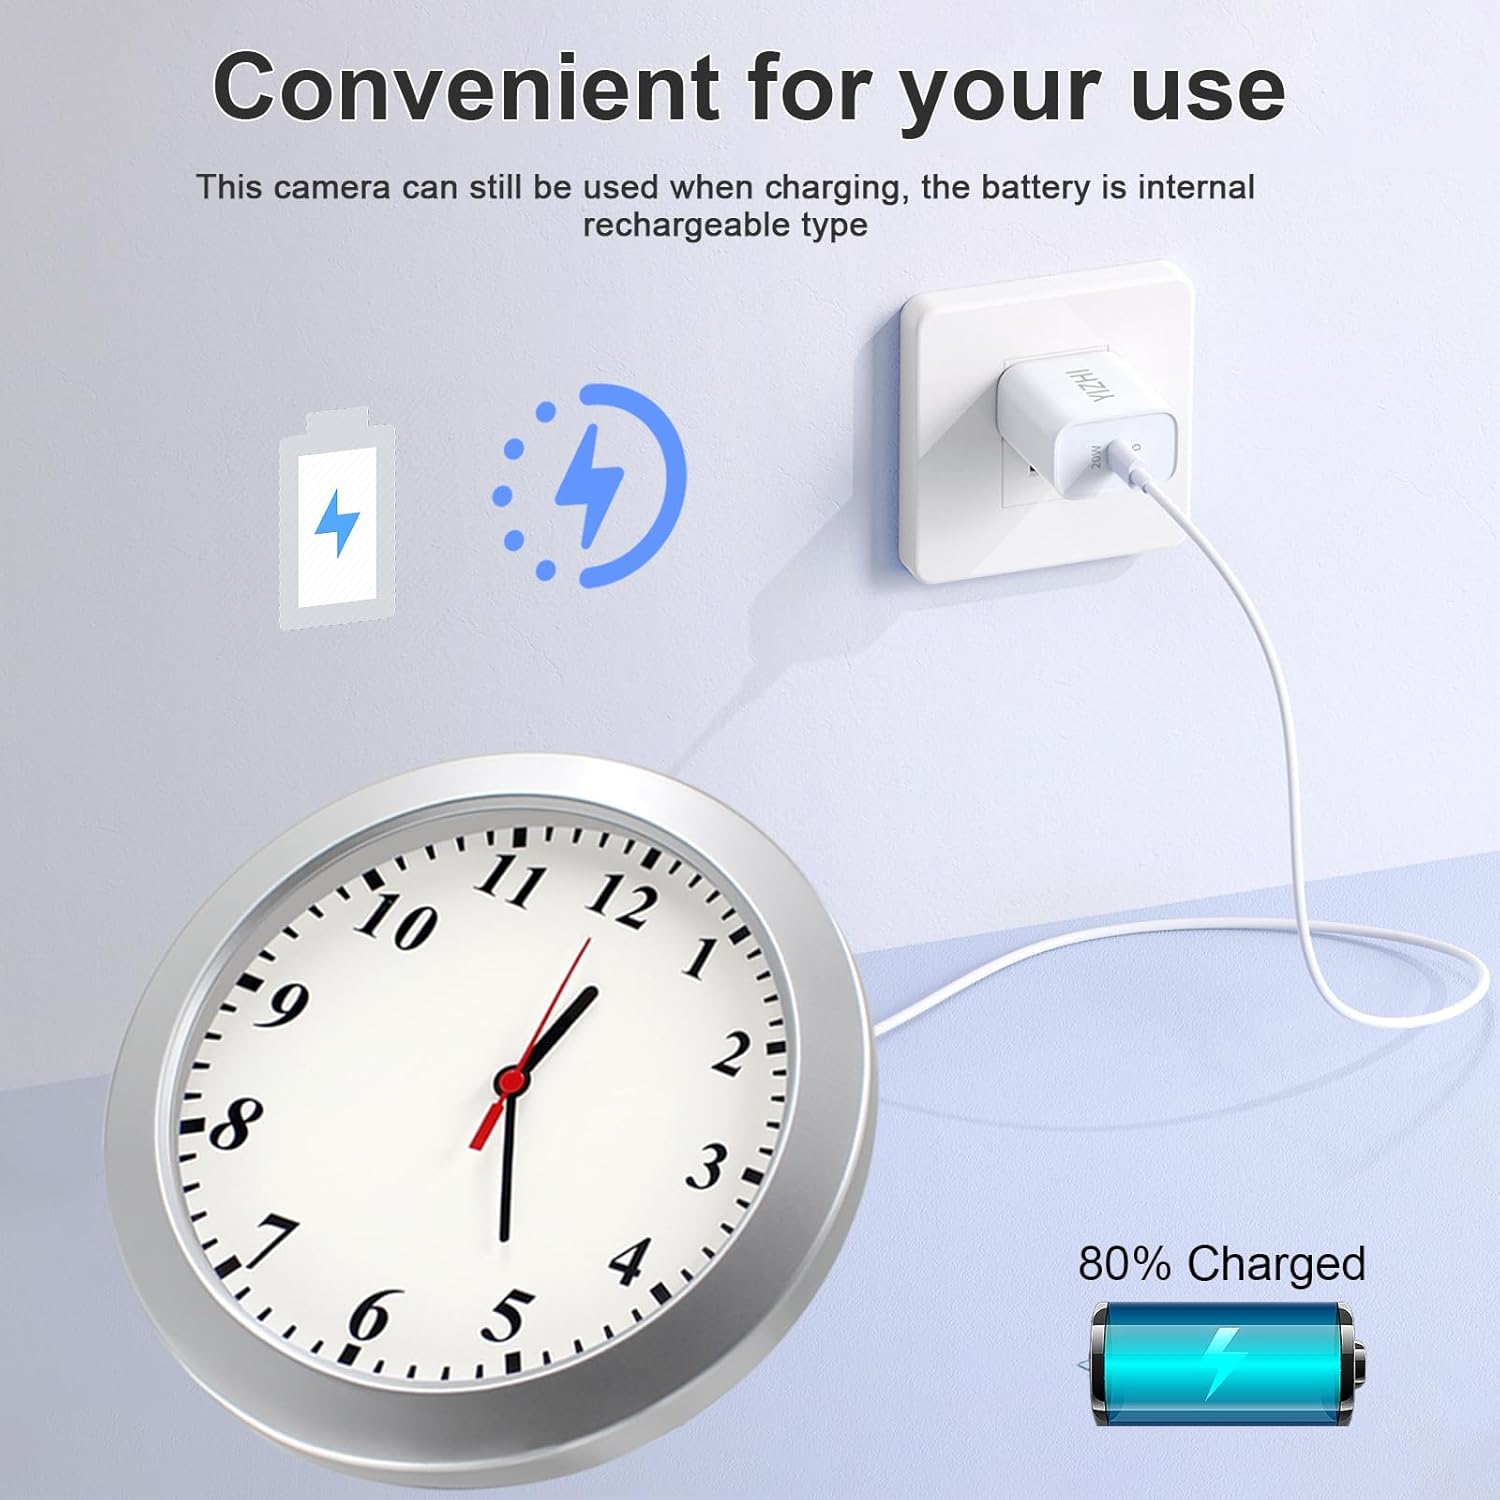
Figure 6: The camera can be used while charging, indicating its internal rechargeable battery.
3.4 Mounting the Clock
The clock can be wall-mounted using the designated hole on the back (refer to Figure 2).
- Choose a suitable location for surveillance, ensuring the camera lens has an unobstructed view.
- Securely install a screw or hook on the wall.
- Hang the clock onto the screw/hook.
- Adjust the camera lens angle as needed (refer to Figure 2 for lens adjustment mechanism).
4. Operating Instructions
The TONGCAM Hidden Camera Wall Clock offers simple operation for recording.

Figure 7: Simple operation steps for the camera.
4.1 Powering On/Off and Selecting Recording Mode
- Insert Micro SD Card: Ensure a formatted Micro SD card is inserted into the slot.
- Turn On Power: Locate the camera switch (often labeled 'ON/OFF' or similar) on the control panel (refer to Figure 2). Slide the switch to the 'ON' position. The device will power on.
- Select Recording Mode: The camera typically has a mode selection switch or button (e.g., 'M' for Motion Detection, 'L' for Loop Recording, or a single switch for default continuous recording). Refer to the markings on your specific device's control panel to select the desired recording mode.
- Recording Indication: An indicator light will typically show the recording status (e.g., solid light for standby, flashing light for recording). Consult the specific light patterns in the troubleshooting section if unsure.
- Turn Off Power: To stop recording and power off the camera, slide the camera switch to the 'OFF' position.
4.2 Motion Detection Recording
When motion detection mode is active, the camera will automatically begin recording when it senses movement within its field of view. Recording will stop after a period of no motion and resume if motion is detected again. This feature helps optimize storage space.

Figure 8: Key features of the camera, including motion detection.
4.3 Loop Recording
The loop recording function ensures that the camera continues to record even when the Micro SD card is full. When enabled, the camera will automatically overwrite the oldest video files with new ones, maintaining continuous surveillance without manual intervention.
4.4 Accessing Recorded Footage
- Power off the camera.
- Carefully remove the Micro SD card from its slot.
- Insert the Micro SD card into a computer's card reader or a compatible device.
- Navigate to the card's directory to view the recorded video files. Videos are typically saved in a common format like AVI or MP4.
5. Maintenance
- Cleaning: Use a soft, dry cloth to clean the clock face and camera lens. Avoid abrasive cleaners or solvents.
- Storage: When not in use for extended periods, store the device in a cool, dry place. Ensure the battery is partially charged (around 50%) before storage to prolong its lifespan.
- Battery Care: Avoid fully discharging the camera's internal battery frequently. Recharge it when the low battery indicator appears.
- SD Card: Periodically format the Micro SD card to maintain optimal performance and prevent data corruption. Back up important footage before formatting.
6. Troubleshooting
| Issue | Possible Cause | Solution |
|---|---|---|
| Camera not recording | SD card not inserted correctly or full; Low battery; Camera switch off; SD card corrupted. | Ensure SD card is properly inserted; Charge the battery; Turn camera switch to ON; Format or replace SD card. |
| Poor video quality | Insufficient lighting; Dirty lens; Incorrect recording settings. | Ensure adequate lighting; Clean the camera lens; Verify recording mode is set to 1080p (if applicable). |
| Motion detection not working | Motion detection mode not selected; Object too far or too small; Insufficient lighting. | Ensure motion detection mode is active; Place camera closer to detection area; Improve lighting conditions. |
| Clock not keeping time | AA battery is dead or not inserted. | Replace the AA battery; Ensure it is inserted correctly. |
| Device unresponsive | System crash. | Use a thin object (like a paperclip) to press the 'RESET' button on the control panel (refer to Figure 2). |
7. Specifications
| Feature | Detail |
|---|---|
| Model Name | Wall Clock Camera FHD (Model 20Clock) |
| Video Capture Resolution | 1080p (1920x1080) |
| Frame Rate | 30fps |
| Viewing Angle | 90 Degrees |
| Storage | Micro SD Card (up to 64GB, not included) |
| Power Source | Battery Powered (Internal Rechargeable Battery for Camera, 1 AA for Clock) |
| Connectivity Technology | Wired (for charging/data transfer) |
| Indoor/Outdoor Usage | Indoor |
| Motion Detection | Yes |
| Loop Recording | Yes |
| Product Dimensions | 9 x 9 x 2 inches |
| Item Weight | 1.5 pounds |
| Material | Plastic |
| Color | White |
8. Warranty and Support
TONGCAM products are designed for reliability and performance. This product comes with a standard manufacturer's warranty. For specific warranty details, please refer to the product packaging or contact TONGCAM customer support.
If you encounter any issues or have questions regarding your TONGCAM Hidden Camera Wall Clock, please contact our customer support team for assistance. Please have your product model number (20Clock) and purchase information ready when contacting support.