1. Introduction
This manual provides essential information for setting up, operating, and maintaining your Minifire MFG24F4H 24-inch Full HD 200Hz 1ms Gaming Monitor. Please read it thoroughly before use to ensure optimal performance and longevity of your device.
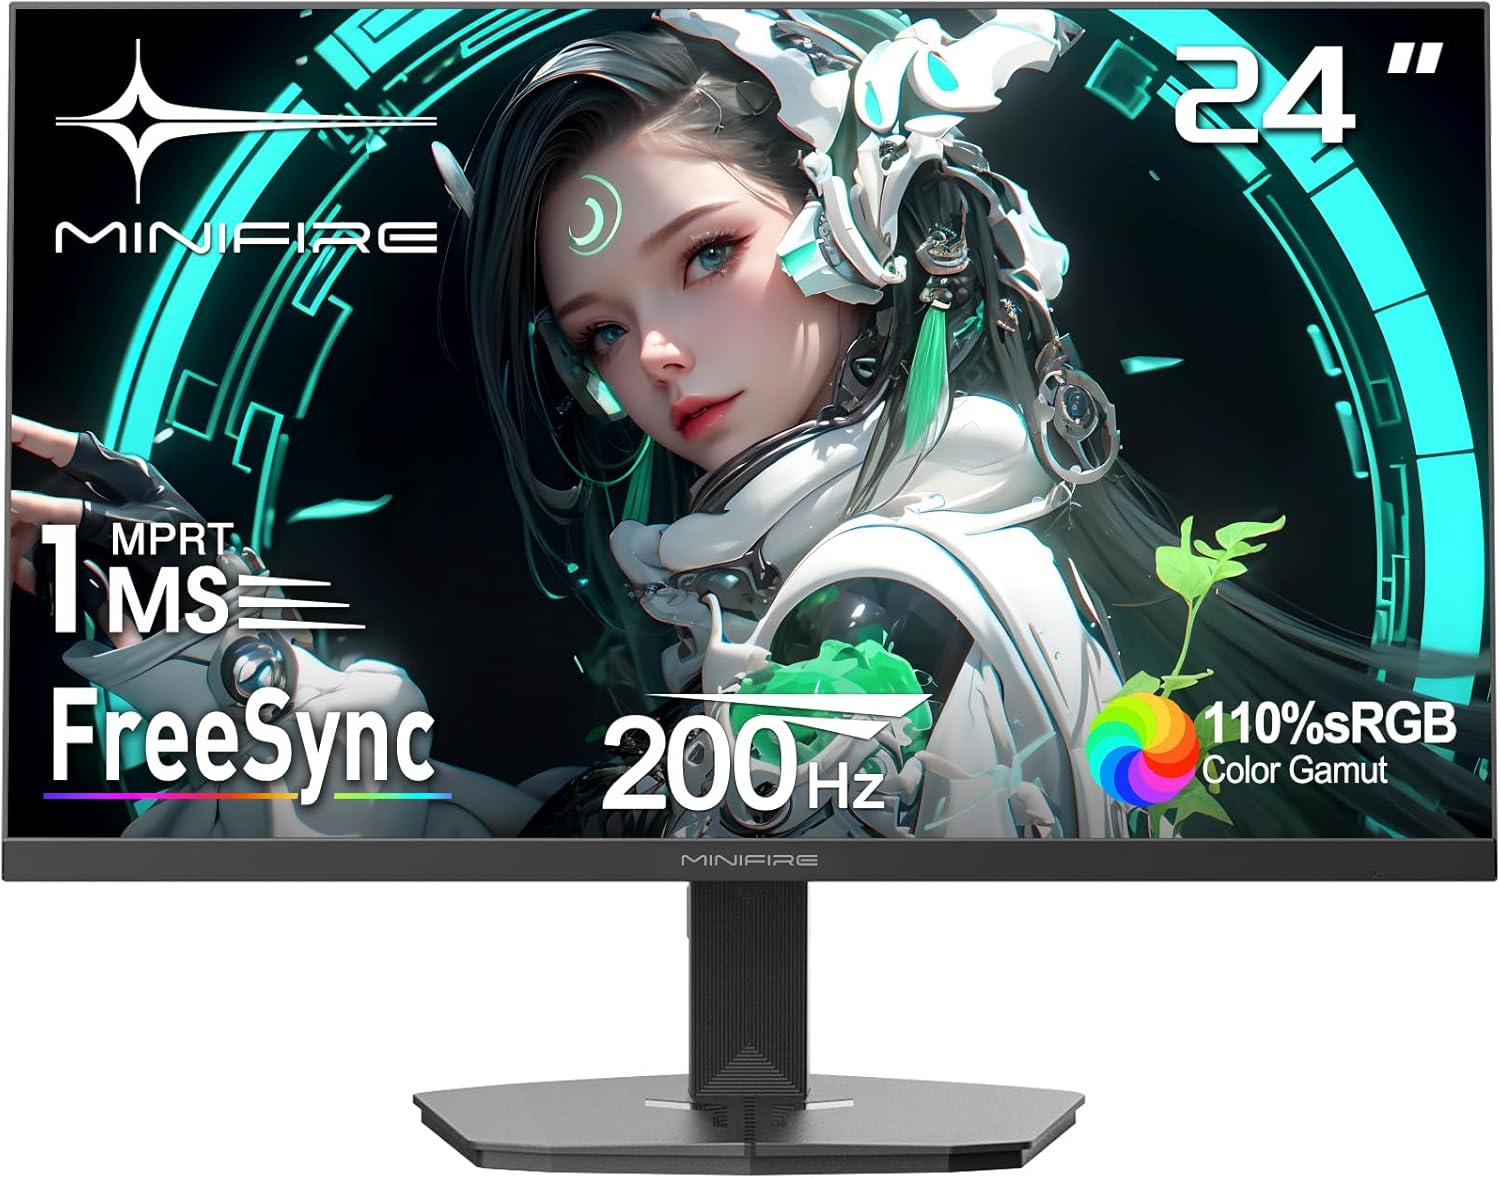
Image: Front view of the Minifire MFG24F4H 24-inch Gaming Monitor, showcasing its slim bezels and stand.
2. Package Contents
Verify that all items are present in the package:
- Minifire MFG24F4H 24-inch Gaming Monitor
- Monitor Stand (Base and Neck)
- Power Adapter
- Power Cable
- HDMI Cable
- User Manual (this document)
3. Setup Instructions
3.1 Assembling the Stand
- Carefully remove the monitor from its packaging, placing it face down on a soft, clean surface to prevent scratches.
- Attach the stand neck to the monitor's rear panel.
- Secure the stand base to the neck using the provided screws.
- Ensure all connections are firm before placing the monitor upright.

Image: Step-by-step diagram illustrating the assembly of the monitor stand to the display panel.
3.2 Connecting the Monitor
The monitor supports DisplayPort (DP 1.4) and HDMI (HDMI 2.0) inputs. Connect the appropriate cable from your computer or gaming console to the corresponding port on the monitor.
- DisplayPort (DP 1.4): Supports up to 200Hz refresh rate.
- HDMI (HDMI 2.0): Supports up to 200Hz refresh rate.
- Earphone Jack: Connect headphones or external speakers.
- DC2.0: Power input.

Image: Illustration of the monitor's rear ports (DP 1.4, HDMI 2.0, Earphone Jack, DC2.0) and its tilt adjustment range.
After connecting the video cable, connect the power adapter to the monitor's DC2.0 port and then plug the power cable into a wall outlet.
3.3 VESA Mounting
The monitor is VESA compatible (75 x 75 mm) for wall mounting or use with an articulated arm (mount sold separately).
4. Operating Instructions
4.1 Power On/Off
Press the power button (usually located on the back or bottom of the monitor) to turn the monitor on or off.
4.2 Menu Navigation
The monitor features a joystick control (typically on the back) for navigating the On-Screen Display (OSD) menu. Push the joystick in to confirm selections and move it up/down/left/right to navigate through options.
4.3 Display Settings
Access the OSD menu to adjust various display settings:
- Brightness: Adjust the screen's luminance (up to 300 Nits).
- Contrast: Modify the difference between light and dark areas (4000:1 contrast ratio).
- Color Settings: Adjust color temperature, hue, and saturation. The monitor offers 110% sRGB color gamut and 16.7 million (8-bit) display colors.
- Refresh Rate: Set the display refresh rate (up to 200Hz).
- Response Time: Configure the response time (1ms MPRT). Note: Some users report stuttering with "Fast" or "Extreme" settings; consider leaving this at default if issues occur.
- FreeSync: Enable or disable FreeSync technology to eliminate screen tearing and stuttering.
- HDR (High Dynamic Range): Enable HDR10 for enhanced color vibrancy and realism.
- Blue Light Filter: Activate the blue light filter to reduce eye strain during prolonged use.

Image: Visual comparison demonstrating the effect of FreeSync technology in reducing screen tearing and stuttering.

Image: Side-by-side comparison of a scene with HDR active versus HDR deactivated, highlighting improved color and contrast.
4.4 Gaming Features
The monitor includes several features designed to enhance your gaming experience:
- Game Modes: Select from various preset game modes (e.g., FPS, RTS, Race) optimized for different game genres.
- Game Timer: Display an on-screen timer.
- Crosshair: Enable an on-screen crosshair for improved aiming accuracy.
- Black Level: Adjust black levels to enhance visibility in dark game scenes.

Image: Visual representations of the Game Timer, Crosshair, and Black Level adjustment features available in the monitor's OSD.
4.5 Tilt Adjustment
The monitor stand allows for tilt adjustment from -5° to 15° (±2°) to achieve an optimal viewing angle.
5. Maintenance
5.1 Cleaning the Monitor
- Always power off the monitor and unplug the power cable before cleaning.
- Use a soft, lint-free cloth to gently wipe the screen. For stubborn marks, lightly dampen the cloth with water or a non-abrasive screen cleaner.
- Avoid using alcohol, ammonia, or abrasive cleaners, as these can damage the screen surface.
- Wipe the monitor casing with a soft, dry cloth.
5.2 General Care
- Avoid placing heavy objects on the monitor or its cables.
- Do not expose the monitor to direct sunlight, high humidity, or extreme temperatures.
- Ensure adequate ventilation around the monitor to prevent overheating.
6. Troubleshooting
If you encounter issues with your monitor, refer to the following common problems and solutions:
| Problem | Possible Cause / Solution |
|---|---|
| No image on screen |
|
| Image flickering or stuttering |
|
| Incorrect resolution or refresh rate |
|
| Dead pixels or display anomalies |
|
| Buttons/Joystick unresponsive |
|
7. Specifications
| Feature | Detail |
|---|---|
| Brand | Minifire |
| Model Number | MFG24F4H |
| Screen Size | 24 Inches |
| Display Type | VA |
| Resolution | 1920 x 1080 (Full HD) |
| Aspect Ratio | 16:9 |
| Refresh Rate | 200 Hz |
| Response Time | 1 ms (MPRT) |
| Contrast Ratio | 4000:1 |
| Brightness | 300 Nits |
| Color Gamut | 110% sRGB |
| Display Colors | 16.7 Million (8-bit) |
| Connectivity | 1 x HDMI 2.0, 1 x DisplayPort 1.4, Earphone Jack |
| VESA Compatibility | 75 x 75 mm |
| Tilt Adjustment | -5° to 15° (±2°) |
| Special Features | FreeSync, HDR10, Blue Light Filter, Game Modes (Game Timer, Crosshair, Black Level) |
| Dimensions (L x W x H) | 53.9 x 20.2 x 41.3 cm |
8. Warranty and Support
8.1 Warranty Information
This Minifire monitor comes with a 2-year manufacturer's warranty. Please retain your proof of purchase for warranty claims.
8.2 Customer Support
For any questions, technical assistance, or warranty service, please contact Minifire professional after-sales support. Refer to the contact information provided with your product packaging or visit the official Minifire website for support details.