1. Introduction
This manual provides detailed instructions for the installation, operation, and maintenance of your FIREGAS Black Range Hood Insert 36 inch (Model: FGS-UBB13G90AC). This built-in kitchen hood is designed to effectively remove smoke, grease, and odors from your cooking area, offering both ducted and ductless convertible ventilation options.
Please read this manual thoroughly before installation and use to ensure safe and efficient operation of your appliance. Keep this manual for future reference.
2. Included Components
The following items are included in your package:
- 36 inch Insert Range Hood
- Dampers & CC170 Charcoal Filters (for ductless operation)
- Installation Drawing
- User Manual
- Screws (located inside the range hood)
- Oil Cup

3. Product Specifications
| Feature | Detail |
|---|---|
| Model Number | FGS-UBB13G90AC |
| Dimensions (D x W x H) | 11.4"D x 35.4"W x 11.4"H |
| Color | Black |
| Material Type | Stainless Steel |
| Air Flow Capacity | 600 Cubic Feet Per Minute (CFM) |
| Noise Level | 55 Decibels |
| Mounting Type | Insert Mount |
| Controls Type | Push Button |
| Number of Speeds | 3 |
| Light Source | LED |
| Voltage | 120V/60Hz |
| Wattage | 195 watts |
| Filter Type | Mesh (Aluminum) & Charcoal (CC170) |
| Ventilation Type | Convertible (Ducted/Ductless) |
| Certification | ETL |

4. Setup & Installation
This range hood supports both ducted and ductless installation. Refer to the included "Installation Drawing" for detailed steps and diagrams specific to your chosen method.
4.1 Before Installation
- Ensure the installation area meets the specified dimensions (11.4"D x 35.4"W x 11.4"H).
- Verify that the electrical supply is 120V/60Hz and has a 3-prong plug.
- For ductless installation, ensure the CC170 charcoal filters are installed. For ducted, ensure proper ductwork (5.9 inch round top vent) is available.
- It is recommended to wear gloves during installation due to potentially sharp edges.
4.2 Installation Steps (General Overview)
- Prepare the Cabinet: Ensure the cabinet opening is correctly sized for the 36-inch insert.
- Mount the Hood: Secure the range hood insert into the cabinet using the provided screws.
- Connect Ventilation:
- Ducted Mode: Connect the 5.9-inch round top vent to your existing ductwork. Ensure dampers are correctly positioned.
- Ductless Mode: Install the CC170 charcoal filters (if not already installed) and ensure the air is recirculated back into the kitchen.
- Electrical Connection: Connect the 3-prong plug to a compatible 120V/60Hz outlet.
- Install Oil Cup: Place the oil cup in its designated position to collect grease.


5. Operating Instructions
The FIREGAS range hood features user-friendly push-button controls for fan speed and lighting.
5.1 Control Panel
The control panel is located on the front of the unit and consists of several push buttons:
- Power Button (O): Turns the fan on or off.
- Fan Speed Buttons (Low, Medium, High): Adjusts the fan suction power.
- Light Button (Bulb icon): Turns the LED lights on or off.

5.2 Fan Operation
- Press the Power Button (O) to turn on the fan.
- Select the desired fan speed (Low, Medium, or High) by pressing the corresponding button.
- Low Speed: Suitable for light cooking, simmering, or when minimal ventilation is needed.
- Medium Speed: Ideal for everyday cooking, frying, or when moderate smoke and odors are present.
- High Speed: Use for heavy cooking, grilling, or when significant smoke, grease, and odors require maximum extraction.
- To turn off the fan, press the Power Button (O) again.

5.3 Lighting Operation
- Press the Light Button (Bulb icon) to turn the integrated LED lights on.
- Press the Light Button (Bulb icon) again to turn the LED lights off.

6. Maintenance
Regular maintenance ensures optimal performance and longevity of your range hood. Always disconnect power before performing any maintenance.
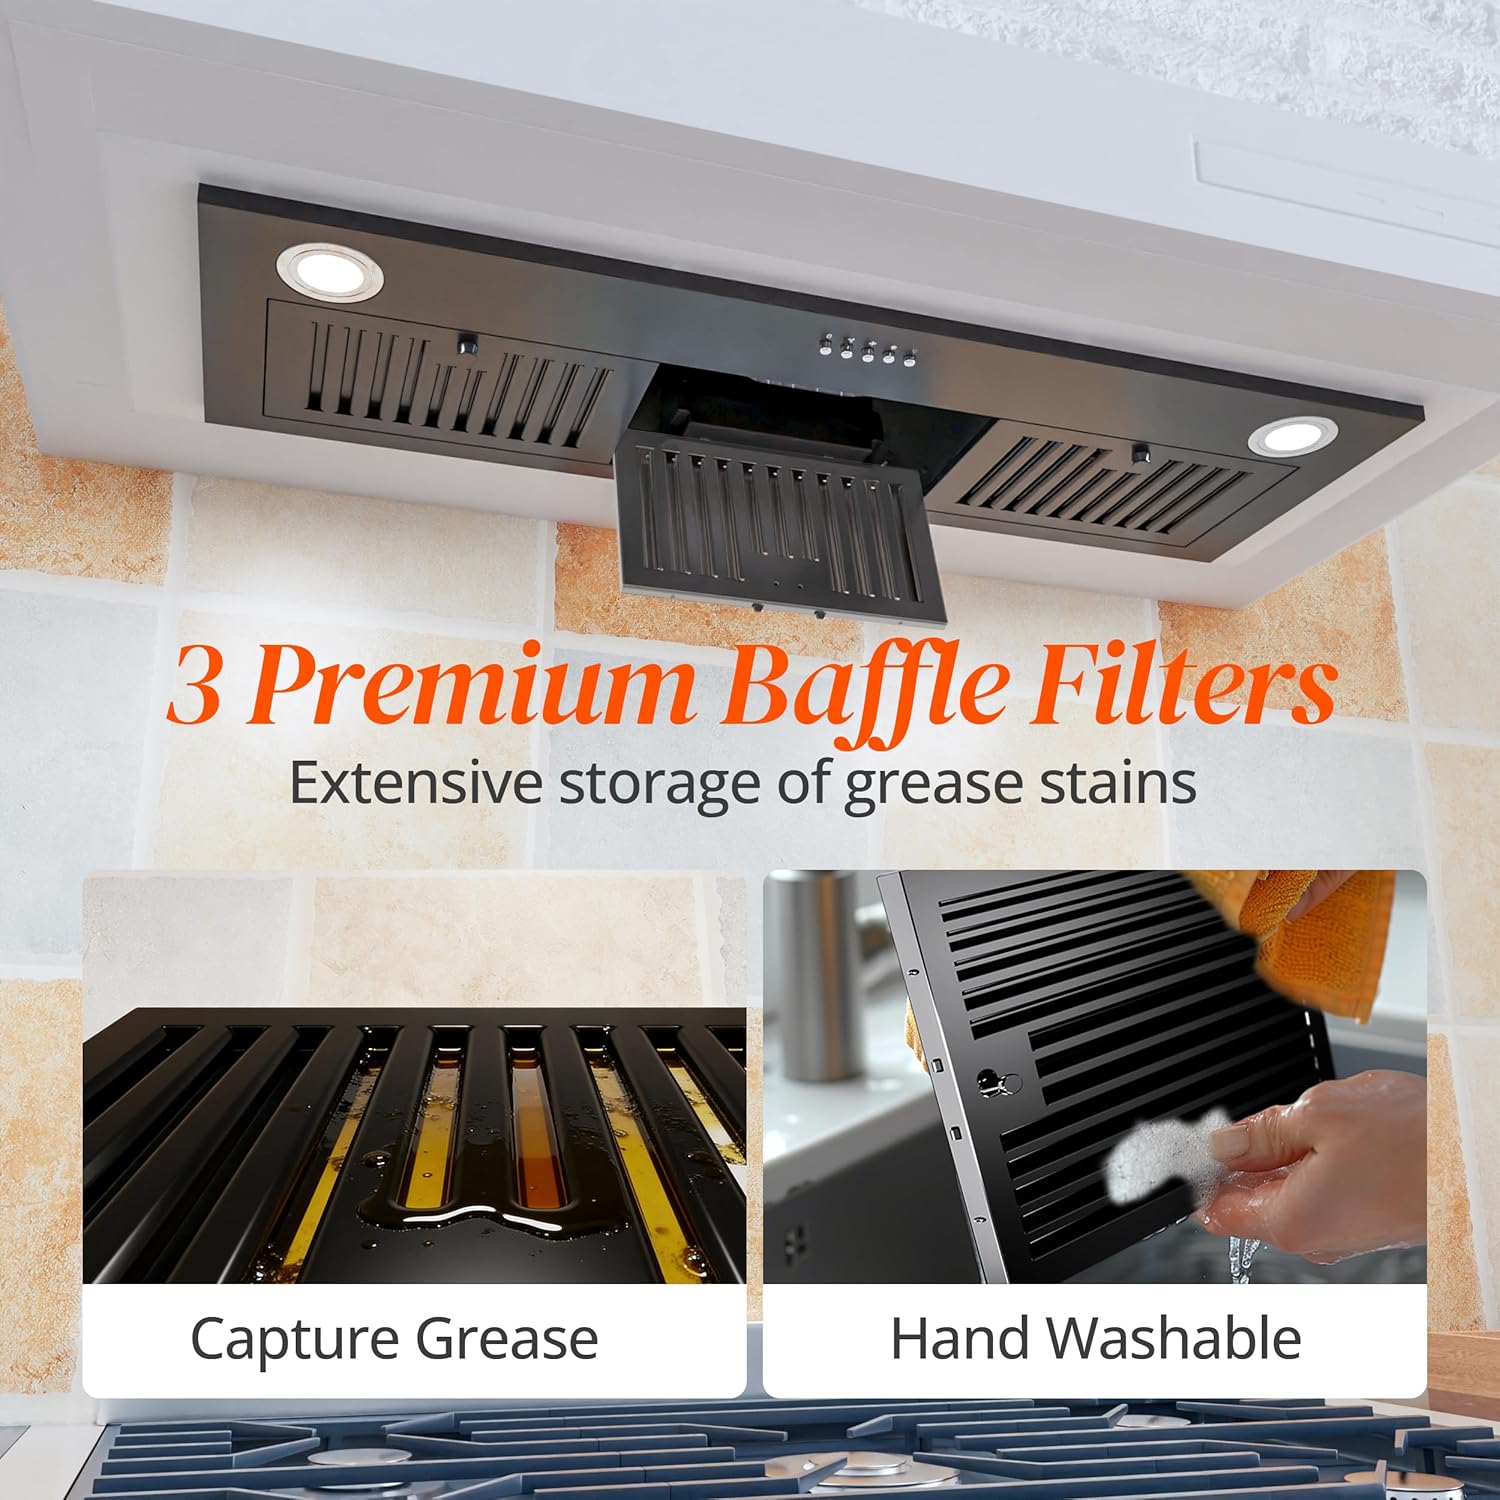
6.1 Cleaning Aluminum Filters
The 3-layer aluminum filters trap grease and should be cleaned regularly (e.g., monthly, depending on usage).
- To remove the filters, locate the small tabs or handles on each filter.
- Pull down or slide the tabs to release the filters from their housing.
- Wash the filters by hand with warm, soapy water or place them in a dishwasher.
- Allow filters to dry completely before re-installing.
- Re-insert the filters by aligning them with the slots and pushing them into place until they click securely.
6.2 Replacing Charcoal Filters (Ductless Mode)
For ductless installations, the CC170 charcoal filters absorb odors and should be replaced every 3-6 months, depending on cooking frequency.
- Remove the aluminum filters as described above.
- Locate the charcoal filters, typically attached to the motor housing.
- Twist or unclip the old charcoal filters to remove them.
- Install new CC170 charcoal filters by aligning and securing them in place.
- Re-install the aluminum filters.

6.3 Cleaning the Oil Cup
The oil cup collects excess oil and grease and should be emptied and cleaned regularly.
- Carefully slide out the oil cup from its position.
- Empty the contents and wash the cup with warm, soapy water.
- Ensure the oil cup is dry before re-inserting it.
7. Troubleshooting
This section provides solutions to common issues you might encounter. If the problem persists, please contact customer support.
- No Power:
- Check if the power cord is securely plugged into a working outlet.
- Verify that the circuit breaker has not tripped.
- Fan Not Working:
- Ensure the power button is pressed.
- Check for any obstructions in the fan blades or filters.
- Poor Suction:
- Clean or replace the aluminum grease filters.
- For ductless models, replace the charcoal filters.
- Ensure there are no blockages in the ductwork (if ducted).
- Verify that the fan speed is set appropriately for the cooking task.
- Lights Not Working:
- Ensure the light button is pressed.
- Check if the LED bulbs need replacement (refer to the full manual for bulb replacement instructions).
8. Warranty & Customer Support
8.1 Manufacturer Warranty
This FIREGAS range hood comes with a 1-year limited manufacturer warranty. This warranty covers defects in materials and workmanship under normal use. Please retain your proof of purchase for warranty claims.
For full details regarding warranty coverage, exclusions, and how to make a claim, please refer to the warranty card included with your product or contact FIREGAS customer support.
8.2 Customer Support
For any inquiries, technical assistance, or warranty claims, please contact FIREGAS customer support. Our team is available to provide prompt assistance.
- Contact Information: Refer to the contact details provided in your product packaging or on the official FIREGAS website.
- Please have your model number (FGS-UBB13G90AC) and purchase date ready when contacting support.