
1. Product Overview
This 10' x 8' XL outdoor storage shed provides a spacious and versatile solution for organizing gardening tools, seasonal equipment, or serving as a compact workshop. It features 4 vents designed to prevent humidity damage, ensuring your stored items remain in optimal condition.
Constructed with 24/34-gauge galvanized steel, this shed is built for durability and resilience against harsh climates. It is designed to resist rust, withstand 6 Beaufort winds (24-30mph), and handle heavy snow loads, offering a projected 10-year lifespan even in coastal or snowy regions.
The shed is shipped in 3 reinforced boxes to ensure safe delivery. Customer support is available 24/7, and free replacements are provided for any missing parts. Detailed assembly guides are included to facilitate an effortless setup process.
A bonus kit is included to secure your metal storage shed with a lock and assembly gloves. For optimal performance and storm resistance, it is recommended to anchor the shed to a DIY raised wooden base (not included) to protect against ground moisture.
Product Dimensions:
100"D x 120"W x 75.2"H

Figure 1: Detailed dimensions of the storage shed.
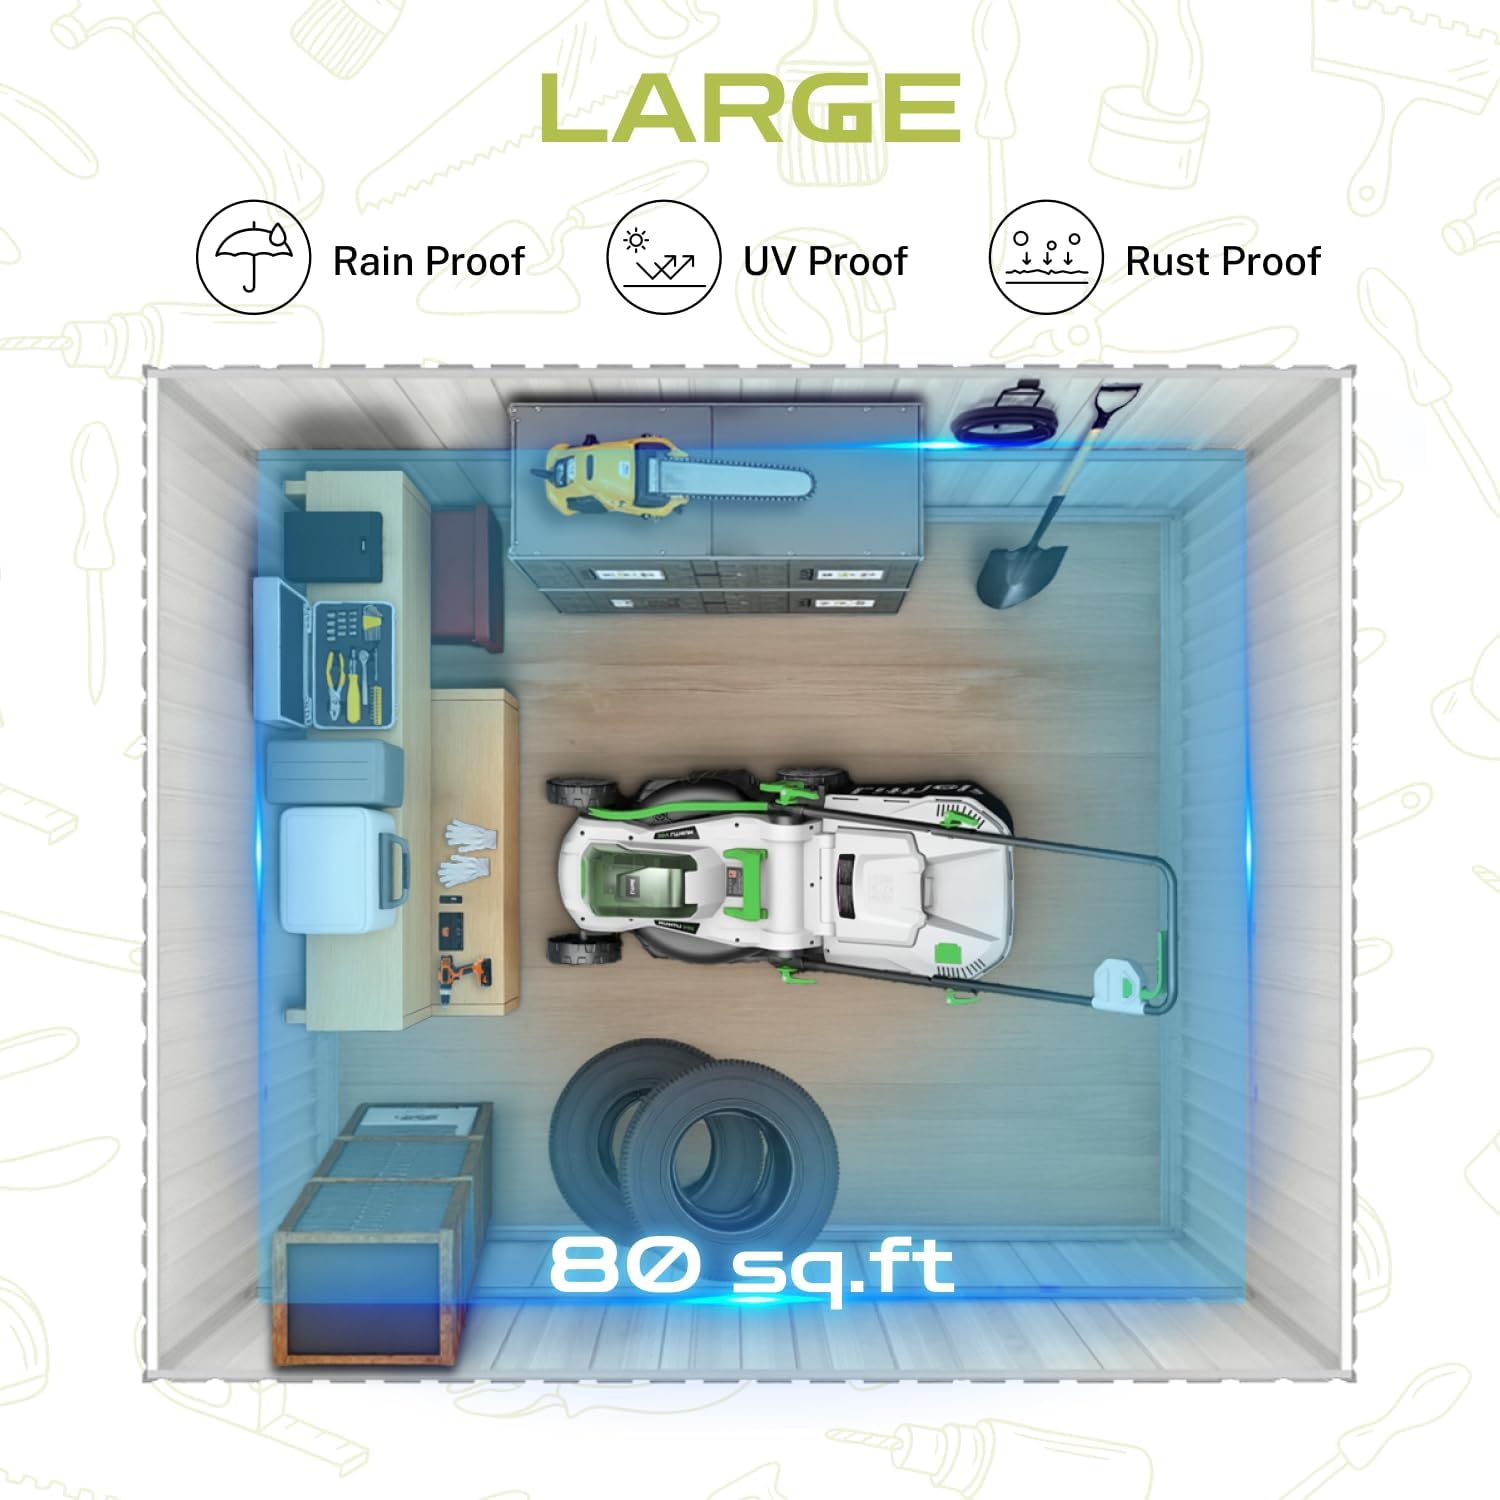
Figure 2: Interior capacity diagram highlighting 80 sq.ft of storage space.
2. Safety Information
Important Safety Precautions:
- Ensure a level foundation when assembling the shed. An uneven base can compromise the structural integrity and stability of the shed.
- Anchor the shed securely to a raised wooden base or concrete slab. This is crucial to prevent the shed from being displaced or damaged in strong winds and severe weather conditions.
- Handle all components with care during assembly. Metal edges can be sharp, and some parts may be heavy. Wearing appropriate safety gloves and protective eyewear is highly recommended.
- Always use the correct tools as specified in the assembly instructions. Using improper tools can lead to damage to the product or personal injury.
- Assembly requires at least two adults. Do not attempt to assemble the shed alone, as this can be dangerous and may result in injury.
- Keep children and pets away from the assembly area to prevent accidents.
- Do not store flammable materials or hazardous chemicals inside the shed unless proper ventilation and safety measures are in place.
- Regularly inspect the shed for any signs of wear, damage, or loose fasteners. Address any issues promptly to maintain the shed's safety and structural integrity.
3. Setup and Assembly
Assembly of the LINKHOO 10' x 8' XL Outdoor Storage Shed requires careful attention to detail and adherence to the provided step-by-step manual. It is recommended that two people work together for efficient and safe assembly. Power tools can be used to expedite the process.
Assembly Video Guide:
Video 1: Detailed assembly instructions for the storage shed.
This video provides a visual walkthrough of the assembly process, from unpacking components to the final touches. It covers key steps such as frame construction, panel attachment, door installation, and roof assembly.
Key Assembly Steps:
- Preparation: Unpack all components and verify against the parts list in your manual. Lay out parts on a clean, flat surface, preferably on grass or a soft mat to prevent scratches. Ensure you have all necessary tools, including a drill, measuring tape, and safety gloves.
- Base Frame Assembly: Begin by assembling the base frame of the shed. Connect the D1, D2, and D3 frame pieces using the provided S3 screws. Ensure all corners are securely fastened and the frame is square.
- Side Panel Installation: Attach the side panels (Q1, Q2, Q3) to the base frame. Panels are typically secured using S3 and S4 screws. Ensure panels are aligned correctly before tightening screws. The video demonstrates how to align and secure the panels to the base and to each other.
- Corner and Vertical Supports: Install the corner and vertical support beams (LL, LR, B1, B2, B3) to reinforce the structure. These are crucial for the shed's stability and are attached using S3 and S4 screws.
- Roof Panel Assembly: Assemble the roof panels (W1, W2, W3, W4) by attaching them to the roof frame components (Z1, Z2, L1, L2, L3, L4). This involves screwing the panels to the frame pieces and then connecting the frame sections. Pay close attention to the overlapping sections for weatherproofing.
- Door Assembly and Installation: Assemble the door panels (DBL-1, DBL-2, DBR-1, DBR-2) and attach hinges (HG) and latches (Latch) as shown in the manual. Install the assembled doors onto the shed frame, ensuring they swing freely and close securely.
- Gas Strut Installation: For sheds with lift-up roofs, install the gas struts (Piston) to assist with opening and closing the roof. Securely attach the brackets and the struts to the designated points on the roof and frame.
- Final Checks: Once assembly is complete, double-check all screws and connections to ensure they are tight. Verify that doors and any movable parts operate smoothly.

Figure 3: The assembled LINKHOO 10' x 8' XL Outdoor Storage Shed.
4. Operating Instructions
The LINKHOO storage shed is designed for straightforward operation. To access the interior, unlock the doors using the provided lock and key. The double-hinged doors open wide for easy entry and exit of larger items. For models with a lift-up roof, the gas struts will assist in smoothly raising and lowering the roof panel.
Ensure the doors are securely latched and locked when not in use to protect your stored items from weather and unauthorized access. The shed's vents facilitate air circulation, which helps prevent moisture buildup and keeps the interior fresh.

Figure 4: Shed with doors open, demonstrating accessibility for various tools.
5. Maintenance
Regular maintenance will extend the lifespan and preserve the appearance of your LINKHOO storage shed.
- Cleaning: Clean the exterior of the shed periodically with mild soap and water. Avoid abrasive cleaners or harsh chemicals that could damage the galvanized steel finish. Rinse thoroughly with clean water.
- Inspection: Annually inspect all screws, bolts, and connections for tightness. Tighten any loose fasteners to maintain structural integrity. Check for any signs of rust, especially in areas where the coating might be scratched or damaged. Apply rust-inhibiting paint if necessary.
- Ventilation: Ensure the 4 vents are clear of obstructions to allow for proper air circulation and prevent humidity buildup inside the shed.
- Door and Hinge Care: Lubricate door hinges and latches annually with a silicone-based spray or light oil to ensure smooth operation and prevent squeaking or sticking.
- Snow Removal: In snowy regions, regularly remove heavy snow accumulation from the roof to prevent excessive load and potential damage to the structure.

Figure 5: Shed built to withstand various weather conditions, emphasizing durability.
6. Troubleshooting
Here are some common issues and their solutions:
- Shed is Wobbly/Unstable:
Solution: Ensure the base is perfectly level. Re-check and tighten all screws and bolts, especially those connecting the base frame and vertical supports. Verify that the shed is properly anchored to the ground or a sturdy base. - Doors Do Not Close Properly:
Solution: Check if the shed is level. An uneven base can cause door misalignment. Inspect hinges for damage or looseness and tighten if necessary. Ensure no debris is obstructing the door's path. - Water Leakage:
Solution: Inspect the roof panels and wall seams for any gaps or loose screws. Ensure all screws are tightened and that the panels overlap correctly. Check the sealant around windows (if applicable) and reapply if needed. Verify proper drainage around the shed's base. - Rust Spots Appearing:
Solution: Clean the affected area thoroughly to remove any existing rust. Lightly sand the area if necessary. Apply a rust-inhibiting primer followed by an exterior metal paint that matches the shed's color. Regular cleaning and inspection can prevent this.
7. Specifications
| Attribute | Detail |
|---|---|
| Brand | LINKHOO |
| Color | Brown+White |
| Material | Metal (Alloy Steel) |
| Product Dimensions | 100"D x 120"W x 75.2"H |
| Style | Garden |
| Base Material | Metal |
| Top Material Type | Metal |
| Water Resistance Level | Water Resistant |
| Frame Material | Alloy Steel |
| Door Style | Single Hinged Doors |
| Ultraviolet Light Protection | Yes |
| Assembly Required | Yes |
| Item Weight | 61 pounds |
| Item Model Number | SWF-SS-29-W1350-2 |
| UPC | 717179880691 |
8. Warranty and Support
Your LINKHOO storage shed is designed for long-lasting performance and comes with reliable support.
- Warranty: Please refer to your purchase documentation for specific warranty details. The manufacturer ensures a 10-year lifespan in coastal or snowy regions due to the durable galvanized steel construction.
- Returns: This product is eligible for 30-day easy returns.
- Customer Support: For any questions regarding installation, missing parts, or product issues, please contact customer service. Support is available 24/7 to assist you.