1. Introduction
Thank you for choosing the Zeuslap Z13KT 13.3-inch Portable Touchscreen Monitor. This device is designed to enhance your productivity and entertainment experience with its high-resolution 2K IPS display, 100% sRGB color gamut, and responsive touch functionality. This manual provides essential information for the safe and efficient use of your monitor, including setup, operation, maintenance, and troubleshooting.
2. Safety Information
- Read all instructions carefully before using the monitor.
- Do not expose the monitor to rain, moisture, or extreme temperatures.
- Avoid placing the monitor near heat sources or in direct sunlight.
- Use only the power adapter and cables provided or recommended by the manufacturer.
- Do not attempt to disassemble or repair the monitor yourself. Refer all servicing to qualified personnel.
- Clean the monitor with a soft, dry cloth. Avoid using liquid cleaners or aerosols.
- Keep the monitor away from strong magnetic fields.
3. Package Contents
Please check the package contents upon unboxing. If any items are missing or damaged, contact your retailer.
- Zeuslap Z13KT Portable Monitor
- USB-C to USB-C Cable (for power and video/touch)
- Mini HDMI to HDMI Cable (for video)
- USB-A to USB-C Cable (for power)
- Power Adapter (if included)
- Protective Cover/Stand
- User Manual (this document)
4. Product Overview
Familiarize yourself with the monitor's components and ports.
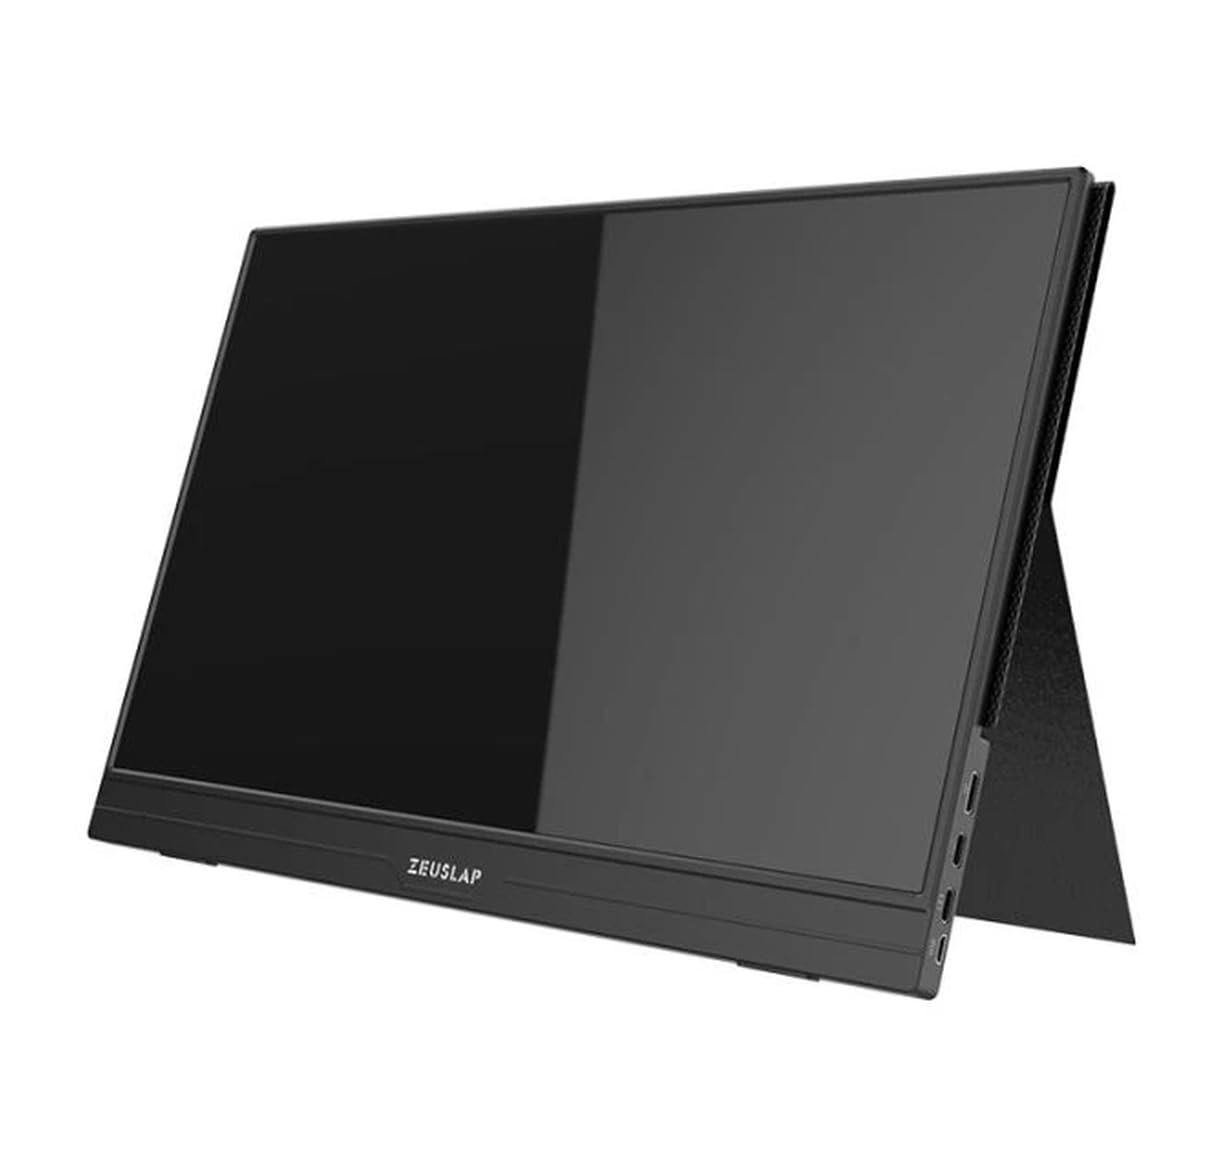
Figure 4.1: Front view of the Zeuslap Z13KT portable monitor, showcasing its slim design and screen.
4.1. Monitor Components
- 13.3-inch 2K IPS Touchscreen: Main display area with touch input capability.
- Power Button: Turns the monitor on/off and can be used to access the OSD menu.
- Menu/Navigation Buttons: For navigating the On-Screen Display (OSD) menu.
- Speakers: Integrated audio output.
4.2. Available Ports
- USB-C Port (Full-featured): For power, video signal, and touch data transmission from compatible devices (e.g., laptops, smartphones).
- USB-C Port (Power Only): For connecting to an external power adapter to supply power to the monitor.
- Mini HDMI Port: For video signal input from devices like gaming consoles, cameras, or older laptops.
- 3.5mm Audio Jack: For connecting external headphones or speakers.
5. Setup
Follow these steps to connect your Zeuslap Z13KT monitor to your device.
5.1. Connecting to a Laptop/PC (USB-C with DisplayPort Alt Mode)
- Ensure your laptop's USB-C port supports DisplayPort Alternate Mode (DP Alt Mode) and power delivery.
- Connect one end of the provided USB-C to USB-C cable to the full-featured USB-C port on the monitor.
- Connect the other end of the USB-C to USB-C cable to your laptop's compatible USB-C port.
- The monitor should automatically detect the signal and power on. If not, press the monitor's power button.
- For touch functionality, ensure the USB-C connection is established correctly.
5.2. Connecting to a Laptop/PC (HDMI + USB for Power/Touch)
- Connect one end of the Mini HDMI to HDMI cable to the Mini HDMI port on the monitor.
- Connect the other end of the HDMI cable to your laptop's HDMI port.
- For power, connect the USB-A to USB-C cable from your laptop's USB-A port (or a power adapter) to the power-only USB-C port on the monitor.
- For touch functionality, if your laptop has a USB-A port, connect the USB-A end of the USB-A to USB-C cable to your laptop and the USB-C end to the full-featured USB-C port on the monitor. This will provide touch data.
- The monitor should power on and display the image.
5.3. Connecting to a Smartphone (USB-C with DisplayPort Alt Mode)
Note: Not all smartphones support video output via USB-C. Check your phone's specifications.
- Connect one end of the USB-C to USB-C cable to the full-featured USB-C port on the monitor.
- Connect the other end of the USB-C to USB-C cable to your compatible smartphone's USB-C port.
- The monitor will draw power from the phone. For extended use or if the phone cannot supply enough power, connect an external power adapter to the monitor's power-only USB-C port.
- The monitor should display your phone's screen, and touch functionality should be active.
6. Operating Instructions
6.1. Power On/Off
- To Power On: Press the Power button.
- To Power Off: Press and hold the Power button for 3 seconds.
6.2. On-Screen Display (OSD) Menu
The OSD menu allows you to adjust various monitor settings.
- Accessing the OSD: Press the Menu button (or short press the Power button, depending on model variation).
- Navigation: Use the navigation buttons (or touch gestures if enabled) to move through menu options.
- Selection: Press the Menu button (or tap) to select an option.
- Exit: Navigate to the "Exit" option or wait for the OSD to time out.
6.3. Common OSD Settings
- Brightness/Contrast: Adjust display luminance and contrast levels.
- Color Settings: Modify color temperature, hue, and saturation.
- Input Source: Manually select between USB-C and Mini HDMI inputs.
- Aspect Ratio: Change the display aspect ratio (e.g., 16:9, 4:3).
- Volume: Adjust the built-in speaker volume.
- Language: Select the OSD menu language.
6.4. Touchscreen Functionality
The monitor supports multi-touch gestures. Ensure your device (laptop/smartphone) is compatible and connected via a full-featured USB-C cable for touch input to function.
- Tap: Equivalent to a mouse click.
- Swipe: For scrolling or navigating.
- Pinch-to-Zoom: For zooming in or out on content.
7. Maintenance
7.1. Cleaning the Monitor
- Always power off and unplug the monitor before cleaning.
- Use a soft, lint-free cloth to gently wipe the screen and casing.
- For stubborn smudges, lightly dampen the cloth with water or a screen-specific cleaning solution. Do not spray liquid directly onto the screen.
- Avoid using abrasive cleaners, alcohol, or ammonia-based solutions, as they can damage the screen surface.
7.2. Storage
- When not in use, store the monitor in a cool, dry place.
- Use the provided protective cover to prevent scratches and dust accumulation.
- Avoid placing heavy objects on top of the monitor.
8. Troubleshooting
If you encounter issues with your monitor, refer to the following common problems and solutions.
| Problem | Possible Cause | Solution |
|---|---|---|
| No display/No signal |
|
|
| Touchscreen not working |
|
|
| Flickering or unstable display |
|
|
| No audio from monitor speakers |
|
|
9. Specifications
| Feature | Detail |
|---|---|
| Model | ZL-Z13KT |
| Screen Size | 13.3 inches |
| Resolution | 2560 x 1600 (2K) |
| Refresh Rate | 60Hz |
| Panel Type | IPS |
| Color Gamut | 100% sRGB |
| Brightness | 300 cd/m² |
| Touchscreen | Yes |
| Connectivity | 2x USB-C (1x Full-featured, 1x Power), 1x Mini HDMI, 1x 3.5mm Audio Jack |
| Power Input | USB-C (5V-20V) |
10. Warranty and Support
Specific warranty information for the Zeuslap Z13KT monitor is not available in the provided product data. Please refer to the warranty card included with your product or visit the official ZEUSLAP website for detailed warranty terms and conditions.
For technical support, product inquiries, or service requests, please contact your retailer or the manufacturer directly through their official support channels.