Wagner 2476170
Wagner Control Spray 18V Cordless HVLP Stain Sprayer User Manual
Model: 2476170
1. Introduction
This manual provides essential information for the safe and effective operation, maintenance, and troubleshooting of your Wagner Control Spray 18V Cordless HVLP Stain Sprayer. Please read this manual thoroughly before first use and keep it for future reference.
The Wagner Control Spray 18V Cordless HVLP Stain Sprayer is designed for applying stains and thin paints to small to medium-sized projects such as decks, pergolas, furniture, and trim. Its cordless design offers portability and convenience.
2. Safety Information
WARNING: Always follow basic safety precautions to reduce the risk of fire, electric shock, and personal injury.
- Read all instructions before operating the sprayer.
- Wear appropriate personal protective equipment (PPE), including eye protection, gloves, and a respirator, especially when spraying.
- Ensure adequate ventilation in the work area.
- Do not spray flammable materials near open flames or ignition sources.
- Keep children and pets away from the work area.
- Disconnect the battery pack before cleaning, servicing, or storing the sprayer.
- Use only recommended accessories and replacement parts.
3. Product Components
Familiarize yourself with the parts of your Wagner Control Spray 18V sprayer.
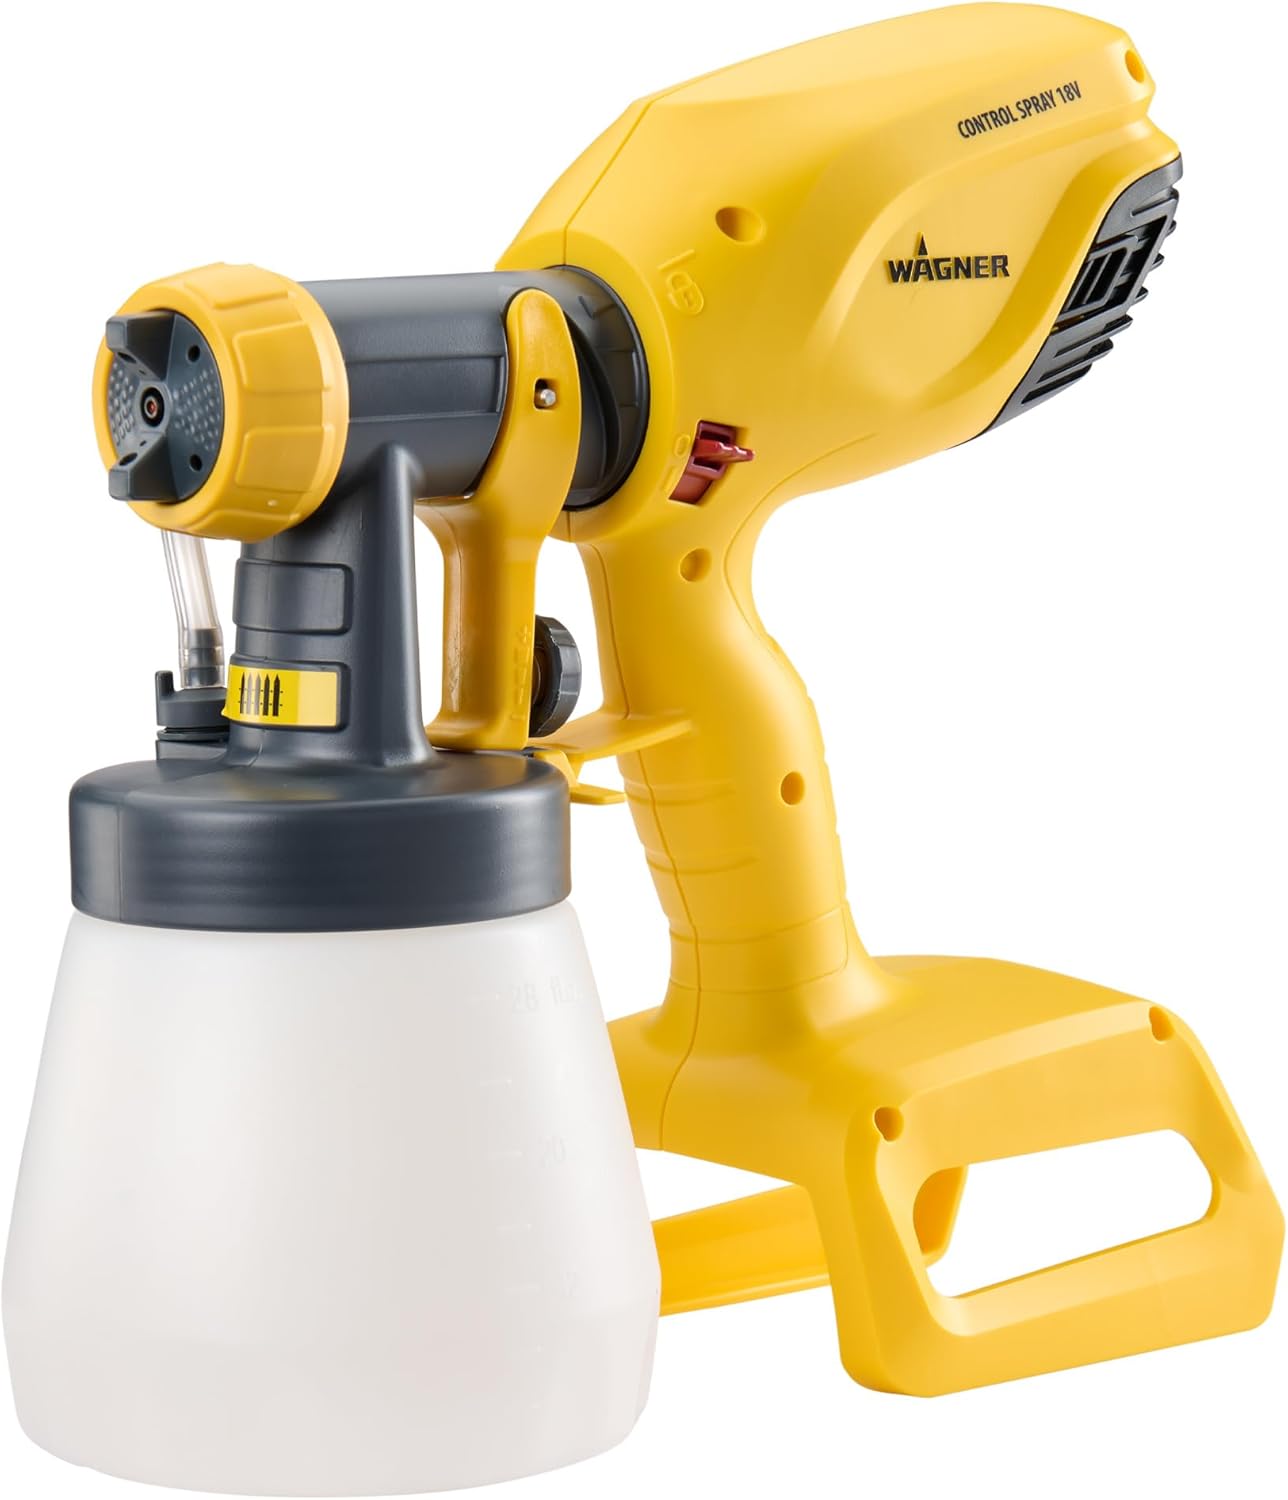
Figure 3.1: Overview of the Wagner Control Spray 18V HVLP Stain Sprayer. The image shows the yellow sprayer body with a grey front section, a white paint cup attached below, and a nozzle at the front.

Figure 3.2: Key components of the sprayer including the Control Finish Nozzle, 27 oz Cup, On/Off Switch, Material Flow Control, and compatibility with AmpShare batteries.
- Sprayer Body: Contains the motor and battery compartment.
- Paint Cup (27 oz): Holds the material to be sprayed.
- Control Finish Nozzle: Provides consistent finish and low overspray.
- On/Off Switch: Activates and deactivates the sprayer.
- Material Flow Control: Adjusts the paint flow to match project needs.
- Air Cap: Adjusts spray pattern.
- Trigger: Activates spraying.
- Battery Compartment: For 18V AMPShare by Bosch compatible batteries (battery and charger sold separately).
4. Setup
4.1 Preparing the Material
Proper material preparation is crucial for optimal spray performance.
- Stir Material: Thoroughly stir the stain or thin paint according to the manufacturer's instructions.
- Viscosity Test (if needed): For best results, some materials may need thinning. Consult the material manufacturer's recommendations. The sprayer is designed for stains and thin paints, which typically do not require significant thinning.
- Filter Material: Strain the material through a paint filter or cheesecloth to remove any lumps or debris that could clog the sprayer.
- Fill Cup: Fill the 27 oz material cup with the prepared material. Do not overfill.
4.2 Assembling the Sprayer
- Ensure the sprayer is clean and free of any previous material.
- Attach the material cup to the sprayer body by twisting it securely into place.
- Insert a charged 18V AMPShare compatible battery into the battery compartment until it clicks into place.
5. Operating Instructions
5.1 Adjusting Spray Patterns
The Control Spray 18V offers three adjustable spray patterns:
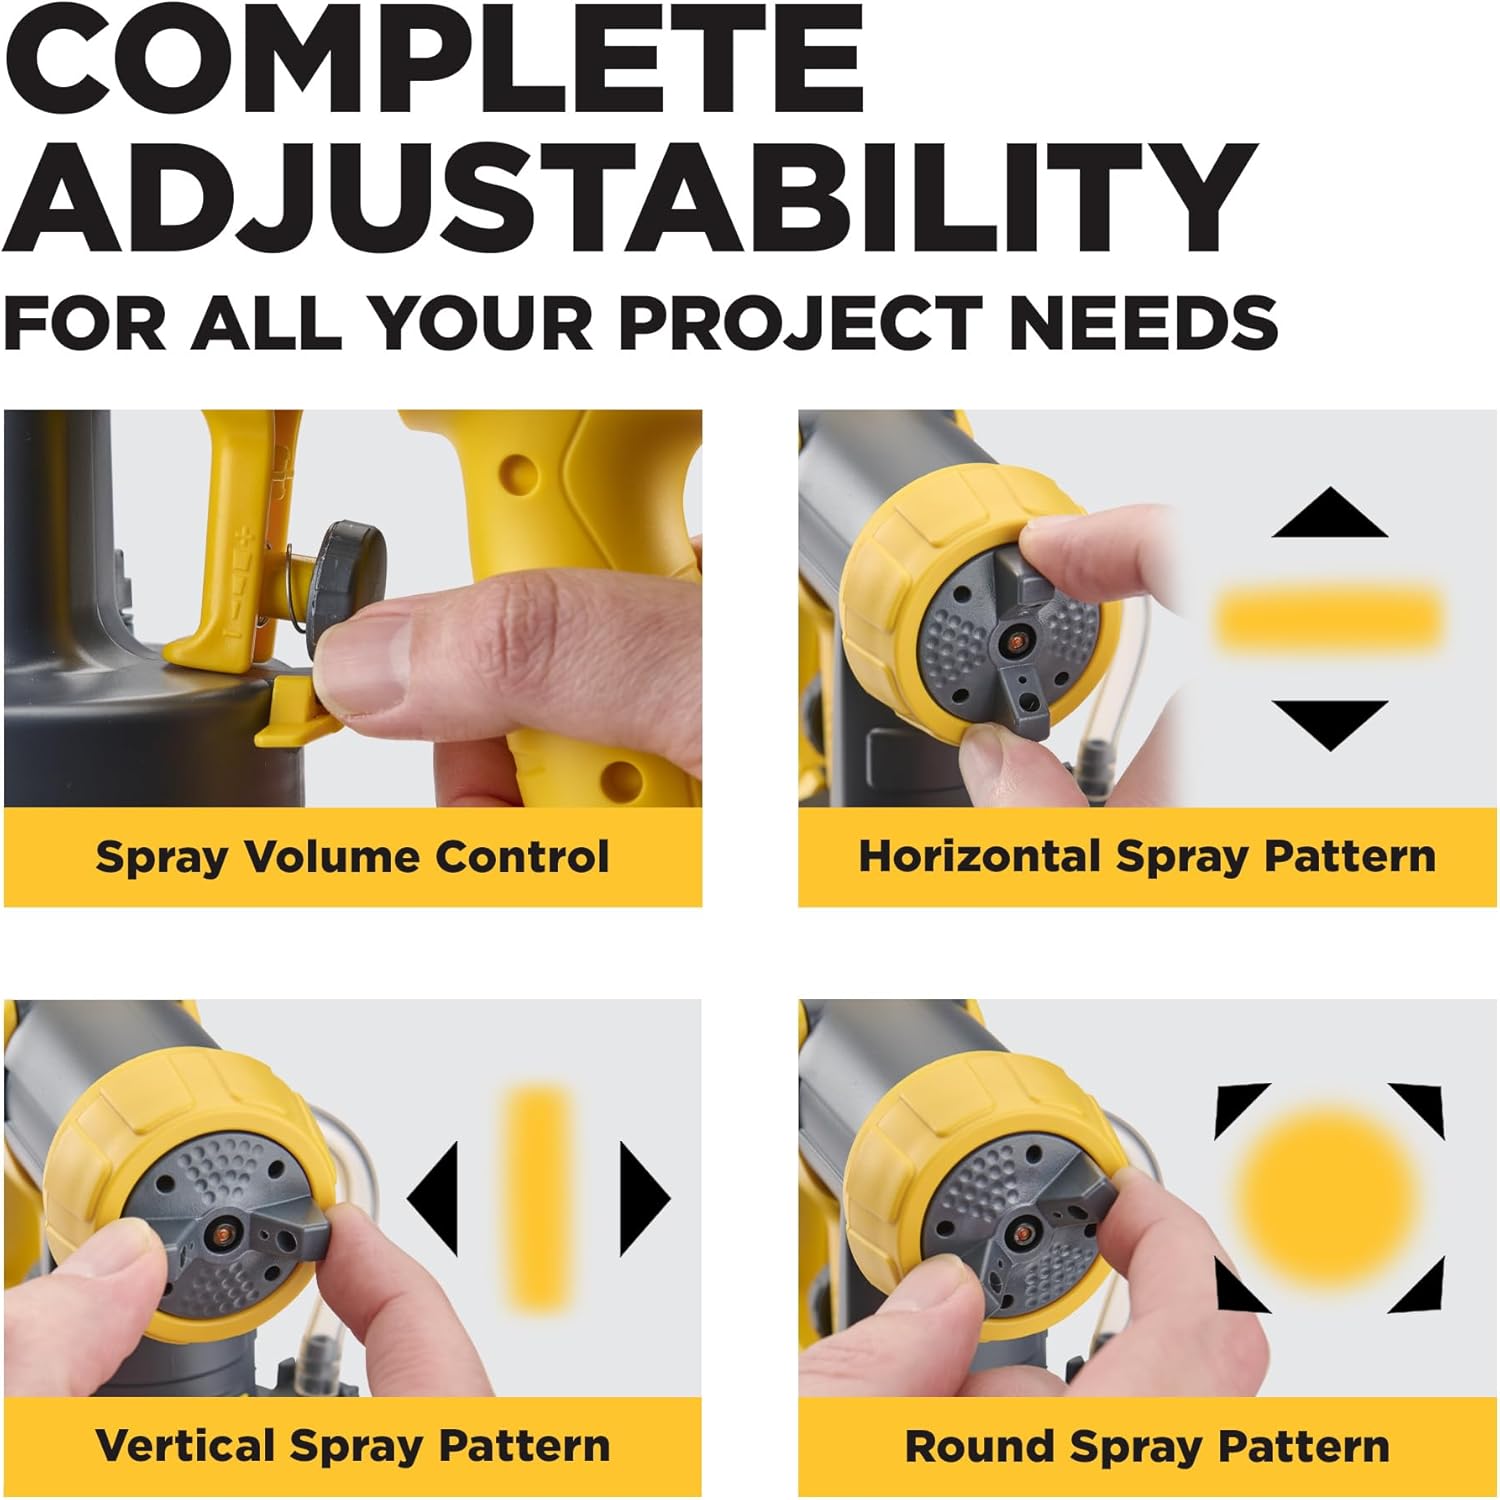
Figure 5.1: Demonstrates how to adjust the spray volume control and switch between horizontal, vertical, and round spray patterns by rotating the air cap.
- Horizontal Spray Pattern: Ideal for spraying up and down motions (e.g., fences, deck boards). Rotate the air cap to align the horizontal indicators.
- Vertical Spray Pattern: Ideal for spraying side-to-side motions (e.g., furniture, doors). Rotate the air cap to align the vertical indicators.
- Round Spray Pattern: Suitable for small areas, corners, or detailed work. Rotate the air cap to align the round indicators.
5.2 Adjusting Material Flow
The material flow control allows you to fine-tune the amount of material being sprayed.
- Locate the material flow control knob on the sprayer.
- Turn the knob to increase or decrease the flow rate. Start with a lower setting and gradually increase until the desired coverage is achieved.
5.3 Spraying Technique
- Test Spray: Before spraying your project, always test on a piece of scrap material to adjust spray pattern and flow.
- Maintain Distance: Hold the sprayer approximately 6-8 inches (15-20 cm) from the surface.
- Even Strokes: Use smooth, even strokes, overlapping each pass by about 50% to ensure uniform coverage.
- Release Trigger: Release the trigger at the end of each stroke to avoid material buildup.
- Battery Life: A 2Ah battery provides approximately 13.5 minutes of run time, sufficient to spray nearly 1 gallon of stain. Monitor the battery indicator.
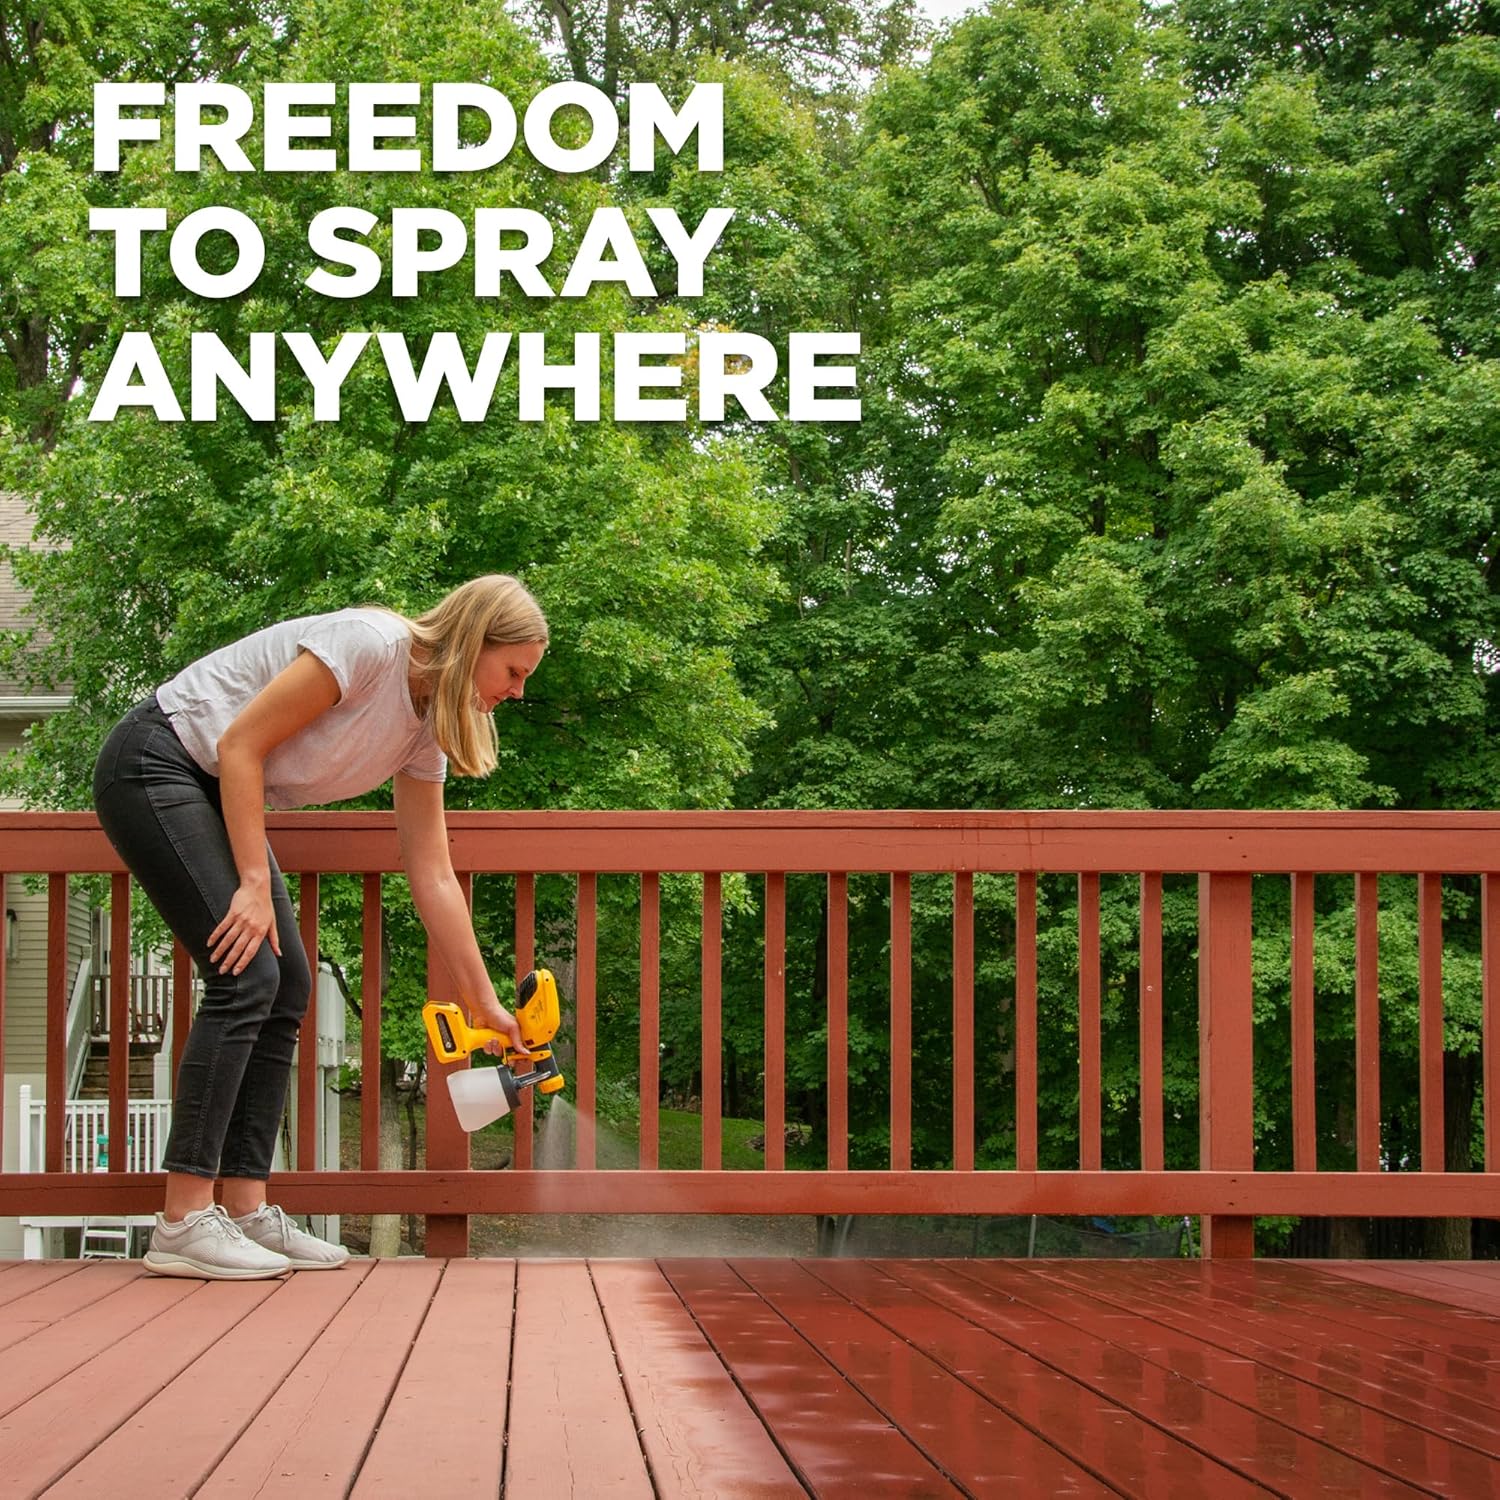
Figure 5.2: Demonstrates the cordless convenience of the sprayer, allowing freedom to spray anywhere, such as a deck railing.
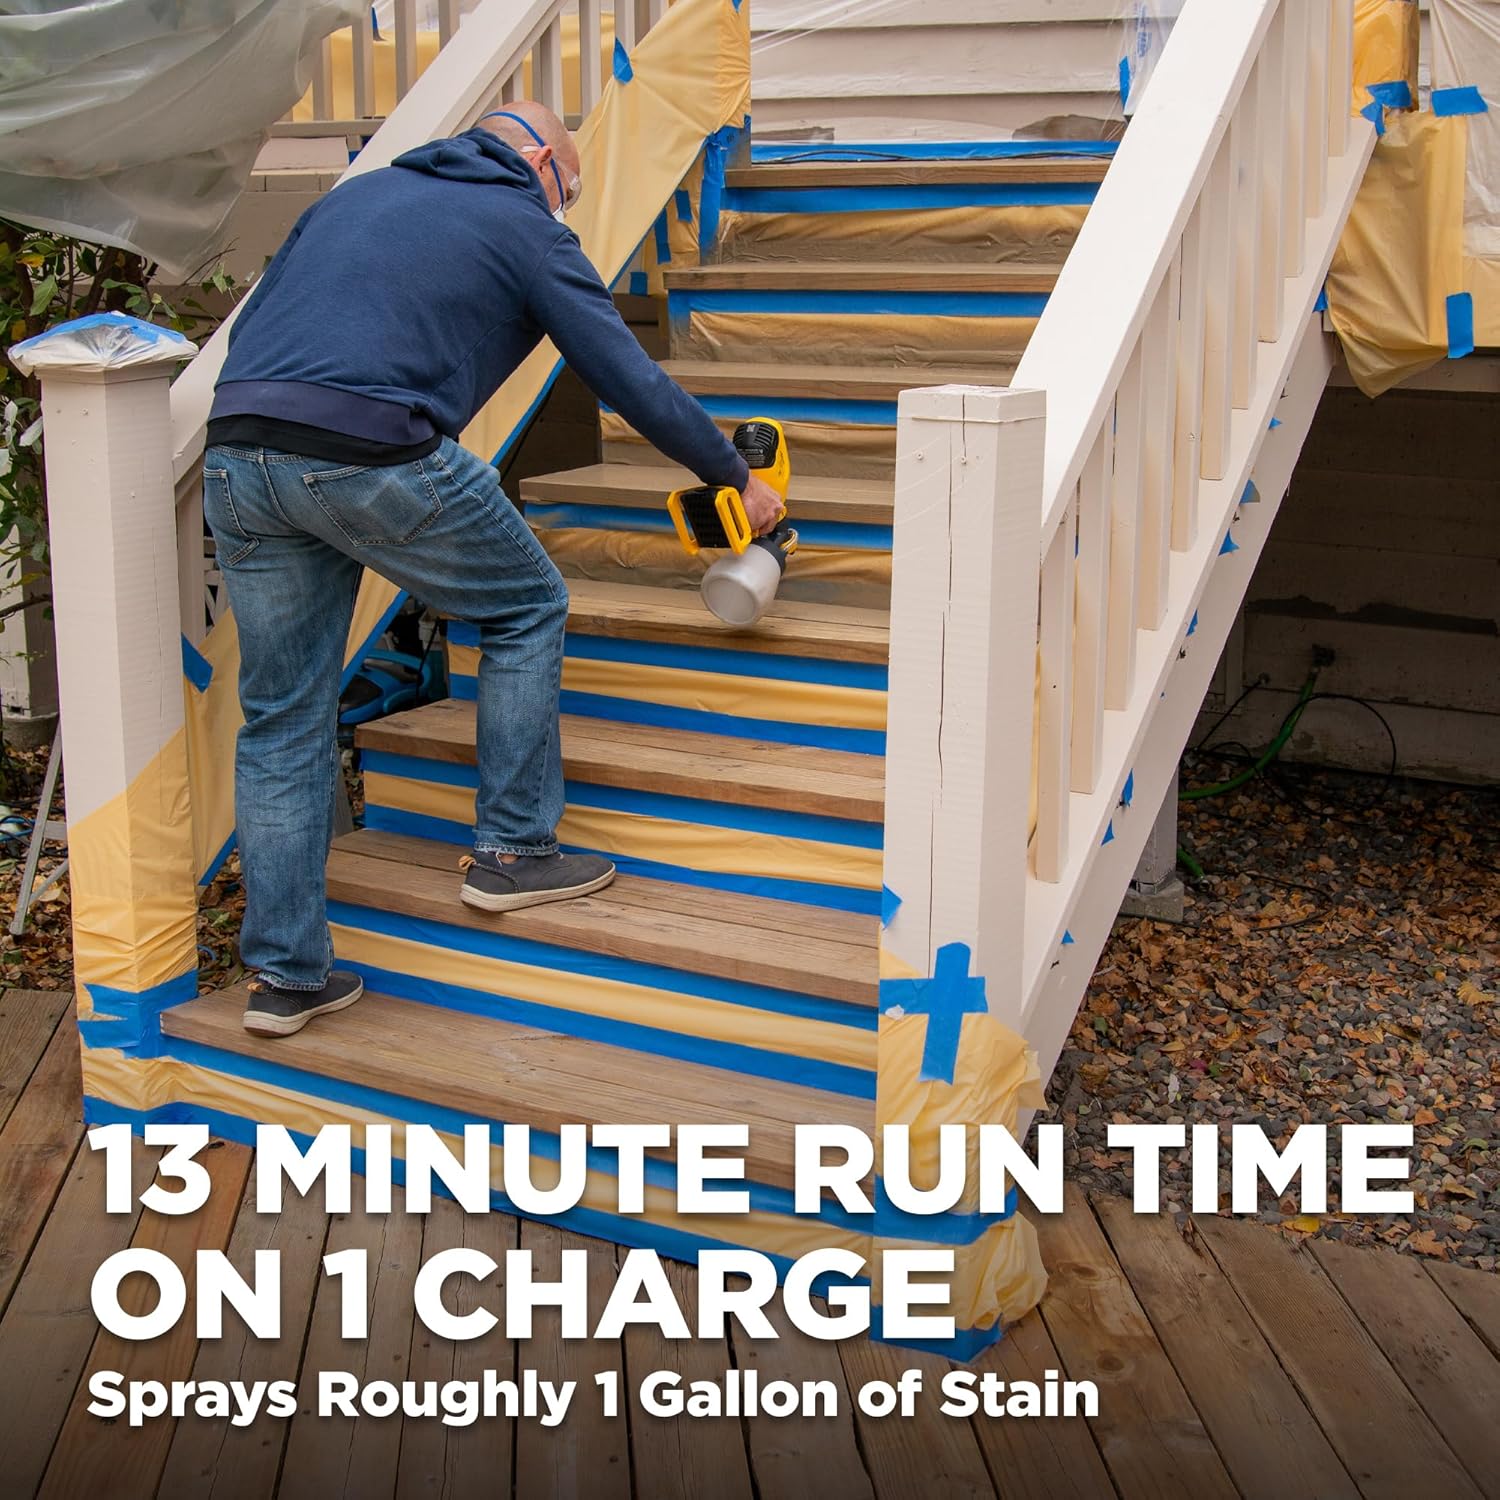
Figure 5.3: Illustrates the sprayer being used on stairs, highlighting its 13-minute run time on one charge, capable of spraying approximately 1 gallon of stain.
6. Maintenance and Cleaning
Proper cleaning after each use is essential to prevent clogging and ensure the longevity of your sprayer. The Lock-N-Go system facilitates easy cleanup.

Figure 6.1: Shows the disassembled sprayer components, including the cup and nozzle, soaking in soapy water for quick and easy cleanup.
- Disconnect Power: Always remove the battery pack before cleaning.
- Empty Material: Empty any remaining material from the cup back into its original container.
- Disassemble: Use the Lock-N-Go system to quickly detach the front end (nozzle and cup assembly) from the motor housing.
- Clean Components:
- For water-based materials: Rinse all parts (cup, suction tube, nozzle, air cap) with warm soapy water.
- For oil-based materials: Rinse all parts with an appropriate cleaning solution (e.g., mineral spirits) as recommended by the material manufacturer.
- Brush Cleaning: Use a cleaning brush (often included) to scrub away any dried material from the nozzle and other small passages.
- Rinse Thoroughly: Rinse all parts with clean water until no residue remains.
- Dry: Allow all components to dry completely before reassembly or storage.
- Reassemble: Reassemble the sprayer once all parts are dry.
7. Troubleshooting
This section addresses common issues you might encounter with your sprayer.
| Problem | Possible Cause | Solution |
|---|---|---|
| Sprayer not turning on | Battery not charged or not inserted correctly. | Ensure battery is fully charged and properly seated. |
| No spray or weak spray | Clogged nozzle, suction tube, or air cap; material too thick; low material level. | Clean all components thoroughly. Thin material if necessary. Refill material cup. |
| Inconsistent spray pattern | Partially clogged nozzle or air cap; incorrect air cap adjustment. | Clean nozzle and air cap. Adjust air cap to desired pattern. |
| Material leaking | Loose connections; damaged seals. | Tighten all connections. Inspect seals and replace if damaged. |
8. Specifications
- Model: 2476170
- Power Source: 18V Battery Powered (Bare Tool Only, Battery and Charger Sold Separately)
- Battery Compatibility: AMPShare by Bosch platform (2Ah to 6Ah batteries)
- Cup Capacity: 27 oz
- Recommended Uses: Staining, Painting (thin materials)
- Style: Handheld HVLP Sprayer
- Product Dimensions: 9.12"W x 11.56"H
- Item Weight: 3.24 pounds
- Manufacturer: Wagner Spraytech
- Country of Origin: China
9. Warranty and Support
For warranty information, technical support, or to purchase replacement parts, please visit the official Wagner website or contact their customer service.
Wagner Customer Support: Refer to the contact information provided with your product packaging or visit the Wagner website for the most up-to-date support resources.
You can also visit the Wagner Store on Amazon for additional product information and resources.
Ask a question about this manual
Ask about setup, troubleshooting, compatibility, parts, safety, or missing instructions. Manuals+ will review the question and use this page’s manual context to help answer it.