1. Introduction
Thank you for purchasing the BESUS Q5 Mate Wireless Mini Projector. This compact and versatile projector is designed to provide a high-quality viewing experience for home entertainment, presentations, and more. Featuring WiFi 6 and 5G connectivity, 4K/1080P support, and a 180° rotatable design, it offers flexibility and convenience. This manual provides detailed instructions for setup, operation, maintenance, and troubleshooting to ensure optimal performance and longevity of your device.
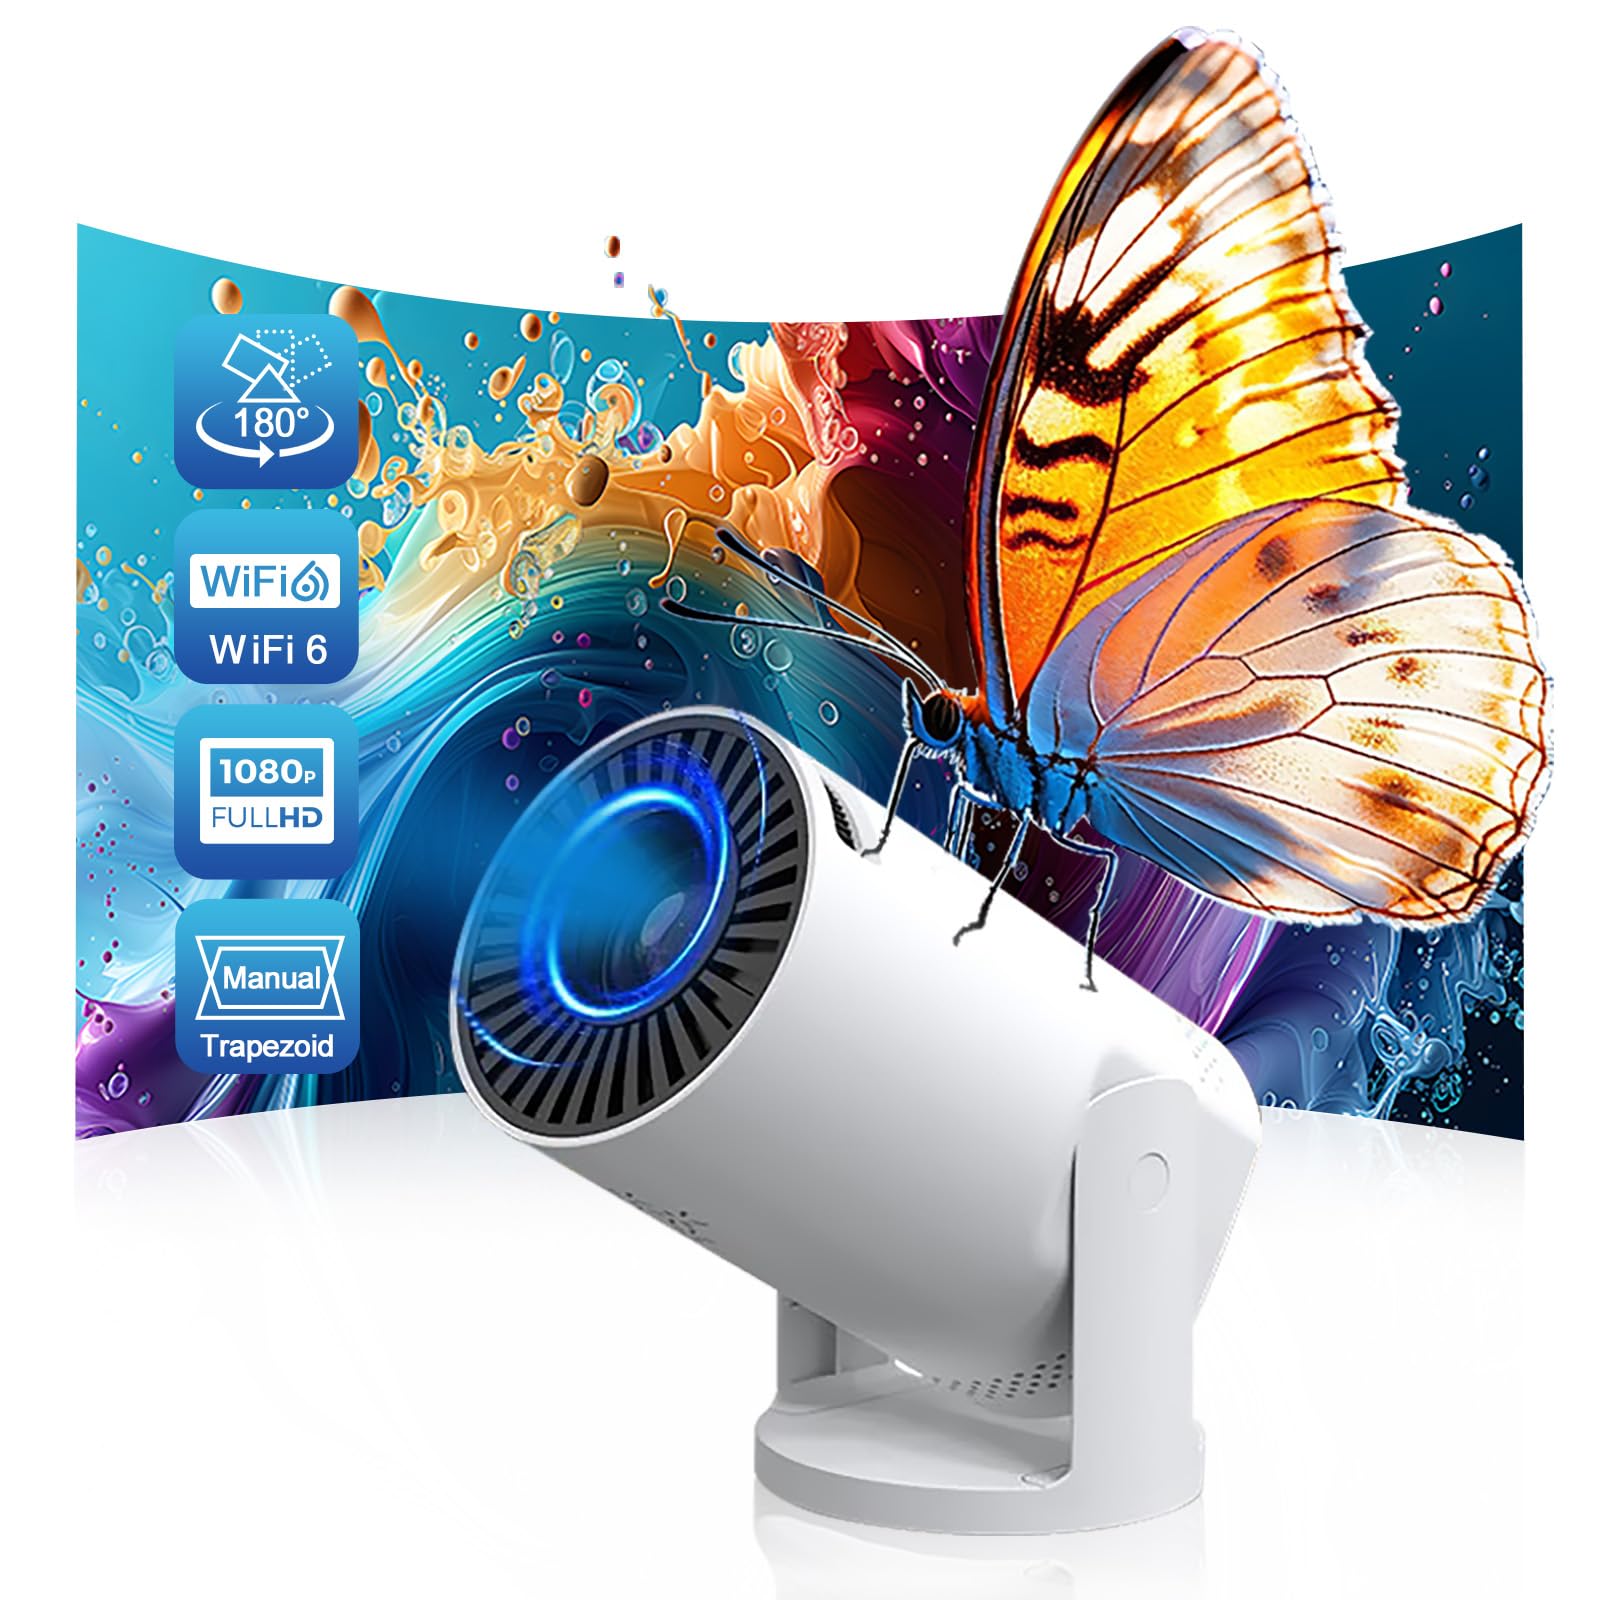
Image 1.1: The BESUS Q5 Mate Wireless Mini Projector, showcasing its compact design.
2. Safety Information
Please read all safety instructions carefully before using the projector. Keep this manual for future reference.
- Do not look directly into the projector lens when the lamp is on, as the bright light can cause eye damage.
- Ensure the projector is placed on a stable, level surface to prevent it from falling.
- Do not block the ventilation openings, as this can lead to overheating and damage the device.
- Keep the projector away from water, moisture, and extreme temperatures.
- Use only the power adapter supplied with the projector.
- Do not attempt to open or repair the projector yourself. Refer all servicing to qualified personnel.
- Keep the projector out of reach of children.
3. Package Contents
Verify that all items listed below are included in your package. If any items are missing or damaged, please contact customer support.
- BESUS Q5 Mate Mini Projector
- Remote Control
- Power Adapter
- User Manual (this document)

Image 3.1: Contents of the BESUS Q5 Mate projector package, including the projector, remote, power adapter, and user manual.
4. Product Overview
Familiarize yourself with the various parts of your BESUS Q5 Mate projector.
4.1 Front View

Image 4.1: Detailed view of the projector lens, highlighting its high refractive index coating for clear image quality.
- Projection Lens: Emits the image onto the screen. Features a high refractive index coating for enhanced clarity.
- Ventilation Grille: Ensures proper airflow for cooling.
4.2 Rear/Side View (Ports)
- DC Input: Connects to the power adapter.
- AV Port: For connecting older devices using an AV cable.
- USB Port: For connecting USB flash drives or other USB devices.
- 3.5mm Headphone Port: For connecting external audio devices like headphones or speakers.
5. Setup
5.1 Placement and Power Connection
- Place the projector on a stable surface. Ensure there is adequate space around the projector for ventilation.
- Connect the power adapter to the DC input port on the projector, then plug the adapter into a power outlet.
- Press the power button on the projector or remote control to turn on the device.

Image 5.1: The projector set up in a living room environment, demonstrating its use for home entertainment.
5.2 Focus Adjustment
Once the projector is powered on and displaying an image, rotate the focus ring (usually located near the lens) until the image appears sharp and clear on your projection surface.
5.3 Projection Angle Adjustment (180° Swivel)
The BESUS Q5 Mate features a 180° rotatable base, allowing you to adjust the projection angle from the wall to the ceiling. Gently hold the projector body and rotate it to achieve your desired viewing angle. The image will automatically adjust for keystone correction.

Image 5.2: Diagram illustrating the 180-degree flexible projection angle of the projector, allowing projection from wall to ceiling.
5.4 Connectivity
The projector supports various connection methods:
- Wireless (WiFi 6 & 5G):
- Navigate to the "Settings" menu on the projector.
- Select "Network" or "WiFi Settings".
- Choose your desired WiFi network (2.4GHz or 5GHz/WiFi 6) and enter the password.
- Screen Mirroring (Smartphone/Laptop):
Once connected to the same WiFi network, select the "Screen Mirroring" or "Cast" option on the projector's main menu. Follow the on-screen instructions to connect your smartphone or laptop (e.g., AirPlay for iOS, Miracast for Android/Windows).
- USB Connection:
Insert a USB flash drive into the USB port. The projector will typically prompt you to browse its contents (videos, photos, documents).
- AV Connection:
Connect your device to the AV port using an AV cable. Select "AV" as the input source from the projector's menu.
6. Operating Instructions
6.1 Power On/Off
- Power On: Press the power button on the projector or the remote control.
- Power Off: Press the power button again. Confirm shutdown if prompted.
6.2 Menu Navigation
Use the arrow buttons on the remote control to navigate through the on-screen menus. The "OK" or "Enter" button confirms selections, and the "Back" or "Return" button goes back to the previous menu.
6.3 Input Source Selection
From the main menu or by pressing the "Source" button on the remote, select the desired input source (e.g., WiFi, USB, AV) corresponding to your connected device.
6.4 Audio Settings
Adjust the volume using the volume buttons on the remote control. You can also access advanced audio settings (e.g., sound modes, equalizer) through the projector's settings menu. The projector has a built-in speaker, but external speakers can be connected via the 3.5mm audio jack.
7. Maintenance
Proper maintenance ensures the longevity and optimal performance of your projector.
- Cleaning the Lens: Use a soft, lint-free cloth specifically designed for optical lenses. Do not use abrasive cleaners or harsh chemicals. Gently wipe the lens to remove dust or smudges.
- Cleaning the Exterior: Wipe the projector's exterior with a soft, dry cloth. For stubborn dirt, a slightly damp cloth can be used, followed by a dry cloth.
- Ventilation: Regularly check that the ventilation openings are clear of dust and debris to prevent overheating. Do not spray cleaning liquids directly into the vents.
- Storage: When not in use for extended periods, store the projector in a cool, dry place, away from direct sunlight and extreme temperatures.
- Lamp Life: The projector features advanced LED technology with an extended lamp life of up to 55,000 hours, reducing the need for frequent lamp replacement.
8. Troubleshooting
If you encounter issues with your projector, refer to the following common problems and solutions:
| Problem | Possible Cause | Solution |
|---|---|---|
| No image displayed | Power cable disconnected, incorrect input source, device not connected properly. | Check power connection. Select correct input source. Ensure source device is on and connected. |
| Image is blurry | Focus not adjusted, projector too close/far from screen. | Adjust the focus ring. Reposition the projector for optimal distance. |
| No sound | Volume too low, mute enabled, external audio device not connected. | Increase volume. Check mute settings. Ensure external speakers/headphones are connected correctly. |
| Cannot connect to WiFi | Incorrect password, out of range, network issue. | Verify WiFi password. Move projector closer to router. Restart router and projector. |
| Projector overheats | Blocked ventilation, prolonged use in hot environment. | Ensure vents are clear. Operate in a well-ventilated area. Allow projector to cool down. |
9. Specifications
Key technical specifications for the BESUS Q5 Mate Wireless Mini Projector:
- Brand: BESUS
- Model: Q5 Mate
- Recommended Uses: Home Cinema
- Special Feature: Built-In Cooling System, 180° Rotatable Base
- Connectivity Technology: AV, USB, Wi-Fi (WiFi 6 & 5G)
- Display Resolution: 1280 x 720 (Supports 1080P/4K input)
- Projection Screen Size: 17-140 inches
- Lamp Life: Up to 55,000 hours

Image 9.1: Illustration of the projector's flexible screen size, ranging from 17 to 120 inches, adapting to various spaces.

Image 9.2: Comparison highlighting key features of the BESUS Q5 Mate, such as lamp life, brightness, screen size, 1080P decoding, built-in speaker, and keystone correction.
10. Warranty and Support
For warranty information and technical support, please refer to the warranty card included in your package or visit the official BESUS website. If you experience any issues not covered in this manual, please contact our customer service team for assistance.
Customer Support Contact: Please refer to your product packaging or the official BESUS website for the most current contact information.