1. Introduction
The TERRAMASTER D1 SSD Plus is a high-performance M.2 NVMe SSD enclosure designed for ultra-fast data transfer and reliable storage. It supports 40Gbps speeds and is compatible with a wide range of USB and Thunderbolt interfaces. This manual provides detailed instructions for setting up, operating, and maintaining your D1 SSD Plus enclosure.

Image 1.1: The TERRAMASTER D1 SSD Plus 40Gbps M.2 NVMe SSD Enclosure.
2. Package Contents
Verify that all items are present in the package:
- TERRAMASTER D1 SSD Plus Enclosure
- 40Gbps USB Type-C Cable
- Quick Guide
- Thermal Conductive Silicone Pad
- Drawstring Fabric Bag
- Screwdriver
3. Specifications
| Feature | Description |
|---|---|
| Model | D1 SSD Plus |
| Material | Aluminum |
| Compatible Devices | Windows, Mac, Linux, Android, iOS |
| Hard Disk Form Factor | M.2 NVMe 2280 (SSD not included) |
| Data Transfer Rate | Up to 40 Gigabits Per Second (theoretical) |
| Hardware Interface | USB Type-C (Compatible with USB 4/3.2/3.1/3.0/2.0, Thunderbolt 5/4/3) |
| Max Capacity | Up to 8TB |
| Dimensions | 5.39 x 2.48 x 5.91 inches (approx.) |
| Item Weight | 10.6 ounces (approx.) |
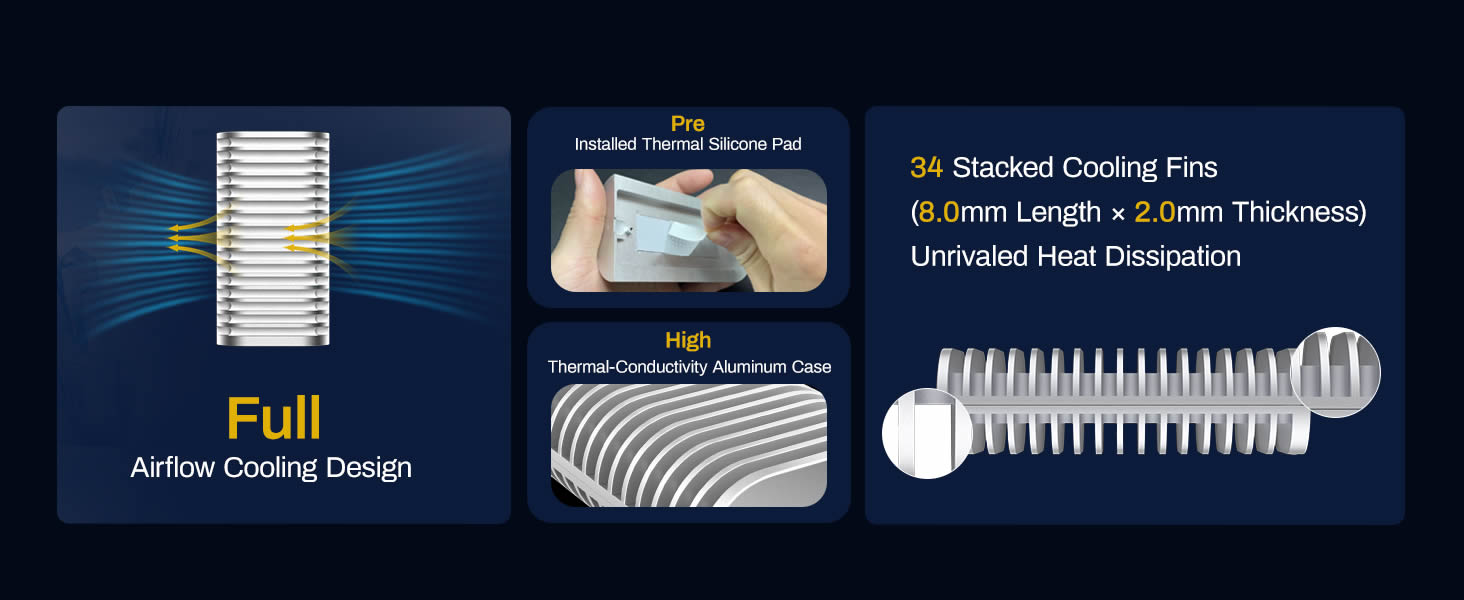
Image 3.1: The D1 SSD Plus supports only NVMe M.2 2280 SSDs. SATA M.2 SSDs are not compatible.
4. Setup Guide
Follow these steps to install an M.2 NVMe SSD into your TERRAMASTER D1 SSD Plus enclosure:
- Loosen the Captive Screw: Use the provided screwdriver to loosen the captive screw on the enclosure. This screw remains attached to prevent loss.
- Insert the SSD: Carefully insert your M.2 2280 NVMe SSD into the slot. Ensure it is fully seated. Secure the SSD with the internal screw.
- Apply Thermal Pad: Remove the protective film from the pre-installed thermal conductive silicone pad on the heatsink.
- Align and Close: Note the dual locking tabs and their corresponding slots on the enclosure. Carefully fit the enclosure halves together, ensuring proper alignment.
- Tighten the Captive Screw: Tighten the captive screw to secure the enclosure.
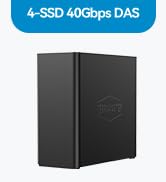
Image 4.1: Visual guide for SSD installation.
5. Operating Instructions
5.1 Connecting to Your Device
Connect the D1 SSD Plus enclosure to your computer or compatible device using the provided 40Gbps USB Type-C cable. The enclosure is plug-and-play and should be recognized automatically by most operating systems.
5.2 Compatibility
The D1 SSD Plus is compatible with a wide range of operating systems and interfaces:
- Operating Systems: Windows, macOS, Linux, Android, iOS
- Interfaces: USB 4, USB 3.2, USB 3.1, USB 3.0, USB 2.0, Thunderbolt 5, Thunderbolt 4, Thunderbolt 3
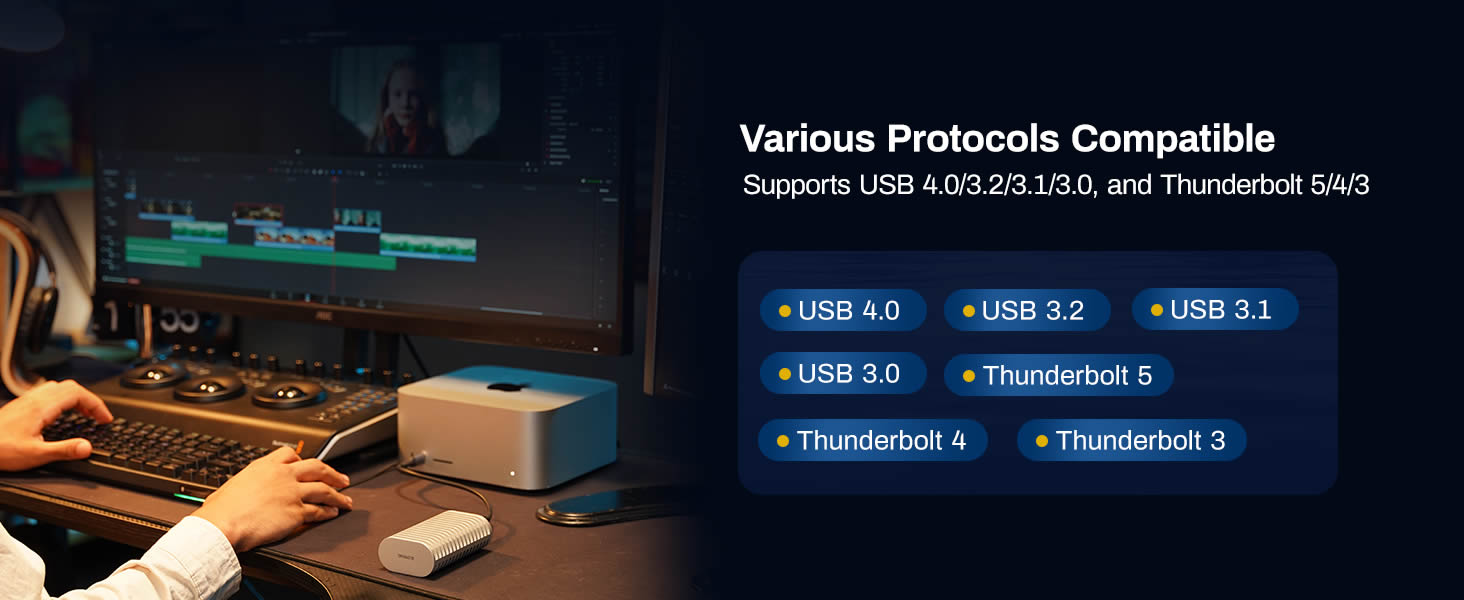
Image 5.1: The D1 SSD Plus offers broad compatibility with USB and Thunderbolt standards.
5.3 Data Transfer Performance
The D1 SSD Plus enclosure supports data transfer speeds up to 40Gbps, enabling read/write speeds of approximately 3853MB/s and 3707MB/s respectively, when paired with a compatible NVMe SSD and host interface (e.g., Thunderbolt 5). Actual speeds may vary based on your SSD, host system, and file types.

Image 5.2: Example speed test results for the D1 SSD Plus.
5.4 Backup Solutions
The D1 SSD Plus enhances data backup capabilities:
- TDAS Mobile App: Use the included TDAS Mobile App to back up photos and videos from your iOS/Android devices directly to the SSD in the enclosure.
- TPC Backupper Software: Utilize TPC Backupper software for scheduled backups of your Windows system and data to the D1 SSD Plus.

Image 5.3: Mobile photo backup using the TDAS Mobile App.
Image 5.4: Windows backup functionality with TPC Backupper.
6. Maintenance
6.1 Heat Dissipation
The D1 SSD Plus features an all-aluminum design with 34 stacked cooling fins and a pre-installed thermal silicone pad to ensure efficient heat dissipation. This fanless design maintains optimal operating temperatures for your NVMe SSD, even during intensive workloads, contributing to its longevity and stable performance.
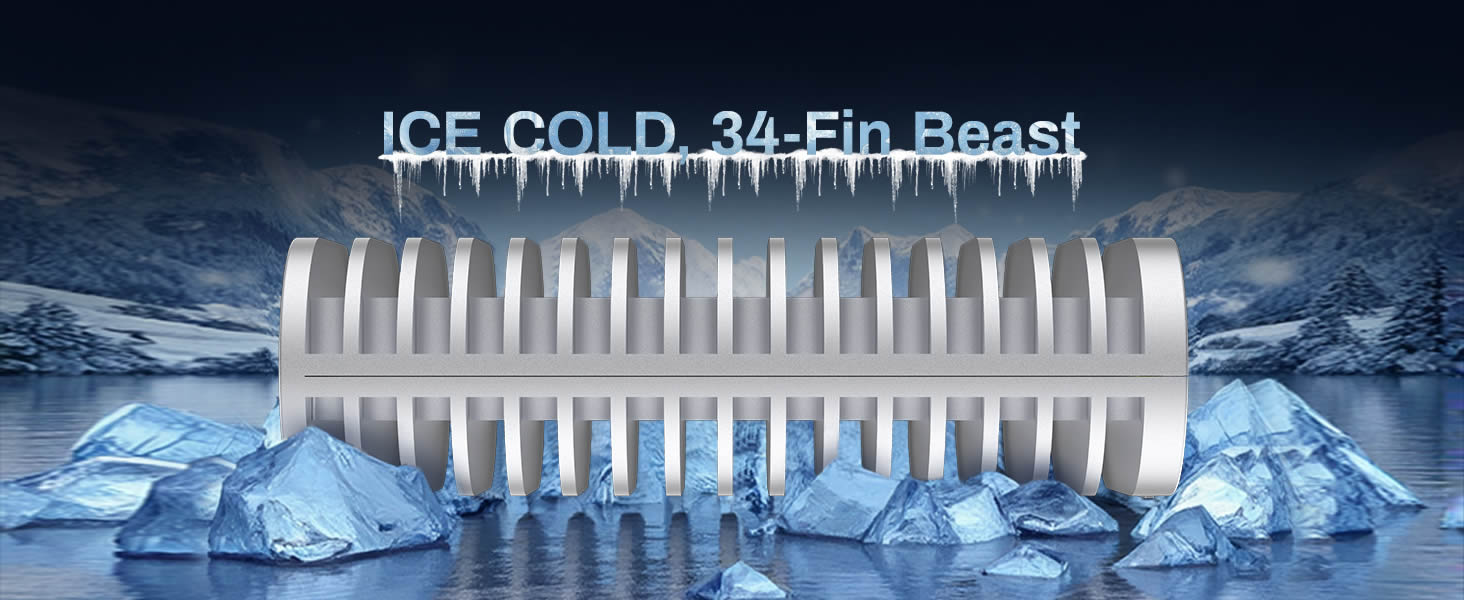
Image 6.1: Detailed view of the D1 SSD Plus cooling system.
6.2 Cleaning
To clean the enclosure, use a soft, dry cloth. Avoid using liquid cleaners or solvents, as these may damage the finish or internal components.
7. Troubleshooting
This section addresses common questions and issues you might encounter.
- Q: Will the case screw come off?
A: No, it's a captive screw that stays securely attached when loosened, so you won't lose it during SSD installation. - Q: Can I use it as a bootable drive for macOS?
A: Yes! The D1 SSD Plus supports macOS boot disk functionality via USB4/Thunderbolt. Just format it as APFS and install macOS – ideal for Mac mini users needing portable system drives or backup OS. - Q: Can the D1 SSD Plus handle 8K video editing?
A: Yes! With speeds up to 3853MB/s, it easily handles 8K ProRes/DNxHR, multi-cam editing, and real-time playback. - Q: How does the D1 SSD Plus stay cool?
A: Our triple-cooling design ensures sustained performance: streamlined aluminum body with dual heat-dissipation fins, high-conductivity thermal pads (pre-installed), and optimized airflow channels. Result: just 36-44°C during continuous 8K workflows.
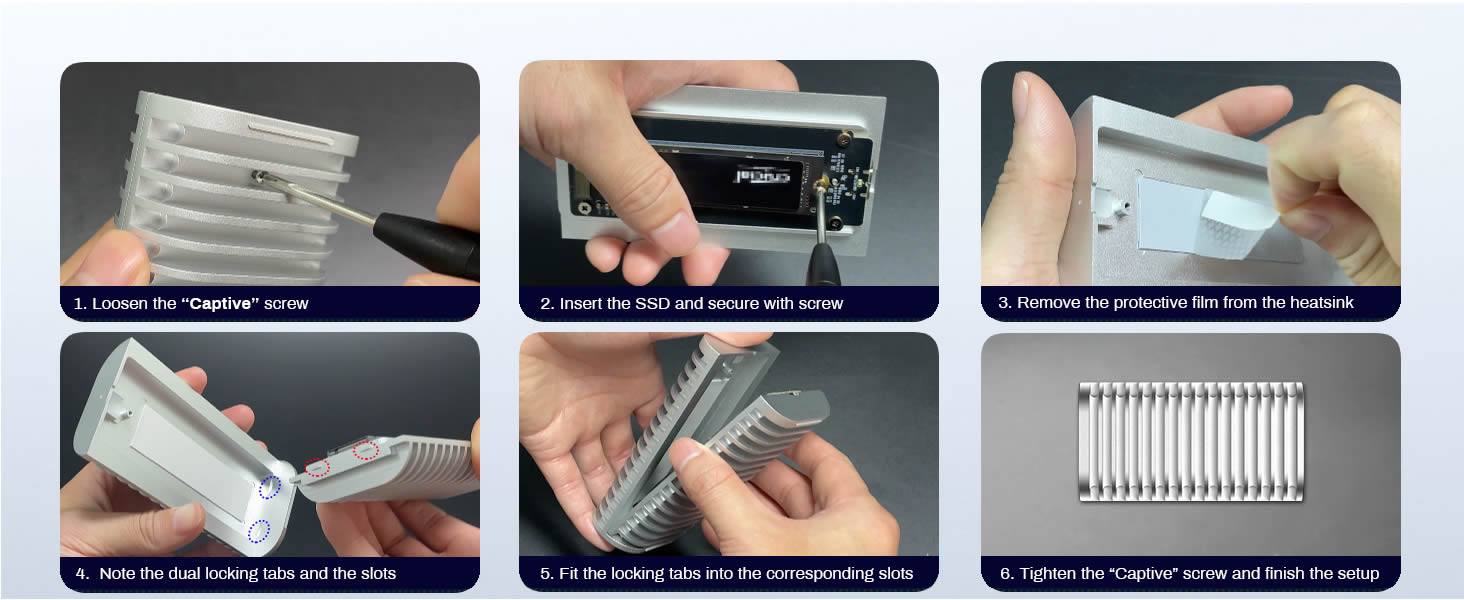
Image 7.1: Common questions and answers regarding the D1 SSD Plus.
8. Warranty and Support
For warranty information and technical support, please refer to the official TERRAMASTER website or contact TERRAMASTER customer service directly. Keep your purchase receipt for warranty claims.


