1. Product Overview
The pahaa W3 is a 4-channel dash camera system designed to provide comprehensive vehicle surveillance. It features a front camera, two interior cameras (left and right), and a waterproof rear camera, offering a 360-degree view. Key functionalities include high-definition recording, enhanced night vision, 5GHz WiFi connectivity for app control, G-Sensor for collision detection, and 24-hour parking monitoring.

Image 1.1: The pahaa W3 Dash Cam main unit, showing the front camera, two interior cameras, and a smartphone displaying the companion app interface. An included 128GB SD card is also visible.

Image 1.2: A visual representation of the pahaa W3 Dash Cam's 4-channel recording capabilities, detailing the 170° front, 170° rear, and 180° left/right interior camera coverage for a full 360° view.
2. Package Contents
Please verify that all items are present in your package:
- Dash Cam (Main Unit) x1
- Rear Camera x1
- 128GB SD Card x1
- Adhesive Bracket x1
- Car Charger x1
- User Manual x1
- Wiring Tool x1
- Cable Clips x5
- Adhesive Pad x2
- Windshield Static Cling x2
3. Setup and Installation
Follow these steps for proper installation of your pahaa W3 Dash Cam:
3.1 Prepare the Windshield
Clean the area on your windshield where the dash cam will be mounted. Apply a windshield static cling to this area to facilitate easier removal and repositioning of the adhesive bracket.
3.2 Install the Main Dash Cam Unit
- Attach the adhesive bracket to the main dash cam unit.
- Remove the protective film from the adhesive bracket.
- Firmly press the dash cam, with the attached bracket, onto the static cling on your windshield. Ensure it does not obstruct your view.
3.3 Install the Rear Camera
- Identify a suitable location on your rear windshield for the rear camera, ensuring a clear view.
- Clean the installation area.
- Attach the rear camera using its adhesive pad.
- Route the rear camera cable to the main dash cam unit. Use the provided wiring tool and cable clips to neatly tuck the cable along the vehicle's headliner and trim.
- Connect the rear camera cable to the designated port on the main dash cam unit (AV-IN).
3.4 Power Connection
- Insert the included 128GB SD card into the dash cam's SD card slot. Ensure it is inserted correctly until it clicks into place.
- Connect the car charger to the main dash cam unit (TYPE-C port).
- Plug the other end of the car charger into your vehicle's 12V power outlet (cigarette lighter socket).
- Upon starting your vehicle, the dash cam will automatically power on and begin recording.

Image 3.1: An illustration detailing the straightforward installation of the pahaa W3 Dash Cam, showing how the main unit connects to the rear camera and the car charger, along with mounting instructions.
4. Operating Instructions
4.1 Basic Operation
- Automatic Recording: The dash cam automatically powers on and begins recording when your vehicle starts, and powers off when the vehicle is turned off.
- Touch Screen: The 3.16-inch IPS touch screen allows for intuitive navigation through menus, settings, and video playback.

Image 4.1: A detailed view of the pahaa W3 Dash Cam's 3.16-inch IPS HD touch screen, highlighting its responsive interface for accessing settings and functions.
4.2 Key Features
- Loop Recording: When the SD card is full, the dash cam automatically overwrites the oldest unlocked video files to ensure continuous recording.
- G-Sensor (Emergency Lock): The built-in G-Sensor detects sudden impacts or collisions. In such an event, the current video segment is automatically locked and protected from being overwritten by loop recording.
- 24-Hour Parking Monitoring: With an optional hardwire kit (ASIN: B0FCS616L6, sold separately), the dash cam can monitor your vehicle while parked. It uses motion detection or G-Sensor triggers to record any suspicious activity or impacts, even when the vehicle is off.
- Super Night Vision: Equipped with WDR (Wide Dynamic Range) technology, 8 infrared LED lights, and an F1.8 large aperture, the dash cam provides clear video footage in low-light conditions and at night.
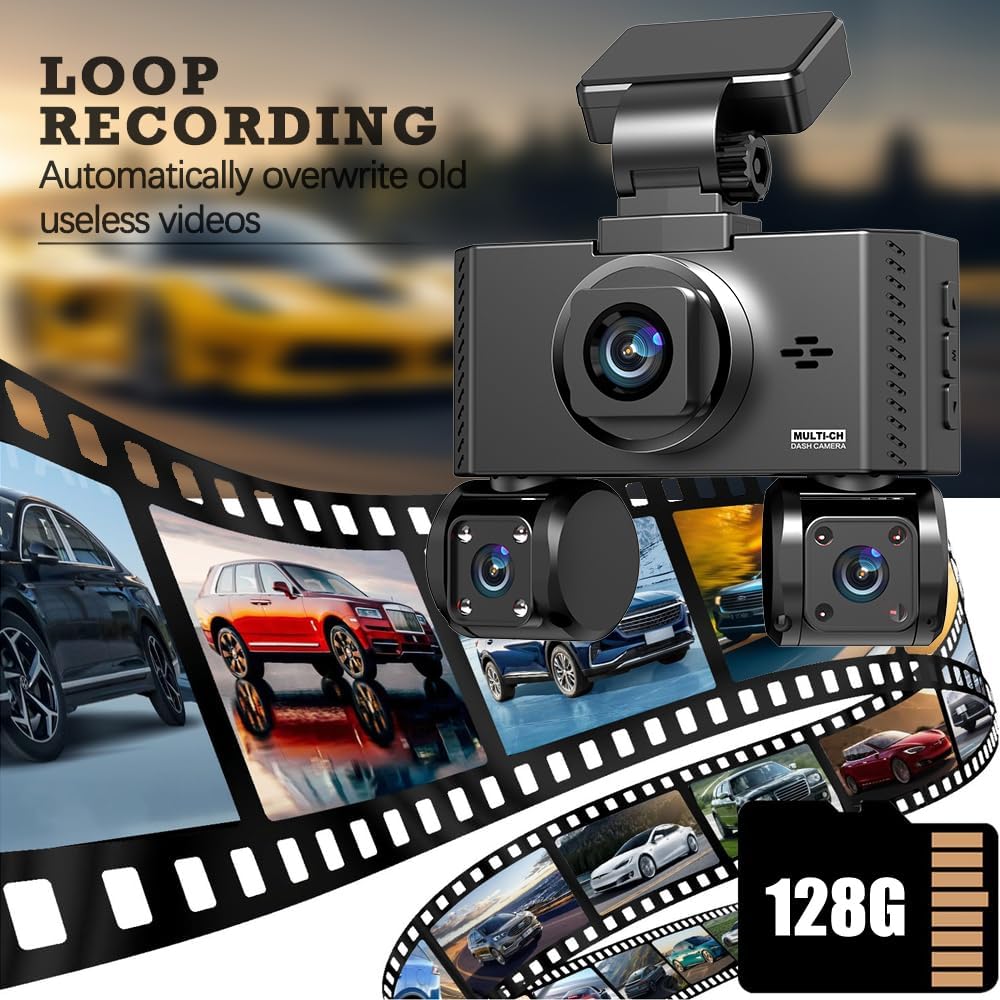
Image 4.2: A visual explanation of the loop recording feature, demonstrating how the dash cam manages storage by automatically replacing the oldest video files when the memory card reaches capacity.
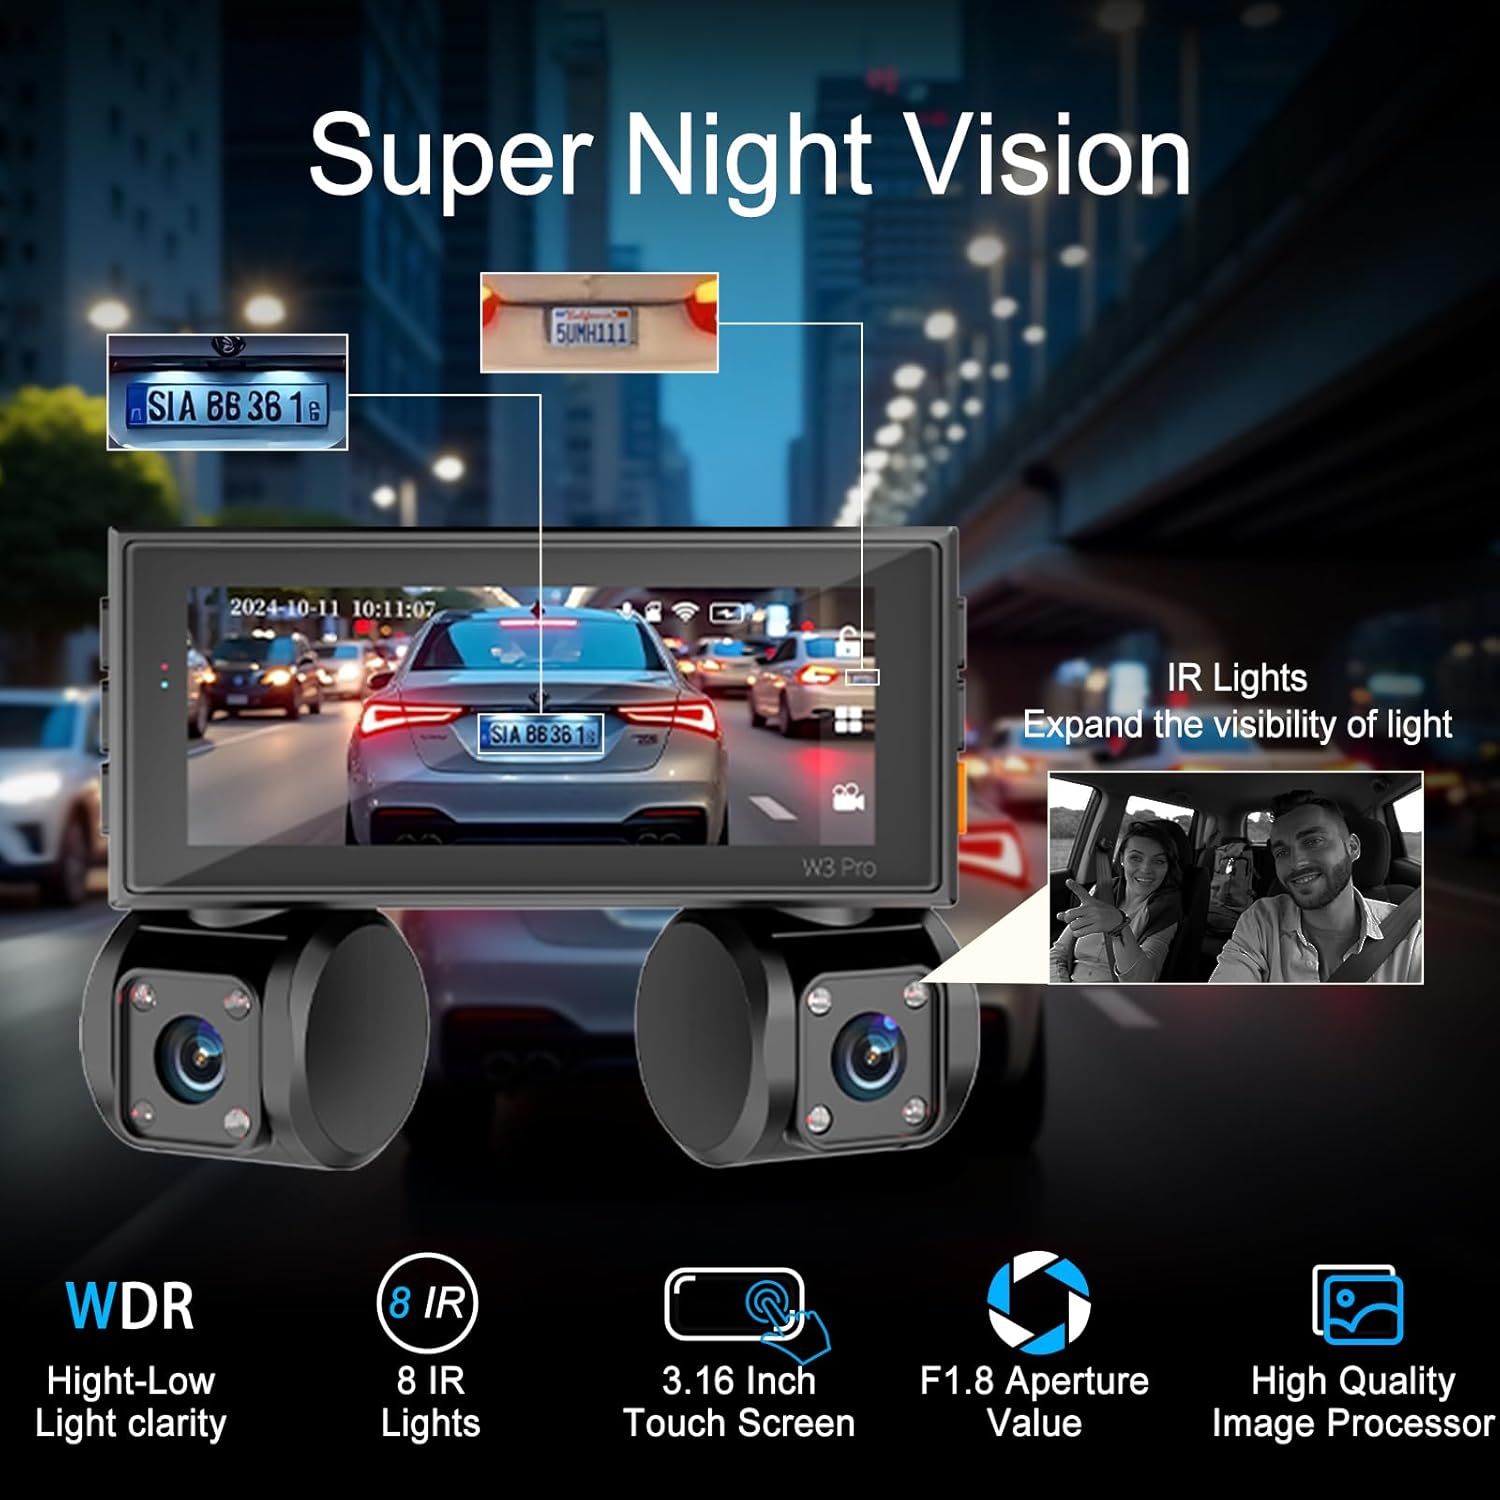
Image 4.3: An overview of the dash cam's Super Night Vision capabilities, showcasing its ability to capture clear images in challenging lighting conditions through WDR, infrared lights, and a wide aperture lens.
4.3 5GHz WiFi & App Control
The pahaa W3 features built-in 5GHz WiFi for faster connectivity and data transfer. Download the free ViiDure app from the Google Play Store or Apple App Store to control your dash cam.
- Connect to App: Enable WiFi on your dash cam and connect your smartphone to the dash cam's WiFi network.
- Live Preview: View real-time footage from your dash cam on your smartphone.
- Video Download & Sharing: Easily download recorded videos to your phone and share them as needed.

Image 4.4: This image illustrates the 5GHz WiFi functionality, emphasizing faster download speeds and the convenience of controlling the dash cam and managing footage through the dedicated smartphone application.
5. Maintenance
- SD Card Formatting: It is recommended to format the SD card regularly (e.g., once a month) within the dash cam's settings to ensure optimal performance and prevent data corruption.
- Cleaning: Use a soft, dry cloth to clean the dash cam lenses and screen. Avoid abrasive materials or chemical cleaners.
- Firmware Updates: Check the manufacturer's website or app periodically for available firmware updates to ensure your dash cam has the latest features and bug fixes.
6. Troubleshooting
If you encounter issues with your pahaa W3 Dash Cam, refer to the following common problems and solutions:
- Dash Cam Not Powering On:
- Ensure the car charger is securely connected to both the dash cam and the vehicle's 12V power outlet.
- Verify that the vehicle's power outlet is functioning. - Recording Issues (e.g., freezing, corrupted files):
- Format the SD card through the dash cam's settings.
- Ensure the SD card is a high-speed (Class 10 or U3) card.
- Try a different SD card to rule out card malfunction. - WiFi Connection Problems:
- Ensure the ViiDure app is installed and updated.
- Restart both the dash cam and your smartphone.
- Check that you are connecting to the correct dash cam WiFi network. - Parking Mode Not Working:
- Confirm that a hardwire kit (ASIN: B0FCS616L6) is correctly installed and connected to provide continuous power.
- Check parking mode settings in the dash cam menu. - Touch Screen Unresponsive:
- Restart the dash cam.
- Ensure the screen is clean and dry.
For further assistance, please contact customer support.
7. Specifications
| Feature | Detail |
|---|---|
| Model Name | W3 |
| Product Dimensions | 1.77 x 2.83 x 3.66 inches |
| Item Weight | 1.26 pounds |
| Video Capture Resolution | Front: 2K (1440p), Interior/Rear: 1080p |
| Field of View | Front: 170 Degrees, Interior: 180 Degrees (Left & Right), Rear: 170 Degrees |
| Display | 3.16-inch IPS Touch Screen |
| Connectivity Technology | USB, 5GHz Wireless (WiFi) |
| Special Features | 360 Degree View, App Control, Built-In Microphone, G-Sensor, Touch Screen, WDR, 8 IR Lights, F1.8 Aperture |
| Included Storage | 128GB SD Card |
| Parking Mode | 24H Parking Monitoring (requires separate hardwire kit) |
| Power Source | Car Charger (12V), 1 Lithium Polymer battery (included) |
8. Warranty and Support
The pahaa W3 Dash Cam comes with a 24-month warranty and a 100% satisfaction guarantee.
For any questions, technical assistance, or warranty claims, please contact our customer service or 24/7 technical support team. Refer to the contact information provided with your product packaging or on the official pahaa website.