1. Introduction
This manual provides detailed instructions for the installation, operation, and maintenance of your GUTA GT20 and GT50 RV Tire Pressure Monitoring Systems (TPMS). These systems are designed to enhance vehicle safety by continuously monitoring tire pressure and temperature, alerting you to potential issues before they become critical. Please read this manual thoroughly before using the device to ensure proper function and safety.
2. Safety Information
- Always ensure the monitor is securely placed and does not obstruct your view or interfere with driving controls.
- Do not attempt to disassemble or modify the sensors or monitor. This may void the warranty and cause damage.
- Regularly check tire pressure with a calibrated gauge, even when using the TPMS, as the system provides real-time data but a manual check is good practice.
- Address any TPMS alerts promptly. Ignoring warnings can lead to tire damage or accidents.
- Keep the monitor and sensors away from extreme temperatures and direct sunlight for prolonged periods to prevent damage.
3. Package Contents
Please verify that all items are present in your package:
- TPMS Monitor (1 unit)
- External Sensors (10 for GT20, 4 for GT50)
- Anti-theft Nuts (10 for GT20, 4 for GT50)
- Wrench (1 unit)
- USB Charging Cable (1 unit)
- User Manual (this document)
- Cigarette Lighter Adapter (CLA) with 2 USB-A 10W output charging ports (1 unit)
4. Setup and Installation
4.1 Monitor Installation
- Insert the TPMS monitor into your vehicle's cigarette lighter socket. The monitor will power on automatically.
- Adjust the monitor's position for optimal visibility without obstructing your driving view.
- The integrated CLA provides two additional USB-A ports for charging other devices.
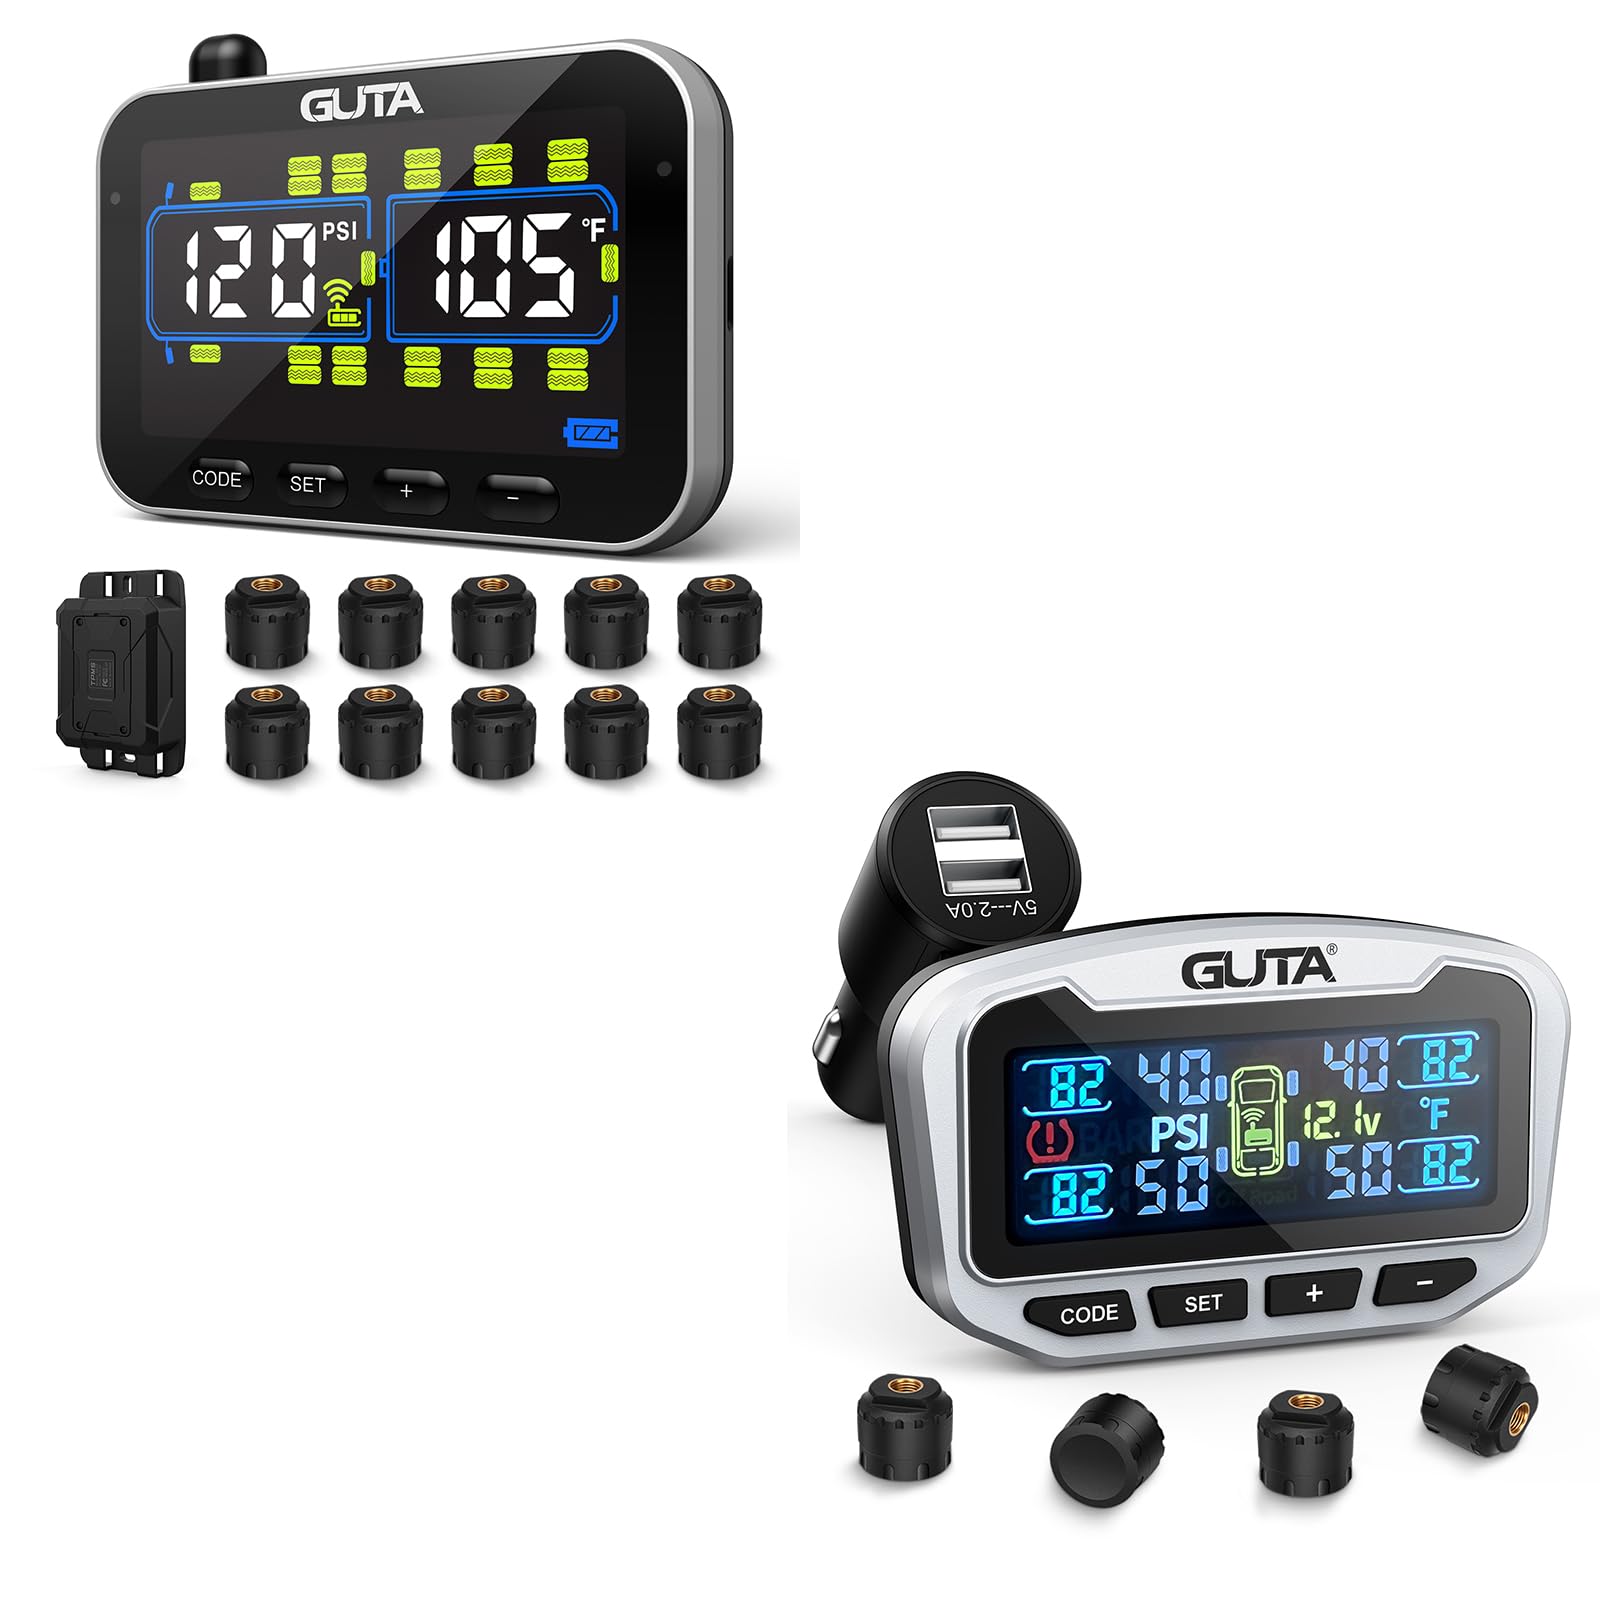
Image: GUTA TPMS Monitor connected via cigarette lighter adapter. This image shows the compact monitor unit with its display, plugged into a vehicle's cigarette lighter port, illustrating the plug-and-play installation.
4.2 Sensor Installation
Before installing sensors, ensure your tires are at the recommended pressure. Install sensors one by one, matching them to the correct tire position (e.g., Front Left, Front Right, Rear Left, Rear Right, etc.).
- Unscrew the original valve cap from the tire valve stem.
- Screw on an anti-theft nut onto the valve stem.
- Screw the corresponding sensor onto the valve stem until it is hand-tight.
- Use the provided wrench to tighten the anti-theft nut against the sensor, securing it in place.
- Repeat for all remaining tires.
Image: Close-up of a GUTA TPMS sensor being installed on a tire valve stem. This image demonstrates the process of screwing the sensor onto the valve and securing it with the anti-theft nut using the provided wrench.
Once installed, the monitor should automatically detect the sensors and display tire pressure and temperature readings. If not, drive for a short distance to activate the sensors.
5. Operating Instructions
5.1 Power On/Off
The monitor powers on automatically when plugged into the cigarette lighter socket and powers off when removed or the vehicle's ignition is turned off (if the socket is ignition-controlled).
5.2 Display Information
The monitor displays real-time tire pressure and temperature for each tire. It typically cycles through the tire positions. Alerts will be displayed visually and audibly if pressure or temperature deviates from set thresholds.
5.3 Setting Thresholds and Units
The GUTA TPMS allows for customizable threshold settings. Refer to the monitor's on-screen menu for navigation.
- Pressure Unit: Switch between PSI and BAR.
- Temperature Unit: Switch between °C (Celsius) and °F (Fahrenheit).
- High/Low Pressure Alarm: Set the maximum and minimum pressure values that trigger an alert.
- High Temperature Alarm: Set the maximum temperature value that triggers an alert.
Consult your vehicle's manual or tire sidewall for recommended tire pressure ranges.
5.4 Off-Road Monitoring Capability
The system includes a special off-road mode. This mode may adjust alert thresholds or monitoring frequency to accommodate the unique demands of off-road driving. Activate this mode through the monitor's settings menu if applicable for your model and driving conditions.
6. Maintenance
- Sensor Batteries: The external sensors use replaceable batteries. When a sensor battery is low, the monitor will display a low battery icon for that specific sensor. Replace batteries promptly to ensure continuous monitoring.
- Cleaning: Wipe the monitor and sensors with a soft, dry cloth. Do not use abrasive cleaners or solvents.
- Storage: If storing the system for an extended period, remove the monitor from the cigarette lighter socket and store it in a cool, dry place.
7. Troubleshooting
| Problem | Possible Cause | Solution |
|---|---|---|
| Monitor not powering on. | Cigarette lighter socket not receiving power; loose connection. | Check vehicle's fuse for the cigarette lighter socket. Ensure the monitor is fully inserted. Test the socket with another device. |
| No tire data displayed. | Sensors not activated; sensor battery low; sensor not paired. | Drive for a few minutes to activate sensors. Check for low battery indicators and replace batteries if necessary. Refer to the pairing section (if applicable, usually automatic). |
| Inaccurate readings. | Sensor not properly installed; interference; extreme temperature changes. | Re-install sensors, ensuring they are tight. Verify tire pressure with a reliable gauge. Allow time for readings to stabilize after significant temperature changes. |
| Alarm sounds frequently. | Tire pressure/temperature outside set thresholds; thresholds set too narrowly. | Check tire pressure and inflate/deflate as needed. Adjust alarm thresholds in the monitor settings to appropriate values for your vehicle. |
8. Specifications
| Feature | Detail |
|---|---|
| Pressure Monitoring Range | 0 - 188 PSI |
| Pressure Accuracy | ±1.5 PSI |
| Temperature Monitoring Range | -4°F to 185°F (-20°C to 85°C) |
| Temperature Accuracy | ±3°C |
| Operating Voltage | DC 12V |
| Transmission Frequency | 433.92 MHz |
| Sensor Battery Life | Approximately 2 years (replaceable) |
| USB-A Output (CLA) | 2 x 10W ports |
9. Warranty and Support
GUTA products are designed for reliability and performance. This product comes with a standard manufacturer's warranty against defects in materials and workmanship. The warranty period typically begins from the date of purchase.
- Warranty Claims: For warranty service, please retain your proof of purchase. Contact GUTA customer support through the retailer where the product was purchased or visit the official GUTA website for detailed warranty terms and contact information.
- Technical Support: If you encounter any issues not covered in the troubleshooting section, or require further assistance, please contact GUTA customer support. Provide your product model number (GT20 or GT50) and a detailed description of the problem.
- Online Resources: For the latest updates, FAQs, and additional support resources, please visit the GUTA Official Store on Amazon.


