1. Introduction
This manual provides detailed instructions for the assembly, operation, and maintenance of your Garvee 8x10FT Polycarbonate Greenhouse. Please read this manual thoroughly before beginning assembly or use to ensure proper installation and safe operation. Retain this manual for future reference.

Image 1.1: Exterior view of the Garvee 8x10FT Polycarbonate Greenhouse.
2. Safety Information
Observe the following safety precautions to prevent injury or damage to the greenhouse:
- Assembly: Always assemble the greenhouse on a level, stable surface. It is recommended that two or more people assist with assembly due to the size and weight of components. Wear appropriate safety gear, including gloves, to protect hands from sharp edges.
- Location: Choose a location that is sheltered from strong winds and has good drainage. Ensure adequate clearance around the greenhouse for maintenance and access.
- Anchoring: Securely anchor the greenhouse to the ground using the provided floor spikes or other suitable anchoring methods (e.g., concrete slab, base plates) to prevent wind damage.
- Weight Capacity: Do not exceed the specified snow load capacity of 110 lbs/ft² on the roof. Clear heavy snow accumulation promptly to prevent structural damage.
- Ventilation: Ensure proper ventilation, especially during hot weather, to prevent overheating and maintain a healthy environment for plants.
- Children and Pets: Keep children and pets away from the assembly area. Do not allow children to play unsupervised inside or around the greenhouse.
3. Parts List
Before beginning assembly, verify that all parts are present and undamaged. Refer to the included instruction manual for a detailed list of components and hardware. Common components include:
- Aluminum Frame Sections
- Polycarbonate Panels (720g/m²)
- Door Assembly
- Adjustable Roof Vent Assembly
- Water Gutter System Components
- Upgraded Floor Spikes
- Fasteners (bolts, nuts, washers)
- Rubber Mallet (recommended for assembly)
If any parts are missing or damaged, contact Garvee customer service immediately.
4. Setup and Assembly
The Garvee greenhouse is designed for straightforward assembly. Follow the step-by-step instructions provided in your package. The unique slide-in PC panel design simplifies installation.
4.1 Site Preparation
- Select a level, well-drained area for installation.
- Clear the area of any debris, rocks, or vegetation.
- Consider sun exposure and wind patterns when choosing the location.
4.2 Frame Assembly
Assemble the aluminum frame sections according to the provided diagrams. Pay close attention to the labeling of each part (e.g., A sides, B sides) to ensure correct orientation. Incorrect assembly of initial framework can affect subsequent panel fitting.

Image 4.1: Greenhouse dimensions (8x10FT) for planning your space.
4.3 Panel Installation
The polycarbonate panels feature a slide-in design for quicker and more secure installation. Carefully slide the panels into the designated channels in the aluminum frame. Ensure panels are fully seated to provide optimal insulation and stability.

Image 4.2: Detail showing the easy slide-in assembly design for polycarbonate panels.
4.4 Door and Vent Installation
Install the lockable door and adjustable roof vent as per the instructions. Ensure the door operates smoothly and the vent opens and closes correctly for ventilation control.
4.5 Anchoring the Greenhouse
Utilize the upgraded floor spikes to firmly secure the greenhouse to the ground. For enhanced stability, especially in windy areas, consider anchoring to a concrete slab or using additional base plates.

Image 4.3: Upgraded floor spike for secure ground anchoring.
5. Operating Your Greenhouse
Proper operation ensures optimal plant growth and extends the life of your greenhouse.
5.1 Ventilation Control
The adjustable roof vent allows you to regulate airflow and temperature inside the greenhouse. Open the vent during warm periods to release excess heat and humidity. Close it during cooler periods or at night to retain warmth. Proper air circulation is crucial for plant health and preventing fungal diseases.

Image 5.1: Adjustable roof vent for climate control.
5.2 Water Management
The integrated water gutter system collects rainwater from the roof, which can be directed for plant irrigation. This feature provides a sustainable water source and aids in efficient drainage around the greenhouse base.

Image 5.2: Water gutter system for efficient drainage and rainwater collection.
5.3 Temperature and Humidity
Monitor internal temperature and humidity levels regularly. Use the roof vent and door to adjust as needed. In colder climates, consider additional heating solutions if growing temperature-sensitive plants. In hot climates, ensure maximum ventilation and consider shading solutions.
6. Maintenance
Regular maintenance will prolong the life of your greenhouse and ensure its continued performance.
- Cleaning Panels: Clean polycarbonate panels periodically with mild soap and water to remove dirt and algae, which can reduce light transmission. Avoid abrasive cleaners or tools that could scratch the panels.
- Frame Inspection: Annually inspect the aluminum frame for any signs of corrosion, loose fasteners, or damage. Tighten any loose bolts and replace damaged components as necessary.
- Gutter System: Keep the water gutter system clear of leaves and debris to ensure proper drainage and prevent blockages.
- Winter Preparation: In areas with heavy snowfall, regularly clear snow from the roof to prevent excessive load, which could damage the structure. The greenhouse is designed to withstand a snow load of 110 lbs/ft².
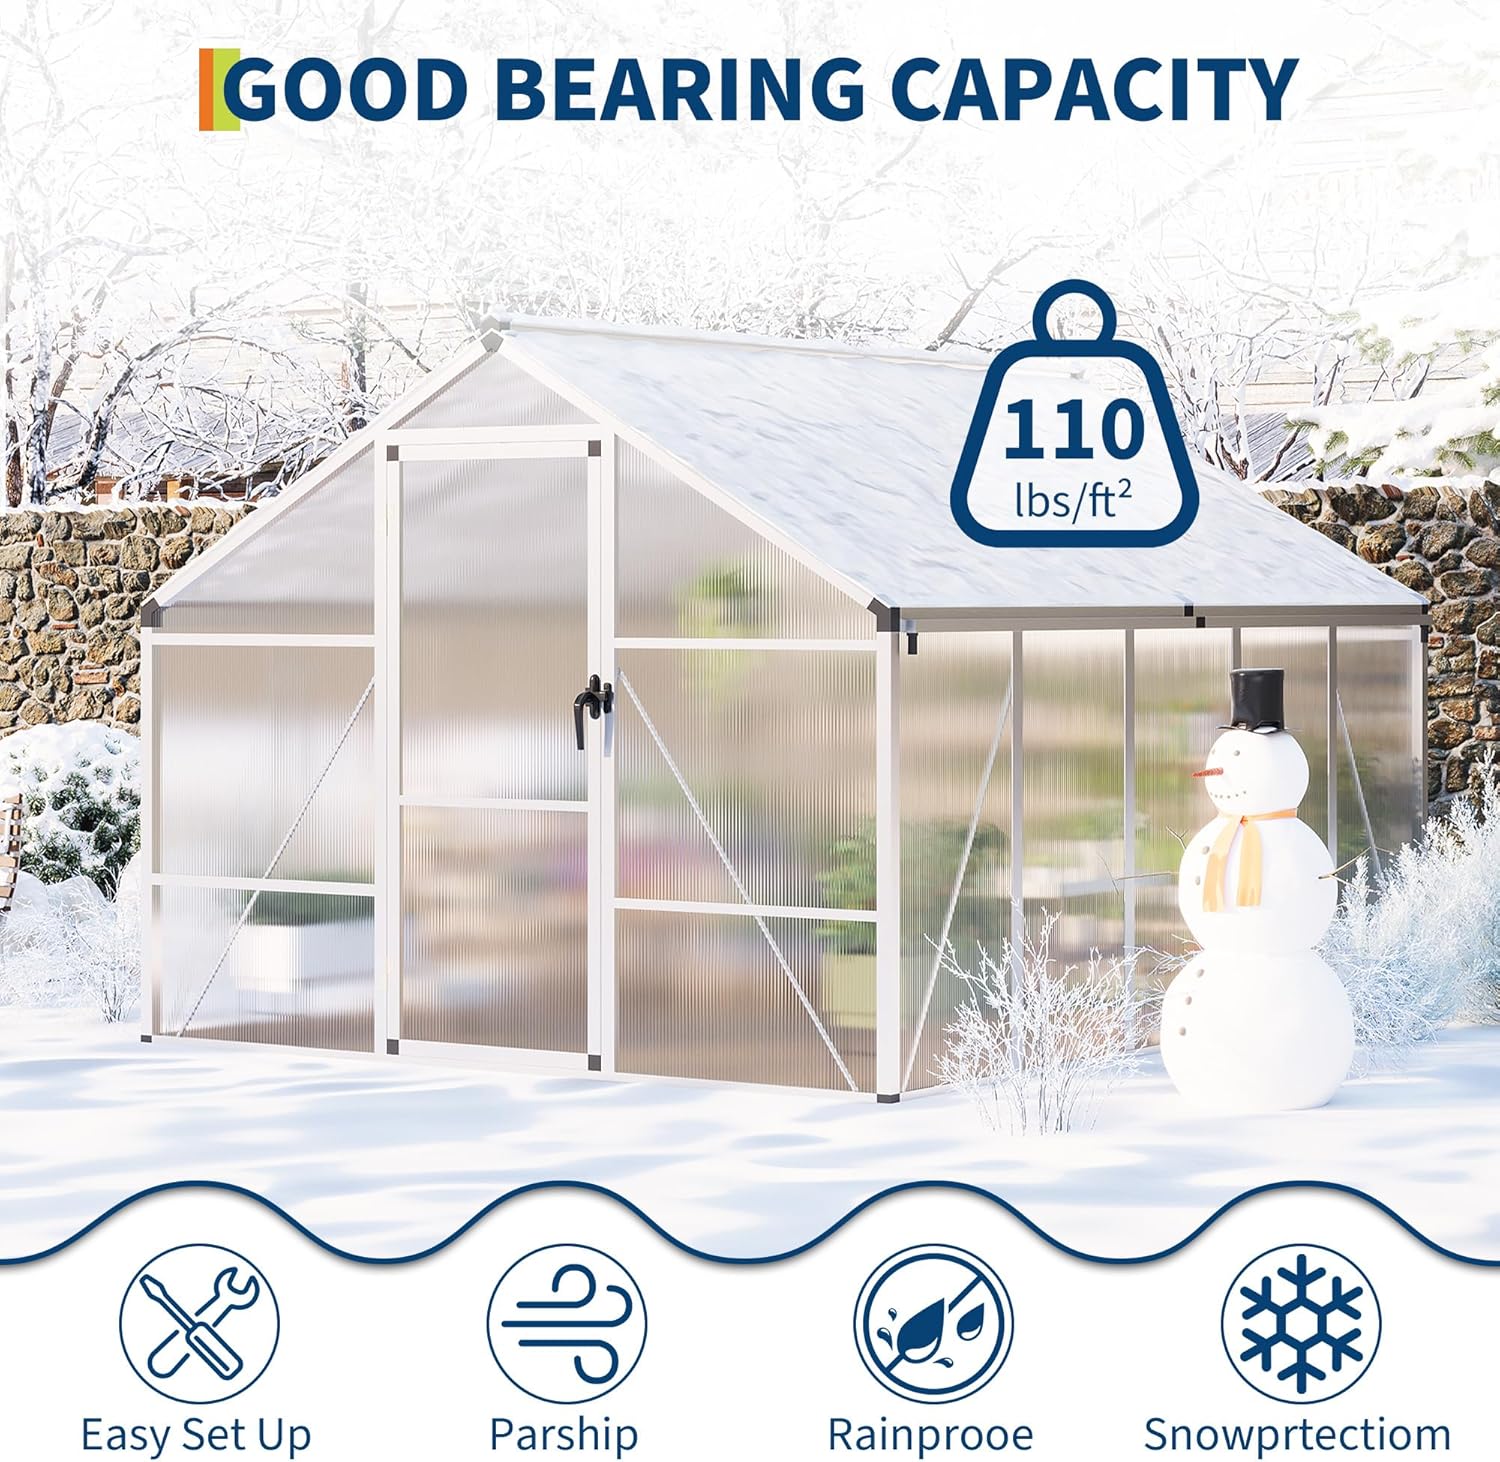
Image 6.1: Greenhouse demonstrating its snow load capacity in winter conditions.
7. Troubleshooting
This section addresses common issues you might encounter with your greenhouse.
| Problem | Possible Cause | Solution |
|---|---|---|
| Difficulty during assembly (e.g., parts not fitting) | Incorrect orientation of frame sections; mislabeled parts; manufacturing defect. | Double-check part labels and diagrams. Ensure all sections are oriented correctly. If a part appears defective, contact customer service. |
| Greenhouse feels unstable or wobbly | Insufficient anchoring; uneven ground; loose fasteners. | Ensure all floor spikes are fully engaged. Verify the ground is level. Tighten all bolts and nuts. Consider additional anchoring methods for increased stability. |
| Poor ventilation / High humidity | Roof vent closed; insufficient airflow. | Open the adjustable roof vent. Consider opening the door for cross-ventilation during warm periods. |
| Water leakage | Panels not fully seated; damaged panels; blocked gutter system. | Inspect polycarbonate panels for proper seating in the frame channels. Check for cracks or damage in panels. Clear any debris from the gutter system. |
8. Specifications
| Brand | Garvee |
| Model Number | XQtdCK0A |
| Size | 8x10FT |
| Frame Material | Alloy Steel |
| Cover Material | Polycarbonate (PC) |
| Nominal Wall Thickness | 5mm |
| Number of Doors | 1 |
| Number of Vents | 1 |
| Item Weight | 105.7 Pounds |
| Product Dimensions (Packed) | 12.6 x 9.84 x 66.93 inches |
| UPC | 199414115766 |
9. Warranty and Customer Support
Garvee is committed to providing exceptional customer service. If you have any questions regarding assembly, operation, maintenance, or warranty information, please contact our dedicated support team.
- Customer Service: Available 24/7 to address your inquiries.
- Warranty: For specific warranty terms and conditions, please refer to the documentation included with your product or contact Garvee customer service.
For assistance, please visit the Garvee Store on Amazon: Garvee Store