1. Product Overview
The TesPower MJX Hyper Go 14210 is a 1/14 scale brushless remote control truck designed for high-speed off-road performance. It features a robust metal chassis, powerful brushless motor, and advanced cooling systems for extended operation.
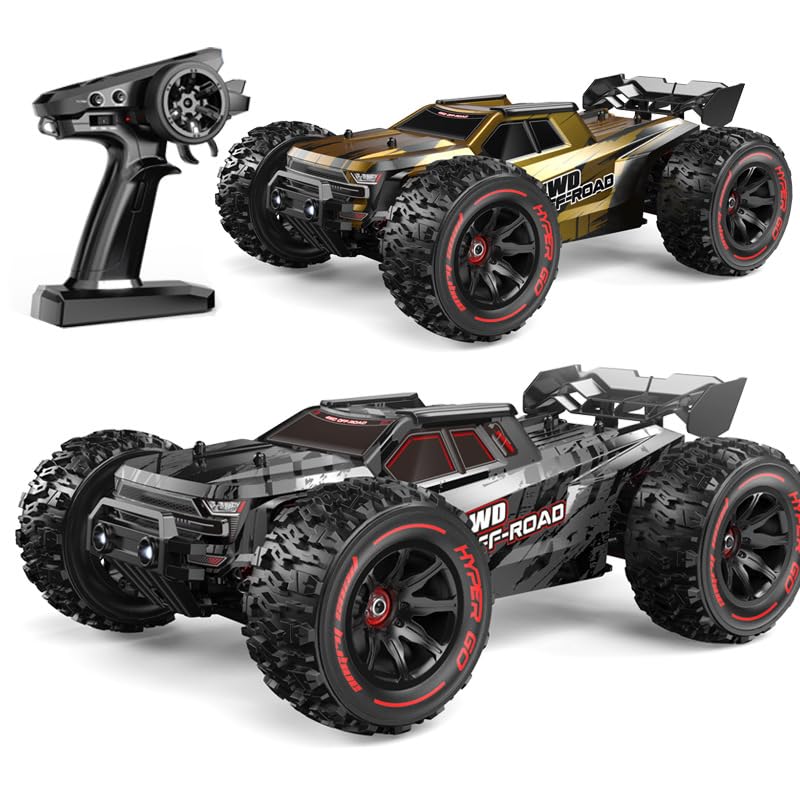
Image 1: TesPower MJX Hyper Go 14210 RC Truck with remote control, battery, and various accessories including extra shells and tools.
2. What's in the Box
- RC Car (1)
- Remote Control (1)
- Car Battery (1) - 7.4V 3000mAh 2S 25C
- Rear Wing (1)
- Instruction Manual (1)
- USB Charging Cable (1)
- Hexagon Wrench (1)
- Head-up Wheel Accessories (Wheelie Bar) (1)
- Screwdriver (1)
- Desert Tires (1 set) (additional)
- Gold Shell (1) (additional)
- Shock-absorbing Spring (1) (additional)
3. Setup
3.1 Battery Installation (RC Car)
- Remove the body clips and lift the car shell.
- Place the 7.4V 3000mAh 2S 25C battery into the designated battery compartment.
- Secure the battery using the provided strap or holder.
- Connect the battery's power plug to the ESC (Electronic Speed Controller) connector.
- Replace the car shell and secure it with the body clips.
3.2 Remote Control Battery Installation
The remote control requires 2 x 1.5AA batteries (not included). Open the battery compartment on the remote control, insert the batteries with correct polarity, and close the compartment.
3.3 Attaching the Wheelie Bar
The wheelie bar (head-up wheel accessories) helps prevent the truck from flipping backward during high-speed acceleration. Attach it to the rear of the chassis using the provided screws. Ensure the mounting points are correctly aligned; some parts may rotate to facilitate screw insertion.
3.4 Changing Car Shells
The package includes two car shells (black and gold). To change the shell, remove the four body clips holding the current shell. Lift the shell off, place the desired shell onto the chassis, and secure it with the body clips.
4. Operating Instructions
4.1 Power On/Off
- Turn on the remote control first.
- Turn on the RC car by pressing the power switch on the chassis.
- The remote control and car should automatically bind. If not, refer to the manual's binding instructions.
- To power off, turn off the RC car first, then the remote control.
4.2 Basic Controls
- Throttle Trigger: Pull to accelerate forward, push to brake/reverse.
- Steering Wheel: Turn left to steer left, turn right to steer right.
- Speed Adjustment: Use the speed switch on the remote control to select between 70% (beginner mode) and 100% (full speed).
- Steering Trim: Use the trim knobs on the remote control to fine-tune steering alignment if the car pulls to one side.
- Headlights: The headlights can be controlled via a switch on the remote control for driving in low-light conditions.
4.3 Driving on Different Terrains
The 4WD system, rubber tires with great tread, and oil-filled shocks allow the Hyper Go 14210 to perform well on various surfaces including grass, dirt, gravel, and even through puddles (due to its IPX6 waterproof receiver box). The additional desert tires can be installed for optimal performance on sandy terrains.
5. Maintenance
5.1 Cleaning
After each use, especially in dirty or wet conditions, clean the truck to remove dirt, mud, and debris. Use a soft brush (if provided) or a cloth. Avoid using harsh chemicals that may damage plastic or electronic components.
5.2 Battery Care and Charging
- Always use the provided USB charging cable and a 5V 2A charger.
- Charging time is approximately 4 hours for a full charge.
- Do not overcharge or completely discharge the battery.
- Store batteries in a cool, dry place away from direct sunlight.
5.3 Inspection and Part Replacement
Regularly inspect the truck for any loose screws, damaged parts, or excessive wear. The package includes spare parts such as shock-absorbing springs and extra arms for the front suspension. Replace any damaged components promptly to maintain optimal performance and safety.

Image 2: Detailed view of the RC truck's drivetrain components, highlighting the robust chromium-steel gears.

Image 3: Set of metal drive shafts, indicating durable construction for power transmission.

Image 4: Several metal bearings, crucial for smooth operation and reduced friction in rotating components.
6. Troubleshooting
- Car not responding: Ensure both the car and remote control are powered on and batteries are charged. Re-bind if necessary (refer to the full manual).
- Reduced performance: Check battery charge, inspect for debris in moving parts, or check for damaged components.
- Car flips over frequently: Adjust the speed setting to 70% or ensure the wheelie bar is correctly installed and functioning.
For more detailed troubleshooting steps, please refer to the complete instruction manual included in the box.
7. Specifications
| Feature | Specification |
|---|---|
| Product Model No. | 14210 |
| Scale | 1/14 |
| Maximum Speed | 55km/h (78km/h with 3S upgrade) |
| Remote Control Distance | 120m |
| Maximum Use Time | 15min (up to 20min on full speed with 2S battery) |
| Charging Time | 4h (using 5V 2A charger) |
| Charging Method | USB charging cable |
| Product Size (L*W*H) | 320*230*124mm (12.6 x 9 x 4.89 inches) |
| Wheelbase | 188mm |
| Wheel Base | 198mm |
| Tire Diameter | 90mm |
| Vehicle Weight | 1410g (5.38 pounds) |
| Motor Specifications | Brushless Motor 2852 4400KV 4 Poles |
| Motor Cooling | Aluminum heat sink + fan |
| ESC | 45A brushless ESC (metal heat sink) |
| Servo Specification | 19g digital servo |
| Remote Control | 2.4GHz |
| Remote Control Battery | 1.5AA*2 (not included) |
| Car Battery Specifications | 7.4V 3000mAh 2S 25C |
| Durability Features | Industrial metal chassis, chromium-steel gears, IPX6 waterproof receiver box, semi-metal oil-filled shocks |
| Recommended Age | 15 years and up |

Image 5: Underside view of the RC truck's durable metal chassis, providing a strong foundation for the vehicle.
8. Warranty
For information regarding product warranty, please refer to the warranty card included in the product packaging or contact TesPower customer support directly.
9. Support
If you encounter any issues or have questions about your TesPower MJX Hyper Go 14210 RC Truck, please consult the troubleshooting section of this manual or the full instruction manual. For further assistance, contact TesPower customer support through their official website or the contact information provided in the product packaging.
10. Official Product Videos
No official seller videos were available for embedding at this time.