1. Introduction
The Topping DX5 II is a high-performance, fully balanced Digital-to-Analog Converter (DAC) and Headphone Amplifier combo unit. It features dual ES9039Q2M DAC chips, an X-Hybrid headphone amplifier circuit, and supports high-resolution audio formats including DSD512 and PCM768kHz. This device is designed to deliver exceptional audio fidelity for both headphones and active speakers.
2. Safety Information
- Do not disassemble or modify the unit. Unauthorized modifications may void the warranty and pose safety risks.
- Keep the unit away from water, moisture, and extreme temperatures.
- Ensure proper ventilation around the unit to prevent overheating.
- Use only the provided power cable and accessories.
- Avoid placing heavy objects on top of the unit.
- Disconnect the power cable during lightning storms or when not in use for extended periods.
3. Package Contents
Verify that all items are present in the package:
- Topping DX5 II Unit
- Power Cable
- USB Cable
- Remote Control (if included, not explicitly listed but common for such devices)
- User Manual (this document)
Note: Specific accessories may vary by region or package version.
4. Product Overview
4.1 Front Panel

Image: Front view of the Topping DX5 II, showing the display, headphone outputs (6.35mm and 4-pin XLR), and control knobs/buttons.
- Display Screen: Shows current input, volume, sample rate, and other status information.
- 6.35mm Headphone Output: Single-ended headphone jack.
- 4-pin XLR Headphone Output: Balanced headphone jack.
- Control Knob: Multi-function knob for volume adjustment, menu navigation, and selection.
- Buttons (MENU, INPUT, HOME): For navigating settings and selecting input sources.
4.2 Rear Panel

Image: Rear view of the Topping DX5 II, displaying various input and output ports including XLR, RCA, Coaxial, Optical, USB, and the power inlet.
- Balanced XLR Outputs (L/R): For connecting to balanced amplifiers or active speakers.
- RCA Outputs (L/R): For connecting to unbalanced amplifiers or active speakers.
- Coaxial Input: Digital audio input.
- Optical Input: Digital audio input.
- USB Input (Type-B): For connecting to a computer or other USB audio source.
- 12V Trigger: For synchronized power control with other compatible devices.
- Power Inlet: AC power connection.
- Power Switch: Main power on/off.
5. Setup
5.1 Power Connection
- Ensure the DX5 II's power switch on the rear panel is in the OFF position.
- Connect the provided power cable to the power inlet on the rear panel of the DX5 II.
- Plug the other end of the power cable into a suitable AC power outlet.
5.2 Audio Input Connection
Choose one of the following input methods:
- USB: Connect the provided USB cable from your computer (or other USB audio source) to the USB input on the DX5 II.
- Optical/Coaxial: Connect an optical or coaxial cable from your digital audio source (e.g., CD player, TV) to the corresponding input on the DX5 II.
- Bluetooth: The DX5 II supports Bluetooth 5.1 with LDAC. Refer to section 6.4 for pairing instructions.
5.3 Audio Output Connection
Connect your headphones or speakers:
- Headphones: Plug your headphones into either the 6.35mm single-ended or 4-pin XLR balanced headphone jack on the front panel.
- Active Speakers/Amplifier: Connect the DX5 II's XLR or RCA outputs to your active speakers or a power amplifier using appropriate cables.
5.4 Driver Installation (for USB connection)
For Windows operating systems, a driver may be required for optimal performance. Visit the official Topping website to download the latest USB driver for the DX5 II. Follow the installation instructions provided with the driver package.
Note: macOS, Linux, and iOS/Android devices typically do not require special drivers for USB audio.
6. Operating Instructions
6.1 Power On/Off
- Flip the main power switch on the rear panel to the ON position.
- The unit will power on and display the Topping logo, then show the current status.
- To power off, flip the main power switch on the rear panel to the OFF position.
6.2 Input Selection
Press the INPUT button on the front panel or remote control to cycle through available input sources (USB, Optical, Coaxial, Bluetooth).
6.3 Volume Control
Rotate the control knob on the front panel clockwise to increase volume and counter-clockwise to decrease volume. The volume level will be displayed on the screen.
Caution: Before connecting headphones, ensure the volume is set to a low level to prevent hearing damage.
6.4 Bluetooth Pairing (LDAC)
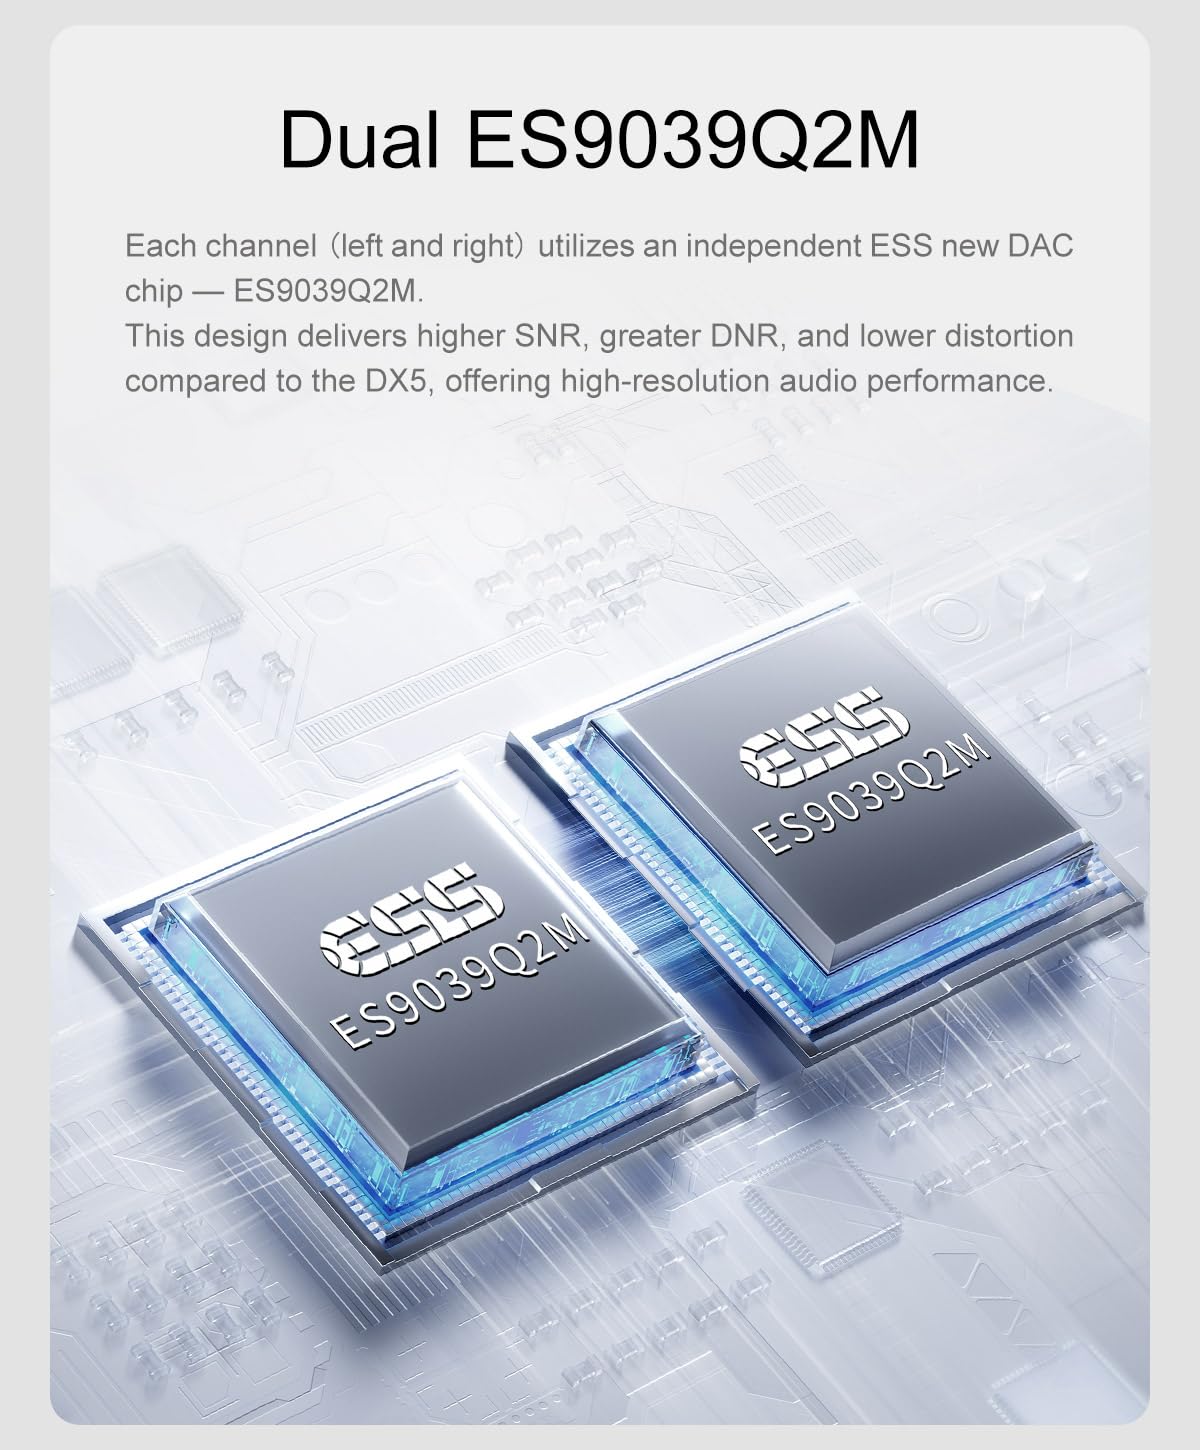
Image: The Topping DX5 II connected wirelessly via Bluetooth to a smartphone, demonstrating its LDAC capability.
- Select Bluetooth as the input source using the INPUT button.
- The DX5 II will automatically enter pairing mode, indicated on the display.
- On your Bluetooth device (e.g., smartphone, tablet), search for available devices and select "Topping DX5 II".
- Once paired, the display will confirm the connection. The DX5 II supports LDAC, aptX-Adaptive, aptX, aptX HD, AAC, and SBC codecs.
6.5 Menu Navigation and Settings
Press the MENU button to access the settings menu. Use the control knob to navigate through options and press the knob to select. Press HOME to return to the main display.
Key settings may include:
- Output Mode: Select between DAC mode (fixed output) or Preamp mode (variable output).
- Filters: Digital filter settings.
- Brightness: Adjust display brightness.
- PEQ: Parametric Equalizer settings.
6.6 Parametric Equalizer (PEQ) Adjustment

Image: A graphical representation of the 10-band high-precision PEQ adjustment interface, showing frequency, gain, and Q factor controls.
The DX5 II features a 10-band high-precision PEQ. Access this feature through the menu. You can fine-tune the frequency, gain, and bandwidth (Q factor) for each of the ten bands to customize your sound profile. The PEQ function supports up to PCM 192kHz/32bit.
6.7 Preamp Mode

Image: The Topping DX5 II connected to a pair of active speakers, illustrating its use in preamp mode for direct volume adjustment.
In preamp mode, the DX5 II's output volume is variable, allowing you to directly adjust the volume for connected active speakers or a power amplifier. This eliminates the need for a separate preamplifier. The device remembers the last set volume when switching outputs.
7. Maintenance
- Cleaning: Use a soft, dry cloth to wipe the exterior of the unit. Do not use liquid cleaners or abrasive materials.
- Ventilation: Ensure the ventilation holes are not obstructed to maintain proper airflow.
- Storage: If storing the unit for an extended period, disconnect it from power and store it in a cool, dry place.
8. Troubleshooting
| Problem | Possible Cause | Solution |
|---|---|---|
| No power | Power cable not connected; Power switch off; Power outlet fault. | Check power cable connection; Ensure rear power switch is ON; Test power outlet with another device. |
| No sound output | Incorrect input selected; Volume too low; Output cables loose; Headphones not connected; DAC mode selected with no external amplifier. | Verify correct input source; Increase volume; Check all audio cable connections; Ensure headphones are fully plugged in; If using line outputs, ensure an amplifier or active speakers are connected and powered. |
| Distorted sound | Input signal too strong; Faulty cable; Sample rate mismatch. | Reduce source volume; Try different cables; Check source sample rate settings. |
| Bluetooth pairing failure | DX5 II not in pairing mode; Device too far; Interference. | Ensure Bluetooth input is selected and DX5 II is discoverable; Move device closer; Reduce other wireless interference. |
| USB connection issues | Driver not installed (Windows); Faulty USB cable; Incorrect USB port. | Install or update USB drivers; Try a different USB cable; Use a different USB port on your computer. |
9. Specifications
| Feature | Detail |
|---|---|
| DAC Chip | Dual ES9039Q2M |
| THD+N @1kHz (A-wt) | <0.00006% |
| Amplifier Architecture | X-Hybrid Fully Balanced Headphone Amp |
| SNR @MAX OUT 1kHz (A-wt) | 133dB |
| Dynamic Range @1kHz (A-wt) | 133dB |
| Headphone Output Power (16Ω) | 7600mW x 2 (THD+N<1%) |
| Headphone Output Power (32Ω) | 6400mW x 2 (THD+N<1%) |
| Headphone Output Power (64Ω) | 4300mW x 2 (THD+N<1%) |
| Headphone Output Power (300Ω) | 990mW x 2 (THD+N<1%) |
| Headphone Output Power (600Ω) | 490mW x 2 (THD+N<1%) |
| PEQ | 10-band high-precision PEQ |
| Display | Full-Color Display (Aurora UI) |
| 12V Trigger | Supported |
| Bluetooth Chip | QCC5125 (Bluetooth 5.1) |
| Bluetooth Codecs | LDAC, aptX-Adaptive, aptX, aptX HD, AAC, SBC |
| Max Sample Rate (USB) | DSD512, PCM768kHz |
| Dimensions | 11.38 x 9.37 x 2.44 inches (Package) |
| Weight | 3.55 Pounds (Package) |
Note: Specifications are subject to change without notice.
10. Warranty and Support
This product is covered by a manufacturer's warranty. Please refer to the warranty card included with your product or visit the official Topping website for detailed warranty terms and conditions.
For technical support, troubleshooting assistance, or warranty claims, please contact LEAUDIO customer service or your authorized dealer. Contact information can typically be found on the LEAUDIO website or your purchase documentation.
Please retain your proof of purchase for warranty purposes.


