1. Introduction
Thank you for choosing the AWithZ H5 Handheld Battery Spot Welder. This device is designed for efficient and precise spot welding of various battery types and thin metal sheets. Its integrated design allows for convenient one-handed operation, making it suitable for both professional and amateur use.
Safety Precautions
- Always wear appropriate eye protection during operation.
- Keep the device away from flammable materials.
- Ensure the contact area between the welding tips and the material is clean and flat for optimal results.
- The device features a built-in temperature detector and will automatically shut down if the internal temperature reaches 60°C to prevent overheating.
2. Package Contents
Upon opening your AWithZ H5 Spot Welder package, you should find the following items:
- AWithZ H5 Spot Welder Unit
- Nickel Sheet (for practice and use)
- Sandpaper (for cleaning welding tips)
- Charging Cable (USB-C)
- Replacement Welding Needles
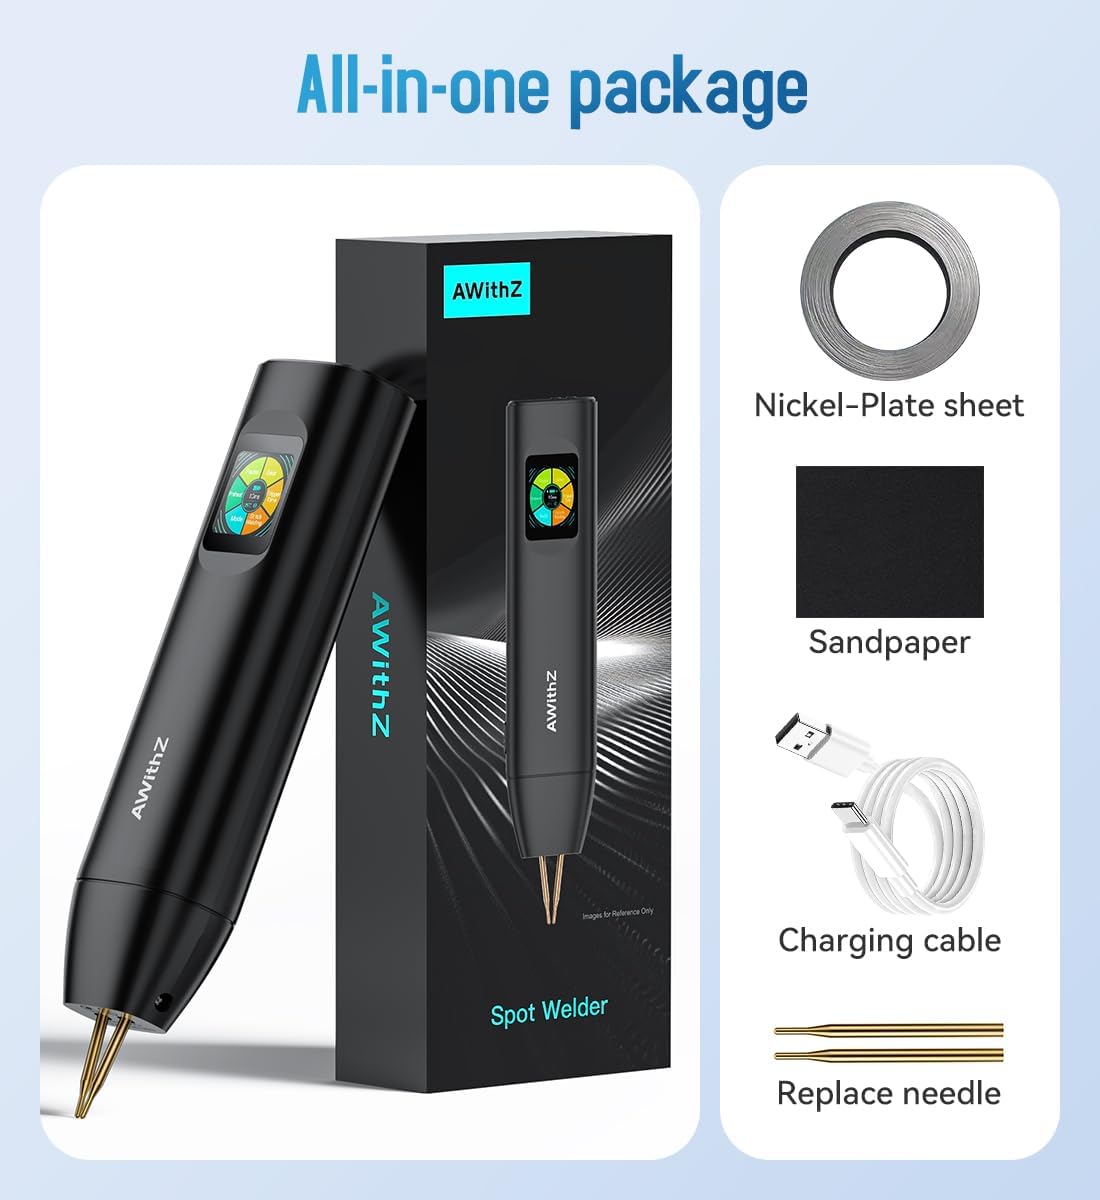
Figure 2.1: AWithZ H5 Spot Welder and included accessories.
3. Product Overview
The AWithZ H5 features an integrated design with a minimalist OLED display and intuitive controls for ease of use.
Key Features:
- Integrated Design: Power supply and welding tips are combined into one handheld unit.
- Minimalist OLED Display: Shows temperature, selected mode, preheat time, trigger time, power level, and settings.
- 99 Adjustable Gears: Fine-tune power levels for various materials and thicknesses.
- Dual Mode Operation: Choose between Automatic and Manual welding modes.
- Multi-language Support: Seven national languages available in settings.
- Adjustable Welding Needle Spacing: Customize for different applications.

Figure 3.1: AWithZ H5 Spot Welder highlighting its compact design and display features.

Figure 3.2: Close-up of the OLED display showing various adjustable settings like gear, trigger time, and continuous welding count.
4. Setup
4.1 Charging the Device
Before first use, fully charge the spot welder using the provided USB-C charging cable. The device supports 20W PD charging. It is recommended to keep the battery level above 50% during welding operations for optimal performance.

Figure 4.1: The AWithZ H5 Spot Welder being charged via its USB-C port. A full charge takes approximately 3 hours.
4.2 Powering On/Off
Locate the power button on the device. Press and hold to power on or off. The OLED display will illuminate upon activation.
4.3 Adjusting Welding Needle Spacing
The welding needles' spacing can be adjusted to suit different applications. Loosen the screw counterclockwise, adjust the needles to the desired wide or narrow spacing, then tighten the screw clockwise to secure them.

Figure 4.2: Illustration of how to adjust the welding needle spacing on the AWithZ H5 Spot Welder.
5. Operating Instructions
The AWithZ H5 offers both Automatic and Manual welding modes, along with 99 adjustable power levels for versatile use.
5.1 Mode Selection
The device supports dual pulse output with two modes: Automatic and Manual. You can select the mode that best suits your welding task via the display settings.
- Automatic Mode: For fast and simple welding, the device automatically triggers the weld when both tips make contact.
- Manual Mode: For controlled and independent welding, a dedicated button on the side of the device must be pressed to initiate the weld.

Figure 5.1: Comparison of Automatic and Manual welding modes on the AWithZ H5 Spot Welder.
5.2 Adjusting Power Level (Gear)
The AWithZ H5 features 99 adjustable power levels (gears). Use the setting buttons on the device to cycle through and select the appropriate gear for your material thickness and type. Higher gears provide more power for thicker materials.

Figure 5.2: The OLED display allows for precise adjustment of the welding gear (power level).
5.3 Welding Process
- Prepare the Surface: Ensure the nickel strip and battery terminals are clean and free of oxidation. Use the provided sandpaper if necessary.
- Position the Nickel Strip: Place the nickel strip firmly against the battery terminal.
- Position Welding Tips: Place both welding tips firmly on the nickel strip, ensuring good contact and even pressure.
- Initiate Weld:
- In Automatic Mode, the weld will trigger automatically after a set delay when both tips make contact.
- In Manual Mode, press the manual mode button on the side of the device to trigger the weld.
- Inspect Weld: After welding, gently test the strength of the weld. A strong weld should not easily peel off.

Figure 5.3: Welding examples and trigger time settings (0.5-5ms) for various applications.
5.4 Material Compatibility
The AWithZ H5 is suitable for:
- Welding 0.1-0.2mm pure nickel sheets.
- Welding stainless steel sheets.
- Various cylindrical lithium batteries (18650, 21700, 26650, 32650).
- Cell phone batteries and button batteries.
- Nickel-metal hydride and nickel-cadmium batteries.

Figure 5.4: The AWithZ H5 Spot Welder in use for welding power batteries.
Video 5.1: Demonstration of the AWithZ H5 Spot Welder's start-up and usage for battery welding.
6. Maintenance
6.1 Cleaning Welding Tips
Regularly clean the welding tips using the provided sandpaper to remove any residue and ensure optimal electrical contact. This helps in achieving consistent and strong welds.
6.2 Electrode Replacement
The welding electrodes are consumable and will wear down over time. Replace them with new ones when they become too short or damaged to maintain welding quality. Refer to Section 4.3 for adjusting/replacing tips.
7. Troubleshooting
- Inconsistent Welds: Ensure welding tips are clean, apply even pressure, and maintain correct angles. Adjust the power level (gear) as needed for the material.
- Device Shuts Down: The built-in temperature detector will automatically shut down the device if it reaches 60°C. Allow the unit to cool down before resuming operation.
- Display Language: If the display language is not English, navigate to the settings menu (usually indicated by a gear icon) and select 'En' or 'English' from the language options.
8. Specifications
| Feature | Specification |
|---|---|
| Model Number | H5 |
| Battery Capacity | 5000mAh |
| Battery Cell Type | Lithium Polymer |
| Output Voltage | 4.2V (Max) |
| Output Current | 1020A (Max) |
| Adjustable Gears | 99 Levels |
| Charging Input | USB-C (20W PD) |
| Charging Time | Approx. 3 hours |
| Dimensions | 22 x 5 x 3 cm |
| Item Weight | 500 g |
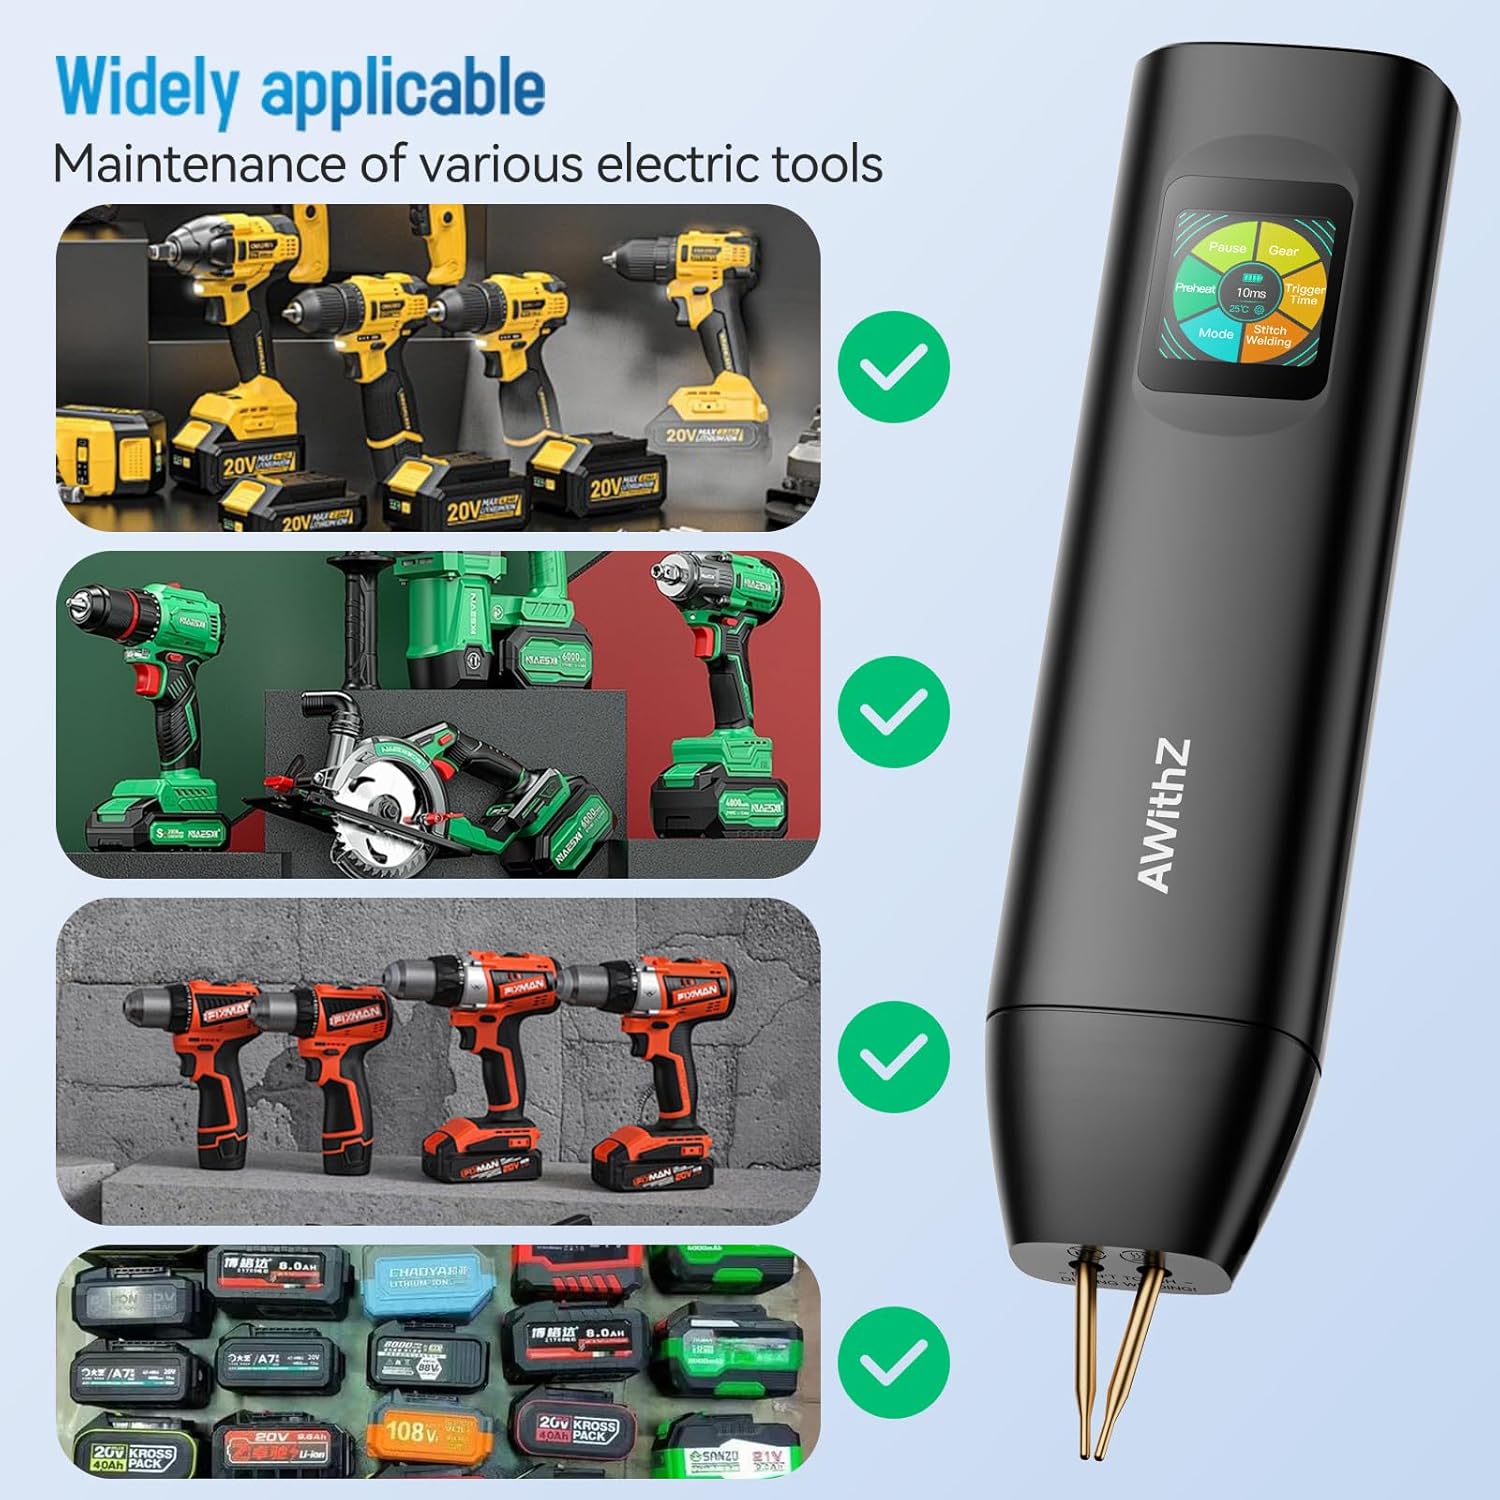
Figure 8.1: Key specifications of the AWithZ H5 Spot Welder.
9. Warranty and Support
For warranty information, technical support, or any inquiries regarding your AWithZ H5 Handheld Battery Spot Welder, please refer to the contact information provided with your purchase or visit the official AWithZ website. Keep your purchase receipt as proof of purchase.