1. Introduction
Thank you for choosing the Newferro 64GB Dash Cam. This device is designed to provide reliable video recording of your journeys, offering both front and interior/rear views. It features 1080P HD resolution, enhanced night vision, 24-hour parking monitoring, motion detection, and loop recording capabilities. Please read this manual thoroughly before operation to ensure proper use and maintenance.
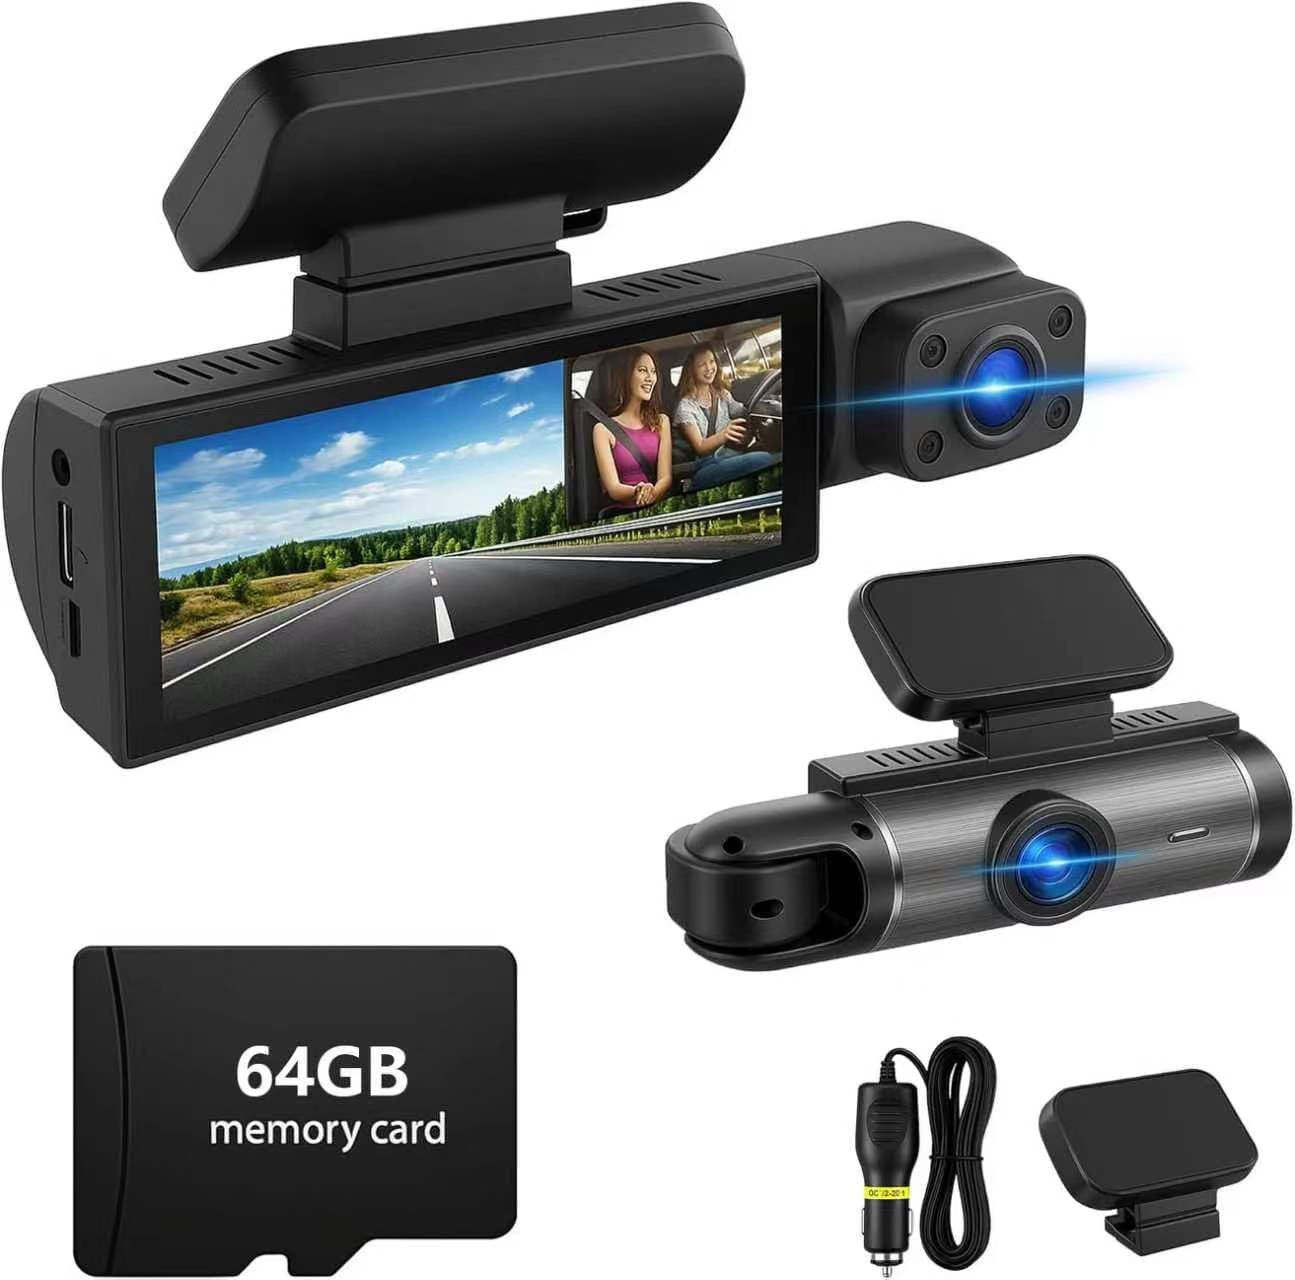
Image 1.1: Newferro 64GB Dash Cam overview with key features.
2. Product Features
- Dual Lens Coverage: Records both the road ahead and the interior or rear of your vehicle in 1080P HD resolution.
- Enhanced Night Vision: Equipped with infrared technology and IR LED lights for clear footage in low-light conditions.
- 24-Hour Parking Monitor: Provides surveillance when the vehicle is parked, protecting against incidents.
- Motion Detection: Automatically starts recording when motion is detected, enhancing parking security.
- Loop Recording: Continuously records, overwriting the oldest footage when the memory card is full, ensuring uninterrupted recording.
- G-Sensor: Automatically locks and protects video footage during sudden impacts or emergency braking.
- Easy Installation: Simple to mount and operate with intuitive menu navigation.

Image 2.1: Dual-lens recording capability.

Image 2.2: Front (170°) and Interior (140°) camera views.
3. Package Contents
Please check the package for the following items:
- Newferro Dual Lens Dash Cam
- Suction Mount
- Car Charger Power Cable
- 64GB Micro SD Card
- User Manual
4. Product Overview
Familiarize yourself with the components and controls of your dash cam.

Image 4.1: Front and side view of the dash cam with labeled components.
- TF Card Slot: Insert the Micro SD card here.
- Pull Back Camera Interface: Connect the optional rear camera (if included or purchased separately).
- Charging Port: Connect the car charger for power.
- MIC: Built-in microphone for audio recording.
- 3.16-inch Screen: Displays live view, recorded footage, and menu options.
- 1080P Lens: Front-facing camera lens.
- Buttons (Switch, UP, Down, MODE, RESET): Used for navigation and control.
- Speakers: For audio playback.
5. Setup
- Insert Micro SD Card: Ensure the dash cam is off. Insert the provided 64GB Micro SD card into the TF card slot until it clicks.
- Mount the Dash Cam: Attach the suction mount to the windshield, ensuring a clear view of the road. Secure the dash cam to the mount.
- Connect Power: Plug the car charger into your vehicle's cigarette lighter socket and connect the other end to the dash cam's charging port.
- Adjust Camera Angle: Power on the dash cam and adjust the front and interior/rear camera angles to cover the desired viewing areas.
Video 5.1: Demonstration of dash cam installation and setup.
This video shows the physical installation of the dash cam, including mounting and connecting power, and demonstrates the dual-lens view.
6. Operating Instructions
6.1 Power On/Off
- The dash cam will automatically power on and begin recording when your vehicle starts (if connected to the car charger).
- To manually power on/off, press and hold the Power button.
6.2 Basic Recording
- Once powered on, the dash cam will automatically start loop recording.
- A red indicator light or icon on the screen typically indicates recording is active.
- To manually stop/start recording, press the OK button (if available, or refer to specific button functions on your device).
6.3 Menu Navigation
- Press the MODE button to switch between video recording, photo mode, and playback mode.
- In any mode, press the MENU button (if available, or refer to specific button functions) to access settings.
- Use the UP/DOWN buttons to navigate through menu options.
- Press the OK button to confirm selections.
7. Advanced Features
7.1 Loop Recording
The dash cam records video in continuous loops (e.g., 1, 3, or 5-minute segments). When the memory card is full, the oldest unlocked files are automatically overwritten to make space for new recordings. This ensures continuous recording without manual intervention.

Image 7.1: Seamless loop recording process.
7.2 G-Sensor (Emergency Lock)
The built-in G-sensor detects sudden acceleration, braking, or collisions. When triggered, it automatically locks the current video segment, preventing it from being overwritten by loop recording. This protects critical evidence in case of an accident.
7.3 Parking Monitor & Motion Detection
When enabled, the parking monitor provides surveillance for your parked vehicle. Motion detection activates recording if movement is detected around the car, while time-lapse parking mode records continuously at a low frame rate to save storage. Ensure the dash cam is connected to a continuous power source (e.g., hardwire kit, not included) for 24-hour monitoring.
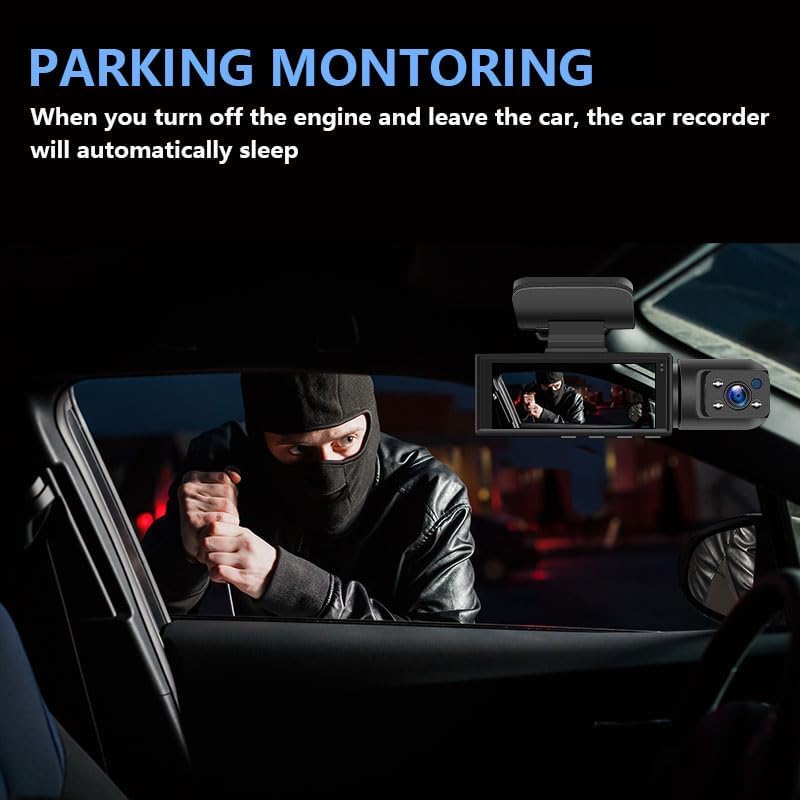
Image 7.2: Parking monitoring detecting a potential threat.

Image 7.3: Visual representation of 24-hour parking surveillance.
7.4 Night Vision
The dash cam utilizes infrared technology and IR LED lights to capture clear video footage in dark environments, ensuring visibility during nighttime driving or in poorly lit areas.
8. Maintenance
- Memory Card: Format the Micro SD card regularly (e.g., once a month) to prevent data corruption and ensure optimal performance. This can usually be done through the dash cam's settings menu.
- Cleaning: Use a soft, dry cloth to clean the camera lenses and screen. Avoid using abrasive cleaners or solvents.
- Temperature: Avoid exposing the dash cam to extreme temperatures for extended periods, as this can affect battery life and device performance.
9. Troubleshooting
| Problem | Solution |
|---|---|
| Dash cam does not power on. | Check if the car charger is properly connected and the vehicle's power outlet is functional. Ensure the power cable is not damaged. |
| Recording stops unexpectedly. | Format the Micro SD card. Ensure the card is Class 10 or higher. Replace the card if issues persist. |
| Video footage is blurry or unclear. | Clean the camera lenses. Ensure the protective film has been removed from the lenses. Check if the windshield is clean. |
| G-sensor is too sensitive/insensitive. | Adjust the G-sensor sensitivity setting in the dash cam's menu. |
| Parking monitor not working. | Ensure the parking monitor feature is enabled in the settings. Verify the dash cam is receiving continuous power when the vehicle is off (requires a hardwire kit, not included). |
10. Specifications
- Brand: Newferro
- Model Name: Newferro
- Video Capture Resolution: 1080p
- Special Feature: Dual Camera, Night Vision, Parking Monitor, Motion Detection, Loop Recording, G-Sensor
- Connectivity Technology: Wireless
- Screen Size: 3.16 inches (approximate, inferred from A+ content image)
- Field Of View: 170 Degrees (Front), 140 Degrees (Interior/Rear)
- Included Memory Card Size: 64 GB
- Frame Rate: 30 FPS
- Mounting Type: Windshield Mount
- Color: Black
- Item Dimensions (D x W x H): 1.2"D x 4.7"W x 1.4"H
11. Warranty and Support
For warranty information or technical support, please refer to the contact details provided with your purchase or visit the official Newferro website. Keep your purchase receipt as proof of purchase for warranty claims.