Introduction
This manual provides detailed instructions for the installation, operation, and maintenance of your DEWENWILS 15 Amp GFCI Outlet. Ground Fault Circuit Interrupter (GFCI) outlets are designed to protect against electrical shock by detecting ground faults and quickly shutting off power. Please read this manual thoroughly before installation and use to ensure safe and proper operation.
Safety Information
WARNING: Risk of electric shock or electrocution. Installation requires basic electrical knowledge. If you are unsure about any part of these instructions, consult a qualified electrician.
- Always turn off power at the circuit breaker or fuse box before installing or servicing the GFCI outlet.
- Use only copper or copper-clad wire. Do not use aluminum wire.
- Ensure all wire connections are secure and properly insulated.
- This GFCI outlet is UL Certified, ensuring it meets rigorous safety standards.
- The tamper-resistant design helps prevent accidental insertion of foreign objects into the receptacle openings.
- The weather-resistant feature makes it suitable for damp or wet locations when installed in an appropriate weather-resistant enclosure.
Product Overview
The DEWENWILS 15 Amp GFCI Outlet is designed for enhanced electrical safety in various environments. Key features include a self-test function, LED indicator, and durable construction.

Image: Two DEWENWILS 15 Amp GFCI Outlets, showing the front view of the white receptacles with reset and test buttons.
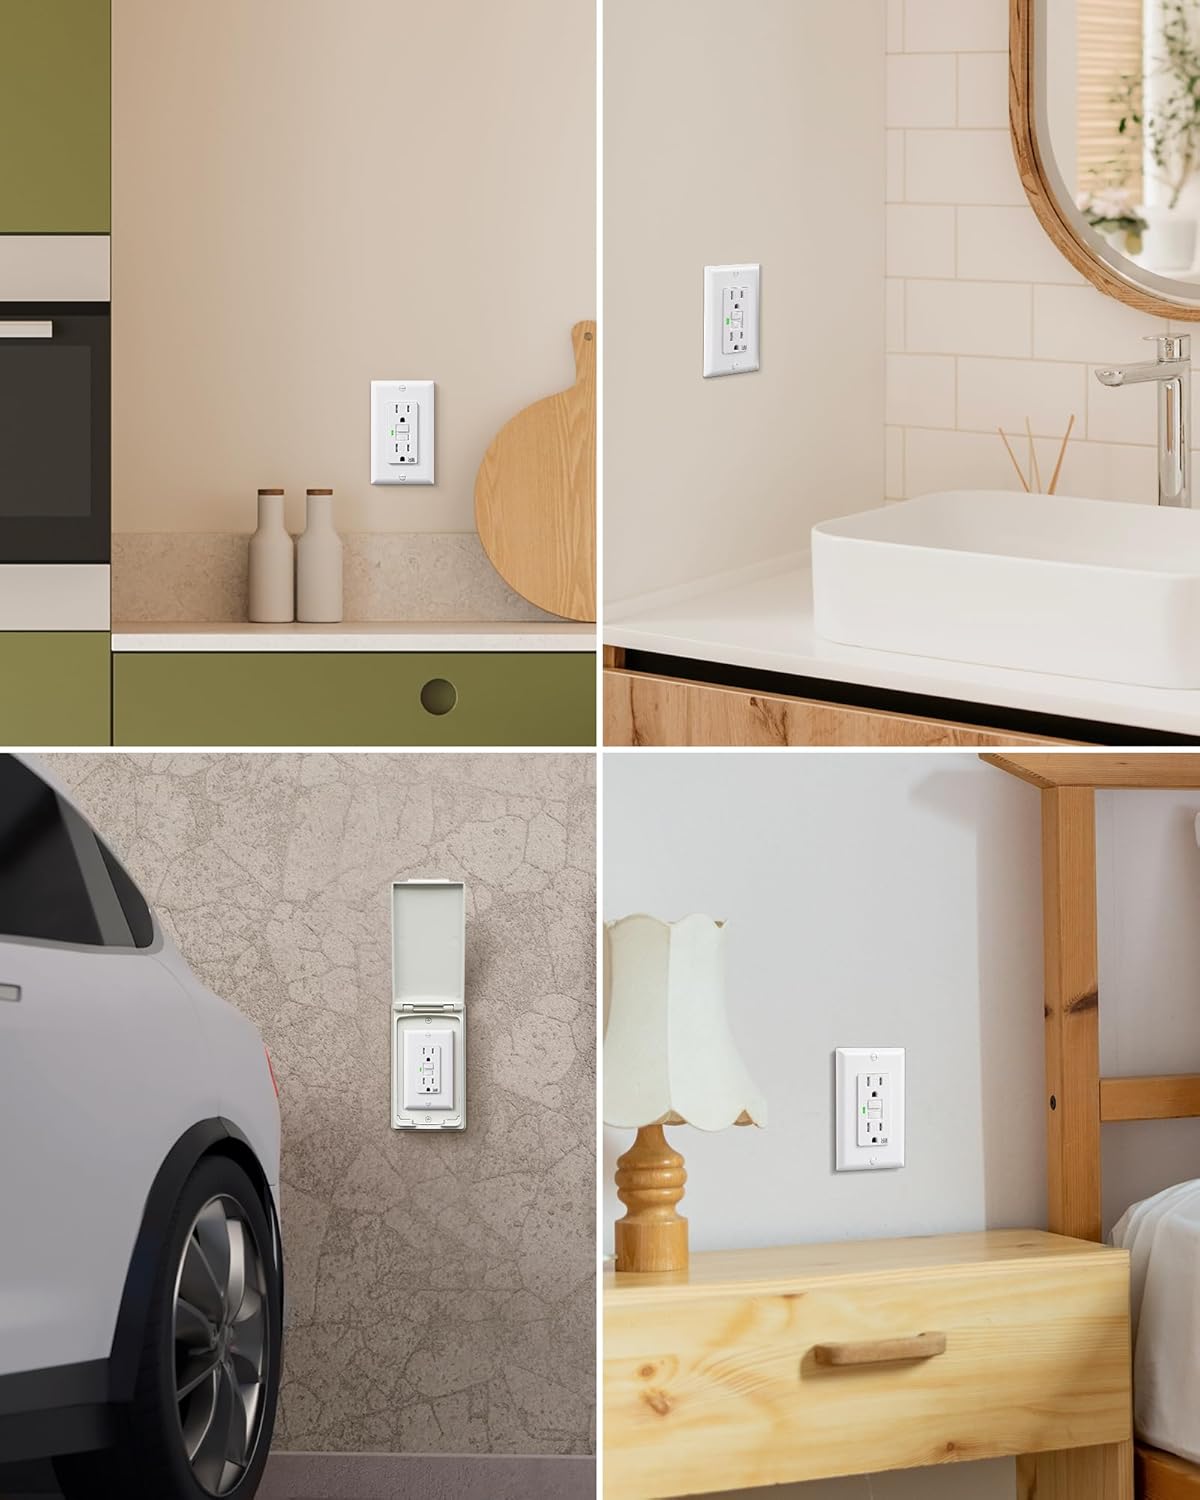
Image: Diagram highlighting key features of the 15 Amp GFCI Safety Outlet, including Self-Test, 125VAC/60HZ/15A rating, Weather Resistant (WR), Tamper Resistant (TR), and UL Listed certification.

Image: Close-up view of the GFCI outlet showing the 'RESET' button to restore power after a trip, the 'TEST' button to check if the GFCI is working properly, and the LED light indicating the working status.

Image: Illustration of the GFCI outlet's self-test function, showing a green light indicating proper operation and a red light indicating the need for replacement.
Key Features:
- Self-Test Function: Automatically conducts a self-test every 40 seconds to ensure reliable performance. The LED indicator flashes red during self-test, shows green during normal operation, and stays solid red in case of a fault.
- Weather-Resistant: Made of sturdy materials for long-lasting use, this GFCI outlet withstands moisture and daily wear, suitable for various environments.
- Tamper-Resistant: Features a tamper-resistant design to enhance safety, especially in households with children.
- Easy Installation: Designed with pre-loosened screws for quick wire wrapping and a slim profile to fit all standard electrical boxes and wall plates.
- UL Certified: Rigorously tested and UL certified for safety and reliability.
Setup and Installation
Follow these steps carefully to install your DEWENWILS GFCI Outlet. Ensure power is OFF before beginning.
- Turn Off Power: Locate the circuit breaker or fuse that controls the outlet you are replacing or installing and turn it OFF. Verify power is off using a voltage tester.
- Prepare Wires: Strip approximately 1/2 inch of insulation from the ends of the circuit wires.
- Identify Wires:
- LINE Wires: These wires bring power from the circuit breaker. They are typically black (hot) and white (neutral).
- LOAD Wires: These wires carry power to downstream receptacles or devices protected by this GFCI. They are also typically black (hot) and white (neutral).
- Ground Wire: Bare copper or green insulated wire.
- Connect Wires:
- Connect the LINE (incoming power) wires to the terminals marked "LINE" on the GFCI outlet. The black (hot) wire connects to the brass screw, and the white (neutral) wire connects to the silver screw.
- If protecting downstream outlets, connect the LOAD (outgoing power) wires to the terminals marked "LOAD" on the GFCI outlet. The black (hot) wire connects to the brass screw, and the white (neutral) wire connects to the silver screw.
- Connect the bare copper or green ground wire to the green grounding screw on the GFCI outlet.

Image: Detailed wiring diagrams for GFCI installation. The top diagram shows wiring for one cable (2-3 wires) entering the box, connecting LINE wires. The bottom diagram shows wiring for two cables (4-6 wires) entering the box, connecting both LINE and LOAD wires to protect downstream receptacles.
- Mount Outlet: Carefully fold the wires into the electrical box and secure the GFCI outlet to the box using the provided screws.
- Install Wall Plate: Attach the decorative wall plate over the GFCI outlet.
- Restore Power: Turn the power back ON at the circuit breaker or fuse box.
- Test GFCI: Press the "TEST" button on the GFCI. The GFCI should trip, and the LED indicator should turn red. Press the "RESET" button. The GFCI should reset, and the LED indicator should turn green.
Note: The GFCI outlet is designed to fit standard dimensions and can be easily removed when needed. Its slim design ensures compatibility with various electrical boxes and wall plates.
Operating Instructions
Your DEWENWILS GFCI outlet is designed for simple operation and continuous safety monitoring.
Self-Test Function:
The GFCI automatically performs a self-test every 40 seconds to ensure it is functioning correctly. During this brief test, the LED indicator may flash red momentarily. This is normal operation.
- Green LED: Indicates the GFCI is working properly and providing protection.
- Flashing Red LED (briefly): Indicates a self-test is in progress.
- Solid Red LED: Indicates a fault has been detected, or the GFCI needs to be replaced. If the LED remains solid red after pressing the RESET button, the unit may be defective and should be replaced.
Manual Test and Reset:
- TEST Button: Press this button to manually trip the GFCI. Power to the outlet will be cut off, and the LED will turn red. This confirms the GFCI's tripping mechanism is working.
- RESET Button: After a trip (either manual or due to a fault), press this button to restore power to the outlet. The LED should turn green, indicating power is restored and protection is active.
Maintenance
The DEWENWILS GFCI outlet requires minimal maintenance, but regular checks are crucial for continued safety.
- Regular Testing: It is recommended to test the GFCI outlet monthly by pressing the "TEST" button, then the "RESET" button. This ensures the device is functioning correctly.
- Cleaning: Clean the surface of the GFCI outlet with a soft, damp cloth. Do not use abrasive cleaners or solvents. Ensure the outlet is dry before use.
- Inspection: Periodically inspect the outlet for any signs of damage, such as cracks, discoloration, or loose connections. If any damage is observed, turn off power and replace the outlet.
Troubleshooting
If you encounter issues with your GFCI outlet, refer to the following common problems and solutions:
| Problem | Possible Cause | Solution |
|---|---|---|
| GFCI will not reset (LED solid red) |
|
|
| GFCI trips frequently |
|
|
| No power from GFCI outlet |
|
|
Specifications
| Attribute | Detail |
|---|---|
| Model Number | HGFB15W |
| Amperage | 15 Amp |
| Voltage | 125 VAC |
| Frequency | 60 Hz |
| Material | Plastic, Copper |
| Color | White |
| Total Power Outlets | 2 |
| Certifications | UL Listed |
| Special Features | Self-Test, Tamper Resistant, Weather Resistant |
| Package Dimensions | 6.34 x 5.2 x 2.12 inches |
| Item Weight | 11.22 ounces |

Image: Diagram showing the physical dimensions of the DEWENWILS GFCI outlet and its accompanying wall plate, with measurements in inches.
Warranty Information
Specific warranty details for the DEWENWILS 15 Amp GFCI Outlet are not provided in this manual. Please refer to the product packaging, the official DEWENWILS website, or contact the retailer where you purchased the product for comprehensive warranty information.
Customer Support
For technical assistance, product inquiries, or support, please contact DEWENWILS customer service. You can typically find contact information on the official DEWENWILS website or through the platform where you purchased the product.
Visit the official DEWENWILS store for more products and information: DEWENWILS Store