ZAPPTRONIX N77-1129 and N77-1128
ZAPPTRONIX Bumper Reinforcement Installation Manual
For Kenworth T680 2022+ Next Gen Bumper (Models N77-1129 & N77-1128)
Introduction
This manual provides comprehensive instructions for the proper installation and maintenance of your ZAPPTRONIX Bumper Reinforcement pair. Designed for the Kenworth T680 2022+ Next Gen semi-truck models, these reinforcements are compatible with bumpers that include or exclude fog light holes. Please read this manual thoroughly before beginning installation to ensure safety and optimal performance.
Safety Information
WARNING: Always prioritize safety during installation. Failure to follow these instructions may result in injury or damage to the vehicle.
- Wear appropriate personal protective equipment (PPE), including safety glasses and gloves.
- Ensure the vehicle is parked on a level surface and the engine is off.
- Use proper lifting equipment if necessary.
- If you are unsure about any step, consult a qualified mechanic.
Package Contents
Verify that all items are present before beginning installation:
- 1x ZAPPTRONIX Bumper Reinforcement (Left Side - Driver)
- 1x ZAPPTRONIX Bumper Reinforcement (Right Side - Passenger)

Image 1: The ZAPPTRONIX Bumper Reinforcement pair, showing both left and right components.
Tools Required (Not Included)
- Socket Wrench Set
- Torque Wrench
- Screwdriver Set (Phillips and Flathead)
- Pry Tools (Plastic, for trim removal)
- Safety Glasses
- Work Gloves
Installation Instructions
Follow these steps carefully to install the bumper reinforcements. It is recommended to have a second person assist with bumper removal and reinstallation.
Step 1: Prepare the Vehicle
- Park the Kenworth T680 on a flat, stable surface.
- Engage the parking brake and turn off the engine.
- Disconnect the battery's negative terminal to prevent electrical issues.
Step 2: Bumper Removal
- Carefully locate and remove all fasteners securing the front bumper to the vehicle frame and body. These may include bolts, screws, and plastic clips.
- If equipped, disconnect any wiring harnesses for fog lights, sensors, or other bumper-mounted components.
- With assistance, carefully detach the bumper assembly from the vehicle and place it on a clean, protected surface.
Step 3: Remove Old Reinforcements (if applicable)
- Identify the existing bumper reinforcements within the bumper assembly.
- Remove the fasteners holding the old reinforcements in place.
- Carefully remove the old reinforcements.

Image 2: Underside view of the bumper reinforcement, showing mounting points and structural details.
Step 4: Install New ZAPPTRONIX Reinforcements
- Position the new ZAPPTRONIX Left Side (Driver) bumper reinforcement into its designated location within the bumper assembly. Ensure it aligns correctly with all mounting points.
- Secure the reinforcement using the original fasteners. Do not fully tighten yet.
- Repeat the process for the Right Side (Passenger) bumper reinforcement.
- Once both reinforcements are in place and aligned, gradually tighten all fasteners to the manufacturer's specified torque settings. Refer to your vehicle's service manual for exact torque values.

Image 3: Angled view of the bumper reinforcement, highlighting the integrated fog light hole and mounting tabs.
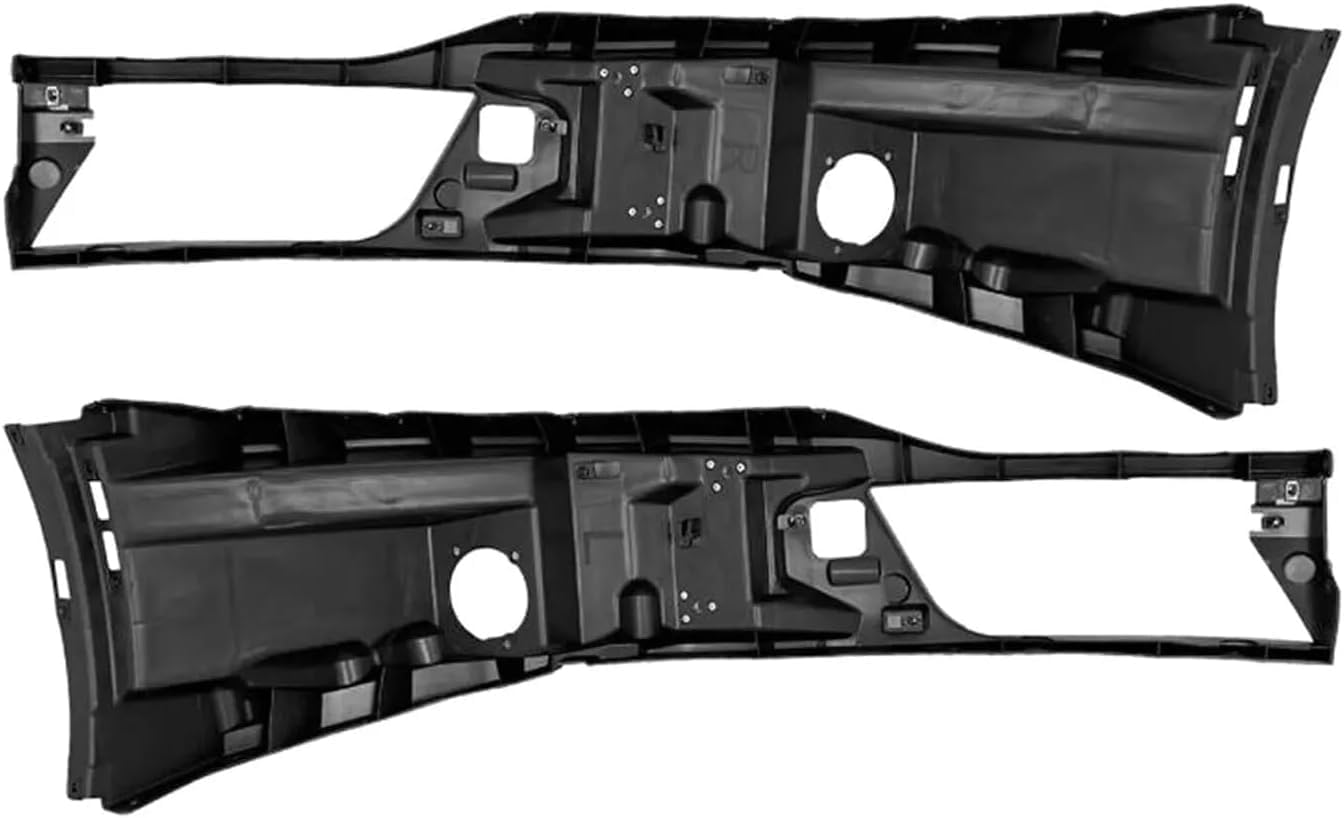
Image 4: Rear view of the bumper reinforcement, illustrating its internal structure and attachment points.
Step 5: Bumper Reinstallation
- With assistance, carefully lift the bumper assembly back onto the vehicle.
- Align the bumper with its mounting points on the vehicle frame and body.
- Reconnect any wiring harnesses for fog lights, sensors, or other components.
- Reinstall all fasteners, ensuring they are tightened securely according to manufacturer specifications.
Step 6: Final Checks
- Reconnect the battery's negative terminal.
- Verify that all lights and sensors (if applicable) are functioning correctly.
- Inspect the bumper for proper alignment and secure attachment.
Usage Considerations
Once installed, the bumper reinforcements are designed to integrate seamlessly with your Kenworth T680's bumper system. No special operating procedures are required for the reinforcements themselves. Ensure that all bumper-mounted accessories (e.g., fog lights, sensors) are functioning correctly after reassembly.
Maintenance
Regular inspection of the bumper reinforcements and their mounting points is recommended to ensure continued secure attachment and integrity.
- Periodically check all fasteners for tightness, especially after driving on rough terrain.
- Clean the reinforcements as part of your regular vehicle washing routine. Avoid harsh chemicals that could damage the material.
- Inspect for any signs of damage or wear, particularly after any impact or collision. Replace damaged components immediately.
Troubleshooting
If you encounter issues after installation, consider the following:
- Bumper Misalignment: Loosen fasteners, adjust bumper position, and retighten. Ensure reinforcements are seated correctly.
- Loose Components: Re-check all fasteners for proper torque.
- Electrical Issues (Fog Lights/Sensors): Verify all wiring harnesses were reconnected securely. Check for pinched or damaged wires.
For persistent issues, consult a professional mechanic or contact ZAPPTRONIX customer support.
Specifications
| Brand | ZAPPTRONIX |
| Model Numbers | N77-1129 (Left), N77-1128 (Right) |
| Compatible Vehicle | Kenworth T680 Next Gen (2022+) |
| Auto Part Position | Front Inside |
| Material | Plastic |
| Color | Black |
| Item Weight (Pair) | Approximately 27 Pounds |
| Product Dimensions | 10"D x 54"W x 18"H (Approximate, for each unit) |
| Fit Type | Vehicle Specific Fit |
Warranty and Support
For information regarding warranty coverage, technical support, or replacement parts, please contact ZAPPTRONIX customer service. Refer to your purchase documentation for specific warranty terms and contact details.
ZAPPTRONIX Customer Service: Please visit the ZAPPTRONIX Store on Amazon for contact information or further product details.
Ask a question about this manual
Ask about setup, troubleshooting, compatibility, parts, safety, or missing instructions. Manuals+ will review the question and use this page’s manual context to help answer it.