1. Important Safety Information
Please read and understand all safety warnings and instructions before operating the YESWELDER MIG-140DS PRO welding machine. Failure to follow these instructions may result in electric shock, fire, serious injury, or death.
- Electric Shock Can Kill: Do not touch live electrical parts. Wear dry, insulating gloves and protective clothing. Ensure the work area is dry.
- Fumes and Gases Can Be Dangerous: Keep your head out of the fumes. Use enough ventilation, exhaust at the arc, or both, to keep fumes and gases away from your breathing zone and the general area.
- Arc Rays Can Burn Eyes and Skin: Wear a welding helmet with a proper shade of filter lens to protect your face and eyes when welding or watching. Wear appropriate protective clothing to protect your skin.
- Fire and Explosion Hazard: Remove all flammables within 35 feet (10 meters) of the welding arc. Have a fire extinguisher nearby.
- Automatic Safeguards: The MIG-140DS PRO features comprehensive safeguards, including automatic compensation for voltage fluctuation, robust protections against over-current, over-load, and over-heating, ensuring unparalleled user safety and device longevity.

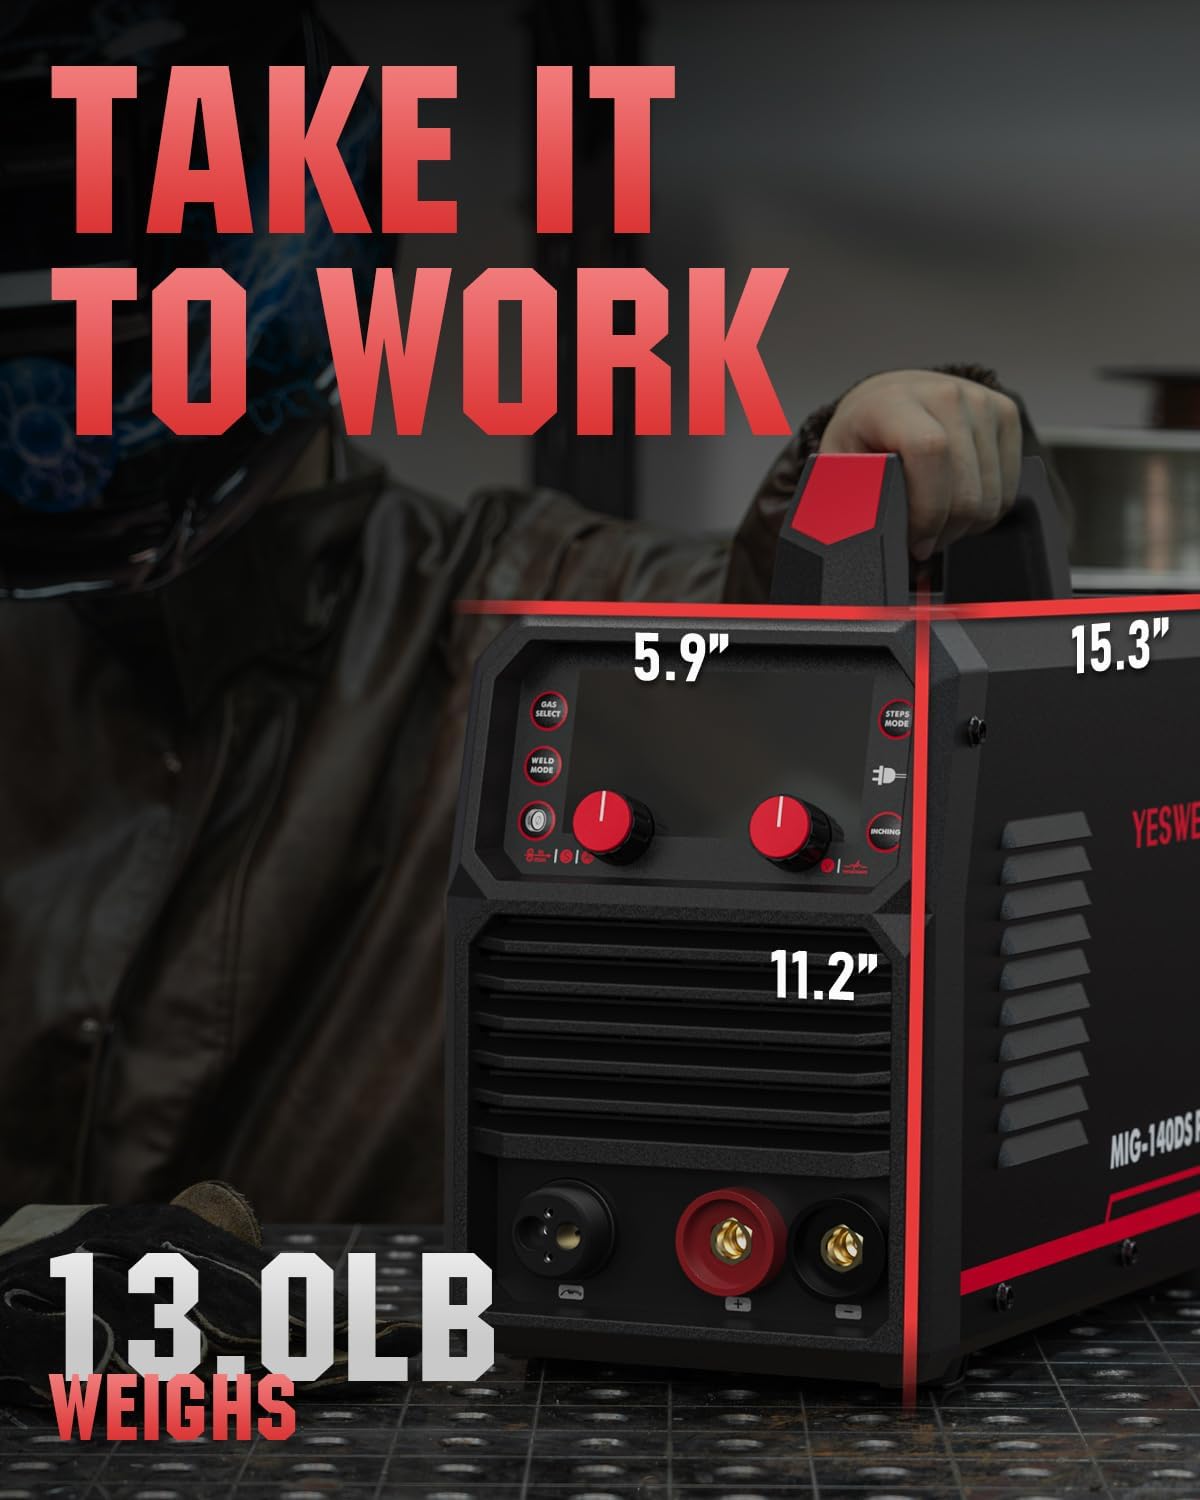
2. Product Overview
The YESWELDER MIG-140DS PRO is a versatile 4-in-1 welding machine designed for various applications, including automotive, construction, fabrication, and DIY projects. It supports Gas MIG, Flux Core, Lift TIG, and Stick welding processes.
2.1 Key Features
- 4-in-1 Multifunctionality: Capable of MIG, Flux Core, Lift TIG, and Stick welding. (Note: An additional Lift TIG torch is required for TIG welding, model B08BXGGNFL).
- Dual Voltage: Operates on both 110V and 220V power supplies, providing flexibility for different work environments.
- 140A Output: Delivers a robust 140A output for reliable and stable welding performance.
- Synergic MIG Mode: Automatically matches voltage to wire feeding speed (adjustable from 80 to 600 in/min) with fine-tuning capability (-3V to +3V), ideal for beginners.
- Manual MIG Mode: Allows experienced users to manually adjust wire feeding speed and voltage for precise control.
- Digital Display: Advanced digital interface for enhanced clarity and real-time monitoring of welding current.


2.2 Machine Components

2.3 Control Panel Introduction

2.4 Included Accessories

3. Setup and Installation
Proper setup is crucial for safe and effective welding. Ensure all connections are secure and correct for your chosen welding process.
3.1 Power Connection
- The MIG-140DS PRO supports dual voltage input (110V/220V). Use the appropriate power cord and adapter for your power supply.
- Always connect the machine to a properly grounded power outlet.
3.2 Wire Spool Installation
The welder is compatible with both 10LB (8-inch spool diameter) and 2LB (4-inch spool diameter) welding wires.

3.3 Welding Mode Specific Installations
3.3.1 Flux Core Welding Installation

3.3.2 MIG Welding Installation (Gas MIG)

3.3.3 TIG Welding Installation (Lift TIG)

3.3.4 Stick Welding Installation

4. Operating Instructions
Familiarize yourself with the control panel (refer to Section 2.3) before beginning any welding operation.
4.1 Selecting Welding Mode
Use the 'Weld Mode Button' on the control panel to cycle through the available welding processes: Stick, Manual MIG, Synergic MIG, and Lift TIG.
4.2 Synergic MIG Operation
- Select 'Synergic MIG' mode.
- Adjust the wire feeding speed using the 'Left Value Knob/Button'. The machine will automatically suggest a corresponding voltage.
- Fine-tune the voltage if necessary using the 'Right Value Knob/Button' within a range of -3V to +3V from the automatically matched value.
- This mode simplifies parameter setting, making it suitable for beginners.
4.3 Manual MIG Operation
- Select 'Manual MIG' mode.
- Independently adjust both the wire feeding speed and voltage using the respective 'Left Value Knob/Button' and 'Right Value Knob/Button' according to your welding requirements and preferences.
- This mode offers greater control for experienced welders.
4.4 Digital Display Monitoring
The digital display provides real-time feedback on welding current and voltage. Monitor these values during operation to ensure consistent and quality welds.
5. Maintenance
Regular maintenance ensures the longevity and optimal performance of your welding machine.
- Cleaning: Periodically clean the machine's exterior and ventilation openings to prevent dust and debris buildup. Use compressed air to clear internal components if necessary, ensuring the machine is unplugged.
- Cable and Connection Inspection: Regularly inspect all welding cables, power cords, and connections for wear, damage, or loose fittings. Replace damaged components immediately.
- Wire Feed System: Check the wire feed rollers for wear and ensure they are clean and free of debris. Verify proper tension for smooth wire feeding.
- Torch and Consumables: Inspect the MIG gun nozzle, contact tip, and diffuser for wear. Replace consumables as needed to maintain arc quality. For Stick and TIG, ensure electrode holders and TIG torches are in good condition.
- Storage: Store the welder in a clean, dry environment when not in use.
6. Troubleshooting
This section provides solutions to common issues you might encounter. For problems not listed here, contact YESWELDER customer support.
| Problem | Possible Cause | Solution |
|---|---|---|
| No power to the machine | Power cord unplugged, circuit breaker tripped, faulty power switch | Check power cord connection, reset circuit breaker, contact service if switch is faulty. |
| No arc or weak arc | Poor ground connection, incorrect welding parameters, worn consumables, wrong polarity | Ensure ground clamp is on clean metal, adjust current/voltage, replace contact tip/electrode, verify polarity for process. |
| Wire feeding issues (MIG/Flux Core) | Incorrect wire tension, clogged liner, worn drive roller, tangled wire spool | Adjust drive roller tension, clean or replace liner, inspect/replace drive roller, untangle wire. |
| Overheat protection activated | Exceeded duty cycle, insufficient ventilation | Allow machine to cool down, ensure clear airflow to vents, reduce welding time. |
7. Specifications
Detailed technical specifications for the YESWELDER MIG-140DS PRO.
| Feature | Specification |
|---|---|
| Model Number | MIG-140DS PRO NEW |
| Manufacturer | YESWELDER |
| Input Voltage | 110V/220V Dual Voltage |
| Output Current | 140A |
| Welding Processes | Gas MIG, Flux Core, Lift TIG, Stick |
| Item Weight | 20.8 pounds |
| Package Dimensions | 17.28 x 13.39 x 7.64 inches |
| Power Source | DC |
| ASIN | B0FCF9MG56 |
8. Warranty and Support
For warranty information, product registration, or technical assistance, please contact YESWELDER customer support directly. Refer to the official YESWELDER website or the documentation included with your purchase for specific warranty terms and contact details.
You can visit the YESWELDER Store on Amazon for more information and support resources.