
Introduction
Thank you for choosing the Samurbex Twin Size Bed Frame. This metal platform bed frame is designed for durability and convenience, featuring integrated LED lighting and a charging station. It provides robust support for your mattress without the need for a box spring and offers ample under-bed storage. This manual provides detailed instructions for assembly, operation, maintenance, and troubleshooting to ensure a smooth and enjoyable experience with your new bed frame.

Image: The Samurbex Twin Size Bed Frame, showcasing its modern design and integrated features.
Safety Information
- Do not exceed the maximum weight recommendation of 800 pounds. Overloading the bed frame can lead to structural damage and potential injury.
- Be cautious of sharp edges and small parts during assembly. Keep small components away from children.
- Follow the assembly instructions carefully to prevent instability or collapse. Ensure all bolts and screws are securely tightened before use.
- Periodically check all connections to ensure they remain tight. Loose connections can compromise the bed frame's stability.
- Do not allow children to play on or under the bed frame without supervision.
- Ensure the bed frame is placed on a level surface to prevent wobbling.
Package Contents
Before beginning assembly, please verify that all components listed below are present and undamaged. If any parts are missing or damaged, please contact customer support.
- 1 x Bed Frame (Headboard, Footboard, Side Rails, Support Slats)
- 1 x LED Light Strip
- 1 x Charging Station (pre-attached or separate unit)
- 1 x Hardware Kit (screws, bolts, Allen wrench, etc.)
- 1 x Instruction Manual (this document)
Note: Mattress is not included.

Image: Visual representation of the bed frame components and accessories included in the package.
Specifications
| Feature | Detail |
|---|---|
| Size | Twin |
| Color | White |
| Material | Metal (Heavy-duty steel) |
| Product Dimensions (L x W x H) | 78.74" x 40.55" x 40.15" |
| Weight Capacity | 800 lbs |
| Under-Bed Storage Clearance | 12 inches |
| Box Spring Required | No |
| Special Features | LED Lighting (RGB, remote/app control), Charging Station (2 AC outlets, 1 USB, 1 Type-C), Noise-Free Design |
| Model Number | YJS-004T-BK |

Image: Illustration of the 12-inch under-bed storage clearance, ideal for various items.
Assembly Instructions
Please read all instructions carefully before assembly. It is recommended to assemble the bed frame with two people. Clear a spacious area for assembly and keep all tools and parts organized.
- Unpack and Identify Parts: Carefully unpack all components and lay them out on a clean, soft surface (like a carpet) to prevent scratches. Refer to the parts list in your package to identify each piece.
- Assemble Headboard and Footboard: Attach the vertical support bars to the headboard and footboard sections using the provided bolts and Allen wrench. Ensure all connections are snug but do not overtighten initially.
- Connect Side Rails: Attach the side rails to the assembled headboard and footboard. Make sure the charging station is positioned on the desired side of the bed. Secure with bolts.
- Install Center Support Bar and Legs: Place the center support bar and its legs into position. These provide crucial stability for the bed frame.
- Attach Slats: Unfold the steel slats and place them onto the side rails. Ensure the slats are properly aligned with the attachment points. Secure them using the designated clips or screws. The slats feature EVA foam padding for noise reduction.
- Secure All Connections: Once all major components are in place, go back and tighten all bolts and screws firmly. Do not overtighten to avoid stripping threads.
- Install LED Light Strip: Attach the LED light strip to the designated area, typically along the underside of the side rails or headboard. Ensure it is securely adhered.
- Connect Charging Station: If the charging station is not pre-attached, secure it to the side rail as instructed. Plug the power cord into a wall outlet.

Image: Illustration of unfolding the bed frame slats for installation.

Image: Detail of a securely fastened corner bracket, ensuring frame stability.
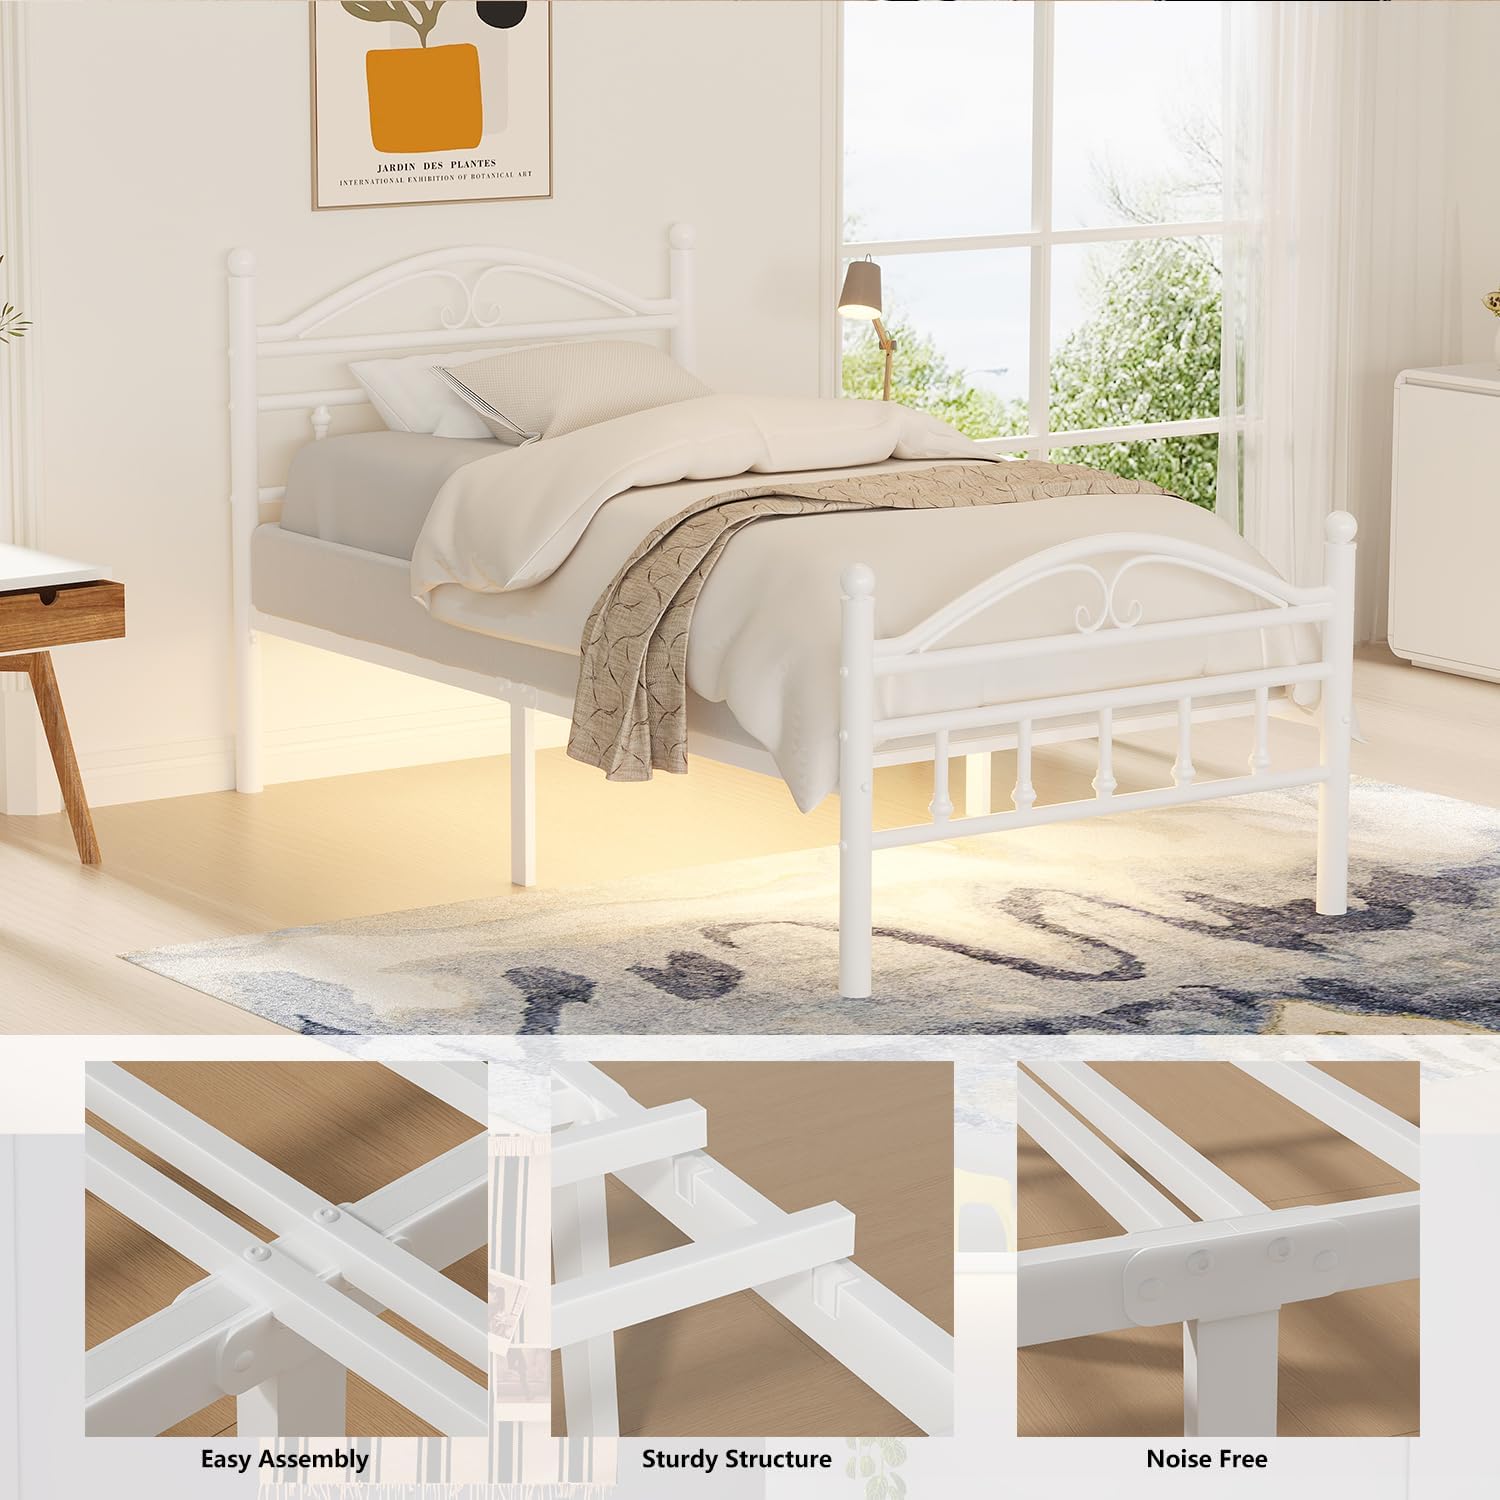
Image: Visual summary of the bed frame's easy assembly, sturdy construction, and noise-free design.
Operating Instructions
LED Lighting System
Your Samurbex bed frame features an integrated RGB LED light strip that can be controlled via a remote or a smartphone app.
- Power On/Off: Use the power button on the remote control or within the app to turn the LED lights on or off.
- Color Selection: Choose from over 60,000 customizable colors using the color wheel or preset options on the remote/app.
- Brightness Adjustment: Adjust the light intensity to your preference using the brightness controls.
- Lighting Modes: Select various modes such as steady, flashing, or fading to create different ambiances. Some apps may offer music sync or mic mode for dynamic lighting.
- Timer Function: Set a timer for the lights to automatically turn off at a specific time.

Image: The bed frame illuminated by LED lights, with a visual of the control app interface.
Charging Station
The built-in charging station provides convenient power access for your electronic devices.
- Power Connection: Ensure the charging station's power cord is securely plugged into a functional wall outlet.
- AC Outlets: Use the two standard AC power outlets for devices requiring a wall plug.
- USB Ports: Utilize the 1 USB-A port and 1 Type-C port for charging smartphones, tablets, and other USB-powered devices.
- Safety: Avoid overloading the charging station. Do not plug in devices that exceed the station's maximum power rating.

Image: Detail of the integrated charging station, highlighting its various power outlets.
Maintenance
- Cleaning: Wipe the metal frame with a soft, damp cloth. Avoid using harsh chemicals or abrasive cleaners, which can damage the finish.
- Dusting: Regularly dust the bed frame to prevent accumulation, especially around the LED strip and charging station.
- Connection Checks: Periodically (e.g., every 3-6 months) check all bolts and screws to ensure they are tight. Retighten if necessary to maintain stability and prevent squeaks.
- LED Strip Care: Ensure the LED strip remains securely attached. If it starts to peel, re-secure it with appropriate adhesive. Keep the LED controller and remote dry.
- Charging Station Care: Keep the charging ports free of dust and debris. Do not expose the charging station to liquids.
Troubleshooting
| Problem | Possible Cause | Solution |
|---|---|---|
| Bed frame is wobbly or noisy. | Loose bolts/screws; uneven floor; damaged slat. | Ensure all bolts are tightened. Move bed to a level surface or use shims. Inspect slats for damage. |
| LED lights are not turning on. | Power not connected; remote battery dead; LED strip disconnected. | Check power connection to wall outlet. Replace remote battery. Ensure LED strip is properly plugged into its controller. |
| Charging station is not working. | Power cord unplugged; wall outlet not functional; device cable faulty. | Verify the charging station's power cord is plugged in. Test the wall outlet with another device. Try a different charging cable for your device. |
| Difficulty during assembly (e.g., holes not aligning). | Parts misaligned; manufacturing defect. | Double-check part orientation against the manual. Loosen all connections slightly, align parts, then retighten. If persistent, contact customer support. |
Customer Support
If you encounter any issues not covered in this manual, or require further assistance with your Samurbex Twin Size Bed Frame, please do not hesitate to contact our customer support team. We are committed to providing fast and professional assistance.
Please have your model number (YJS-004T-BK) and purchase information ready when contacting support.
For support, please visit the Samurbex Store on Amazon or refer to the contact information provided with your purchase.