1. Introduction
This manual provides essential instructions for the safe and efficient operation, maintenance, and troubleshooting of your Generic Window Cleaner Robot. Please read this manual thoroughly before using the device and retain it for future reference.
2. Safety Information
To ensure safe operation and prevent damage to the device or injury, please observe the following safety precautions:
- Always attach the high-strength safety rope to a secure anchor point before operating the robot, especially for high-rise windows.
- Ensure the robot is connected to a power source during operation. The suction function relies on continuous power.
- The embedded UPS (Uninterruptible Power System) provides approximately 20 minutes of power failure protection, allowing time to retrieve the robot manually. Do not rely on the UPS for extended operation.
- Do not use the robot on cracked or damaged glass surfaces.
- Keep hands, hair, and loose clothing away from moving parts during operation.
- Do not immerse the robot in water or other liquids.
- Use only the provided power adapter and accessories.
- Store the robot in a dry, cool place when not in use.
3. Package Contents
Verify that all items are present in the package:
- 1 × Window cleaning robot
- 1 × Remote control
- 1 × Instruction Manual (this document)
- 1 × Power adapter
- 1 × Spray bottle
- 1 × Cleaning cloth (multiple included, typically 6-12)
- 1 × Safety rope assembly
- 1 × Power cord
- 1 × Cleaning ring (replacement rings for cloths)

Image 3.1: Contents of the Generic Window Cleaner Robot package, including the robot, remote control, power adapter, safety rope, spray bottle, and cleaning cloths.
4. Product Overview
Familiarize yourself with the main components of your window cleaning robot:

Image 4.1: Labeled diagram showing the Power Port, Power Switch, Remote Control Receiving Window, Warning Sound Hole, Blue Light (Normal Conditions), Red Light (Abnormal Conditions), Orange Light (Charging), Green Light (Charge Complete), and Cleaning Cloths.
- Main Unit: The robot body housing the motor, suction mechanism, and control electronics.
- Cleaning Pads: Two circular microfiber cloths attached to the bottom for cleaning.
- Power Switch: To turn the robot on or off.
- Power Port: For connecting the power adapter.
- Remote Control Receiving Window: Infrared sensor for remote control commands.
- Indicator Lights: Provide status feedback (e.g., normal operation, error, charging status).
- Warning Sound Hole: Emits audible alerts for various conditions.
- Safety Rope Attachment Point: For securing the safety rope.
5. Setup
- Charge the Robot: Before first use, fully charge the robot. Connect the power adapter to the robot's power port and plug it into a wall outlet. The indicator light will show orange during charging and turn green when fully charged.
- Attach Cleaning Cloths: Securely attach the microfiber cleaning cloths to the two cleaning discs on the bottom of the robot. Ensure they are flat and cover the discs completely.
- Connect Safety Rope: Attach one end of the safety rope to the robot's safety rope attachment point. Secure the other end to a sturdy, immovable object indoors, such as a heavy piece of furniture or a window frame anchor. This is a critical safety step.
- Prepare Cleaning Solution (Optional): Fill the provided spray bottle with clean water or a suitable window cleaning solution. You can lightly spray the cleaning cloths or the window surface before placing the robot.
- Connect Power: Connect the power cord to the power adapter, and then connect the power adapter to the robot. Ensure the power cord is long enough to reach the entire cleaning area without tension.
6. Operation
- Power On: Turn on the robot using the power switch. The robot will initiate its suction fan.
- Place on Window: Carefully place the robot onto the glass surface. Ensure the robot adheres firmly to the window. The suction effect is 5600Pa. If the cloths are too wet, it may affect suction.
- Start Cleaning:
- One-Button Operation: Press the 'Start' button on the robot or the remote control to begin automatic cleaning. The robot will detect window edges and plan its route.
- Remote Control: Use the remote control to select one of the 3 automatic operation modes or to manually direct the robot for spot cleaning.
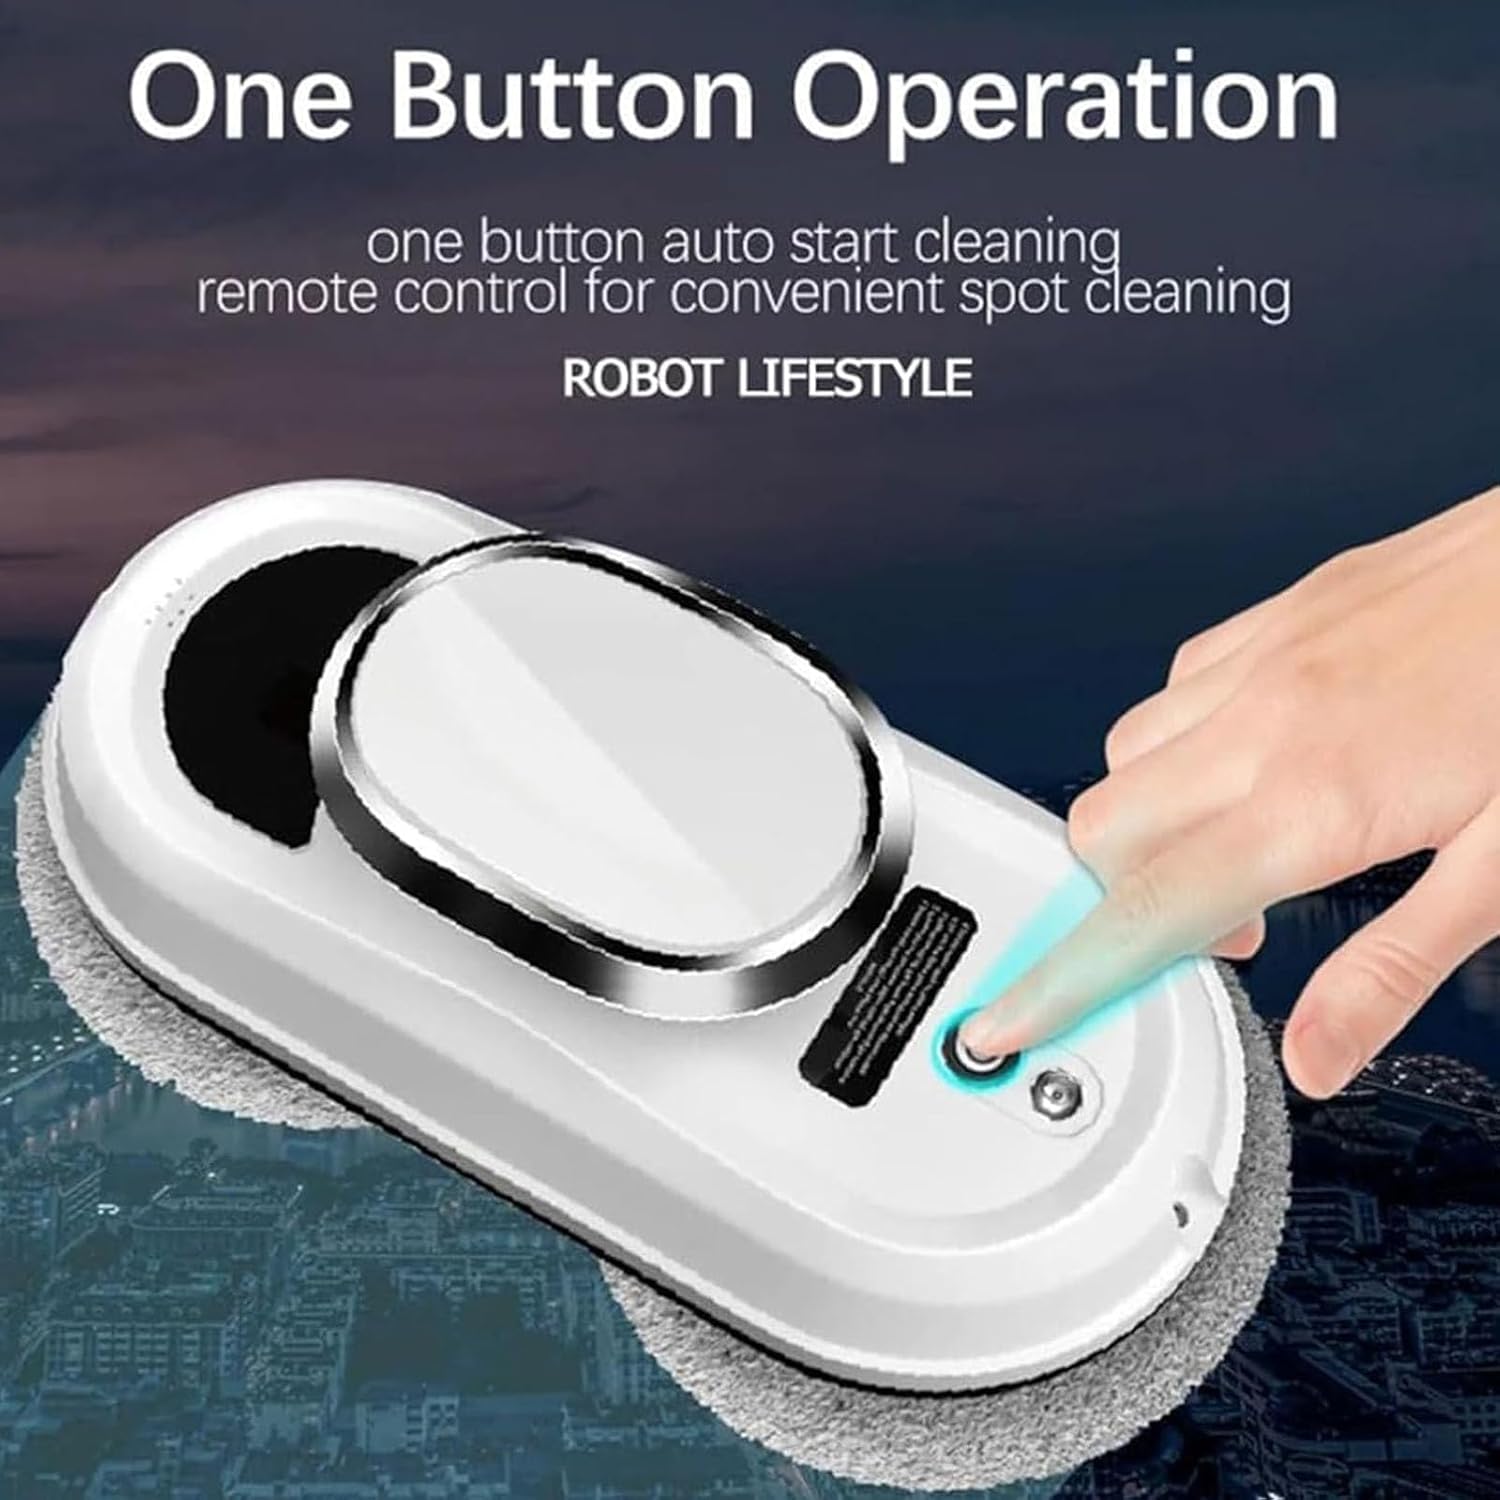
Image 6.1: The robot features a single button for auto-start cleaning, with remote control options for convenience.
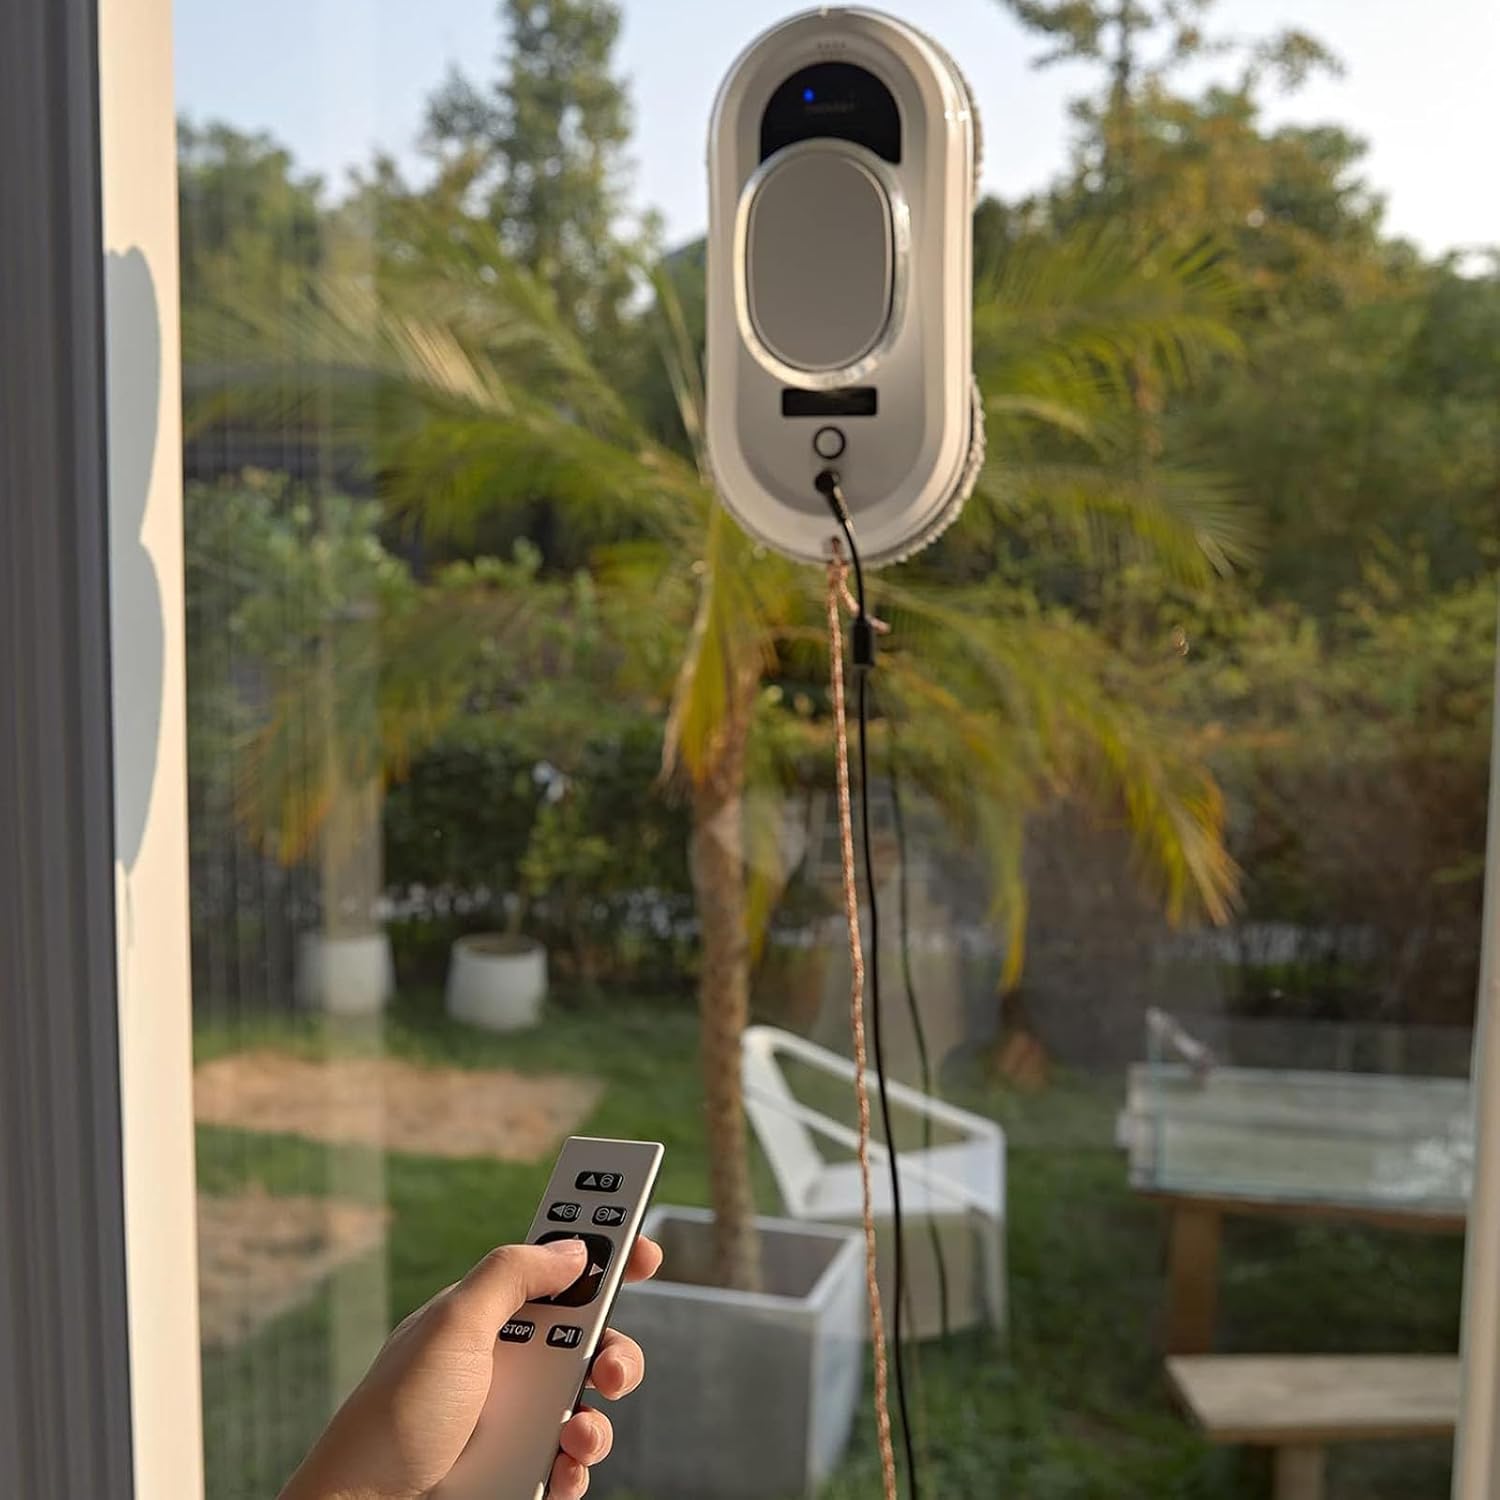
Image 6.2: A user operating the window cleaning robot on an outdoor window using the remote control.
- Ultrasonic Water Spray: The robot features ultrasonic spray technology. It atomizes water from its 35ml tank and sprays it evenly for improved cleaning. This function is typically integrated into the automatic cleaning modes.
- Cleaning Patterns: The robot utilizes various wiping planning routes, mimicking manual wiping for efficient and thorough cleaning. The effective wiping area can reach up to 99%.

Image 6.3: Illustrations of the robot's automatic cleaning patterns, including full glass cleaning, auto cleaning from up to down, and auto cleaning down from right to left or left to right.
- Completion: The robot will automatically stop and emit an alert sound when the cleaning cycle is complete.
- Remove Robot: Carefully grasp the robot and turn off the power switch. Remove it from the window.
7. Maintenance
- Cleaning Cloths: After each use, remove the microfiber cleaning cloths. They are reusable and can be hand-washed or machine-washed with mild detergent. Allow them to air dry completely before reuse.
- Robot Body: Wipe the exterior of the robot with a soft, dry cloth. Do not use abrasive cleaners or immerse the robot in water.
- Sensors: Periodically clean the edge detection sensors with a soft, dry cloth to ensure optimal performance.
- Water Tank: If using the ultrasonic spray function, empty any remaining water from the tank after use and allow it to air dry to prevent mold or odor.
8. Troubleshooting
| Problem | Possible Cause | Solution |
|---|---|---|
| Robot does not stick to the window. | Power not connected; cloths too wet; suction fan malfunction. | Ensure power is connected and robot is switched on. Replace with drier cloths. Contact support if issue persists. |
| Robot stops mid-cycle. | Power disconnected; low battery (UPS active); error detected. | Check power connection. Retrieve robot if UPS is active. Check indicator lights for error codes. |
| Poor cleaning performance. | Dirty or worn cleaning cloths; insufficient cleaning solution. | Replace or clean cloths. Ensure water tank is filled and ultrasonic spray is active. |
| Remote control not working. | Dead batteries in remote; obstruction to IR sensor. | Replace remote control batteries. Ensure clear line of sight to robot's IR sensor. |
9. Specifications
| Feature | Detail |
|---|---|
| Input Voltage | AC100-240V 50HZ-60HZ |
| Rated Power | 90W |
| Battery Capacity | 500mAh |
| Suction Power | 5600Pa |
| UPS Power Failure Protection | Approx. 20 minutes |
| Control Method | Infrared Remote Control |
| Noise Level | 65db |
| Border Detection | Automatic |
| Cleaning Modes | 3 types (automatic) |
| Product Dimensions | 29 × 14 × 12 cm (11.4 × 5.5 × 4.7 inch) |
| Item Weight | 1.5 kg (3.3 lb) |
| Suitable Glass Thickness | More than 3mm |
| Cleaning Speed | 0.23M/4 min |

Image 9.1: Product dimensions of the window cleaning robot.
10. Warranty and Support
Specific warranty information is not provided within this manual. For details regarding warranty coverage, technical support, or service inquiries, please refer to the documentation included with your purchase or contact the retailer/manufacturer directly.