Introduction
This manual provides essential instructions for the safe operation, assembly, maintenance, and troubleshooting of your Orudauy BBX9900 4-Stroke 75.6cc Gasoline Backpack Leaf Blower. Please read this manual thoroughly before operating the equipment to ensure proper use and to prevent injury or damage.
Safety Instructions
Always prioritize safety when operating gasoline-powered equipment. Failure to follow these instructions may result in serious injury or property damage.
- Personal Protective Equipment (PPE): Always wear eye protection, hearing protection, long pants, sturdy footwear, and gloves during operation.
- Fuel Handling:
- Use only unleaded gasoline with an octane rating of 92# or higher. Do not use mixed fuel.
- Refuel in a well-ventilated area, away from sparks, open flames, or heat sources.
- Do not smoke while refueling.
- Wipe up any spilled fuel immediately.
- Ensure the fuel cap is securely tightened after refueling.
- Operation Environment:
- Operate the blower in well-ventilated outdoor areas. Avoid enclosed spaces.
- Keep bystanders, children, and pets at a safe distance (at least 15 meters / 50 feet) from the operating area.
- Be aware of your surroundings and potential hazards such as uneven terrain, obstacles, or debris that could be propelled.
- Hot Surfaces: The engine and muffler become very hot during operation and remain hot for a period after shutdown. Avoid contact to prevent burns.
- Inspection: Before each use, inspect the blower for loose parts, damaged components, or fuel leaks. Do not operate if any issues are found.
- Storage: Store the blower in a cool, dry, well-ventilated area, away from ignition sources. Ensure the fuel tank is properly sealed.
Package Contents
Verify that all items listed below are present in your package:
- 1x Orudauy BBX9900 Backpack Leaf Blower Unit
- 1x English Instruction Manual
- 1x Fuel Funnel
- All necessary accessories for assembly (e.g., blower tubes, control handle components)
Product Overview
Familiarize yourself with the main components of your backpack leaf blower.


Setup
1. Assembly
- Attach Blower Tubes: Connect the flexible hose from the engine unit to the main blower tube. Secure with clamps if provided.
- Install Control Handle: Attach the control handle to the blower tube at a comfortable position. Ensure all cables and connections are secure.
- Final Tube Section: Attach the nozzle or final section of the blower tube.
2. Fueling the Blower
This blower uses a 4-stroke engine and requires pure unleaded gasoline. Do NOT mix oil with gasoline.
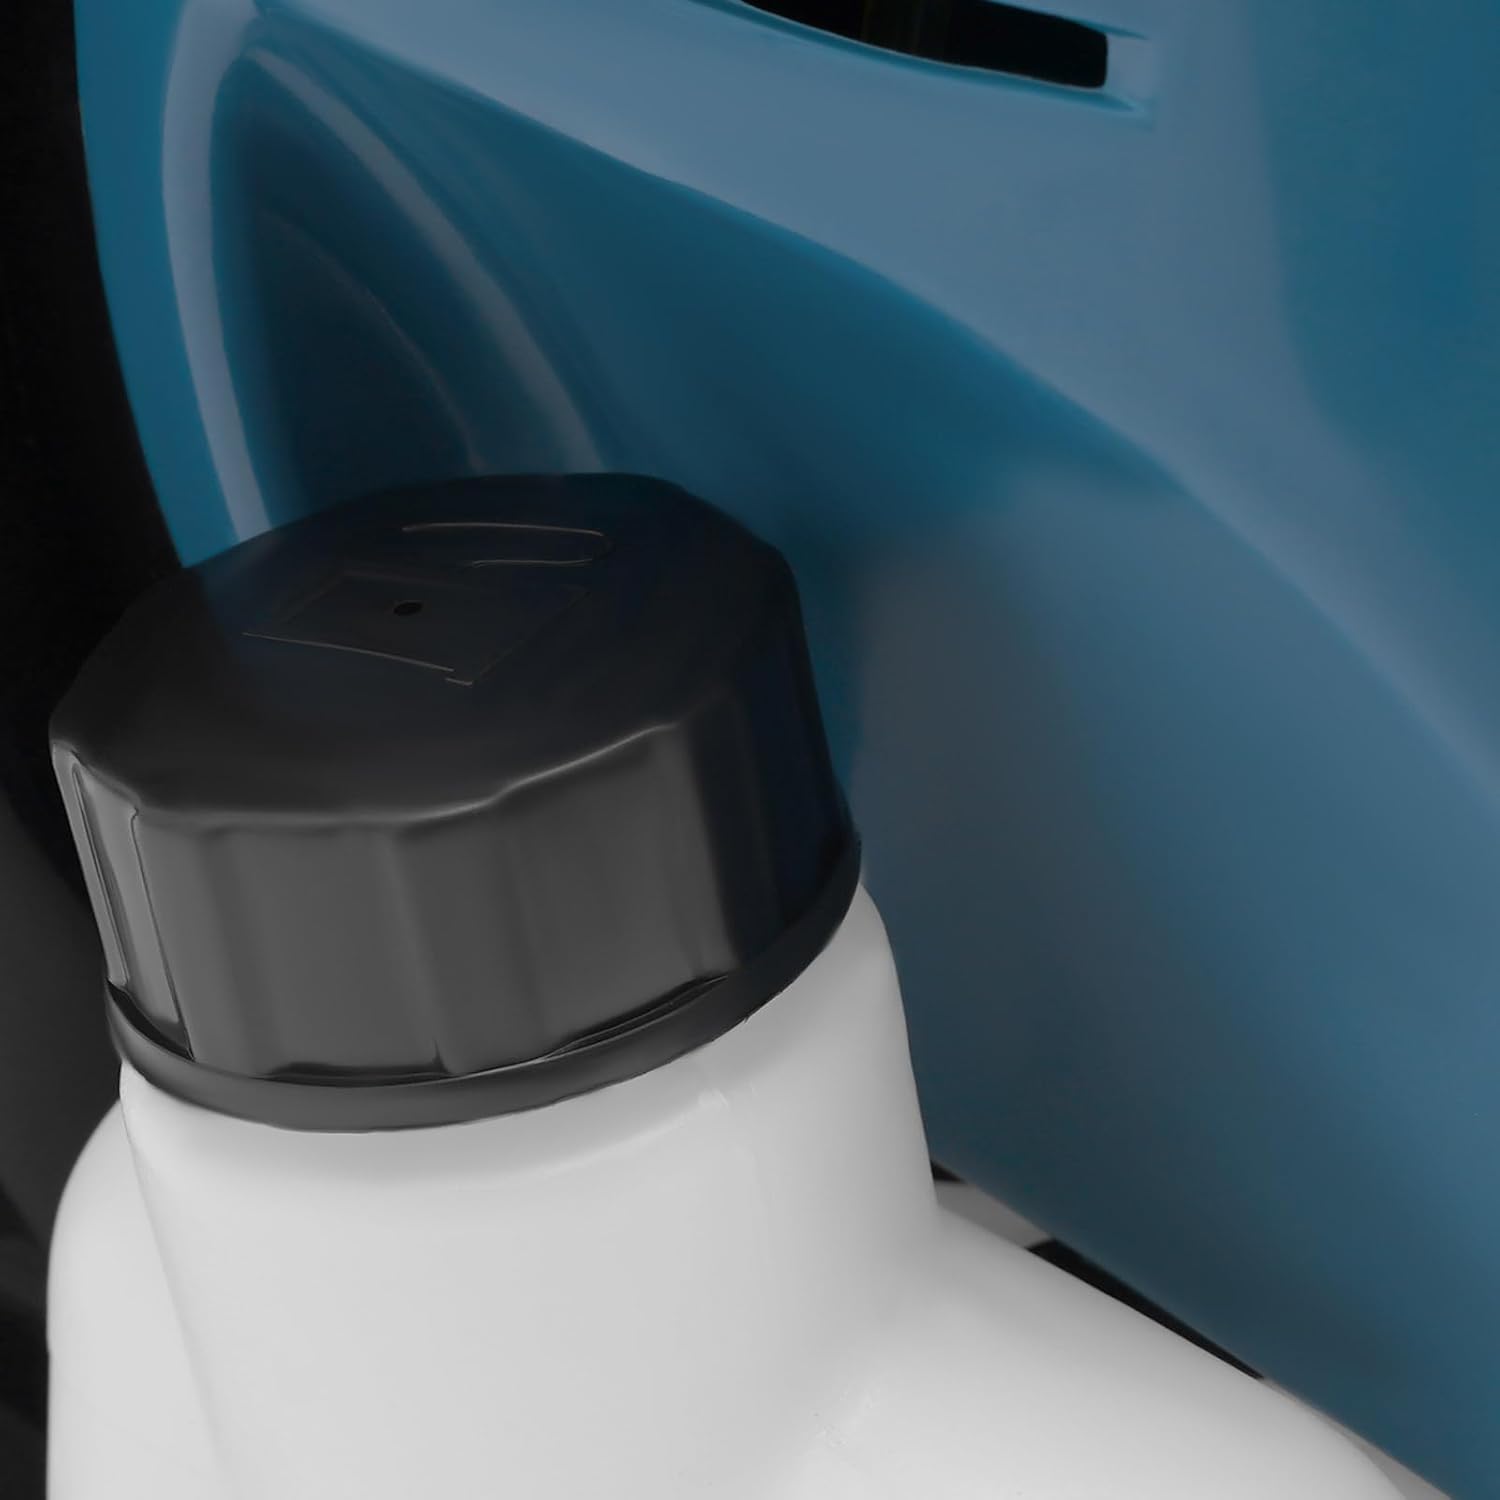
- Ensure the engine is off and cool before refueling.
- Move to a well-ventilated outdoor area.
- Unscrew the fuel cap (refer to Figure 5).
- Using the provided funnel, carefully pour unleaded gasoline (92# or higher octane) into the fuel tank. Do not overfill.
- Securely replace the fuel cap. Wipe away any spills.
Operating Instructions
1. Starting the Engine
- Place the blower on a flat, stable surface.
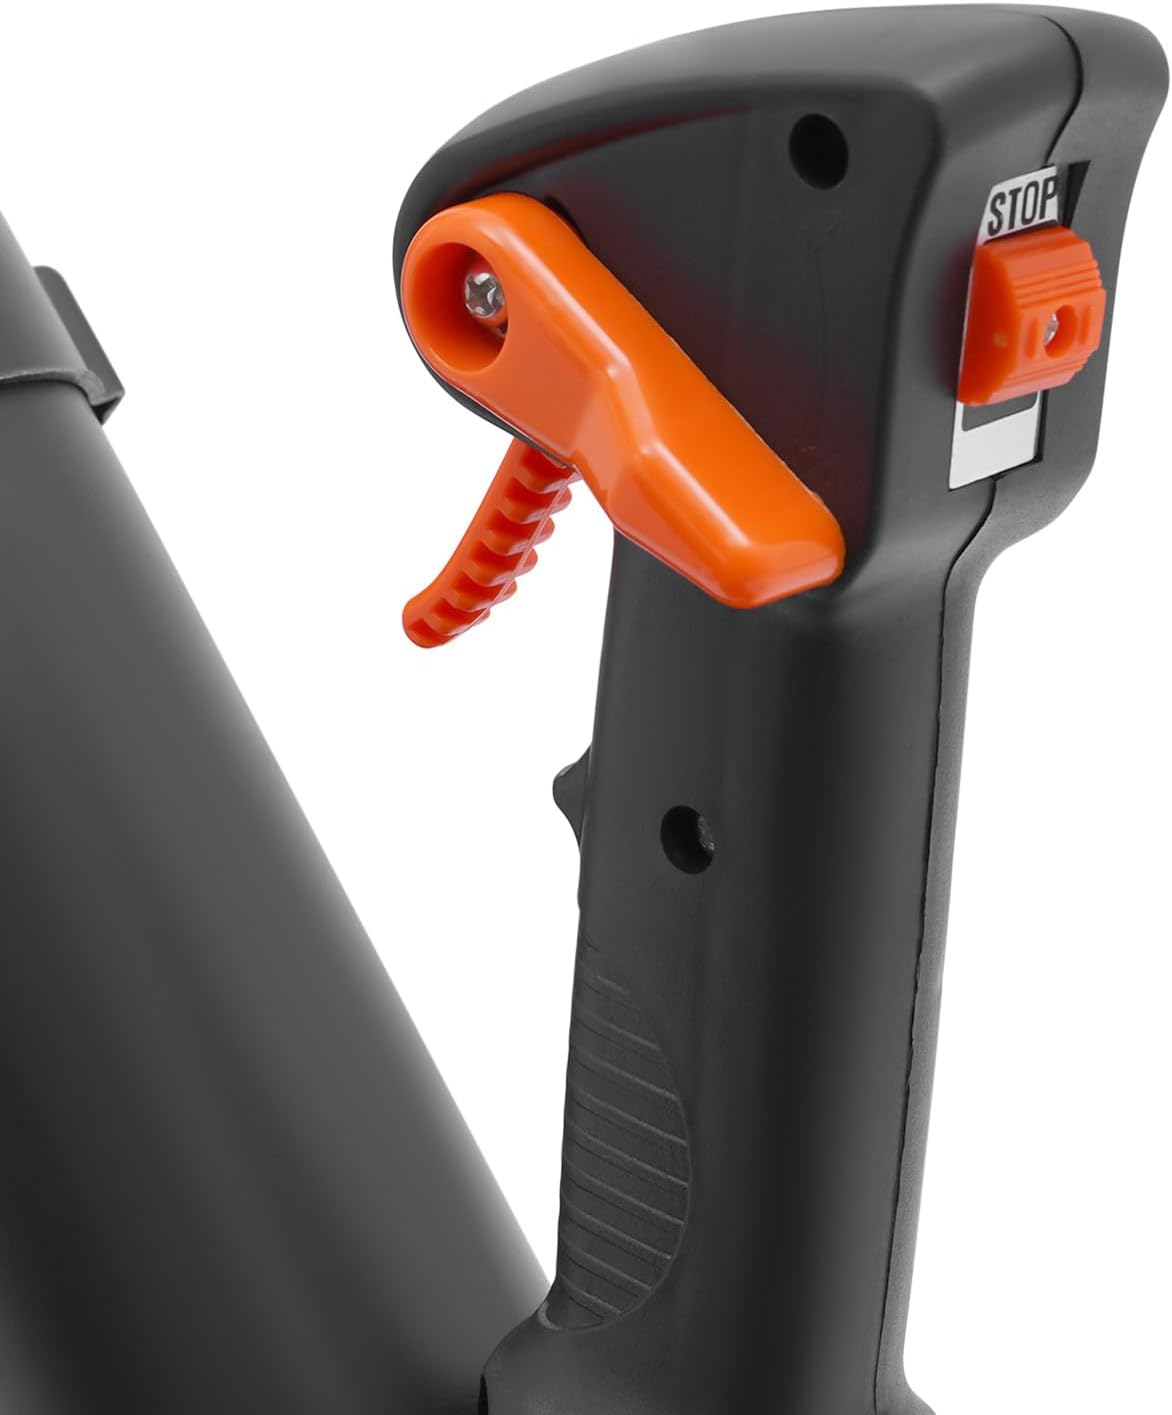
- Ensure the engine stop switch (red button on the control handle) is in the "ON" position.
- If the engine is cold, engage the choke lever (if present, typically near the carburetor).
- Pull the starter rope firmly and smoothly until the engine starts. Do not pull the rope to its full extension or let it snap back.
- Once the engine starts, gradually disengage the choke lever.
- Allow the engine to warm up for a few moments before applying full throttle.
2. Using the Blower
- Wear the backpack unit comfortably, adjusting straps for a secure fit.
- Use the adjustable speed lever on the control handle (Figure 3) to control the airflow. Start at a lower speed and increase as needed.
- Sweep debris in a consistent direction. For stubborn debris, use short, powerful bursts of air.
- Avoid directing the air stream towards people, animals, or fragile objects.


3. Stopping the Engine
- Reduce the engine speed to idle.
- Press and hold the red engine stop switch (Figure 3) until the engine completely shuts off.
Maintenance
Regular maintenance ensures optimal performance and extends the life of your blower.
After Each Use:
- Clean the exterior of the blower with a damp cloth. Remove any accumulated debris from air intakes.
- Check for loose fasteners and tighten as necessary.
Every 10-20 Hours of Operation (or Seasonally):
- Air Filter: Inspect and clean the air filter. A dirty air filter can reduce engine performance. Clean with warm, soapy water, rinse thoroughly, and allow to dry completely before reinstallation. Replace if damaged.
- Spark Plug: Remove and inspect the spark plug. Clean off any carbon deposits. Adjust the gap if necessary, or replace with a new spark plug of the correct type if worn or fouled.
- Fuel Filter: Inspect the fuel filter (located inside the fuel tank). Replace if clogged or damaged.
Storage:
- For long-term storage (over 30 days), drain the fuel tank completely or use a fuel stabilizer. Run the engine until it stops from lack of fuel to clear the carburetor.
- Clean the entire unit thoroughly.
- Store in a dry, well-ventilated area, away from direct sunlight and extreme temperatures.
Troubleshooting
Refer to this section for common issues and their potential solutions.
| Problem | Possible Cause | Solution |
|---|---|---|
| Engine will not start |
|
|
| Engine runs, but lacks power |
|
|
| Excessive vibration |
|
|
Specifications
Technical specifications for the Orudauy BBX9900 Backpack Leaf Blower.
| Feature | Specification |
|---|---|
| Model | BBX9900 |
| Power Type | 4-Stroke Gasoline Engine |
| Displacement | 75.6cc |
| Engine Model | EH075 |
| Power Output | 2.6kW / 7000r/min |
| Air Volume | 14.1 m³/s (498 ft³/s) |
| Fuel Type | Unleaded Gasoline (92# or higher) |
| Fuel Tank Capacity | 1.9 L (0.5 gal) |
| Fuel Consumption | <545g/kw.h (1.2 lbs/kw.h) |
| Noise Level | 112dB |
| Starting Method | Manual Start |
| Product Dimensions (L x W x H) | 32 x 23 x 56 cm (12.6 x 9.06 x 22.05 in) |
| Pipe Length | 168 cm (66.1 in) |
| Material | PP (Polypropylene) |
| Gross Weight | 12.4 kg (27.3 lbs) |

Warranty and Support
For warranty information, technical support, or service inquiries, please refer to the purchase documentation or contact the seller directly. Keep your proof of purchase for warranty claims.