1. Introduction
This manual provides comprehensive instructions for the ConsoleXpress OCAL PRO V4.0 Electronic Collimator. This device is designed to achieve high-precision axial alignment for Newtonian, Ritchey-Chrétien, and Schmidt-Cassegrain (SCT) telescopes, essential for astrophotography and clear visual observation. Please read this manual thoroughly before using the product to ensure correct operation and optimal performance.
2. Product Overview
2.1 Key Features
- Precision Axial Alignment: Achieves alignment accuracy down to 0.08mm, suitable for demanding astrophotography applications.
- Smartphone Control: Operates directly via a dedicated smartphone application, eliminating the need for a computer.
- Integrated Calibration: Features built-in calibration circles and factory-centered pixel accuracy for reliable optical path adjustments.
- Compact and Durable Design: Constructed from robust aluminum with a refined red casing, weighing 300g for portability and resilience.
- High-Resolution Imaging: Captures collimation images in 2448P resolution, facilitating detailed analysis and sharing.
2.2 Package Contents

Image 2.2.1: The OCAL PRO V4.0 Electronic Collimator package contents, including the main unit, USB cable, and adapters.
The package includes the following items:
- V4.0 OCAL Electronic Collimator Unit (1)
- USB Connection Cable (1)
- USB Adapter (1)
- Telescope Focuser Adapter Ring (1)
3. Specifications
| Feature | Specification |
|---|---|
| Model Name | V4.0 |
| Material | Aluminum Alloy |
| Focusing Type | Manual and Automatic |
| Power Source | AC Power (via USB 5V) |
| Resolution | 2448P |
| Collimation Process | 4-step process |
| Product Weight | 300g (10.6 ounces) |
| Product Dimensions | 5.1 x 5.1 x 3 cm (2.01 x 2.01 x 1.18 inches) |
| Compatible Devices | Smartphone |
| Item Model Number | R246J00U1F618O |
| UPC | 715457664896 |
4. Setup
4.1 Initial Inspection
Before first use, carefully unbox the OCAL PRO V4.0 and inspect all components for any signs of damage. Ensure all listed package contents are present.
4.2 App Installation
Download the official OCAL PRO application from your smartphone's app store (iOS App Store or Google Play Store). Search for "OCAL PRO" or refer to the QR code provided in the product packaging for direct access. Install the application on your smartphone.
4.3 Connecting the Collimator
- Connect the OCAL PRO V4.0 collimator to your smartphone using the provided USB cable and appropriate adapter (e.g., USB-C to USB-A, or USB-A to micro-USB/Lightning if an adapter is included).
- Ensure a secure connection. The collimator draws power directly from the smartphone or a connected power source via the USB cable.

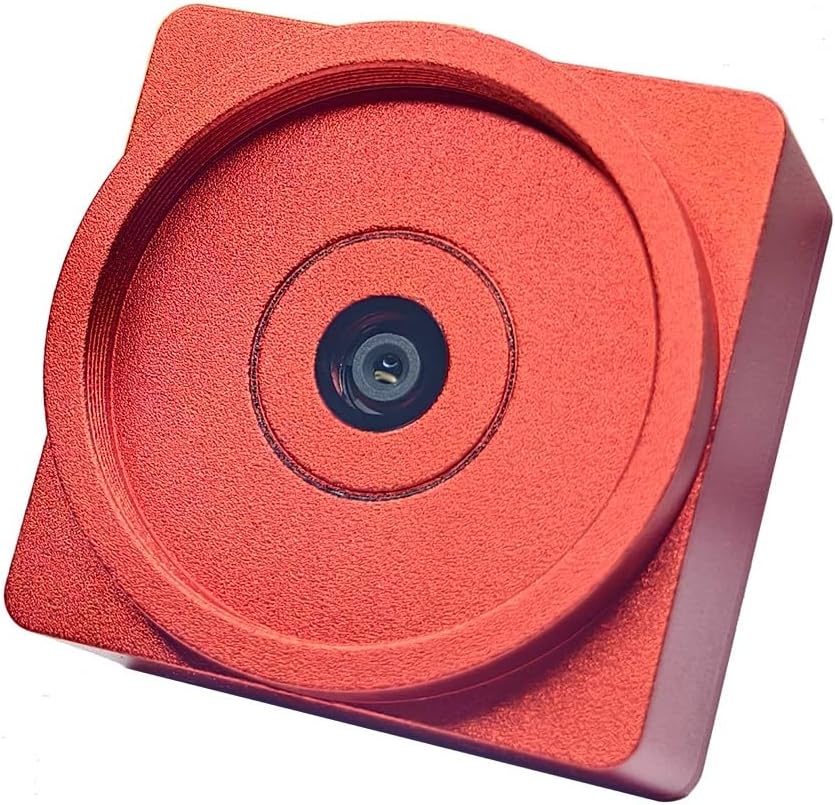
Image 4.3.1: Front and angled views of the OCAL PRO V4.0 collimator, showing the camera lens.

Image 4.3.2: Rear view of the OCAL PRO V4.0 collimator, displaying the USB-C port and serial number.
4.4 Mounting on Telescope
Insert the OCAL PRO V4.0 collimator into the focuser of your telescope. Ensure it is seated firmly and squarely. For Newtonian telescopes, it typically inserts into the 1.25" or 2" focuser drawtube. For SCTs, it may require specific adapters depending on the telescope model. Refer to your telescope's manual for proper focuser usage.
5. Operating Instructions
5.1 Launching the App
Open the OCAL PRO application on your smartphone. The app should automatically detect the connected collimator and display a live view from its camera.
5.2 The 4-Step Collimation Process
The OCAL PRO V4.0 utilizes a simplified 4-step collimation process. Follow the on-screen instructions within the app for each step. This typically involves:
- Primary Mirror Alignment: Adjusting the primary mirror to center its reflection.
- Secondary Mirror Alignment: Adjusting the secondary mirror to align with the primary mirror and focuser.
- Fine-Tuning: Making minor adjustments for optimal precision using the app's guided calibration rings.
- Verification: Confirming the collimation is complete and accurate.
The app provides visual aids and real-time feedback to guide you through each adjustment. Utilize the software-guided calibration rings to precisely center the optical path.
5.3 Capturing and Sharing Images
Once collimation is complete, you can capture high-resolution images (2448P) of your collimation results directly through the app. These images can be saved to your device's gallery and shared for record-keeping, analysis, or discussion with other astronomy enthusiasts.
6. Maintenance
6.1 Cleaning
- Collimator Body: Wipe the aluminum body with a soft, dry, lint-free cloth. Avoid abrasive cleaners or solvents.
- Camera Lens: Use a specialized lens cleaning brush or air blower to remove dust. For smudges, use a lens cleaning solution and a microfiber cloth designed for optics. Do not touch the lens directly with fingers.
6.2 Storage
Store the OCAL PRO V4.0 in its original packaging or a protective case when not in use. Keep it in a cool, dry place, away from direct sunlight and extreme temperatures.
7. Troubleshooting
7.1 Common Issues and Solutions
- No Image in App:
- Ensure the collimator is securely connected to your smartphone via USB.
- Verify that the OCAL PRO app has necessary permissions (e.g., camera access) on your smartphone.
- Try restarting the app and reconnecting the device.
- Collimation Not Achieving Desired Accuracy:
- Ensure the collimator is seated squarely and firmly in the telescope focuser.
- Follow the 4-step process carefully, making small, precise adjustments.
- Check your telescope's primary and secondary mirror markings for reference.
- Environmental factors like temperature changes can affect mirror stability; allow the telescope to acclimate.
- App Crashing or Freezing:
- Ensure your smartphone's operating system and the OCAL PRO app are updated to the latest versions.
- Close other background applications on your smartphone to free up resources.
- Restart your smartphone.
7.2 Technical Support
If you encounter issues not covered in this section, or require further assistance, please contact ConsoleXpress customer support. You can often share your collimation screenshots with support for technical guidance, as mentioned in the product description.
8. Warranty and Support
ConsoleXpress products are manufactured to high-quality standards. For information regarding warranty coverage and terms, please refer to the warranty card included with your product or visit the official ConsoleXpress website. For direct support, please contact the manufacturer through their official channels.
Manufacturer: ConsoleXpress
Model Number: R246J00U1F618O
UPC: 715457664896