
Introduction
This manual provides detailed instructions for the assembly, operation, and maintenance of your Goimu R1-V4 Power Cage Rack. Please read this manual thoroughly before assembly and use to ensure safe and effective operation of the equipment. Retain this manual for future reference.
Safety Information
WARNING: Serious injury or death can occur if safety precautions are not followed. Consult a physician before starting any exercise program.
- Always inspect the equipment for loose parts, damage, or wear before each use. Do not use if any components are compromised.
- Ensure all bolts, nuts, and pins are securely fastened before and during workouts.
- Maintain a clear area of at least 2 feet (0.6 meters) around the power cage during use.
- Use safety spotter arms and safety bars when performing heavy lifts, especially squats and bench presses, to prevent injury.
- Do not exceed the maximum weight capacities for individual components:
- Overall Rack Capacity: 2000 lbs (907 kg)
- Safety Bar: 1000 lbs (453 kg)
- J-Hooks: 800 lbs (362 kg)
- Light & Smooth Trolley (Pulley System): 400 lbs (181 kg)
- Pull-Up Bar: 400 lbs (181 kg)
- Weight Plate Holders: 400 lbs (181 kg)
- Dip Bar: 300 lbs (136 kg)
- Children and pets should be kept away from the equipment during operation.
- Wear appropriate athletic footwear and clothing.
- If you experience pain, dizziness, or shortness of breath, stop exercising immediately and consult a physician.

Package Contents
The Goimu R1-V4 Power Cage Rack includes the following components and accessories:
- Power Cage Frame (2''x2'' alloy steel structure)
- Multi-Grip Chin-Up Bar
- Lat Pulldown Bar
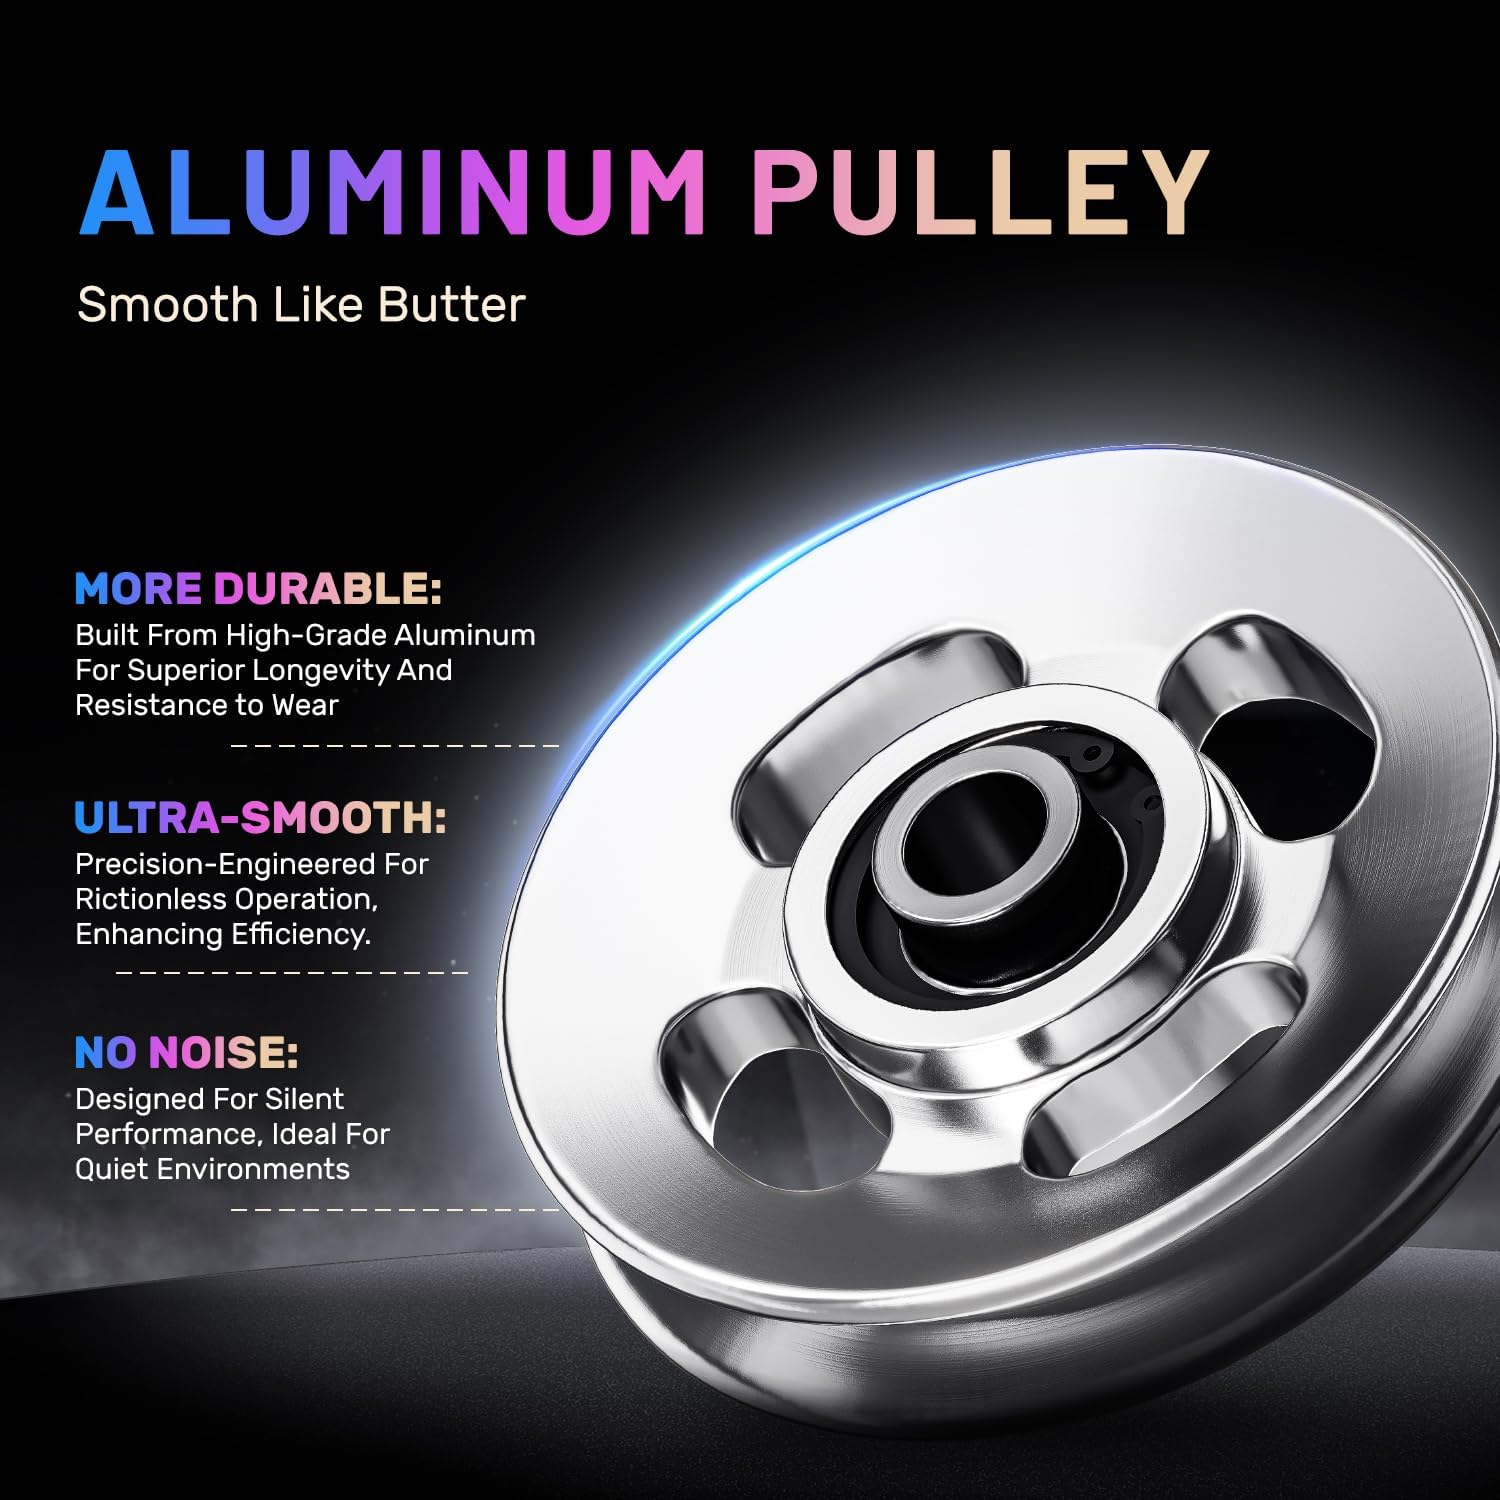
- High-Low Pulley System with 1:1 cable ratio (featuring C1 Pro Aluminum Pulleys)
- 2 J-Hooks
- Adjustable Safety Spotter Arms / Safety Bars
- Dip Bar
- T-Bar Row Handle
- 360-degree Landmine Attachment
- Triceps Rope
- V-Handle
- Cable Bar
- 4 Elastic Band Bars
- 2 Chains
- 6 OB Bushings
- 6 Counterweight Racks with Clamps
- 2 Small Clamps
- 4 Olympic Plate Storage Posts
- 6 Hooks (for accessory storage)
- Assembly Hardware (bolts, nuts, washers)
- Basic Assembly Tools (wrenches)

Assembly Instructions
Assembly typically takes approximately 2.5 hours with two people. While basic tools are provided, a socket wrench can expedite the process. All parts are labeled for easier identification.
- Unpack and Verify: Carefully unpack all components and lay them out. Compare against the package contents list to ensure all parts are present. Contact customer support immediately if any parts are missing or damaged.
- Base Frame Assembly: Begin by assembling the base frame of the power cage. Ensure all connections are secure but do not fully tighten bolts until the entire frame is upright.
- Upright Posts Installation: Attach the upright posts to the base frame. Pay attention to the orientation of the posts, especially those with numbered holes for attachments.
- Top Frame and Pull-Up Bar: Install the top frame and the multi-grip chin-up bar. Ensure all connections are stable.
- Pulley System Setup: Assemble the high-low pulley system. Route the cables according to the diagrams provided in the separate pulley system manual (if applicable) or product diagrams. Ensure the aluminum pulleys are correctly installed for smooth operation.
- Accessory Installation: Attach the J-hooks, safety spotter arms, dip bar, weight plate holders, and other accessories to their designated positions. Ensure J-hooks and safety spotter arms are inserted correctly and securely. Note that some weight plate holders might interfere with core lifts if placed in certain positions; adjust as needed.
- Final Tightening: Once the entire structure is assembled and stable, go back and fully tighten all bolts and nuts.

Operating Instructions
The Goimu R1-V4 Power Cage Rack offers a wide range of exercises. Always ensure proper form and use safety features.
Using J-Hooks and Safety Spotter Arms:
- Insert J-hooks into the desired numbered holes on the upright posts for barbell placement during squats, bench presses, and overhead presses.
- Position the safety spotter arms inside the cage (for squats/bench press) or outside (for other movements) at a height that will catch the barbell if you fail a lift. Ensure they are securely pinned.
Pulley System Operation:
- Attach desired cable attachments (lat pulldown bar, triceps rope, V-handle, cable bar) to the high or low pulley.
- Load weight plates onto the weight carriage. The 1:1 pulley ratio ensures direct resistance.
- Perform exercises such as lat pulldowns, seated rows, triceps pushdowns, cable curls, and more. The aluminum pulleys provide smooth and quiet operation.


Other Attachments:
- Dip Bar: Securely attach the dip bar to the uprights at a comfortable height for chest dips.
- T-Bar Row: Insert the T-bar attachment into the 360-degree landmine for back exercises.
- 360-degree Landmine: Use with an Olympic barbell for various rotational and pressing movements.
- Elastic Band Bars: Attach resistance bands to these bars for assisted exercises or added resistance.

Maintenance
- Regular Inspection: Periodically check all bolts, nuts, and connections for tightness. Tighten as necessary.
- Cleanliness: Wipe down the frame and accessories with a damp cloth after each use to remove sweat and dust. Avoid abrasive cleaners.
- Pulley System: Inspect cables for fraying or wear. Lubricate pulleys and cable guides annually or as needed with a silicone-based lubricant to ensure smooth operation.
- Storage: Utilize the integrated Olympic plate storage posts and accessory hooks to keep your workout area tidy and prevent tripping hazards.
Troubleshooting
- Missing or Damaged Parts:
- If you receive the product with missing or damaged components, contact Goimu customer support immediately. Provide your purchase details and a list of the affected parts for prompt resolution.
- Difficulty During Assembly (e.g., tight fit for parts):
- Some components may have a very snug fit. Ensure proper alignment before applying force. If a part is excessively tight or causes paint chipping, contact customer support for assistance or replacement.
- Wobbly or Unstable Rack:
- Ensure all bolts and nuts are fully tightened. Verify that the rack is placed on a flat, level surface. An expanded base design provides stability, but uneven flooring can still cause issues.
- Pulley System Not Smooth:
- Check for any obstructions in the cable path. Ensure cables are correctly routed through all pulleys. Lubricate pulleys and cable guides if necessary. Verify that the aluminum pulleys are installed correctly.
Specifications
| Attribute | Detail |
|---|---|
| Model | R1-V4 |
| Brand | Goimu |
| Product Dimensions (L x W x H) | 146.2 x 113.59 x 211.99 cm (57.56 x 44.72 x 83.46 inches) |
| Floor Space Occupied | Approximately 12.28 sq ft (1.14 sq meters) |
| Item Weight | 37.7 kg (83.1 lbs) |
| Material | Alloy Steel (2''x2'' frame) |
| Color | Black and Red |
| Maximum Weight Recommendation | 2000 lbs (907 kg) |
| Pulley System Ratio | 1:1 |
| Pulleys | C1 Pro Aluminum Pulleys |
Warranty and Support
Goimu stands by the quality of its products. The R1-V4 Power Cage Rack comes with a 2-year warranty. For any issues, missing parts, or support inquiries, please reach out to Goimu customer service. Your fitness journey is our priority.
For customer support, please refer to the contact information provided with your purchase or visit the official Goimu website.
Product Videos
For visual guides on assembly and exercise demonstrations, please visit the official product page or Goimu's support channels. Due to technical limitations regarding video format and source verification, videos are not directly embedded in this digital manual.