1. Introduction
This manual provides detailed instructions for the operation and maintenance of your Auracam Digital Camera, Model 1. Designed for ease of use, this camera captures HD 1080P videos and high-resolution photos, making it suitable for beginners and everyday use. Please read this manual thoroughly before using your camera to ensure proper function and longevity.
2. Product Overview
2.1 Package Contents
Verify that all items are present in the package:
- Auracam Digital Camera
- Memory Card (64G)
- Card Reader
- Adapter (for charging)
- USB Type-C Cable
- Storage Pouch

2.2 Camera Components
Familiarize yourself with the main parts of your camera:
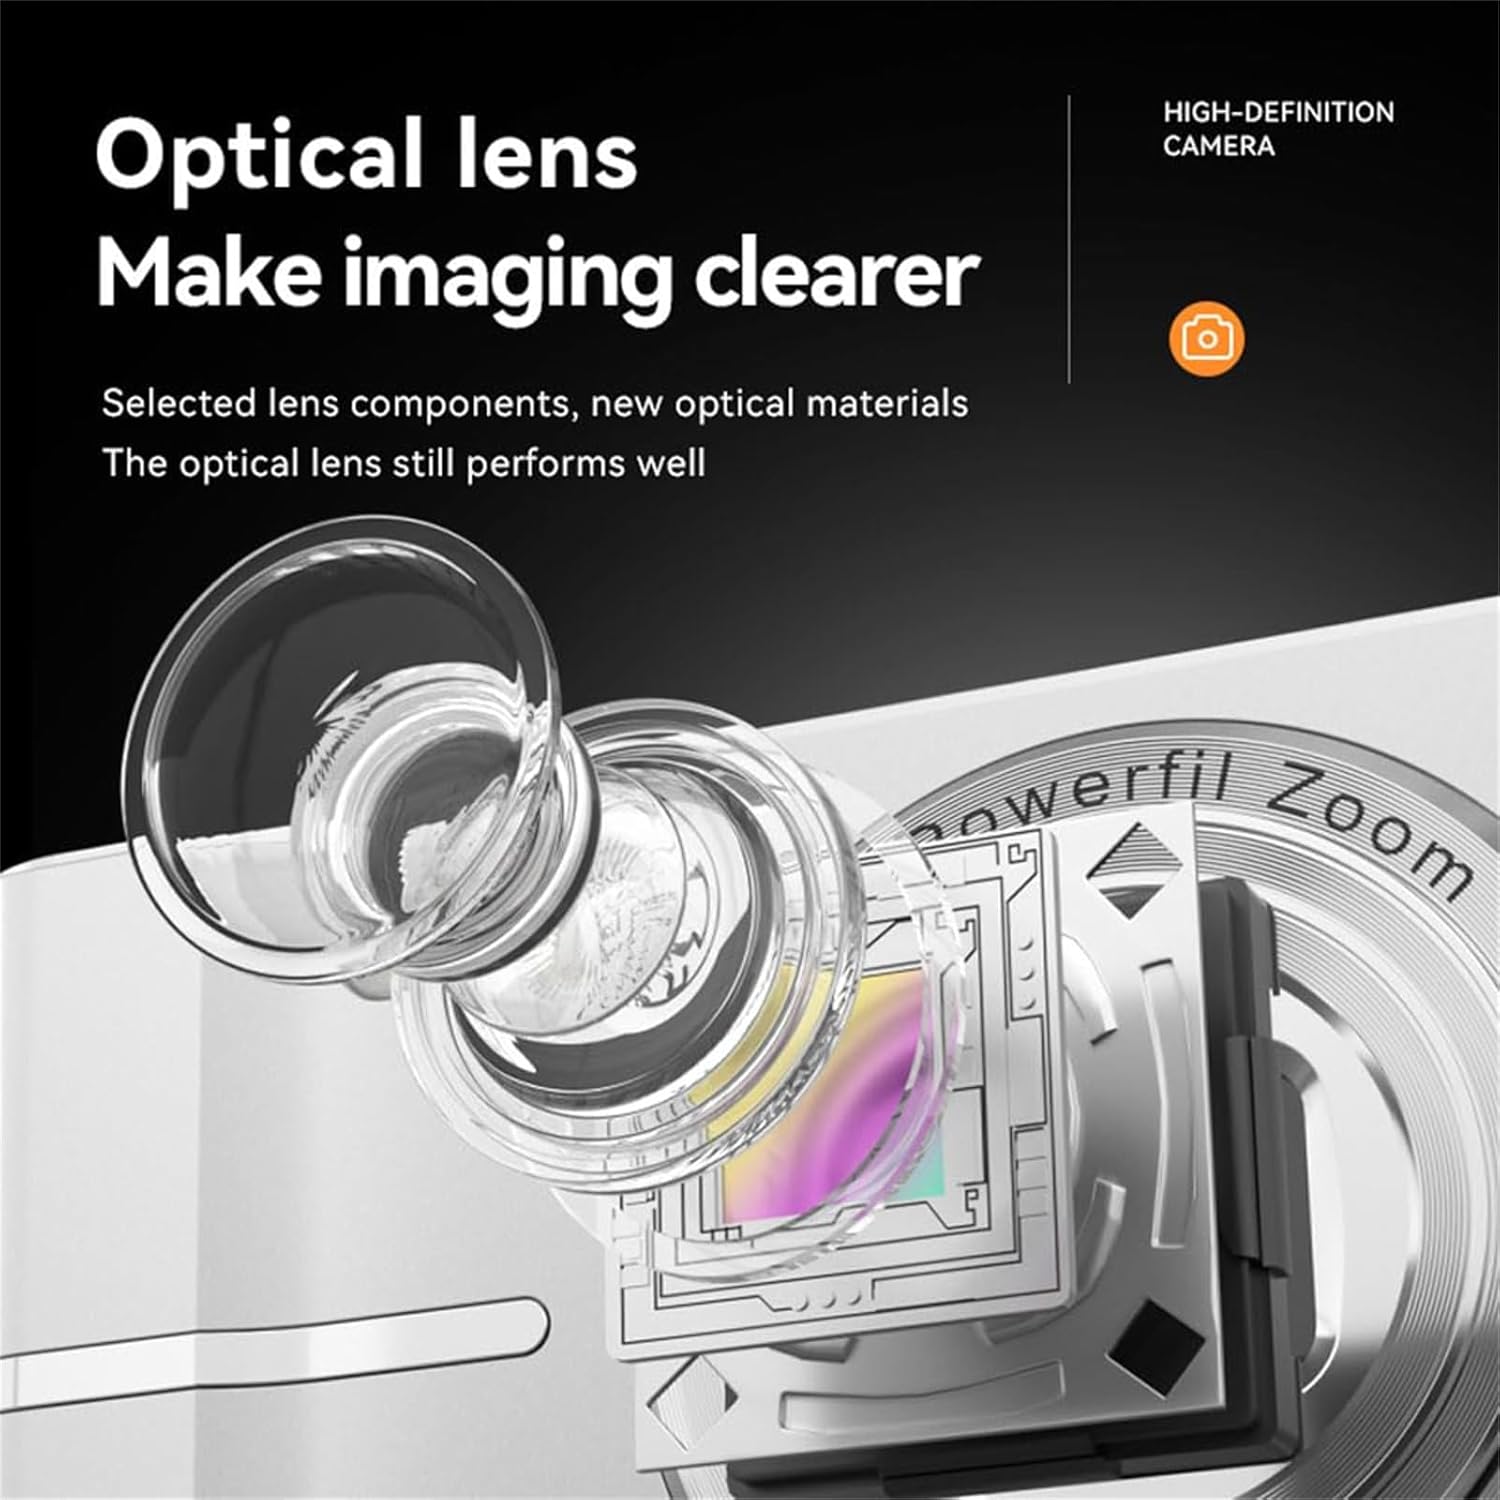
- Lens: The primary component for capturing images.
- Flash: Provides supplementary light in low-light conditions.
- LCD Screen (2.4 Inch): For viewing live feed, playback, and menu navigation.
- Control Buttons: Power, Shutter, Zoom (W/T), Mode, Menu, Navigation, Playback.
- Microphone: For recording audio with videos.
- Speaker: For audio playback.
- USB Type-C Port: For charging and data transfer.
- Memory Card Slot: For inserting the storage card.
3. Setup
3.1 Inserting the Memory Card
- Locate the memory card slot on the side or bottom of the camera.
- Open the cover.
- Insert the provided memory card (64G) into the slot with the gold contacts facing the correct direction (refer to the diagram inside the slot).
- Push the card gently until it clicks into place.
- Close the cover securely.
3.2 Charging the Camera
- Connect the small end of the USB Type-C cable to the camera's USB port.
- Connect the larger end of the USB cable to the provided adapter.
- Plug the adapter into a standard wall outlet.
- The charging indicator light will illuminate. Charging is complete when the light turns off or changes color (refer to camera display for battery status).
Note: For first-time use, fully charge the camera battery.
3.3 Powering On/Off
- To power on, press and hold the Power button until the LCD screen illuminates.
- To power off, press and hold the Power button again until the screen turns off.
4. Operating Instructions
4.1 Basic Operation
- Mode Button: Press to switch between Photo, Video, and Playback modes.
- Menu Button: Access camera settings and options. Use navigation buttons to select and the Shutter button to confirm.
- Navigation Buttons: Use Up, Down, Left, Right buttons to navigate menus and adjust settings.
4.2 Taking Photos
- Ensure the camera is in Photo mode (indicated on the LCD screen).
- Frame your shot using the LCD screen.
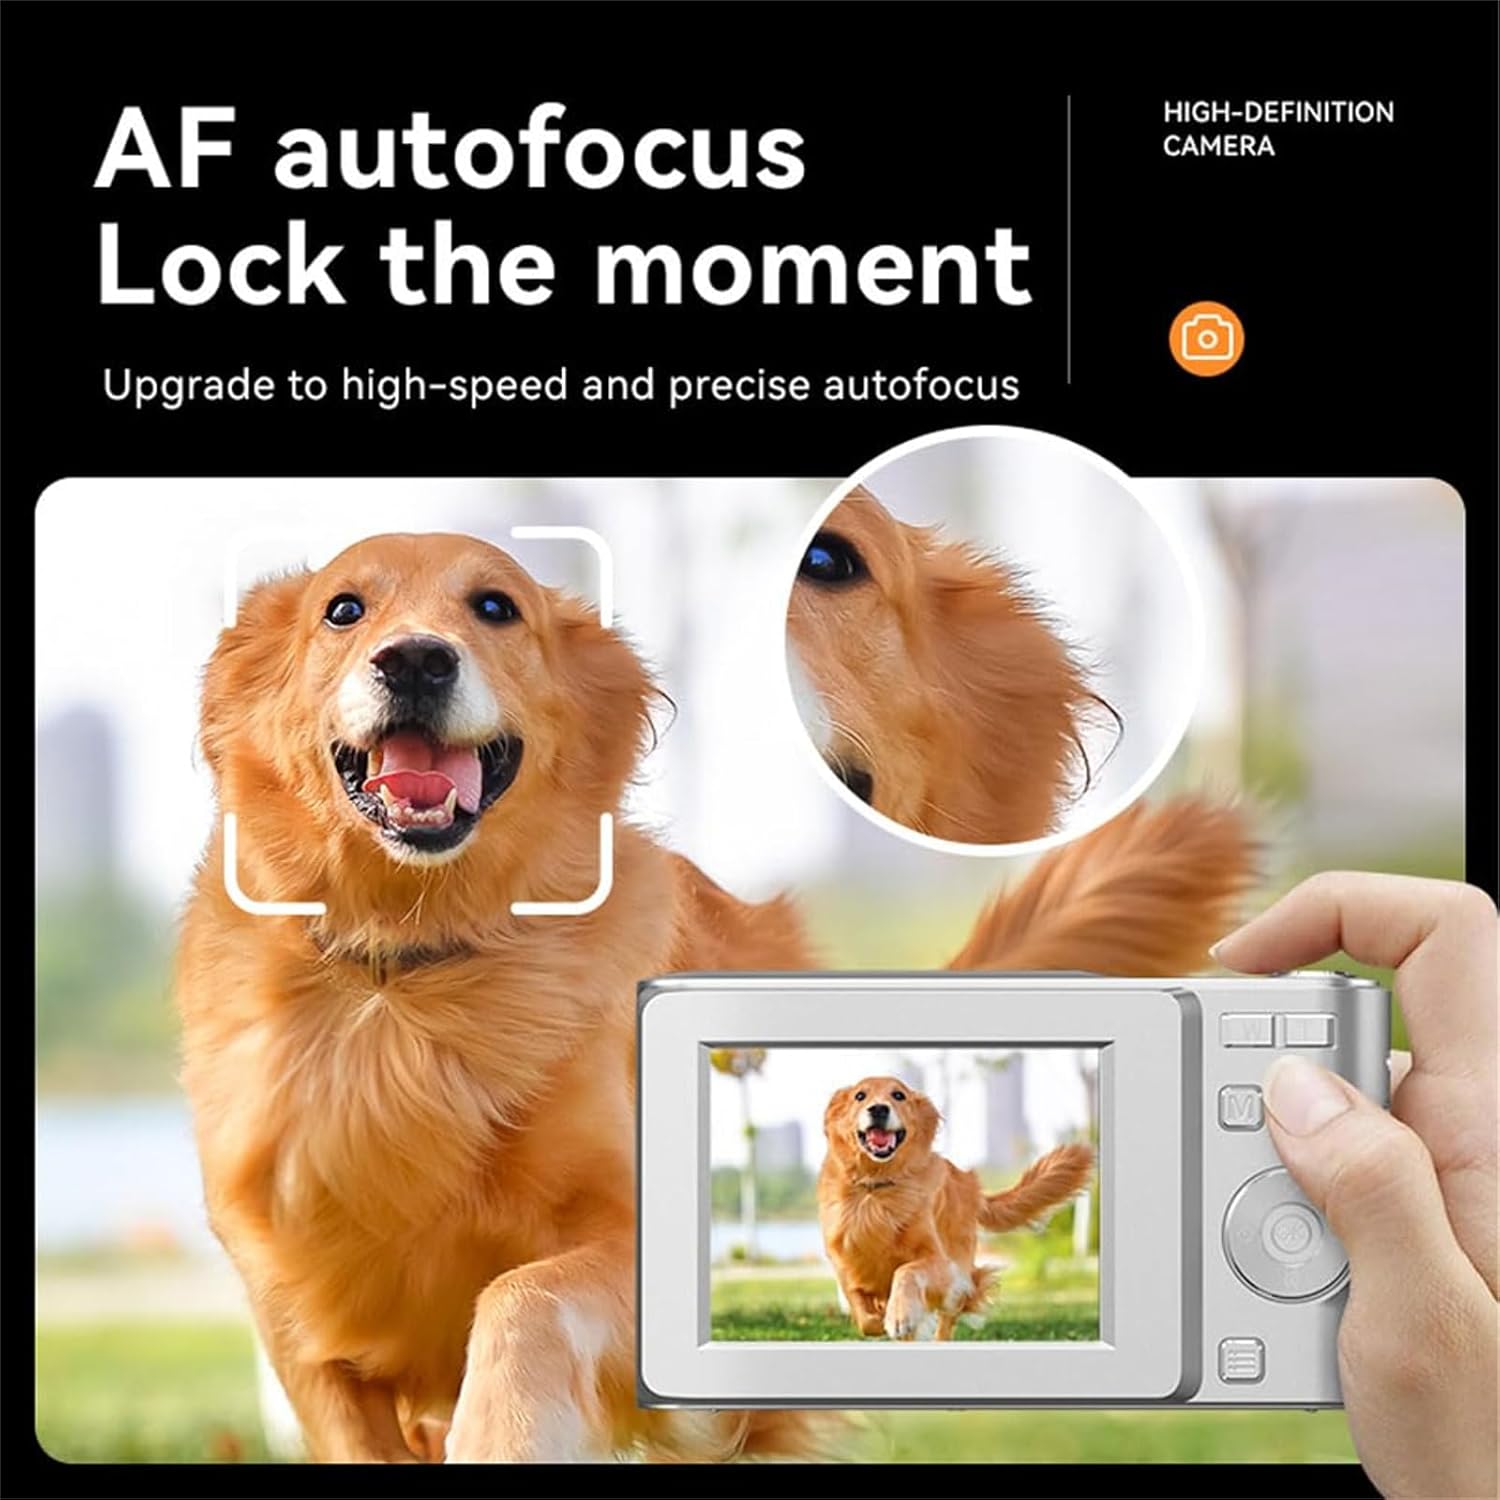
- Press the Shutter button halfway down to activate autofocus. The camera will lock focus (indicated by a green frame).
- Press the Shutter button fully down to capture the photo.
4.3 Using Zoom
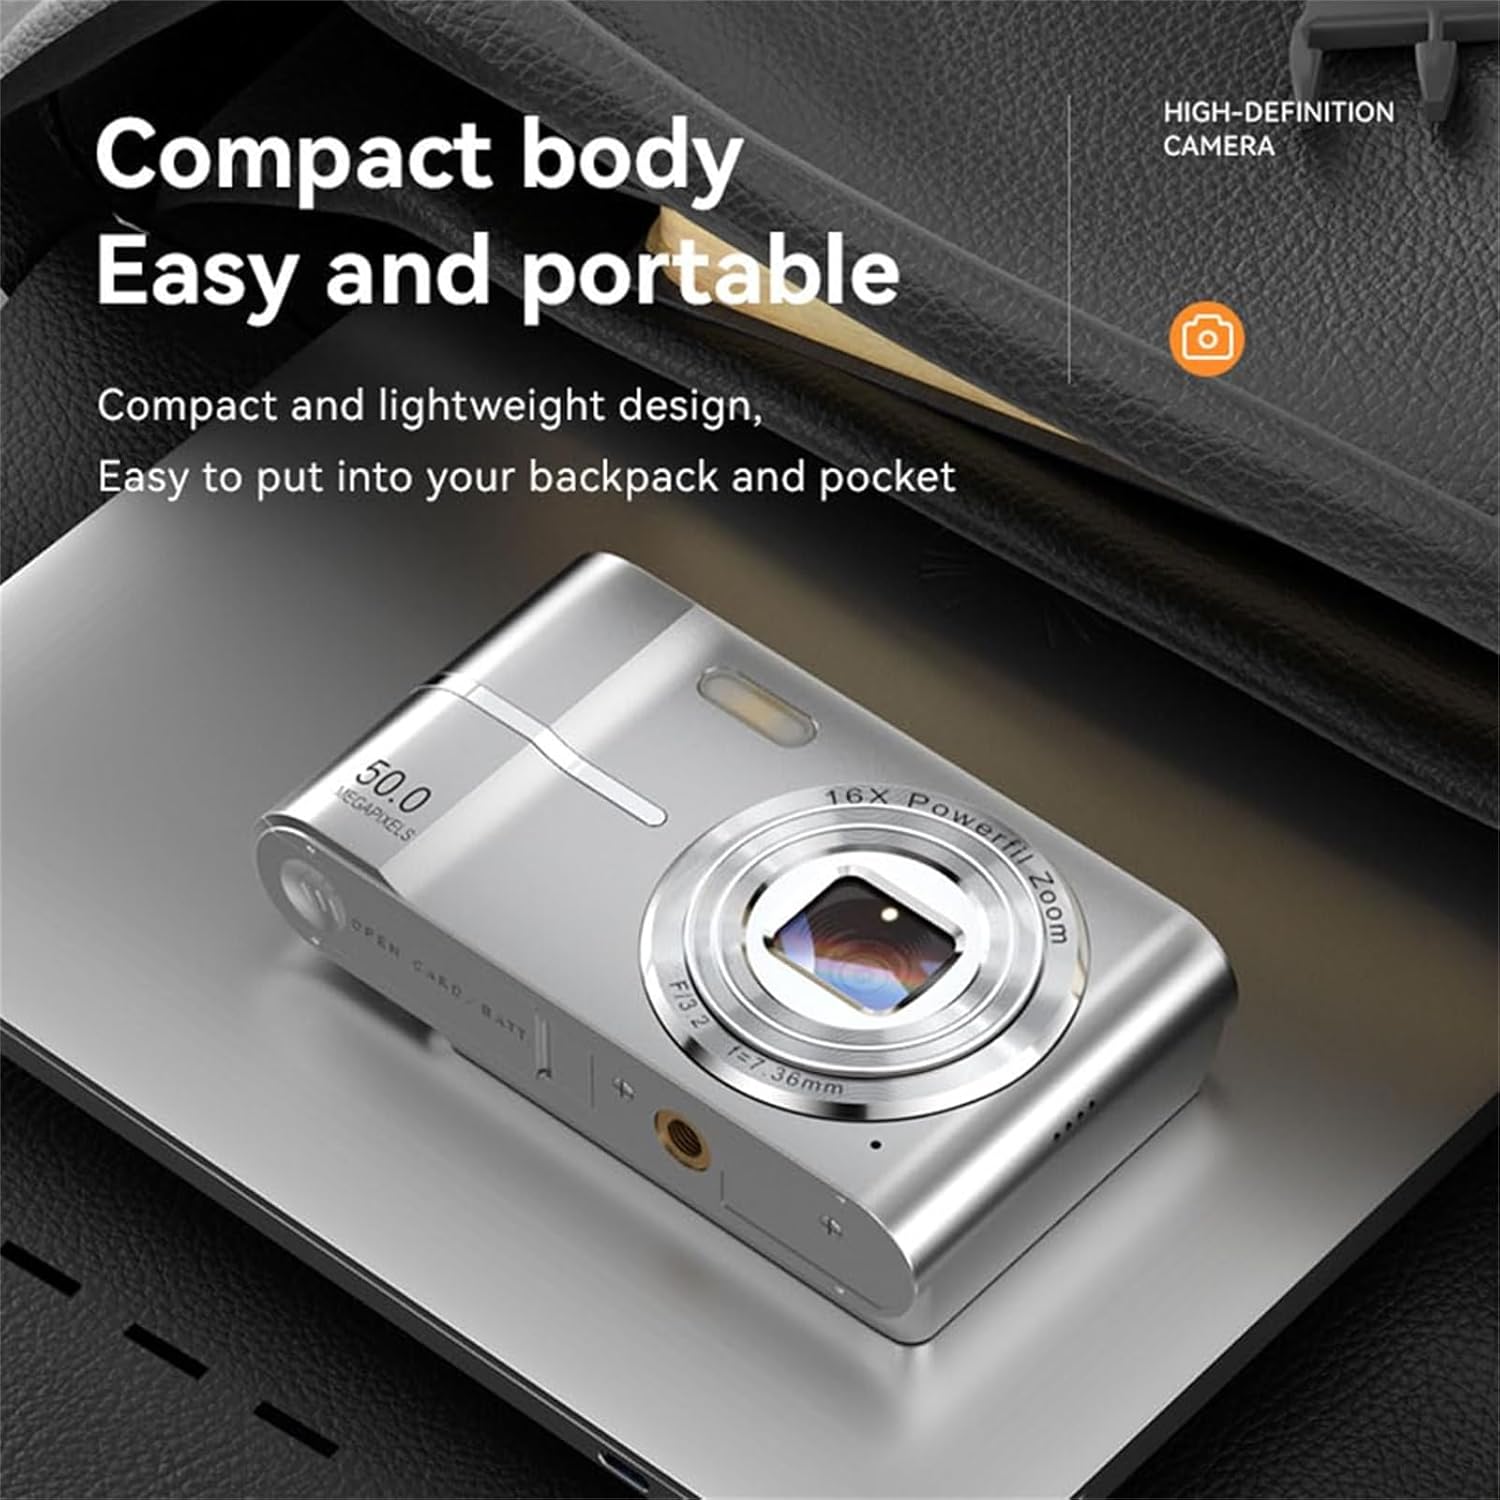
The camera features 16X digital zoom.
- While in Photo or Video mode, press the T button (Telephoto) to zoom in.
- Press the W button (Wide) to zoom out.

4.4 Using the Flash
The built-in flash provides supplementary lighting for low-light environments or night views.
- Access flash settings via the Menu button in Photo mode.
- Select desired flash mode: Auto Flash, Fill Flash, Red-eye Reduction, or Flash Off.

4.5 Recording Videos
- Switch the camera to Video mode using the Mode button.
- Press the Shutter button to start recording. A recording indicator will appear on the screen.
- To pause recording, press the Shutter button again. Press it once more to resume.
- To stop recording, press the Mode button or the Shutter button (depending on model specific controls, typically Shutter button for start/stop).
4.6 Playback
- Switch to Playback mode using the Mode button.
- Use the Left/Right navigation buttons to browse through your photos and videos.
- Press the Shutter button to play a video.
4.7 Macro Function
The camera includes a macro function for accurate focusing on close-up subjects.
- Activate macro mode through the camera's menu settings.
- Position the camera close to your subject (e.g., 5-10 cm) and use the autofocus as described in section 4.2.

4.8 Connecting to a Computer
To transfer photos and videos to your computer:
- Ensure the camera is powered off.
- Connect the camera to your computer using the provided USB Type-C cable.
- Power on the camera. It should appear as a removable disk or media device on your computer.
- Access the camera's storage to copy files.
- Safely eject the device from your computer before disconnecting the cable.
5. Maintenance
- Cleaning the Lens: Use a soft, lint-free cloth specifically designed for camera lenses. Do not use abrasive materials or harsh chemicals.
- Cleaning the Body: Wipe the camera body with a soft, dry cloth. For stubborn dirt, slightly dampen the cloth with water.
- Storage: When not in use, store the camera in a cool, dry place, away from direct sunlight and extreme temperatures. Use the provided pouch for protection.
- Battery Care: Avoid fully discharging the battery frequently. Charge the camera regularly, even if not in use, to maintain battery health.
6. Troubleshooting
| Problem | Possible Cause | Solution |
|---|---|---|
| Camera does not power on. | Battery is depleted. | Charge the camera fully. |
| Camera does not power on. | Memory card not inserted correctly or faulty. | Reinsert the memory card. Try a different card if available. |
| Images are blurry. | Lens is dirty. | Clean the lens with a soft, lint-free cloth. |
| Images are blurry. | Subject is too close (not in macro mode). | Ensure proper distance or activate macro mode for close-ups. |
| Images are blurry. | Camera shake. | Hold the camera steady or use a tripod. The camera has electronic image stabilization, but extreme movement can still cause blur. |
| No photos/videos saved. | Memory card is full or not inserted. | Check memory card insertion. Delete unnecessary files or replace the card. |
| Computer does not recognize camera. | Incorrect connection or camera not in data transfer mode. | Ensure camera is powered on after connecting. Try a different USB port or cable. |
7. Specifications
- Product Type: Digital Camera
- Model: 1
- Brand: Generic (Auracam)
- Video Resolution: 1080P/720P/480P
- Photo Resolution: Up to 50 Million Pixels (interpolated)
- Digital Zoom: 16X
- Screen: 2.4 Inch LCD
- Sensor Technology: CCD
- Connectivity: USB Type-C
- Special Features: Anti-Shake (Electronic Image Stabilization), Face Recognition, Night Vision Flash, Pause Function (Video)
- Supported File Format: MP4 (Video)
- Material: ABS
8. Warranty and Support
For warranty information and technical support, please refer to the documentation provided at the time of purchase or contact the seller directly. The manufacturer provides a standard warranty period, details of which can be obtained from your point of sale.