1. Introduction
This manual provides essential information for the GSPUSA 234D2618G001 CKD18G001X User Interface (UI) Board, designed as a compatible replacement part for specific GE Laundry Center models. This UI board is engineered to restore the functionality of your appliance's control panel. Please read this manual thoroughly before attempting any installation or repair to ensure proper fit and function.
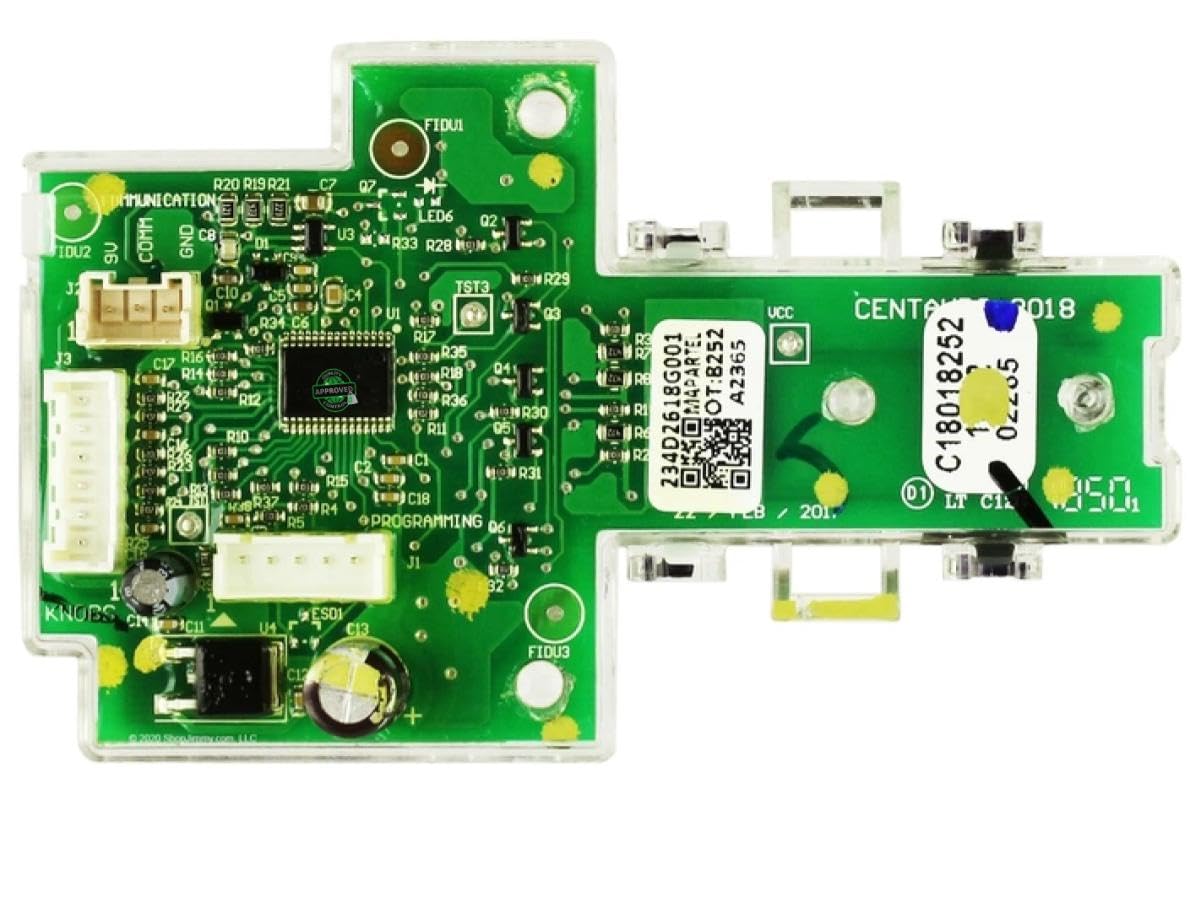
Figure 1: GSPUSA 234D2618G001 CKD18G001X UI Board. This image shows the top-down view of the circuit board with its components and connectors.
2. Important Compatibility Information
This UI board is NOT UNIVERSAL. It is crucial to verify compatibility with your specific appliance model and existing part before ordering or installation. Failure to do so may result in an incorrect fit and potential damage.
2.1. How to Verify Compatibility
- Compare Part Numbers: Locate the part number on your old UI board. This replacement is compatible with old part number 234D2618G001 and new part number CKD18G001X.
- Examine Connectors: Visually compare the connectors and overall layout of this board with your existing board. Even if the part number seems similar, different connectors indicate incompatibility.
- Check Appliance Model Number: Refer to the list of compatible models provided below. Your appliance's model number can typically be found on a label on the back, around the door or cabinet door, or on the sides of the unit, often under the lid or on the frame.

Figure 2: Visual comparison of UI boards. The left image shows a correct match with identical connectors and part numbers. The right image shows an incorrect board with different connectors, highlighting the importance of visual verification.

Figure 3: This diagram illustrates common locations for model numbers on laundry appliances, including top-load and front-load washers and dryers. Always verify your model number before ordering.

Figure 4: This image demonstrates that even if two components appear similar externally, their internal configurations, sizes, connectors, or voltage requirements may differ, leading to incompatibility. Always compare thoroughly.
2.2. Compatible Models
This UI board is compatible with the following GE Laundry Center models:
- GUD24ESSM0WW
- GUD27ESSM0WW
- GUV27ESSM0WW
- GUD24GSSM0WW
- GUD27GSSM0WW
- GUD27GSSM1WW
- GUD27ESPM0DG
- GUD27GSPM0DG
- GUD24GSSM1WW
- GUD27ESPM1DG
- GUD27GSPM1DG
- GUV27ESSM1WW
- GUD27ESSM1WW
- GUD27GSSM2WW
3. Installation Guidelines
Appliance repair can involve electrical components and moving parts. For safety and proper installation, it is highly recommended that installation be performed by a qualified technician. Always disconnect power to the appliance before beginning any repair work.
3.1. Safety Precautions
- Disconnect the appliance from its power source (unplug or turn off circuit breaker) before starting.
- Wear appropriate personal protective equipment, such as gloves and eye protection.
- Handle the new UI board carefully to avoid damage to electronic components.
3.2. General Installation Steps (Consult a professional for detailed instructions)
- Access the existing UI board within your laundry center. This typically involves removing the control panel housing.
- Carefully disconnect all wiring harnesses and connectors from the old UI board, noting their positions if necessary.
- Remove the old UI board from its mounting.
- Install the new GSPUSA UI board in the same position, ensuring it is securely mounted.
- Reconnect all wiring harnesses and connectors to the new UI board, ensuring a snug and correct fit.
- Reassemble the control panel housing and any other parts removed.
- Restore power to the appliance and test for proper functionality.
4. Operation
The GSPUSA 234D2618G001 CKD18G001X UI Board functions as the primary interface for your GE Laundry Center. Once correctly installed, it restores the original operational capabilities of your appliance's control panel. This includes selecting wash/dry cycles, adjusting settings, and displaying status information as designed by the original equipment manufacturer.
Refer to your GE Laundry Center's original user manual for specific instructions on operating your appliance's various functions and cycles.
5. Maintenance
This UI board is a sealed electronic component and requires no routine maintenance. To ensure its longevity and proper function:
- Keep the control panel area clean and dry.
- Avoid spilling liquids on the control panel.
- Do not use harsh chemicals or abrasive cleaners on the control panel surface, as this may damage the overlay or underlying electronics.
- If the control panel becomes unresponsive or exhibits unusual behavior, refer to the troubleshooting section or consult a qualified technician.
6. Troubleshooting
If your GE Laundry Center experiences issues after installing the new UI board, consider the following:
- No Power/Unresponsive: Ensure all connectors are securely attached to the UI board and that the appliance is receiving power. Check the circuit breaker.
- Incorrect Functionality: Double-check that the correct UI board was installed for your specific model. Review the compatibility section.
- Error Codes: If the appliance displays an error code, consult your GE Laundry Center's original service manual for the meaning of the code and recommended solutions.
If issues persist after basic troubleshooting, it is recommended to contact a qualified appliance repair technician for diagnosis and repair.
7. Specifications
| Feature | Specification |
|---|---|
| Brand Name | GSPUSA |
| Model Info | 234D2618G001-JF |
| Item Weight | 1 pound (16 ounces) |
| Product Dimensions | 6 x 4 x 4 inches |
| Material Type | Plastic |
| Included Components | Ui Board GE Asm |
| Control Console | Touch |
| Special Features | Inbuilt Heater (Note: This feature refers to the original appliance's capability, not the board itself) |
8. Warranty and Authenticity
This GSPUSA UI board is manufactured to original specifications as a generic replacement. Each item is tested in a real appliance for 100 cycles or more before shipment to ensure quality and functionality.
The product includes a warranty seal and a UV invisible unique serial number to verify authenticity and prevent fraudulent returns. Do not remove the seal from the item.

Figure 5: This image highlights the quality assurance process, including testing in real appliances, the presence of a warranty seal, and the registration of product weight and size for shipping verification.

Figure 6: A sample of the unique serial tag and the 'VOID' pattern that appears if the warranty seal is tampered with or removed.
9. Support
For further assistance or if you have questions regarding compatibility or installation, please refer to the seller's contact information on the platform where the product was purchased. Providing pictures of your old part or appliance model number can help expedite support inquiries.