1. Introduction
This manual provides essential information for the safe and efficient installation, operation, and maintenance of your OSRAM ENDURA PRO Outdoor Wall Projector with Sensor. This high-efficiency outdoor wall luminaire features an extensive angle and innovative optical design, providing reliable and secure lighting for various outdoor applications.

Image 1.1: Highly Efficient Lighting. The OSRAM ENDURA PRO LED projector provides uniform and efficient lighting, enhancing security around your property with optimal brightness.
2. Safety Instructions
Please read and understand all safety instructions before installing or operating the product. Failure to follow these instructions may result in electric shock, fire, or other hazards.
- Qualified Personnel: All electrical connections must be carried out by a qualified electrician.
- Electric Shock Risk: Always disconnect power before installation, maintenance, or repair. Caution, risk of electric shock.
- Strangulation Hazard: To reduce the risk of strangulation, ensure that any flexible wiring connected to this luminaire is effectively secured to the wall if the wiring is within reach.
- Product Integrity: Do not modify or alter the product in any way. Use only original OSRAM accessories and spare parts.
- Operating Environment: This product is designed for outdoor use with an IP55 rating. Do not submerge in water.
3. Product Features
The OSRAM ENDURA PRO projector is engineered for optimal outdoor lighting performance and durability.
- High Performance: Provides bright and uniform illumination, enhancing safety in all outdoor areas.
- Adjustable Head: The luminaire head is adjustable, allowing for precise light orientation to illuminate specific areas and dark corners.
- Robust Construction: Features IP55 protection against dust and water jets, and IK05 impact resistance, ensuring reliable operation in various weather conditions.
- Integrated Sensor: Equipped with a motion and brightness detection sensor for automated operation.
- Operating Modes: Offers 4 selectable operating modes, including 6-hour continuous illumination or activation by motion and ambient light.
- Energy Efficient: Designed for energy-saving operation.

Image 3.1: Weather Resistant and Durable. The robust construction with IP55 and IK05 ratings ensures reliable performance in demanding outdoor environments, protecting against dust, water, and impacts.

Image 3.2: Precisely Adjustable. The pivoting lamp head allows for precise light orientation, directing illumination exactly where needed for efficient and glare-free lighting.
4. Setup and Installation
The OSRAM ENDURA PRO projector is designed for easy and quick installation on walls or ceilings.
4.1. Before Installation
- Ensure the power supply is disconnected at the main circuit breaker before starting any electrical work.
- Verify that the mounting surface is suitable and can support the weight of the luminaire.
- Consult a qualified electrician for all electrical connections.
4.2. Mounting Steps
- Prepare Mounting Location: Choose a suitable location for wall or ceiling mounting.
- Mark Drilling Points: Use the mounting bracket as a template to mark the drilling points on the surface.
- Drill Holes: Drill holes at the marked points and insert appropriate wall plugs (if necessary).
- Secure Mounting Bracket: Attach the mounting bracket securely to the wall or ceiling using screws.
- Electrical Connection: Connect the electrical wiring to the luminaire terminals according to local electrical codes. Ensure proper grounding.
- Attach Luminaire: Mount the luminaire onto the secured bracket.
- Secure Wiring: If the flexible wiring is within reach, secure it effectively to the wall to prevent strangulation hazards.
- Restore Power: Once installation is complete and all connections are secure, restore power to the circuit.

Image 4.1: Quick Assembly and Easy Installation. The diagram illustrates both wall and ceiling installation methods, highlighting the 180° detection angle and coverage area for enhanced security.
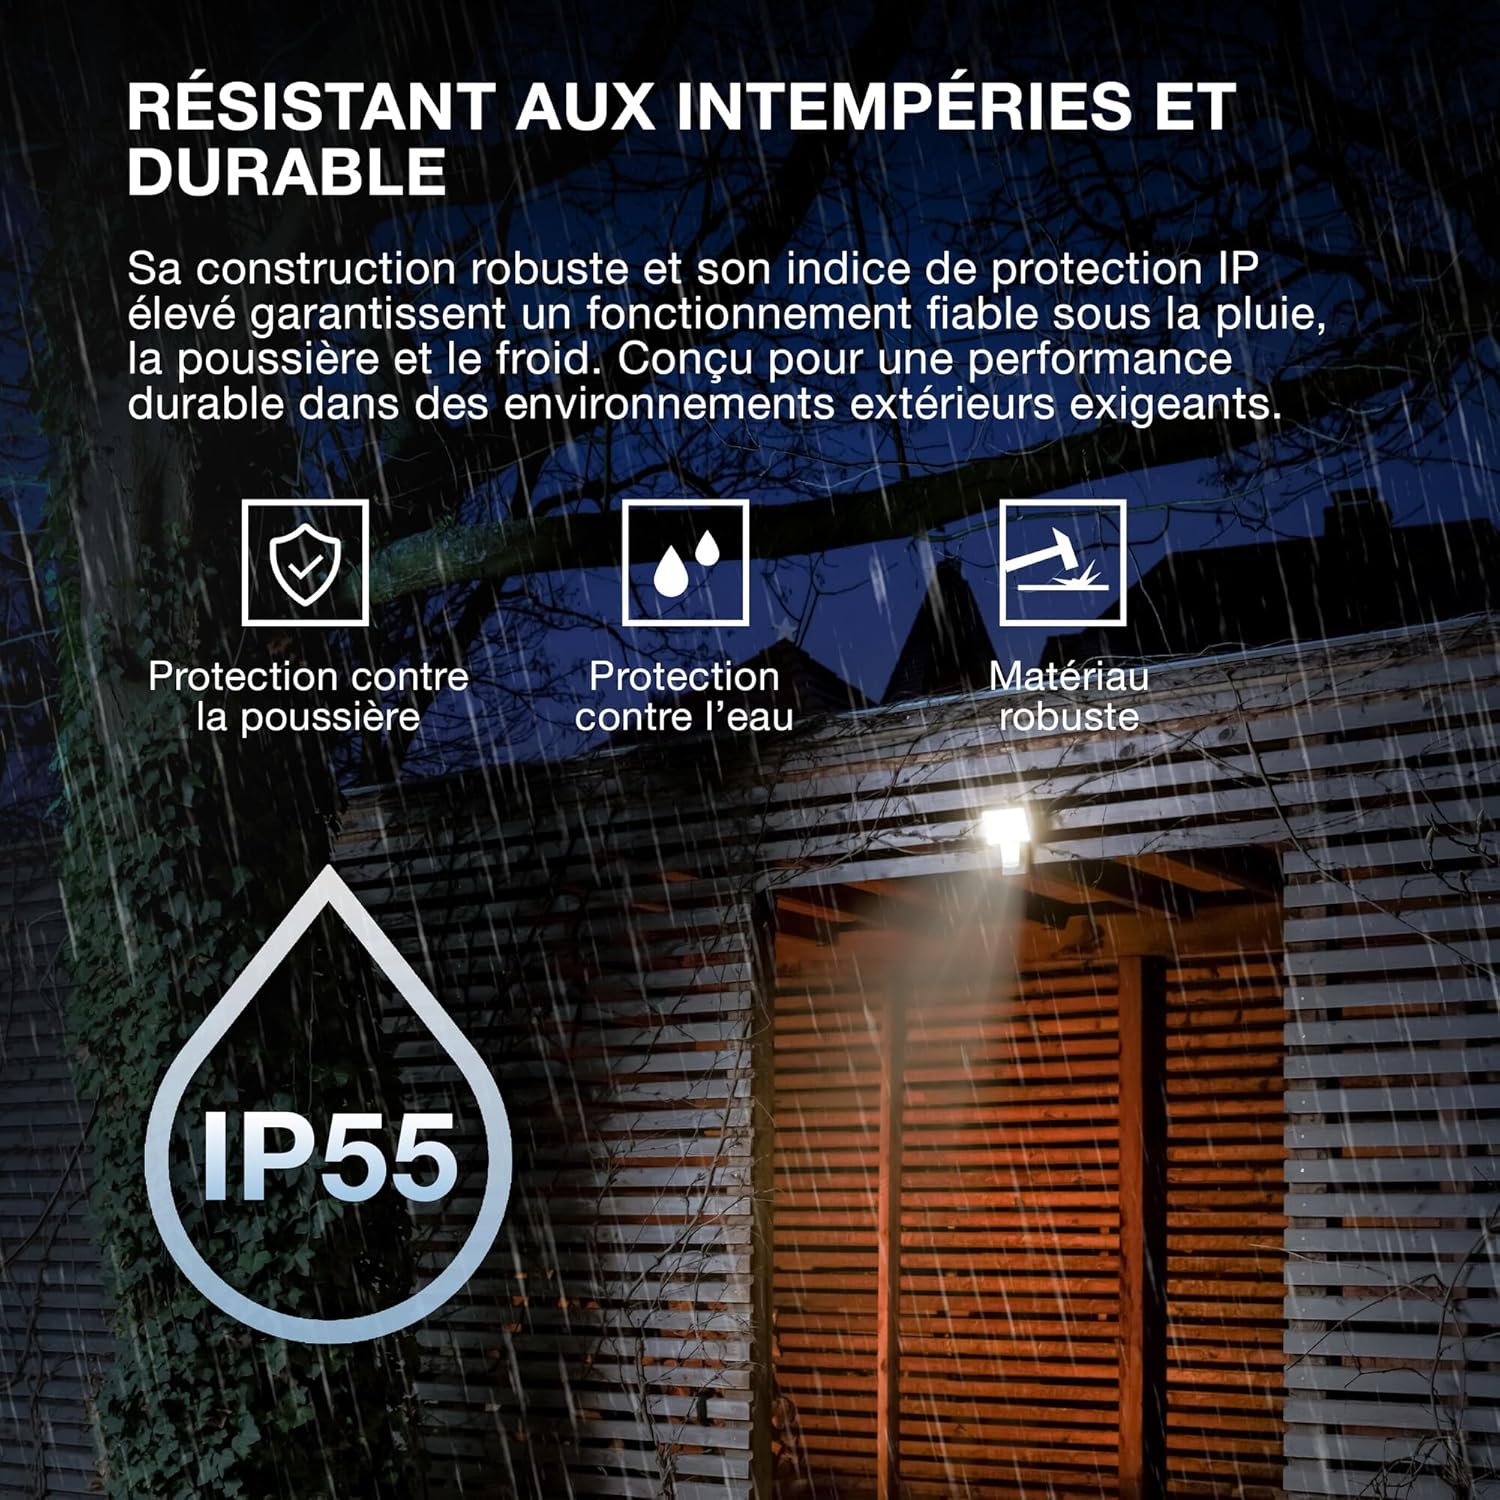
Image 4.2: Product Dimensions. Detailed dimensions of the luminaire for accurate installation planning.
5. Operating Instructions
The OSRAM ENDURA PRO projector offers flexible operating modes and an adjustable head for customized lighting.
5.1. Selecting Operating Modes
The luminaire features 4 selectable operating modes, typically controlled via a push button or internal switch (refer to the detailed wiring diagram in the packaging for exact control method):
- Motion and Brightness Detection: The light turns on automatically when motion is detected in low ambient light conditions.
- Continuous Illumination (e.g., 6 hours): The light remains on for a set duration, regardless of motion or ambient light.
- Other modes may include variations of detection sensitivity, time-on duration, or ambient light threshold.
5.2. Adjusting the Luminaire Head
The luminaire head can be manually adjusted to direct the light beam as required. Gently pivot the head to the desired angle (up to 60 degrees as indicated in product images) to optimize illumination for your specific area.
6. Maintenance
Regular maintenance ensures the longevity and optimal performance of your OSRAM ENDURA PRO projector.
- Cleaning: Clean the luminaire regularly with a soft, damp cloth. Do not use abrasive cleaners or solvents, as these can damage the surface.
- Inspection: Periodically inspect the luminaire for any signs of damage, such as cracks in the housing or frayed wiring. If damage is found, disconnect power immediately and contact a qualified electrician for repair or replacement.
- Electrical Connections: Ensure all electrical connections remain secure. If any looseness is detected, have it checked by a qualified electrician.
7. Troubleshooting
If you encounter issues with your OSRAM ENDURA PRO projector, refer to the following common troubleshooting steps:
| Problem | Possible Cause | Solution |
|---|---|---|
| Light does not turn on | No power supply Sensor not triggered Incorrect operating mode | Check circuit breaker and electrical connections. Ensure motion is within sensor range and ambient light is low enough. Verify selected operating mode. |
| Light stays on continuously | Continuous illumination mode selected Constant motion in sensor range Sensor malfunction | Switch to motion detection mode. Adjust sensor position or sensitivity. Contact customer support. |
| Light flickers | Unstable power supply Loose connection | Consult a qualified electrician to check power supply. Ensure all electrical connections are secure. |
If the problem persists after attempting these solutions, please contact OSRAM customer support or a qualified electrician.
8. Specifications
Key technical specifications for the OSRAM ENDURA PRO Flood Sensor 27W 4000K IP55.
| Feature | Specification |
|---|---|
| Model Number | 4099854451744 |
| Brand | OSRAM |
| Power Consumption | 27 Watts |
| Luminous Flux | 3000 lm (Lumen) |
| Color Temperature | 4000K (Cool White) |
| Voltage | 220 Volts (AC) |
| Protection Rating | IP55 (Dust protected, protected against water jets) |
| Impact Resistance | IK05 |
| Material | Polycarbonate (PC) |
| Dimensions (L x W x H) | 20.1 x 5.6 x 22.5 cm |
| Weight | 480 Grams |
| Switch Type | Motion Detector |
| Mounting Type | Wall Mount |
| Application Areas | Outdoor, Parking lots, Squares, Parks, Arcades |
Image 8.1: Performance Options. The OSRAM ENDURA PRO is available in various wattages and luminous fluxes. This model is the 27W version, providing 3000 lumens.

Image 8.2: Product Packaging. The packaging provides an overview of the product, including key specifications and features.
9. Warranty and Support
For warranty information and customer support, please refer to the documentation included with your product or visit the official OSRAM website. Keep your purchase receipt as proof of purchase.
OSRAM Website: www.osram.com