1. Introduction
Thank you for choosing the LIORQUE Sunrise Alarm Clock, Model YF-03. This device is designed to enhance your sleep and wake-up routine with its natural sunrise simulation, soothing sounds, and versatile lighting options. Please read this manual carefully to ensure proper use and optimal performance of your alarm clock.
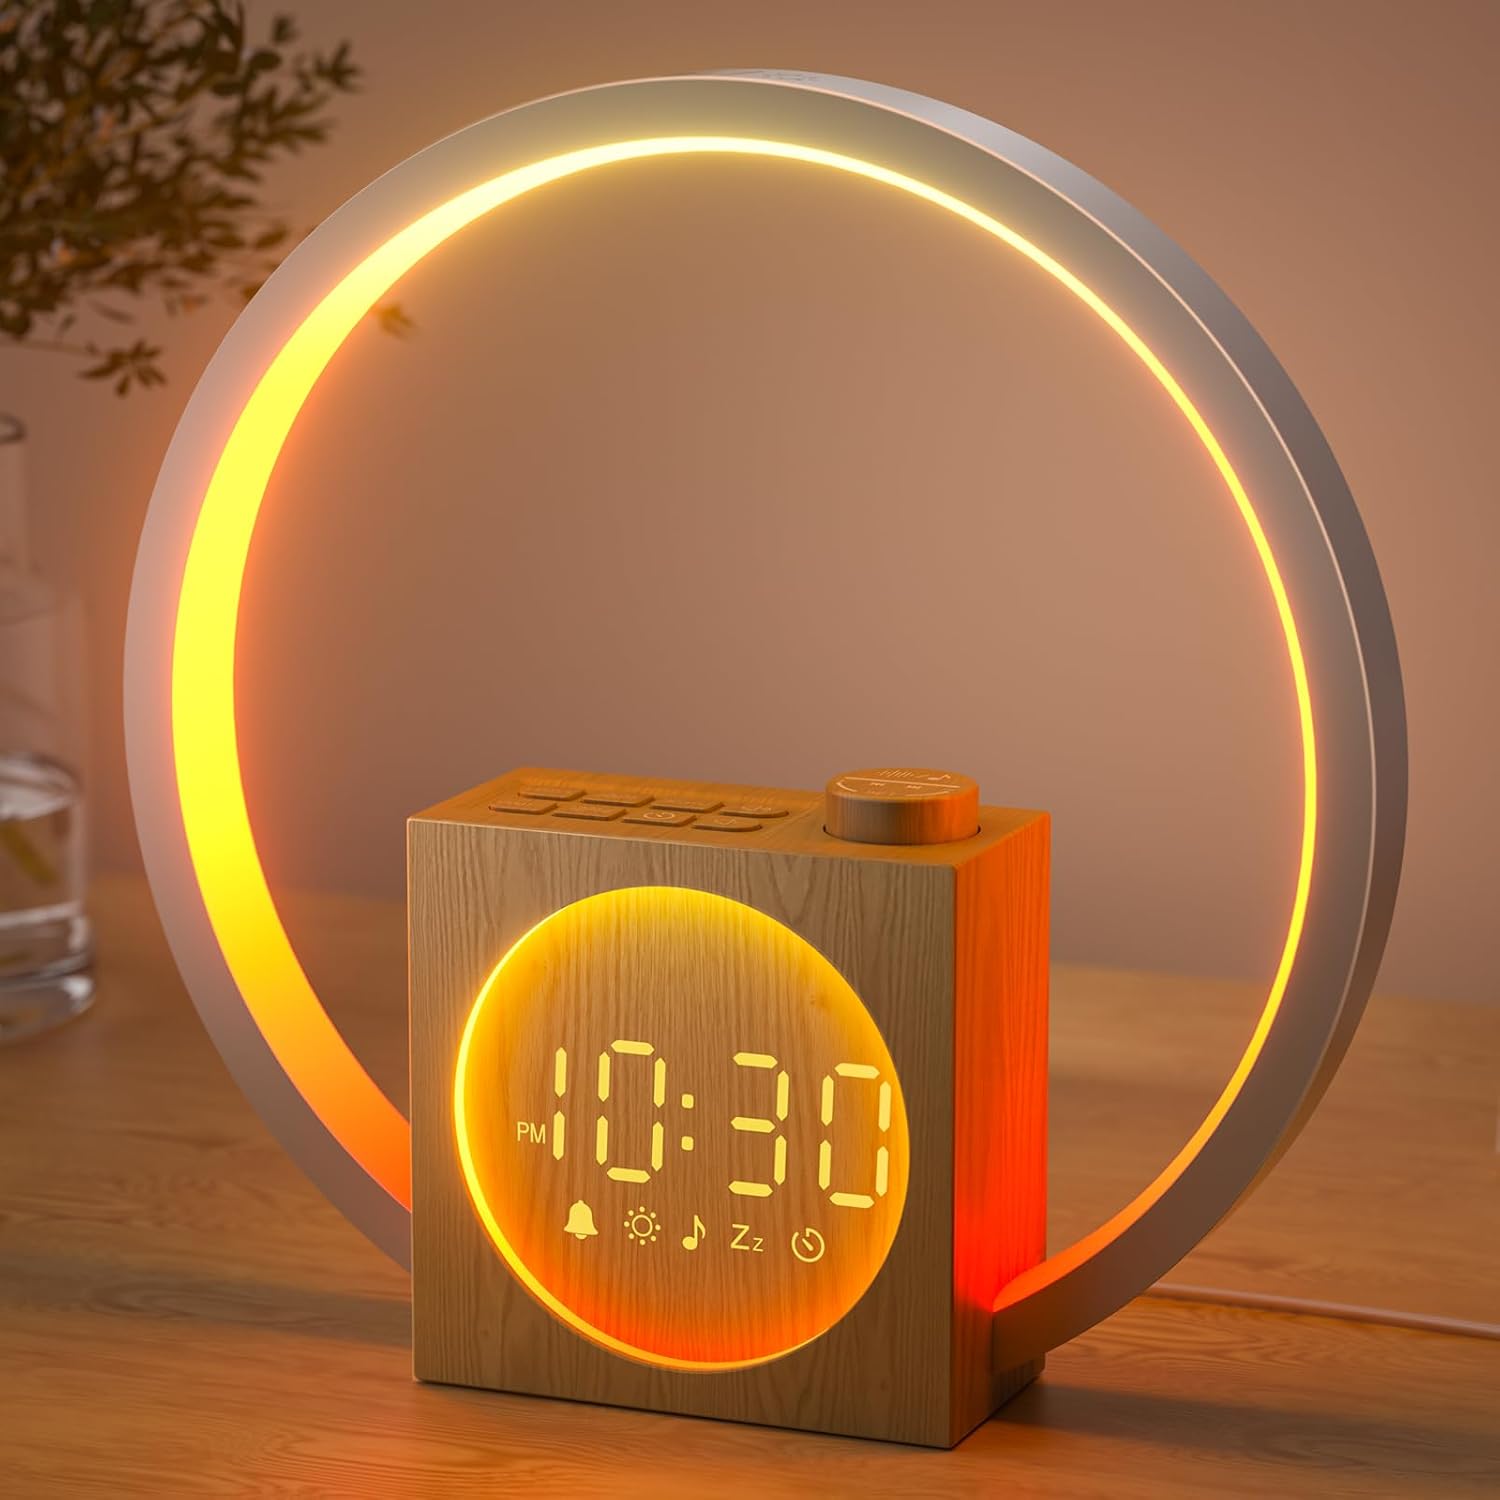
Image 1.1: The LIORQUE Sunrise Alarm Clock YF-03, showcasing its wooden base and circular light ring with a warm, orange glow. The digital time display is visible on the front.
2. Product Overview
2.1 Key Features
- Sunrise Simulation: Gradually brightens over 10-60 minutes before your alarm time.
- 30 Soothing Sounds: Includes 20 natural melodies and 10 white noise options with 32 adjustable volume levels.
- Multi-Color Night Light: Ring-shaped light with single-color gradients, breathing lights, ring gradients, and dynamic running lights.
- Sleep Aid Mode: Customizable sleep timer (10-480 minutes) with light and sound fade-out.
- Snooze Function: 9-minute snooze activated by lightly pressing the knob button or touching the light ring.
- Dimmable LED Time Display: Clear display through wood grain, with 5 adjustable brightness levels, including an option to turn off completely.
- USB Charging Port: Provides up to 5W charging for smartphones or headphones.
2.2 Package Contents
- LIORQUE Sunrise Alarm Clock (Model YF-03)
- Power Adapter
- User Manual
2.3 Controls and Ports

Image 2.1: Detailed diagram illustrating the various buttons and ports on the LIORQUE Sunrise Alarm Clock. Labels include Multifunctional knob (Snooze button), Volume up/down for sounds, Sunrise light settings, Alarm button, Brightness up/down for light, Sleep timer, Screen brightness adjustment/Time settings, USB Output (DC 5V/1A), and Input (DC 5V/2A).
- Multifunctional Knob: Rotate to adjust values, press for snooze.
- LIGHT + / LIGHT - Buttons: Adjust light brightness.
- ON/OFF ALARM SET Button: Turn alarm on/off, enter alarm setting mode.
- DIMMER TIME SET Button: Adjust screen brightness, enter time setting mode.
- Sound Volume Buttons: Adjust sound volume.
- Sleep Timer Button: Activate and set sleep timer.
- USB Output Port: For charging external devices.
- DC Input Port: For power adapter connection.
3. Setup
3.1 Power Connection
- Connect the provided power adapter to the DC Input Port on the back of the alarm clock.
- Plug the power adapter into a standard wall outlet.
- The display will light up, indicating the device is powered on.
3.2 Initial Time Setting
- Press and hold the DIMMER TIME SET button for 3 seconds to enter time setting mode. The hour digits will flash.
- Rotate the Multifunctional Knob to adjust the hour. Press the knob to confirm and move to minute setting.
- Rotate the Multifunctional Knob to adjust the minutes. Press the knob to confirm.
- Rotate the Multifunctional Knob to select 12-hour or 24-hour format. Press the knob to confirm.
- The time is now set.
4. Operating Instructions
4.1 Alarm Setting
- Press the ON/OFF ALARM SET button to enter alarm setting mode. The alarm time will flash.
- Rotate the Multifunctional Knob to set the alarm hour, then press the knob to confirm.
- Rotate the Multifunctional Knob to set the alarm minutes, then press the knob to confirm.
- Sunrise Simulation Duration: Rotate the knob to select sunrise duration (10-60 minutes). Press to confirm.
- Sunrise Light Intensity: Rotate the knob to set the maximum brightness level for the sunrise light (1-20 levels). Press to confirm.
- Alarm Sound: Rotate the knob to choose from 30 available sounds. Press to confirm.
- Alarm Volume: Rotate the knob to adjust the alarm volume (1-32 levels). Press to confirm.
- The alarm is now set and activated. A bell icon will appear on the display.

Image 4.1: This image demonstrates the sunrise simulation feature, showing the alarm clock's light gradually increasing in brightness over a set period, mimicking a natural sunrise.
4.2 Snooze Function
- When the alarm sounds, lightly press the Multifunctional Knob or touch any part of the circular light ring to activate snooze.
- The alarm will pause for 9 minutes and then sound again.
- To turn off the alarm completely, press the ON/OFF ALARM SET button.

Image 4.2: A user's hand is shown touching the top edge of the alarm clock's light ring, indicating the touch-sensitive area for activating the snooze function.
4.3 Sound Settings
- To play soothing sounds independently, press the Sound Play/Pause button.
- Use the Sound Volume Up/Down buttons to adjust the volume (32 levels).
- Press the Sound Next/Previous buttons to cycle through the 30 available sounds.

Image 4.3: This graphic displays icons for several of the 30 soothing sounds available on the alarm clock, including natural sounds like rain and birdsong, and calming melodies.
4.4 Night Light Function
- Touch any part of the circular light ring to turn on the night light.
- Continue touching the ring to cycle through various lighting effects: single-color gradients, breathing lights, ring gradients, and dynamic running lights.
- Use the LIGHT + / LIGHT - buttons to adjust the brightness of the night light.
- To turn off the night light, touch and hold the light ring for 2 seconds.

Image 4.4: This image shows a hand interacting with the light ring to change its mode, accompanied by a visual representation of 12 distinct lighting options, including various colors and dynamic effects.
4.5 Sleep Aid Mode
- Press the Sleep Timer button to activate sleep aid mode.
- Rotate the Multifunctional Knob to set the desired countdown duration (10 to 480 minutes). Press the knob to confirm.
- You can select a preferred light and sound to accompany the sleep timer. The light and sound will gradually fade out over the set duration.
- To cancel the sleep aid mode, press the Sleep Timer button again.

Image 4.5: A serene image of a child asleep in bed, with the alarm clock on a bedside table. Text highlights the 10-480 minute sleep timer feature, designed to help users drift off to sleep.
4.6 Screen Brightness Adjustment
- Press the DIMMER TIME SET button to cycle through 5 levels of screen brightness.
- One of the levels allows the screen to be completely turned off for a dark sleeping environment.

Image 4.6: This visual guide illustrates the five adjustable screen brightness levels, ranging from fully illuminated to completely off, providing options for various light sensitivities.
4.7 USB Charging Port
- Locate the USB Output Port on the back of the alarm clock.
- Connect your smartphone, headphones, or other compatible USB-powered device using a USB cable (not included).
- The port provides up to 5W (DC 5V/1A) charging power.
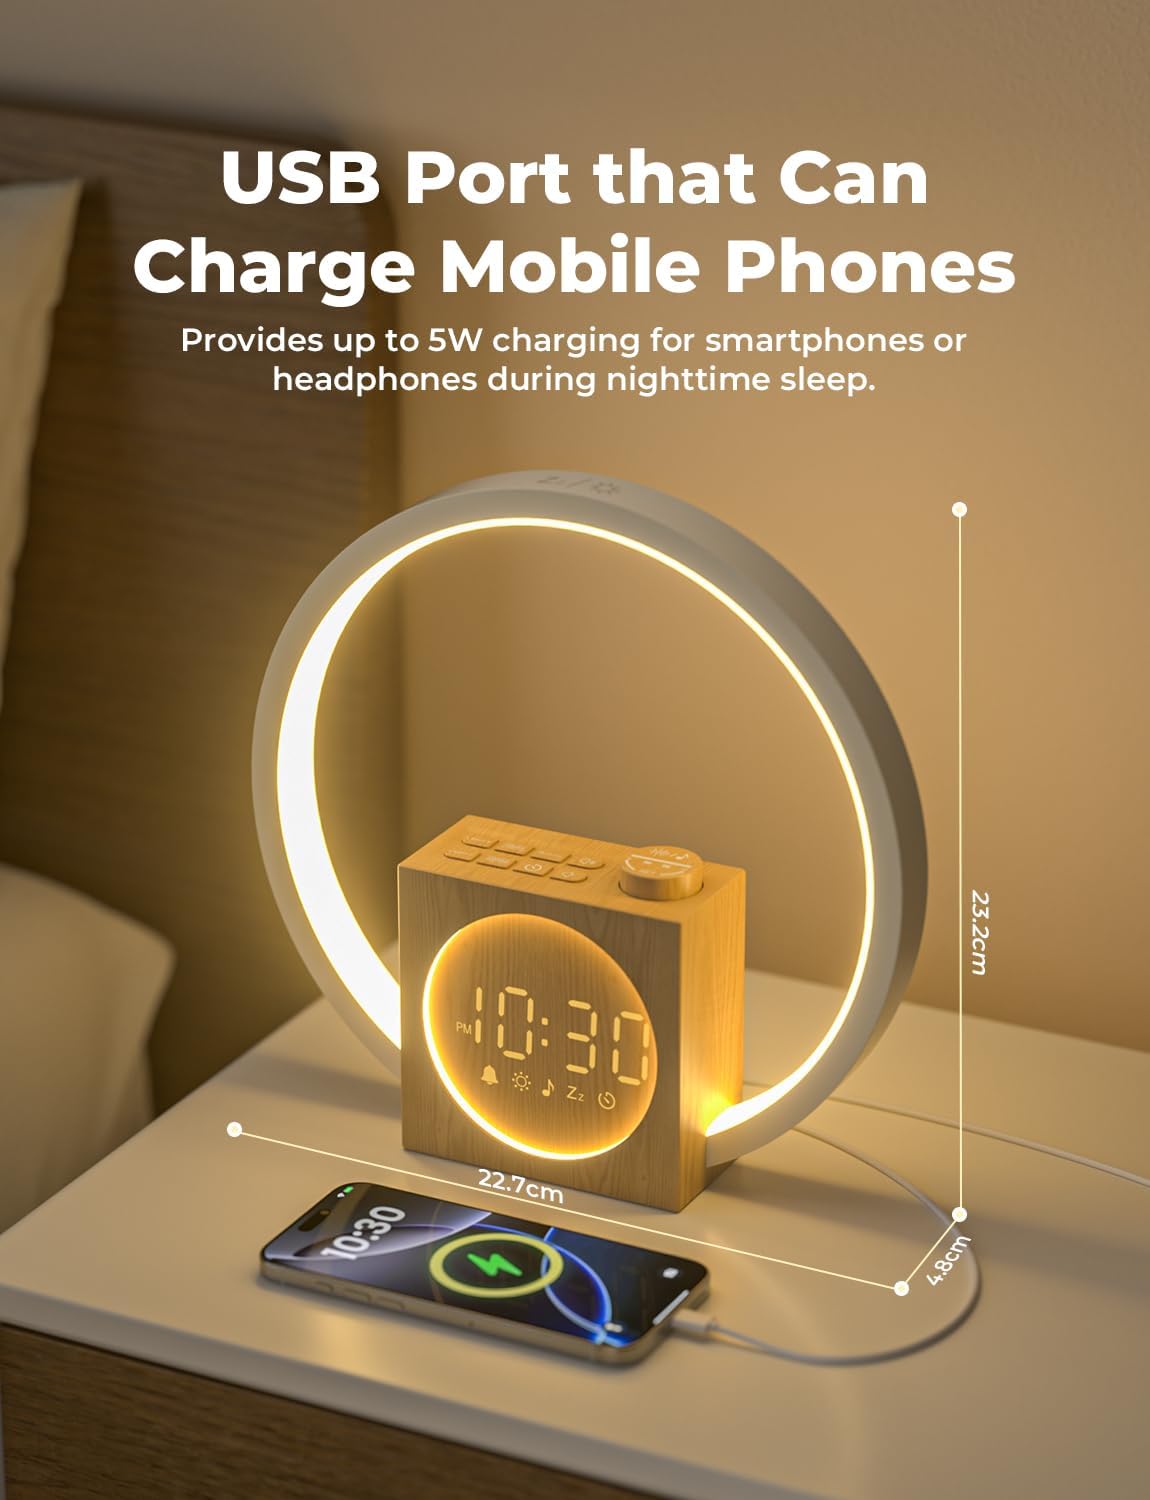
Image 4.7: The alarm clock is shown on a nightstand, with a smartphone plugged into its side USB port, demonstrating its capability to charge other devices.
5. Maintenance
- Cleaning: Use a soft, dry cloth to wipe the surface of the alarm clock. Do not use liquid cleaners or abrasive materials.
- Storage: If not in use for an extended period, unplug the device and store it in a cool, dry place.
- Avoid Water: Keep the device away from water and high humidity.
- Handle with Care: Avoid dropping or subjecting the device to strong impacts.
6. Troubleshooting
| Problem | Possible Cause | Solution |
|---|---|---|
| Clock does not power on. | Power adapter not connected or faulty. | Ensure the power adapter is securely plugged into the device and a working wall outlet. Try a different outlet. |
| Alarm does not sound. | Alarm not activated or volume too low. | Check if the alarm icon is displayed. Re-set the alarm and ensure volume is set above 0. |
| Sunrise light does not turn on. | Sunrise simulation duration or intensity set to 0. | During alarm setting, ensure sunrise duration and light intensity are set to desired values. |
| Screen display is too bright/dim or off. | Screen brightness setting. | Press the DIMMER TIME SET button to cycle through brightness levels. |
| USB charging not working. | Device not properly connected or incompatible. | Ensure the USB cable is securely connected. Verify your device is compatible with 5V/1A charging. |
7. Specifications
- Brand: LIORQUE
- Model Number: YF-03
- Product Dimensions: 26.19 x 3.81 x 8.48 cm
- Weight: 698.53 g
- Input: DC 5V/2A
- USB Output: DC 5V/1A
- Battery: 1 Nonstandard Battery (included, likely for backup)
- Color: Wooden
8. Warranty and Support
LIORQUE products are designed for quality and reliability. For specific warranty information, please refer to the warranty card included with your purchase or contact LIORQUE customer support. If you encounter any issues not covered in this manual, please reach out to our support team for assistance.