1. Introduction
Thank you for choosing the LYUWO LW 12V Cordless Electric Ratchet Wrench. This tool is designed for efficient fastening and loosening of bolts and nuts in various applications, offering cordless convenience and powerful performance. Please read this manual thoroughly before operation to ensure safe and effective use of your new tool.
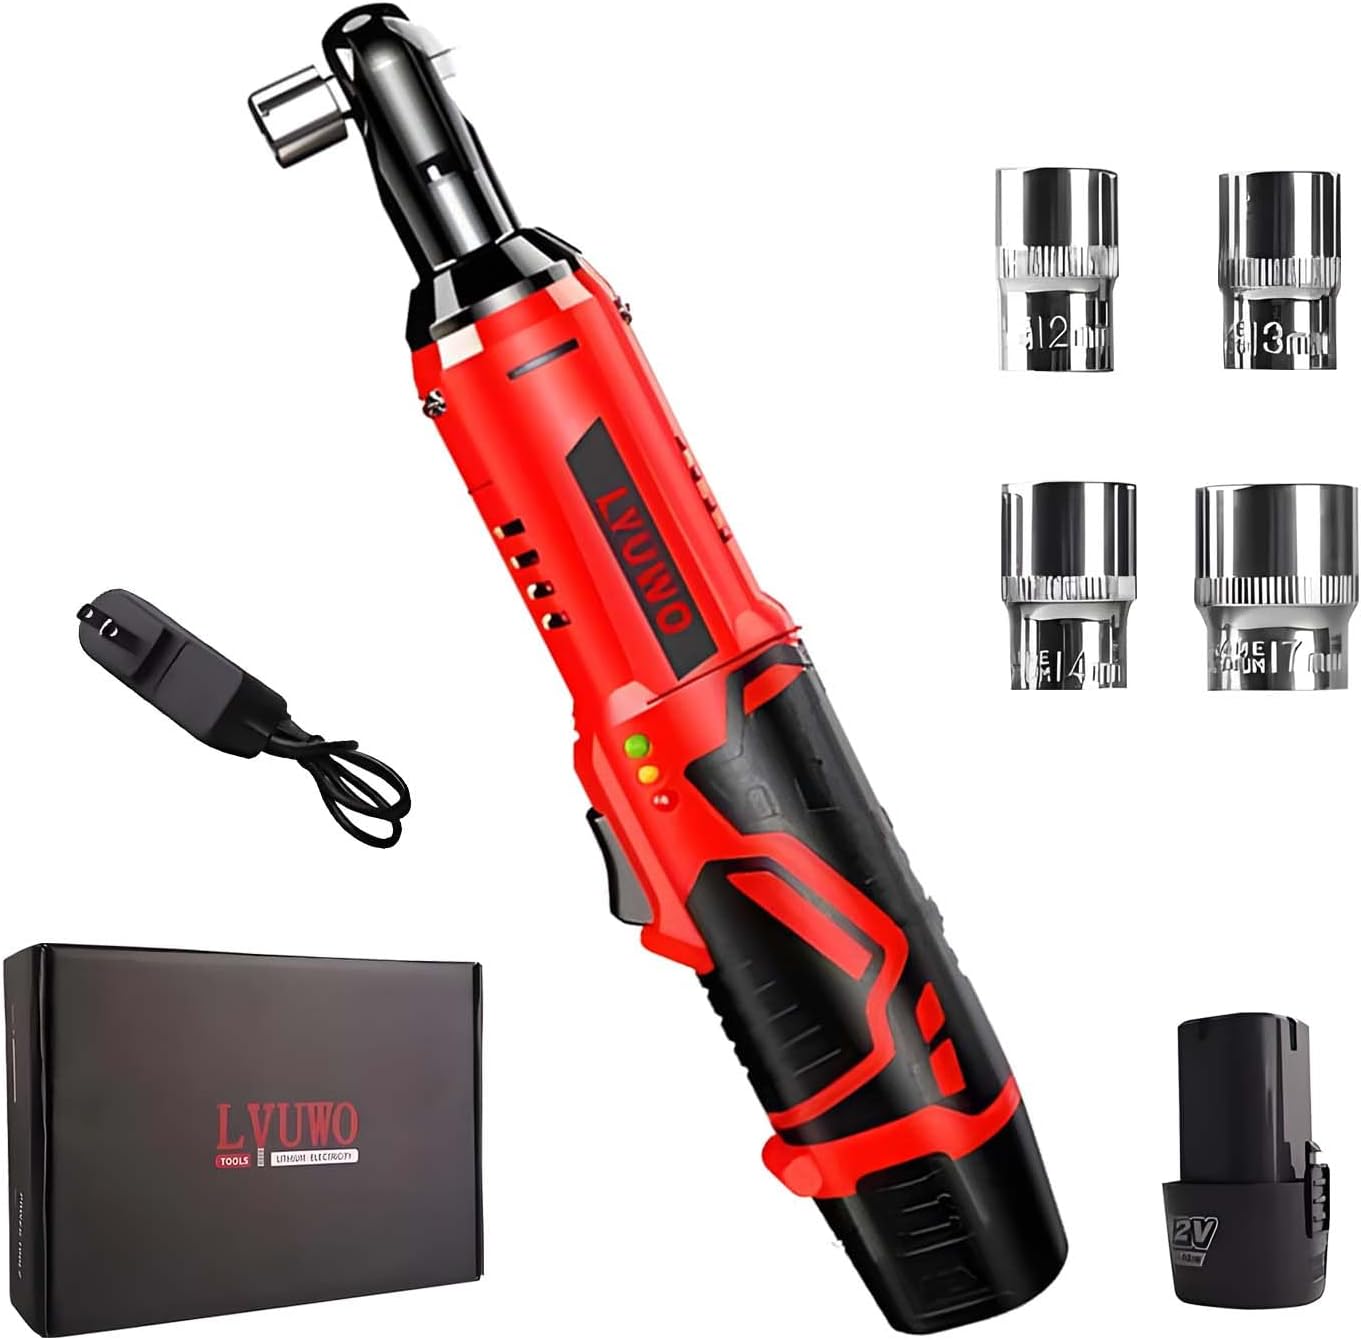
Image 1.1: The LYUWO 12V Cordless Electric Ratchet Wrench kit, including the wrench, charger, battery, and four sockets (12mm, 13mm, 14mm, 17mm).
2. Safety Instructions
Always follow basic safety precautions to reduce the risk of fire, electric shock, and personal injury.
- Work Area Safety: Keep your work area clean and well-lit. Cluttered or dark areas invite accidents. Do not operate power tools in explosive atmospheres, such as in the presence of flammable liquids, gases, or dust.
- Electrical Safety: Avoid body contact with earthed or grounded surfaces (e.g., pipes, radiators, ranges, refrigerators). Do not expose power tools to rain or wet conditions.
- Personal Safety: Always wear eye protection. Use hearing protection when operating for extended periods. Dress properly; avoid loose clothing or jewelry. Secure long hair.
- Tool Use and Care: Do not force the power tool. Use the correct tool for your application. Disconnect the battery pack from the tool before making any adjustments, changing accessories, or storing power tools.
- Battery Pack Safety: Recharge only with the charger specified by the manufacturer. Do not incinerate the battery pack even if it is severely damaged.
3. Package Contents
Verify that all items are present upon unpacking:
- Wireless Ratchet Wrench (x1)
- Charger (x1)
- 12mm Socket (x1)
- 13mm Socket (x1)
- 14mm Socket (x1)
- 17mm Socket (x1)
4. Product Components
Familiarize yourself with the parts of your LYUWO Cordless Electric Ratchet Wrench:

Image 4.1: Detailed diagram showing the main components of the ratchet wrench, including the 3/8" quadrilateral head, motor, switch, shield, handle, and lithium battery.
- 3/8" Quadrilateral Head: For attaching sockets.
- Motor: Provides the rotational power.
- Switch: Power trigger for operation.
- Positive and Negative Indicator: Shows rotation direction.
- Shield: Protective casing.
- Handle: Ergonomic grip.
- Lithium Battery: Removable power source.
5. Specifications
| Feature | Specification |
|---|---|
| Brand | LYUWO |
| Model Number | LW |
| Voltage | 12V |
| Max Torque | 45 Ft-lbs (61 N.M) |
| No-Load Speed | 380 RPM |
| Drive Size | 3/8 inch |
| Battery Type | 2.0Ah Lithium-Ion |
| Charging Time | Approximately 60 minutes |
| Material | High Carbon Steel |
| Item Length | 12 Inches |
| Item Weight | 0.3 Pounds (tool only) |
| Included Components | Wrench, Charger, Battery, 12/13/14/17mm Sockets |
6. Setup
6.1 Charging the Battery
- Ensure the charger is connected to a standard power outlet.
- Insert the 2.0Ah Lithium-Ion battery into the charger.
- The charger indicator light will show the charging status. A full charge typically takes about 60 minutes.
- Once fully charged, remove the battery from the charger.
6.2 Attaching/Removing Sockets
- Ensure the tool is off and the battery is securely inserted.
- Align the desired socket with the 3/8" quadrilateral drive head.
- Push the socket firmly onto the drive head until it clicks into place.
- To remove, pull the socket firmly off the drive head.
7. Operating Instructions
7.1 Powering On/Off and Variable Speed
Insert the charged battery into the tool. The tool is activated by pressing the trigger switch. The variable speed trigger allows for precise control over the rotation speed, from 0 to 380 RPM, by varying the pressure applied to the trigger.
7.2 Forward/Reverse Operation
The direction of rotation is controlled by the forward/reverse switch located on the head of the wrench.

Image 7.1: Illustration of the forward/reverse switch. Push 'R' for reverse (unscrewing) and 'F' for forward (tightening).
- Push the switch to the 'F' position for forward rotation (tightening bolts).
- Push the switch to the 'R' position for reverse rotation (unscrewing bolts).
- Ensure the switch is fully engaged in the desired direction before operating.
7.3 Integrated LED Light and Battery Indicator
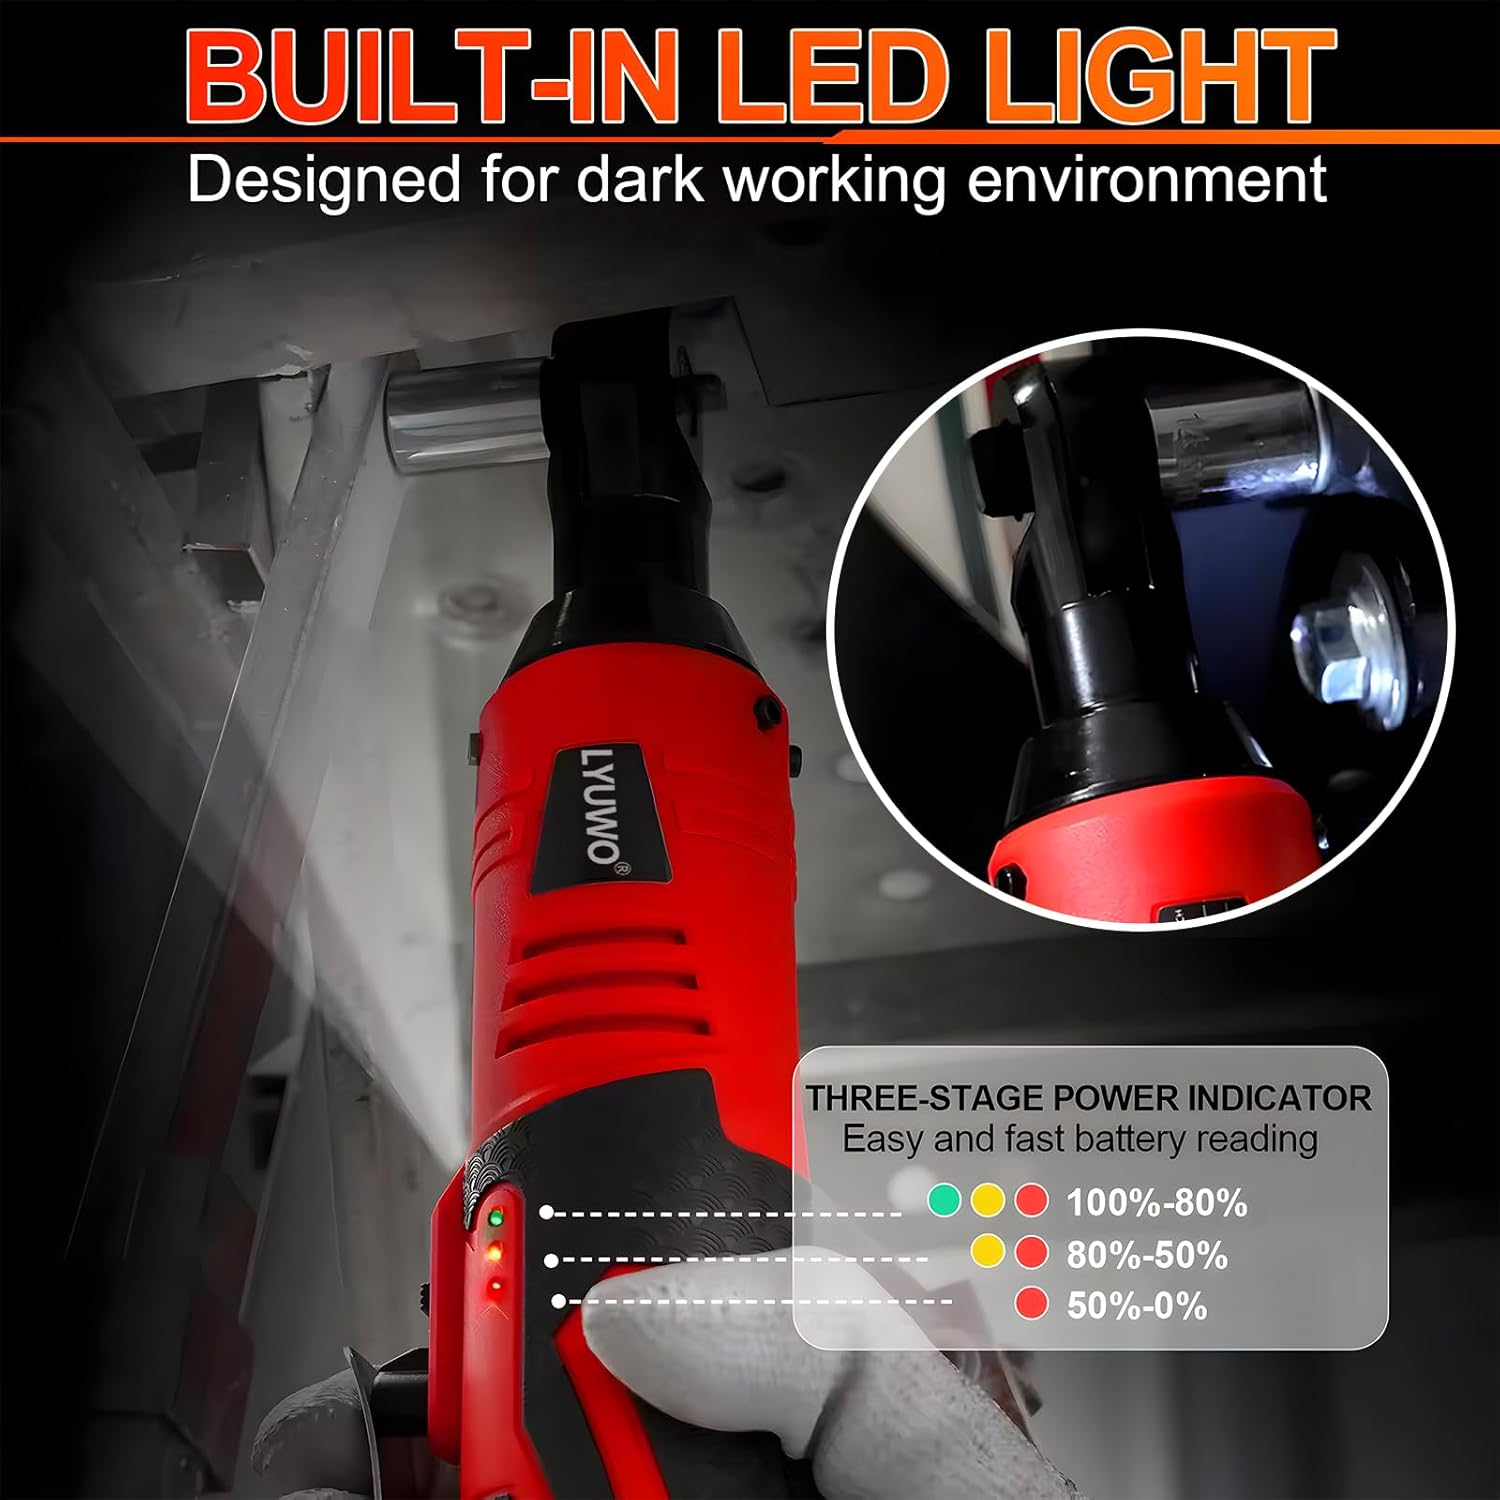
Image 7.2: The built-in LED light illuminates the workspace, and the three-stage power indicator shows battery charge level (Green: 100%-80%, Yellow: 80%-50%, Red: 50%-0%).
The tool features a built-in LED light that activates when the trigger is pressed, illuminating the work area. A three-stage power indicator displays the remaining battery charge:
- Green: 100%-80% charge
- Yellow: 80%-50% charge
- Red: 50%-0% charge (Recharge soon)
8. Applications
The LYUWO Cordless Electric Ratchet Wrench is suitable for a variety of tasks:

Image 8.1: Examples of common applications including trolley mounting, wheel removal, shelf dismantling, and instrument installation.
- Automotive repair and maintenance (e.g., engine compartments, wheel removal).
- Home DIY projects and furniture assembly.
- Industrial maintenance and equipment installation.
- Any task requiring fastening or loosening of bolts and nuts in confined spaces.
9. Maintenance
9.1 General Cleaning
Keep the tool clean and free from dust, dirt, and grease. Use a soft, damp cloth for cleaning. Do not use harsh chemicals or abrasive cleaners.
9.2 Battery Care
- Store batteries in a cool, dry place away from direct sunlight and extreme temperatures.
- Do not store batteries in a discharged state for extended periods. Recharge them periodically if not in use.
- Avoid dropping or subjecting batteries to impact.
9.3 Storage
When not in use, store the tool and accessories in a dry, secure location out of reach of children.
10. Troubleshooting
| Problem | Possible Cause | Solution |
|---|---|---|
| Tool does not start | Battery not charged or improperly inserted. | Ensure battery is fully charged and correctly inserted. |
| Reduced power/torque | Low battery charge. | Recharge the battery. |
| Socket not attaching securely | Incorrect socket size or debris in drive head. | Use correct socket size. Clean drive head. |
| Tool stops during operation | Overload protection activated or battery depleted. | Reduce load. Recharge battery. |
11. Warranty and Support
For warranty information or technical support, please refer to the documentation provided at the time of purchase or contact your retailer. Specific warranty terms and conditions may vary.