
1. Introduction
Thank you for choosing the VEVOR UV Water Purifier. This manual provides essential information for the safe and efficient operation, installation, and maintenance of your UV water purification system. Please read this manual thoroughly before installation and use, and retain it for future reference.
The VEVOR UV Water Purifier is designed to provide clean, safe drinking water by effectively eliminating harmful microorganisms using ultraviolet light technology. Its stainless steel housing ensures durability and efficient UV reflection.
2. Safety Instructions
WARNING: To reduce the risk of electric shock, do not expose this appliance to rain or moisture. Do not remove cover. No user-serviceable parts inside. Refer servicing to qualified service personnel.
- Always disconnect power before performing any maintenance or service.
- Do not look directly at the UV lamp when it is illuminated, as it can cause severe eye damage.
- Ensure proper grounding of the unit.
- Do not operate the unit if the power cord or plug is damaged.
- Install the unit in a location protected from direct sunlight and freezing temperatures.
- Ensure all connections are secure and leak-free before operating.
- This system is designed for water purification only. Do not use it for any other purpose.
3. Product Components
The VEVOR UV Water Purifier system includes the following components:
- 1 x Stainless Steel Main Body Tube
- 2 x Light Tubes (1 required, 1 extra included)
- 1 x Quartz Glass Sleeve
- 1 x Power Ballast
- 4 x Mounting Brackets (2 required, 2 extra included)
- 2 x Sealing Rings (1 required, 1 extra included)
- 4 x Quick Connectors
- 1 x Tape

4. Specifications
| Parameter | Value |
|---|---|
| Item Model Number | SSE-012 |
| Lamp Power | 12W ±10% |
| Total Power | 16W ±10% |
| Wavelength | 253.7nm |
| Sterilization Rate | Over 99.99% (under maximum flow rate) |
| Maximum Water Treatment Capacity | 1 GPM (3.785 L/min) |
| Max Inlet Pressure | 0.8MPa |
| Inlet/Outlet Interface Specification | 1/4" NPT Internal Thread |
| Main Material: Housing | 304 Stainless Steel |
| UV Lamp | Quartz |
| Lamp Lifespan | 8000 hours |
| Net Weight | 0.84 kg ±3% (including all accessories) |
| Product Dimensions | 12.4 x 2.01 x 3.15 inches (315 x 51 x 80 mm) |

5. Setup and Installation
The VEVOR UV water purification system is designed for easy DIY installation. Horizontal installation is recommended for optimal performance.
5.1 Pre-Installation Checklist
- Ensure all components listed in Section 3 are present and undamaged.
- Select a suitable installation location, away from direct sunlight, heat sources, and freezing temperatures.
- Ensure there is adequate space for future maintenance, such as lamp replacement.
- Turn off the main water supply before beginning installation.
- Drain water from the pipes to relieve pressure.
5.2 Installation Steps
- Mounting the Unit: Use the provided mounting brackets to securely attach the stainless steel main body tube to a wall or sturdy surface. Ensure it is level.
- Installing the Quartz Sleeve: Carefully insert the quartz glass sleeve into the stainless steel chamber. Ensure it is fully seated.
- Installing the UV Lamp: Gently insert one UV lamp into the quartz sleeve. Be careful not to touch the glass part of the lamp with bare hands, as oils can reduce its effectiveness. Use gloves or a clean cloth.
- Connecting Water Lines: Connect your water inlet line to the "Inlet" port and your purified water outlet line to the "Outlet" port using the quick connectors. Ensure all connections are tight and sealed with the provided tape to prevent leaks.
- Connecting the Ballast: Connect the UV lamp to the power ballast. Plug the ballast into a grounded electrical outlet.
- Leak Check: Slowly turn on the main water supply and check for any leaks around the connections. Address any leaks immediately before proceeding.
- System Flush: Allow water to flow through the system for a few minutes to flush out any air or debris before consumption.


6. Operating Instructions
Once installed and checked for leaks, the VEVOR UV Water Purifier operates automatically when water flows through it. The UV lamp will illuminate, providing continuous sterilization.
6.1 Normal Operation
- The power ballast is equipped with a UV system fault alarm. If the alarm sounds or the indicator light changes, refer to the Troubleshooting section.
- The system is designed to provide a high sterilization rate of over 99.99% at its maximum flow rate of 1 GPM.
- The UV purification process does not alter the taste, color, odor, or pH value of the water.


7. Maintenance
Regular maintenance ensures the longevity and effectiveness of your VEVOR UV Water Purifier.
7.1 UV Lamp Replacement
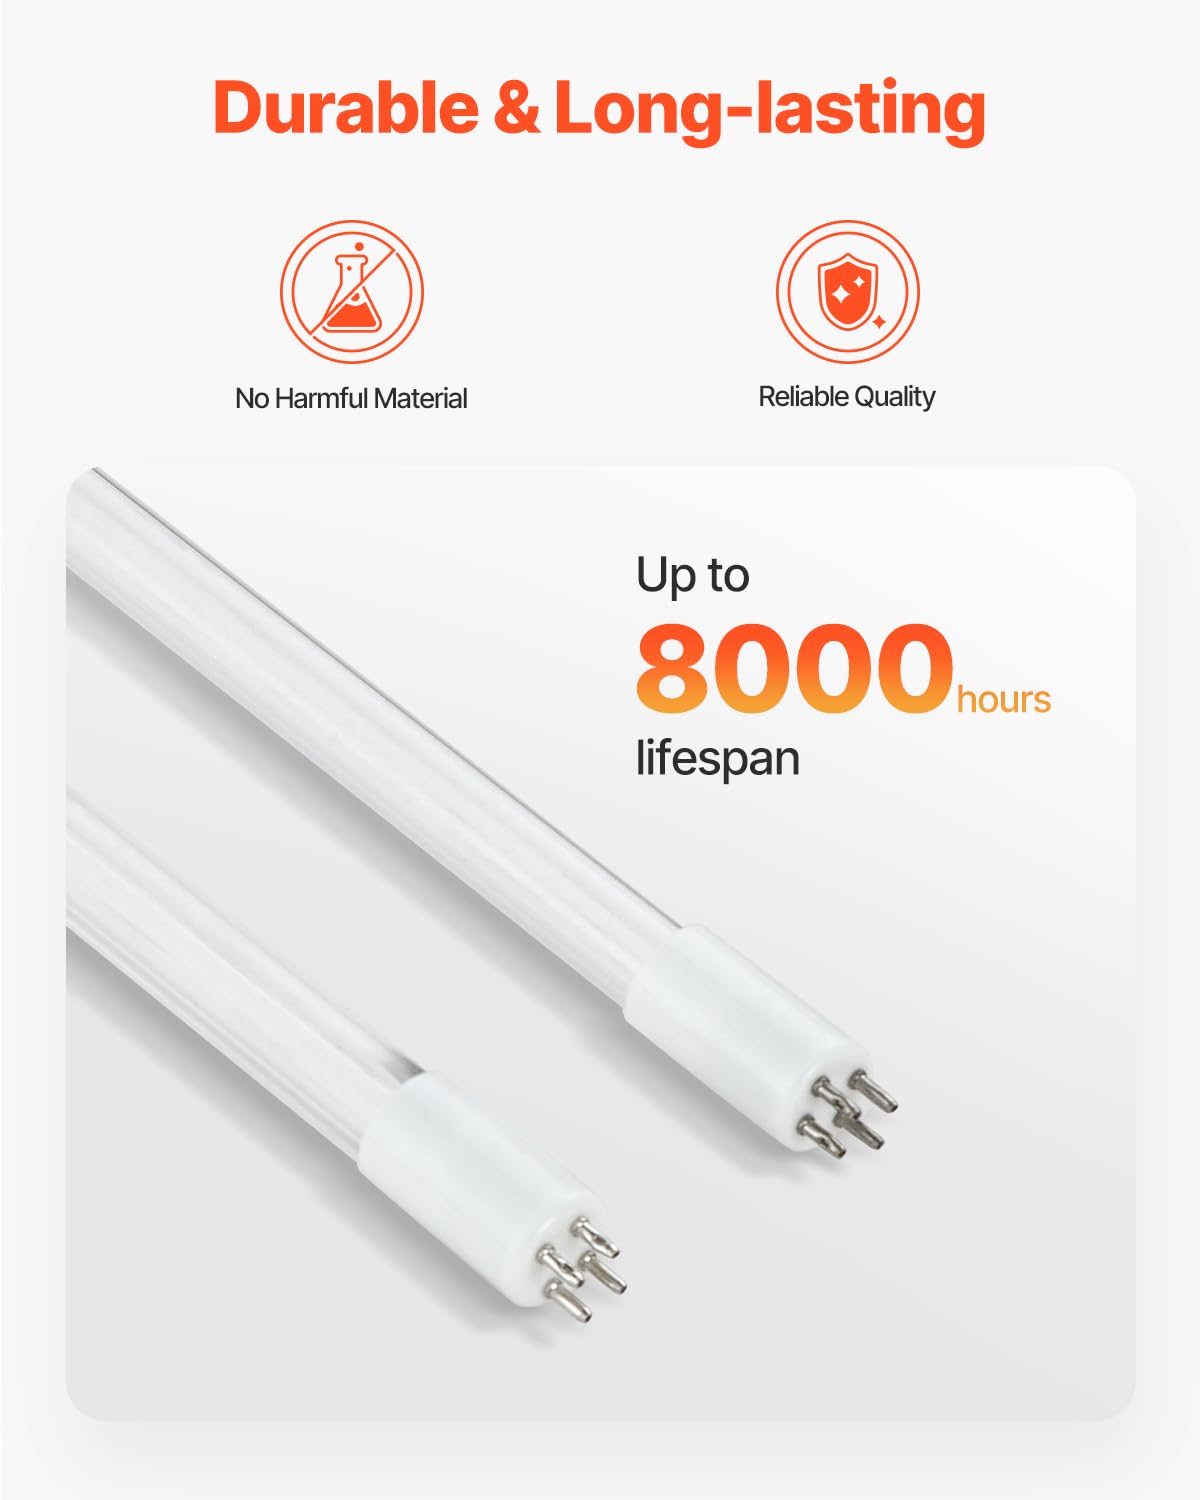
The UV lamp has a lifespan of approximately 8,000 hours (about 1 year of continuous operation). It is recommended to replace the UV lamp annually to ensure optimal purification performance, even if it appears to be working.
- Disconnect Power: Always unplug the power ballast from the electrical outlet before servicing.
- Turn Off Water Supply: Close the main water supply valve to the unit.
- Drain Water: Open a faucet downstream to drain water from the system and relieve pressure.
- Remove Old Lamp: Carefully remove the old UV lamp from the quartz sleeve. Dispose of old lamps according to local regulations.
- Clean Quartz Sleeve: If necessary, clean the quartz sleeve with a soft cloth and a mild acid solution (e.g., vinegar) to remove any mineral deposits. Rinse thoroughly with clean water.
- Install New Lamp: Gently insert the new UV lamp into the clean quartz sleeve. Avoid touching the glass with bare hands.
- Reconnect Power and Water: Reconnect the power ballast and slowly turn on the water supply. Check for leaks.
7.2 Quartz Sleeve Cleaning
The quartz sleeve should be cleaned periodically (e.g., every 6-12 months) to ensure maximum UV light transmission. Mineral deposits or scale buildup can reduce the effectiveness of the UV light.
- Follow steps 7.1.1 to 7.1.3 for disconnecting power and water.
- Remove the UV lamp.
- Carefully slide out the quartz sleeve.
- Clean the sleeve using a soft cloth and a solution of citric acid or vinegar. Do not use abrasive cleaners.
- Rinse the sleeve thoroughly with clean water and dry it completely before reinstallation.
- Reinstall the quartz sleeve and UV lamp, then reconnect power and water, checking for leaks.
8. Troubleshooting
| Problem | Possible Cause | Solution |
|---|---|---|
| UV lamp not illuminating / Ballast alarm | No power to ballast; Faulty lamp; Faulty ballast; Loose connection. | Check power supply; Ensure ballast is plugged in; Replace UV lamp; Check all electrical connections; Replace ballast if necessary. |
| Water leakage | Loose fittings; Damaged O-rings/seals; Incorrect installation of quartz sleeve. | Tighten all connections; Inspect and replace O-rings/seals; Reinstall quartz sleeve correctly, ensuring sealing rings are properly seated. |
| Reduced purification effectiveness | Expired UV lamp; Dirty quartz sleeve; Water flow rate too high. | Replace UV lamp (annually); Clean quartz sleeve; Ensure water flow does not exceed 1 GPM. |
| Unit gets excessively hot | Normal operation (UV lamps generate heat); Insufficient ventilation. | Ensure adequate airflow around the unit. If heat is extreme and causes other issues (e.g., plastic deformation), contact support. |
9. Warranty and Support
VEVOR products come with a standard warranty. For specific warranty terms and conditions, please refer to the warranty card included with your product or visit the official VEVOR website.
If you encounter any issues or require technical assistance, please contact VEVOR customer support. When contacting support, please have your model number (SSE-012) and purchase information ready.
VEVOR Official Website: www.vevor.com


