1. Safety Information
Please read all instructions carefully before installing and operating the Rohent U12 Backup Camera. Failure to follow these instructions may result in damage to the product, vehicle, or personal injury.
- Ensure all power connections are secure and correctly polarized to prevent electrical shorts.
- Disconnect vehicle power before performing any installation or maintenance.
- Mount the camera and monitor securely to avoid obstruction of driver's view or interference with vehicle controls.
- This device is an aid to safe driving and should not replace careful driving practices and regular mirror checks.
- If you are unsure about any installation steps, consult a qualified professional.
2. What's in the Box
Verify that all components are present before beginning installation:
- 1* Backup Camera
- 1* 9.84ft power cable
- 1* antenna
3. Product Overview
The Rohent U12 Backup Camera is designed to enhance safety and convenience for RVs and trailers. It features advanced night vision technology for clear images in low-light conditions and an IP69 waterproof rating for durability in harsh weather. This camera is exclusively compatible with Rohent R8 and R12 systems, ensuring seamless integration and operation.
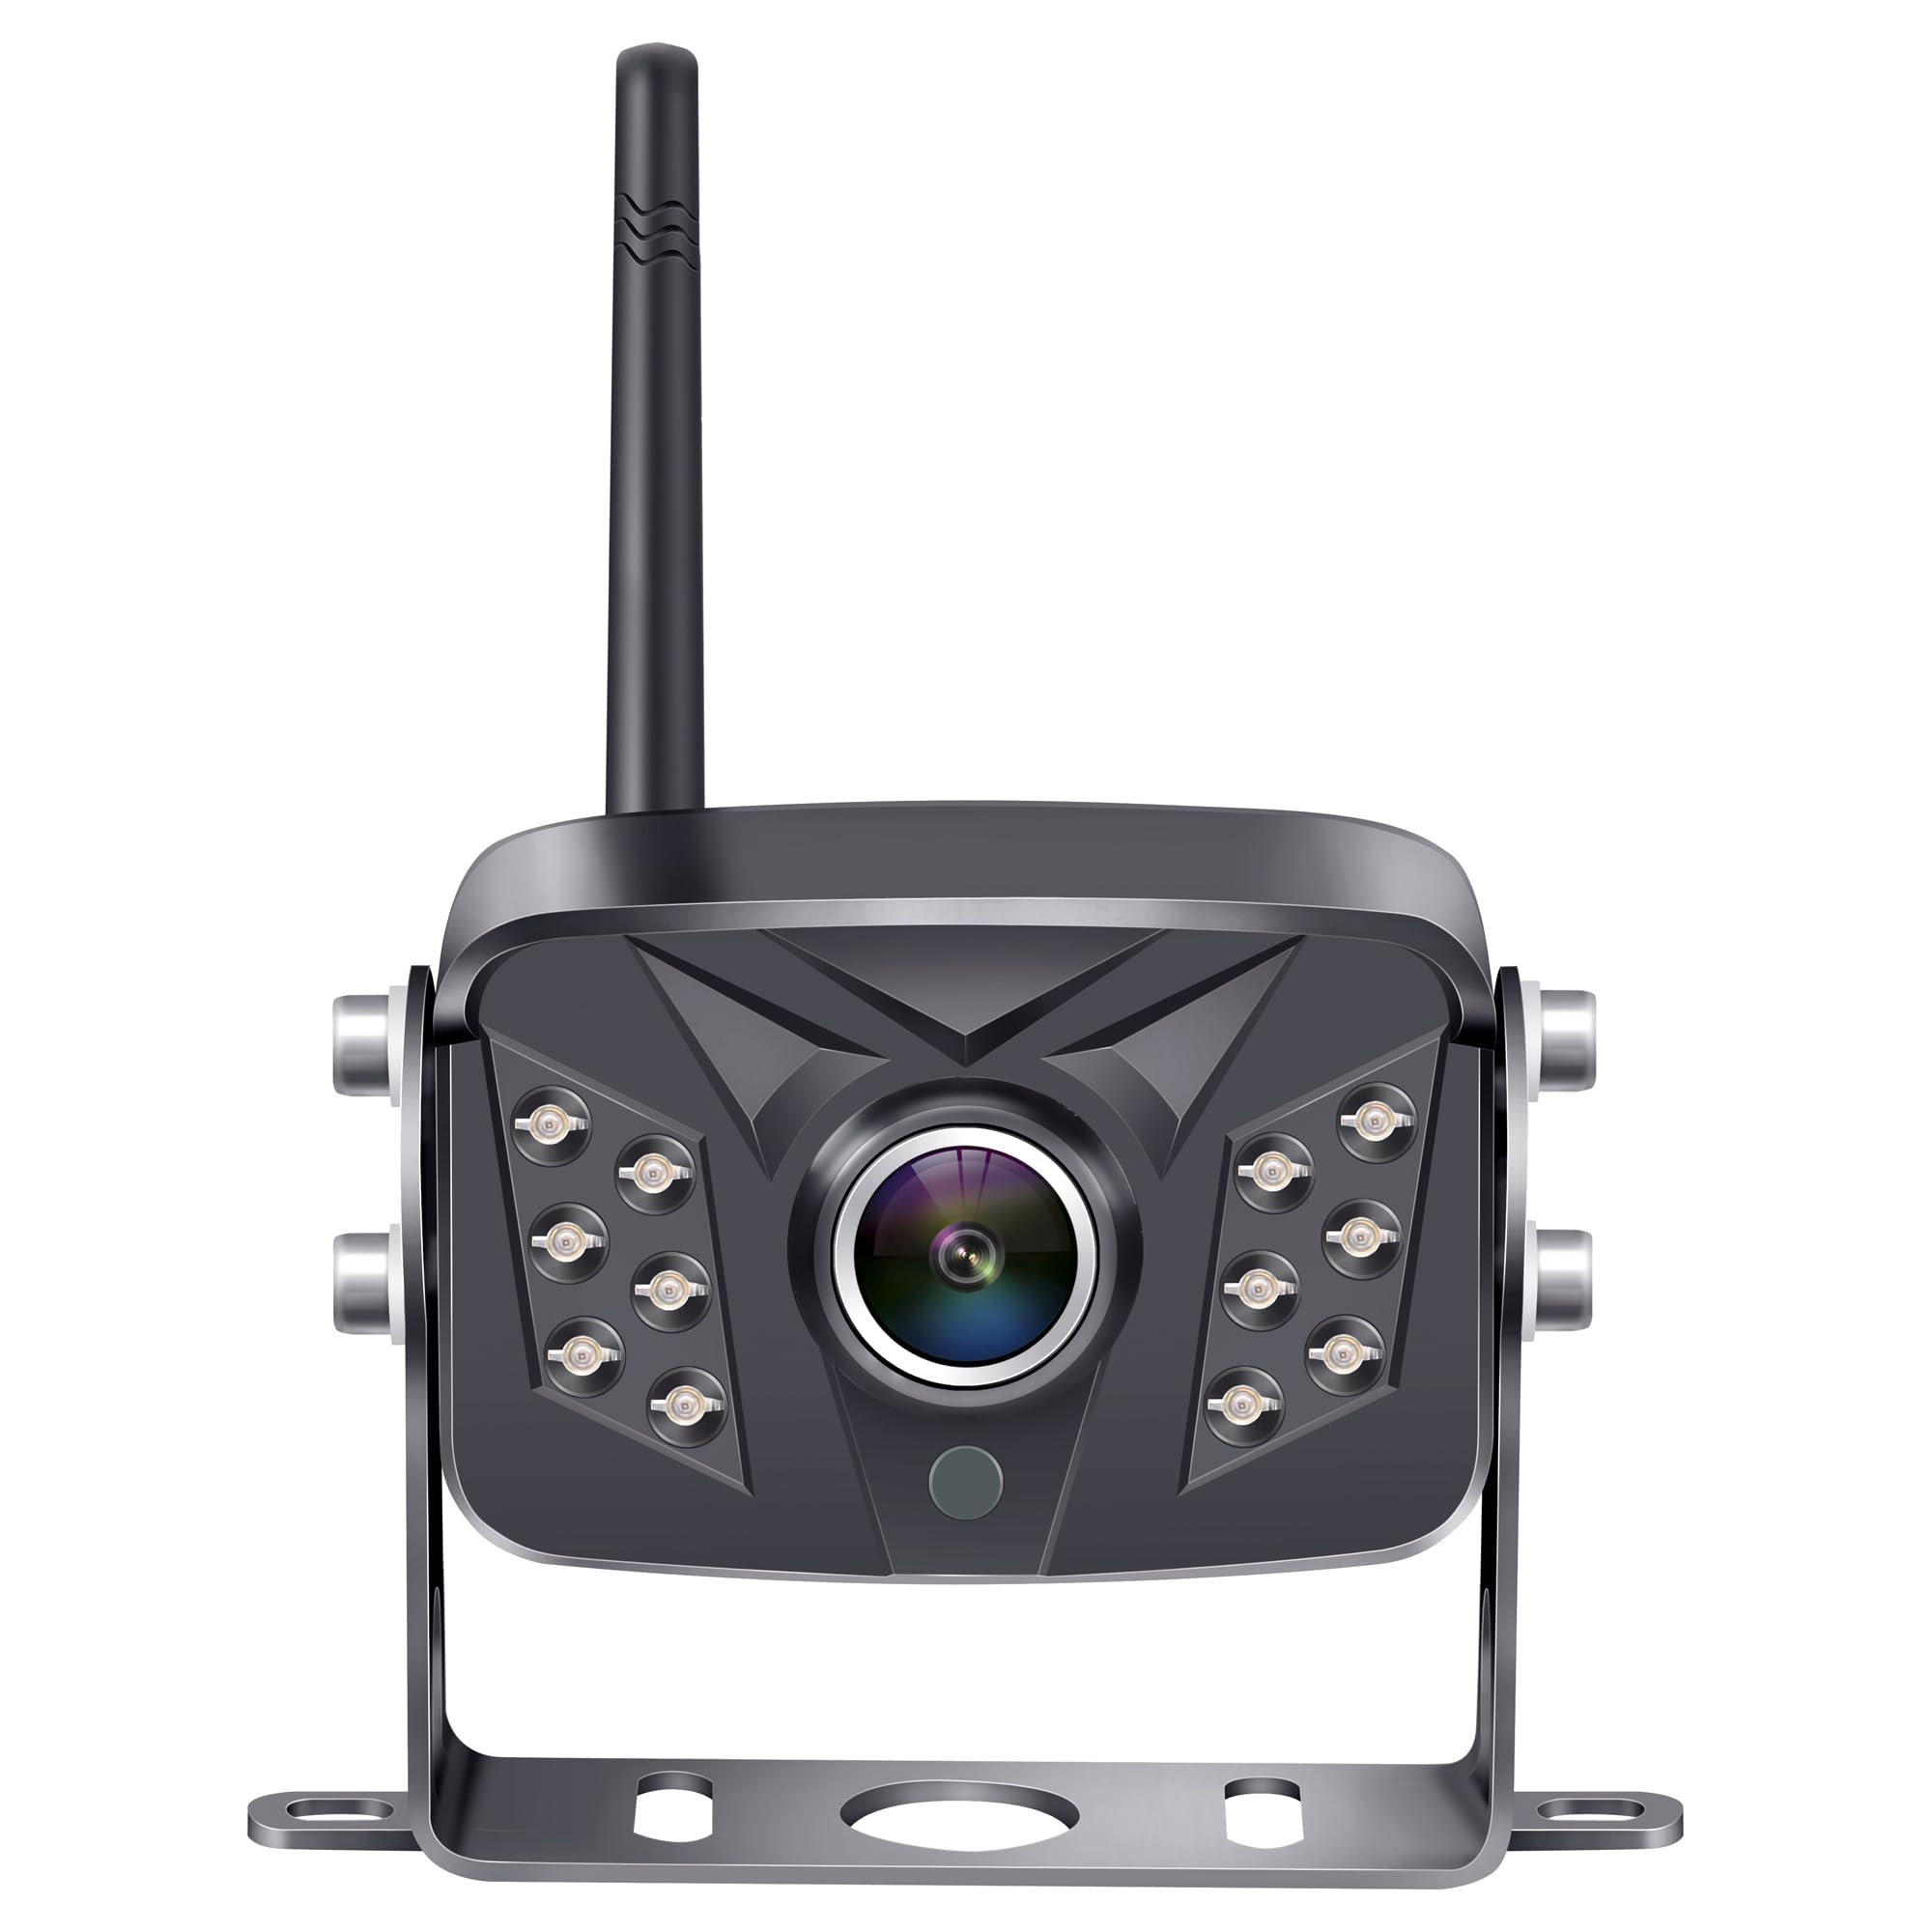
Image: The Rohent U12 Backup Camera, showing its compact black housing, integrated antenna, and robust mounting bracket. The camera lens is visible at the front, surrounded by LED lights for night vision.
Video: A brief product overview demonstrating the features and benefits of a Rohent backup camera system, including its compact design and clear image display.
4. Setup
4.1 Camera Installation
The Rohent U12 Backup Camera is designed for easy installation, especially with RVs and trailers that are pre-wired for Furrion systems. Locate the pre-installed camera cover at the rear of your RV/trailer. Remove the cover by unscrewing it. Connect the camera's power cable to the existing wiring. Secure the U12 camera to the mounting base using the provided screws. Ensure the camera is oriented correctly for optimal rear view.
Video: Demonstrates the installation process of a Rohent wireless backup camera on the rear of a vehicle, including mounting the camera and connecting it to power. It also shows the monitor setup inside the vehicle.
4.2 Monitor Setup (for R8/R12 Systems)
Mount your compatible Rohent R8 or R12 monitor inside your vehicle, typically on the dashboard or windshield, using the provided suction cup or adhesive mount. Connect the monitor to a 12V power source, such as a cigarette lighter adapter. Once powered, the monitor will automatically pair with the U12 camera. Ensure the monitor is positioned to provide a clear view without obstructing your driving.
Video: Illustrates the setup and functionality of a Rohent RV backup camera system, including mounting the monitor and showcasing its display features.
5. Operating Instructions
5.1 Powering On/Off
The camera receives power when connected to your RV/trailer's power system (e.g., when the vehicle is in reverse or when the RV is powered). The monitor will power on automatically when it receives a signal from the camera. To turn off the monitor, disconnect it from its power source.
5.2 Adjusting Display Settings
Use the buttons on your R8/R12 monitor to navigate the menu and adjust settings such as brightness, contrast, saturation, and tint. Refer to your R8/R12 system's manual for detailed instructions on menu navigation.
5.3 Parking Lines
Your monitor may display adjustable parking lines to assist with backing up. These lines can typically be toggled on/off or adjusted for width and position via the monitor's settings menu. Consult your R8/R12 monitor manual for specific adjustments.
5.4 Night Vision
The Rohent U12 camera is equipped with advanced night vision technology that automatically activates in low-light conditions, providing clear visibility without manual intervention.
6. Maintenance
- Cleaning the Lens: Regularly clean the camera lens with a soft, damp cloth to ensure a clear view. Avoid abrasive cleaners that could scratch the lens.
- Checking Connections: Periodically inspect all cable connections for tightness and signs of wear or corrosion.
- Waterproof Rating: The camera has an IP69 waterproof rating, meaning it is protected against high-pressure, high-temperature jet sprays and continuous immersion. However, avoid directing high-pressure water jets directly at the camera for extended periods.
7. Troubleshooting
- No Signal on Monitor:
- Ensure the camera and monitor are both powered on.
- Check all power connections for security.
- Verify that the camera is within range of the monitor for wireless signal transmission.
- Confirm the monitor is set to the correct camera channel (if applicable for your R8/R12 system).
- Poor Image Quality:
- Clean the camera lens.
- Check for obstructions blocking the camera's view.
- Adjust brightness, contrast, and other display settings on the monitor.
- Ensure there is no significant interference from other wireless devices.
- Camera Not Powering On:
- Confirm the RV/trailer's power system is active.
- Check the camera's power cable for damage or loose connections.
8. Specifications
| Feature | Specification |
|---|---|
| Product Dimensions | 5.1 x 3.34 x 3.14 inches |
| Item Weight | 13.4 ounces |
| ASIN | B0FC27TVVC |
| Display Technology | LCD or LED (Monitor dependent) |
| Other Display Features | Wireless |
| Color | Black |
| Manufacturer | Rohent |
| Brand | Rohent |
| Screen Size | 7 Inches (Monitor dependent) |
| Compatible Devices | Monitor (R8/R12 System) |
| Installation Type | Surface Mount |
| Voltage | 12 Volts (DC) |
| Optical Sensor Technology | Infrared |
| Lens Type | Wide Angle |
| Connector Type | RCA |
| Optical Sensor Size | 1/2 inch |
9. Warranty and Support
For warranty information and customer support, please refer to the documentation included with your Rohent U12 Backup Camera or visit the official Rohent brand store. Keep your purchase receipt for warranty claims.


